Overview
Hyperline offers a customer portal where your customers can get access to their live subscription, payment methods, billing information and invoices. Our objective is to ensure a transparent and well-organized billing summary to offer to your own customers.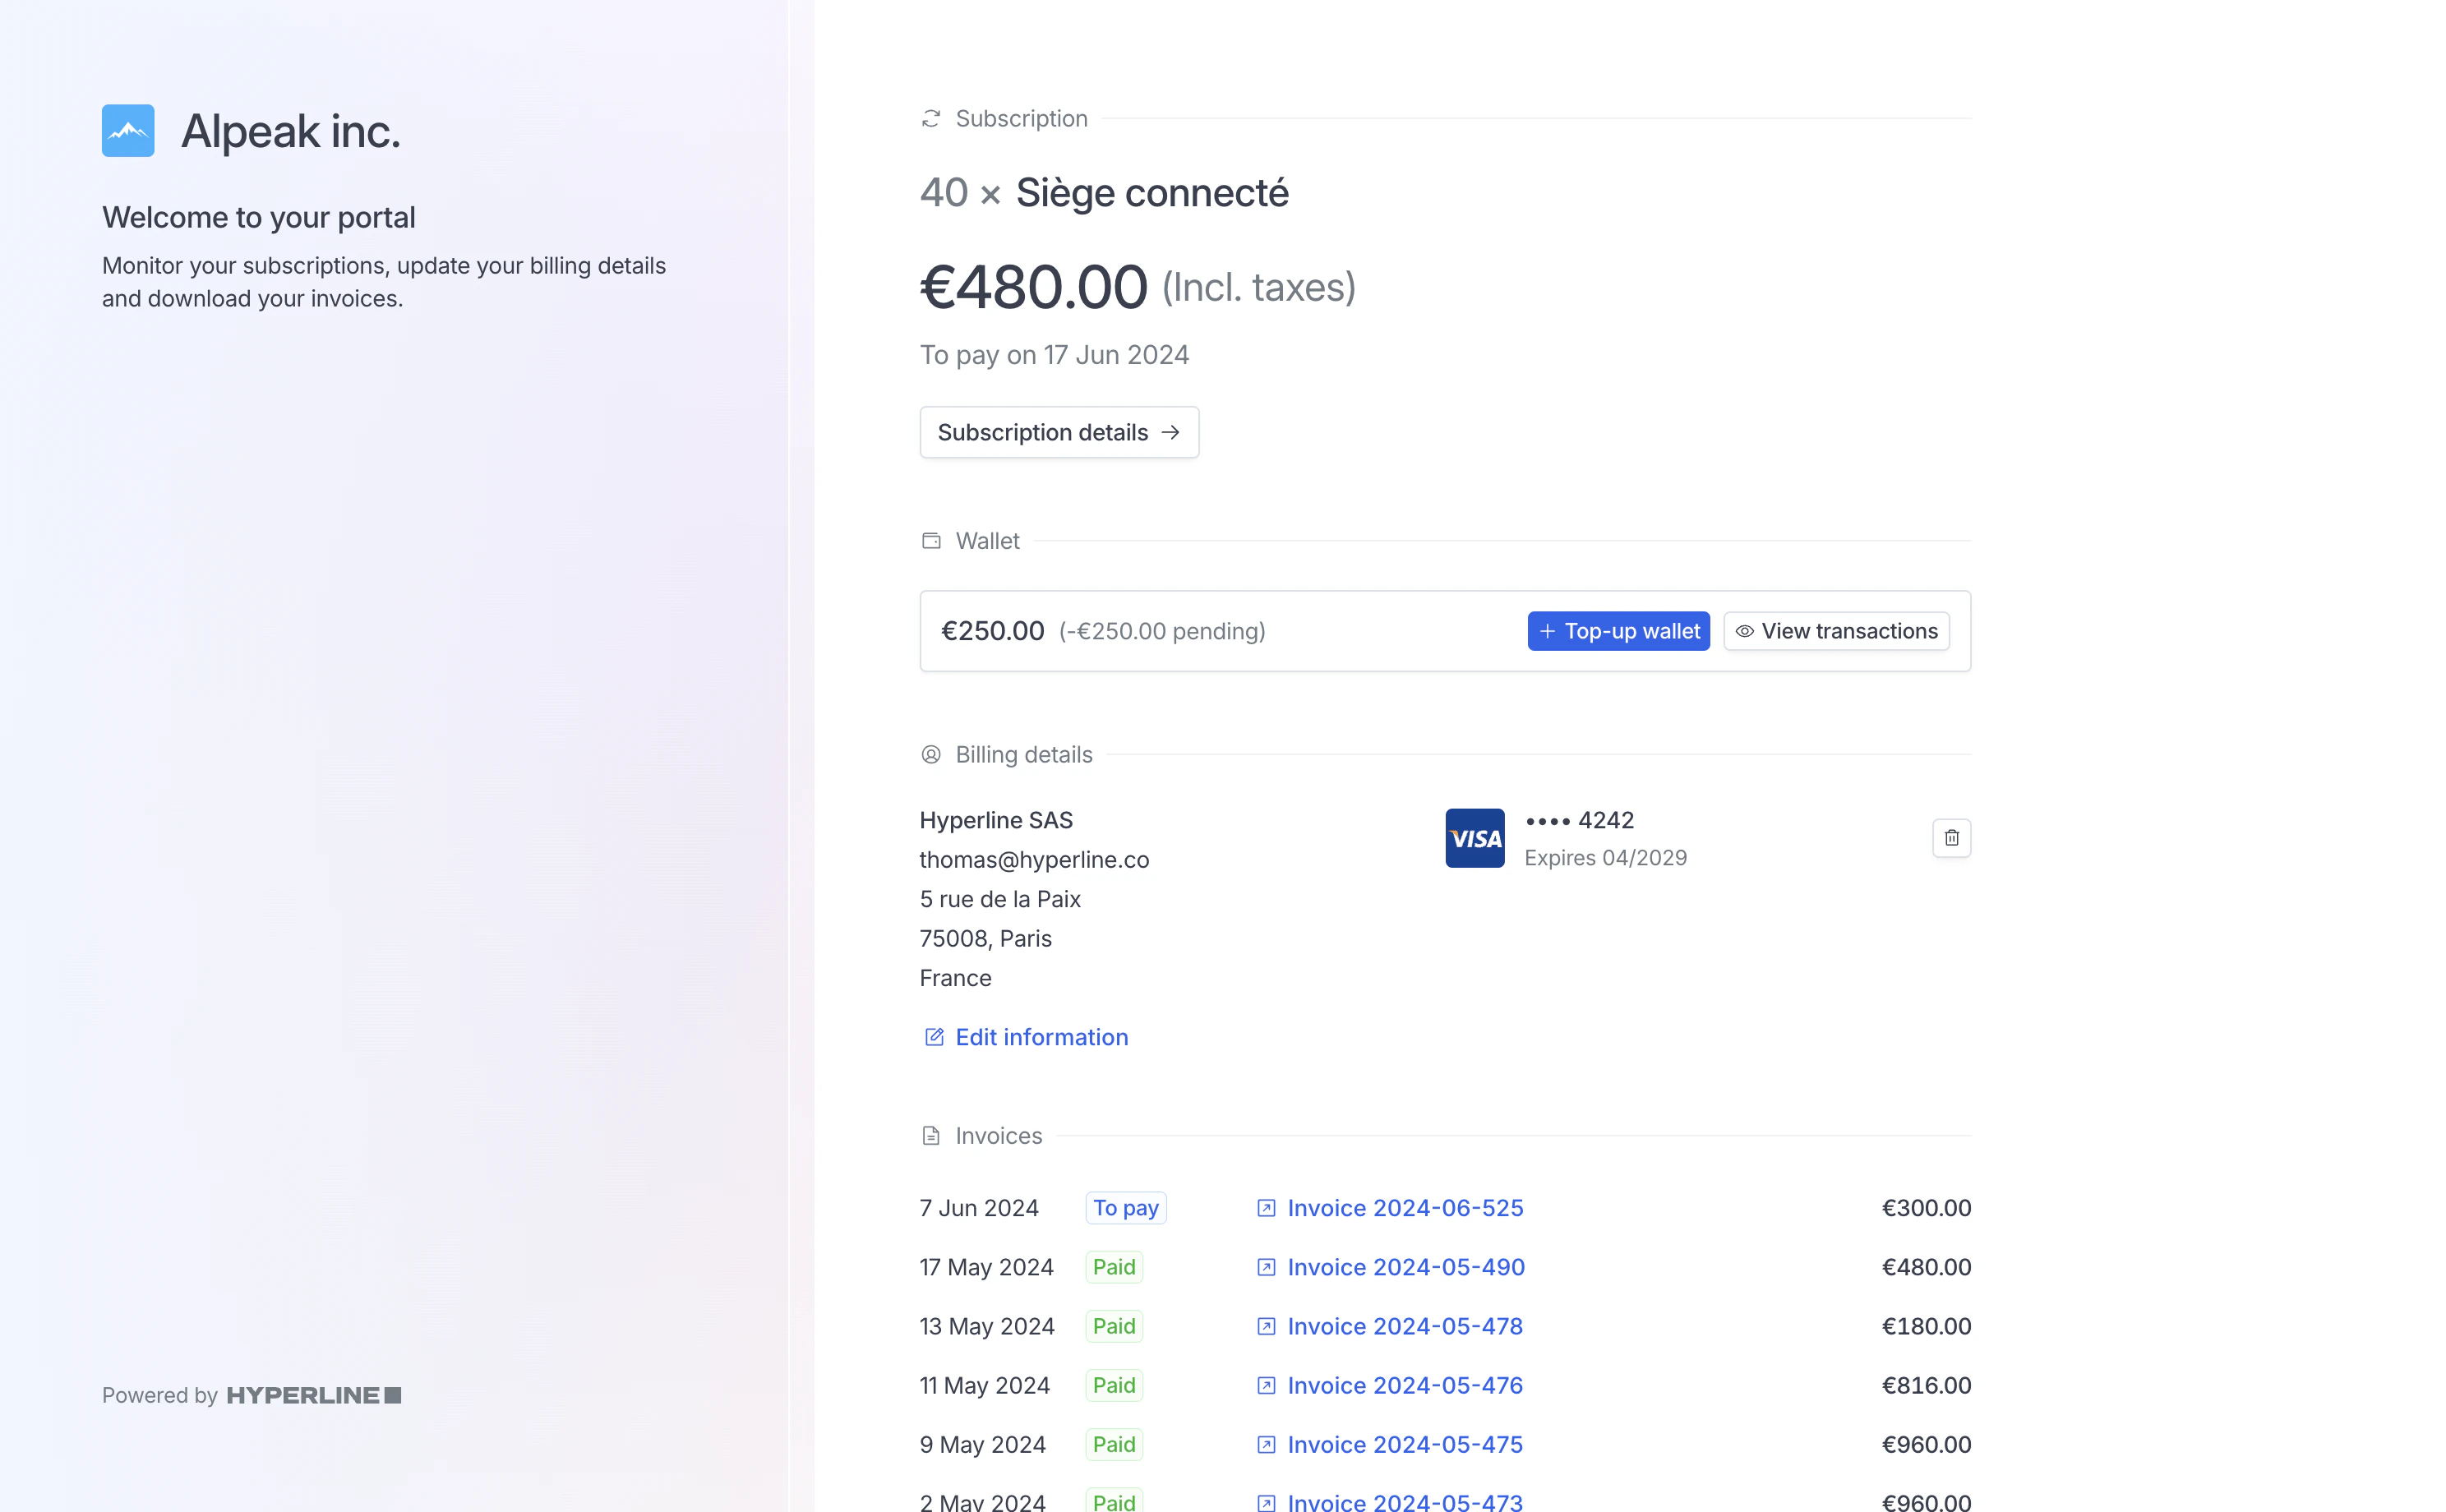
Portal language
The language will be displayed following these rules:- If the customer’s browser language is part of our 8 supported languages (English, French, German, Italian, Spanish, Polish, Portuguese and Dutch), it will be displayed in the language.
- If it is not part of the supported languages, we will default on the customer language selected on Hyperline customer information. By default, this language is inferred based on the customer’s country.
View subscription details
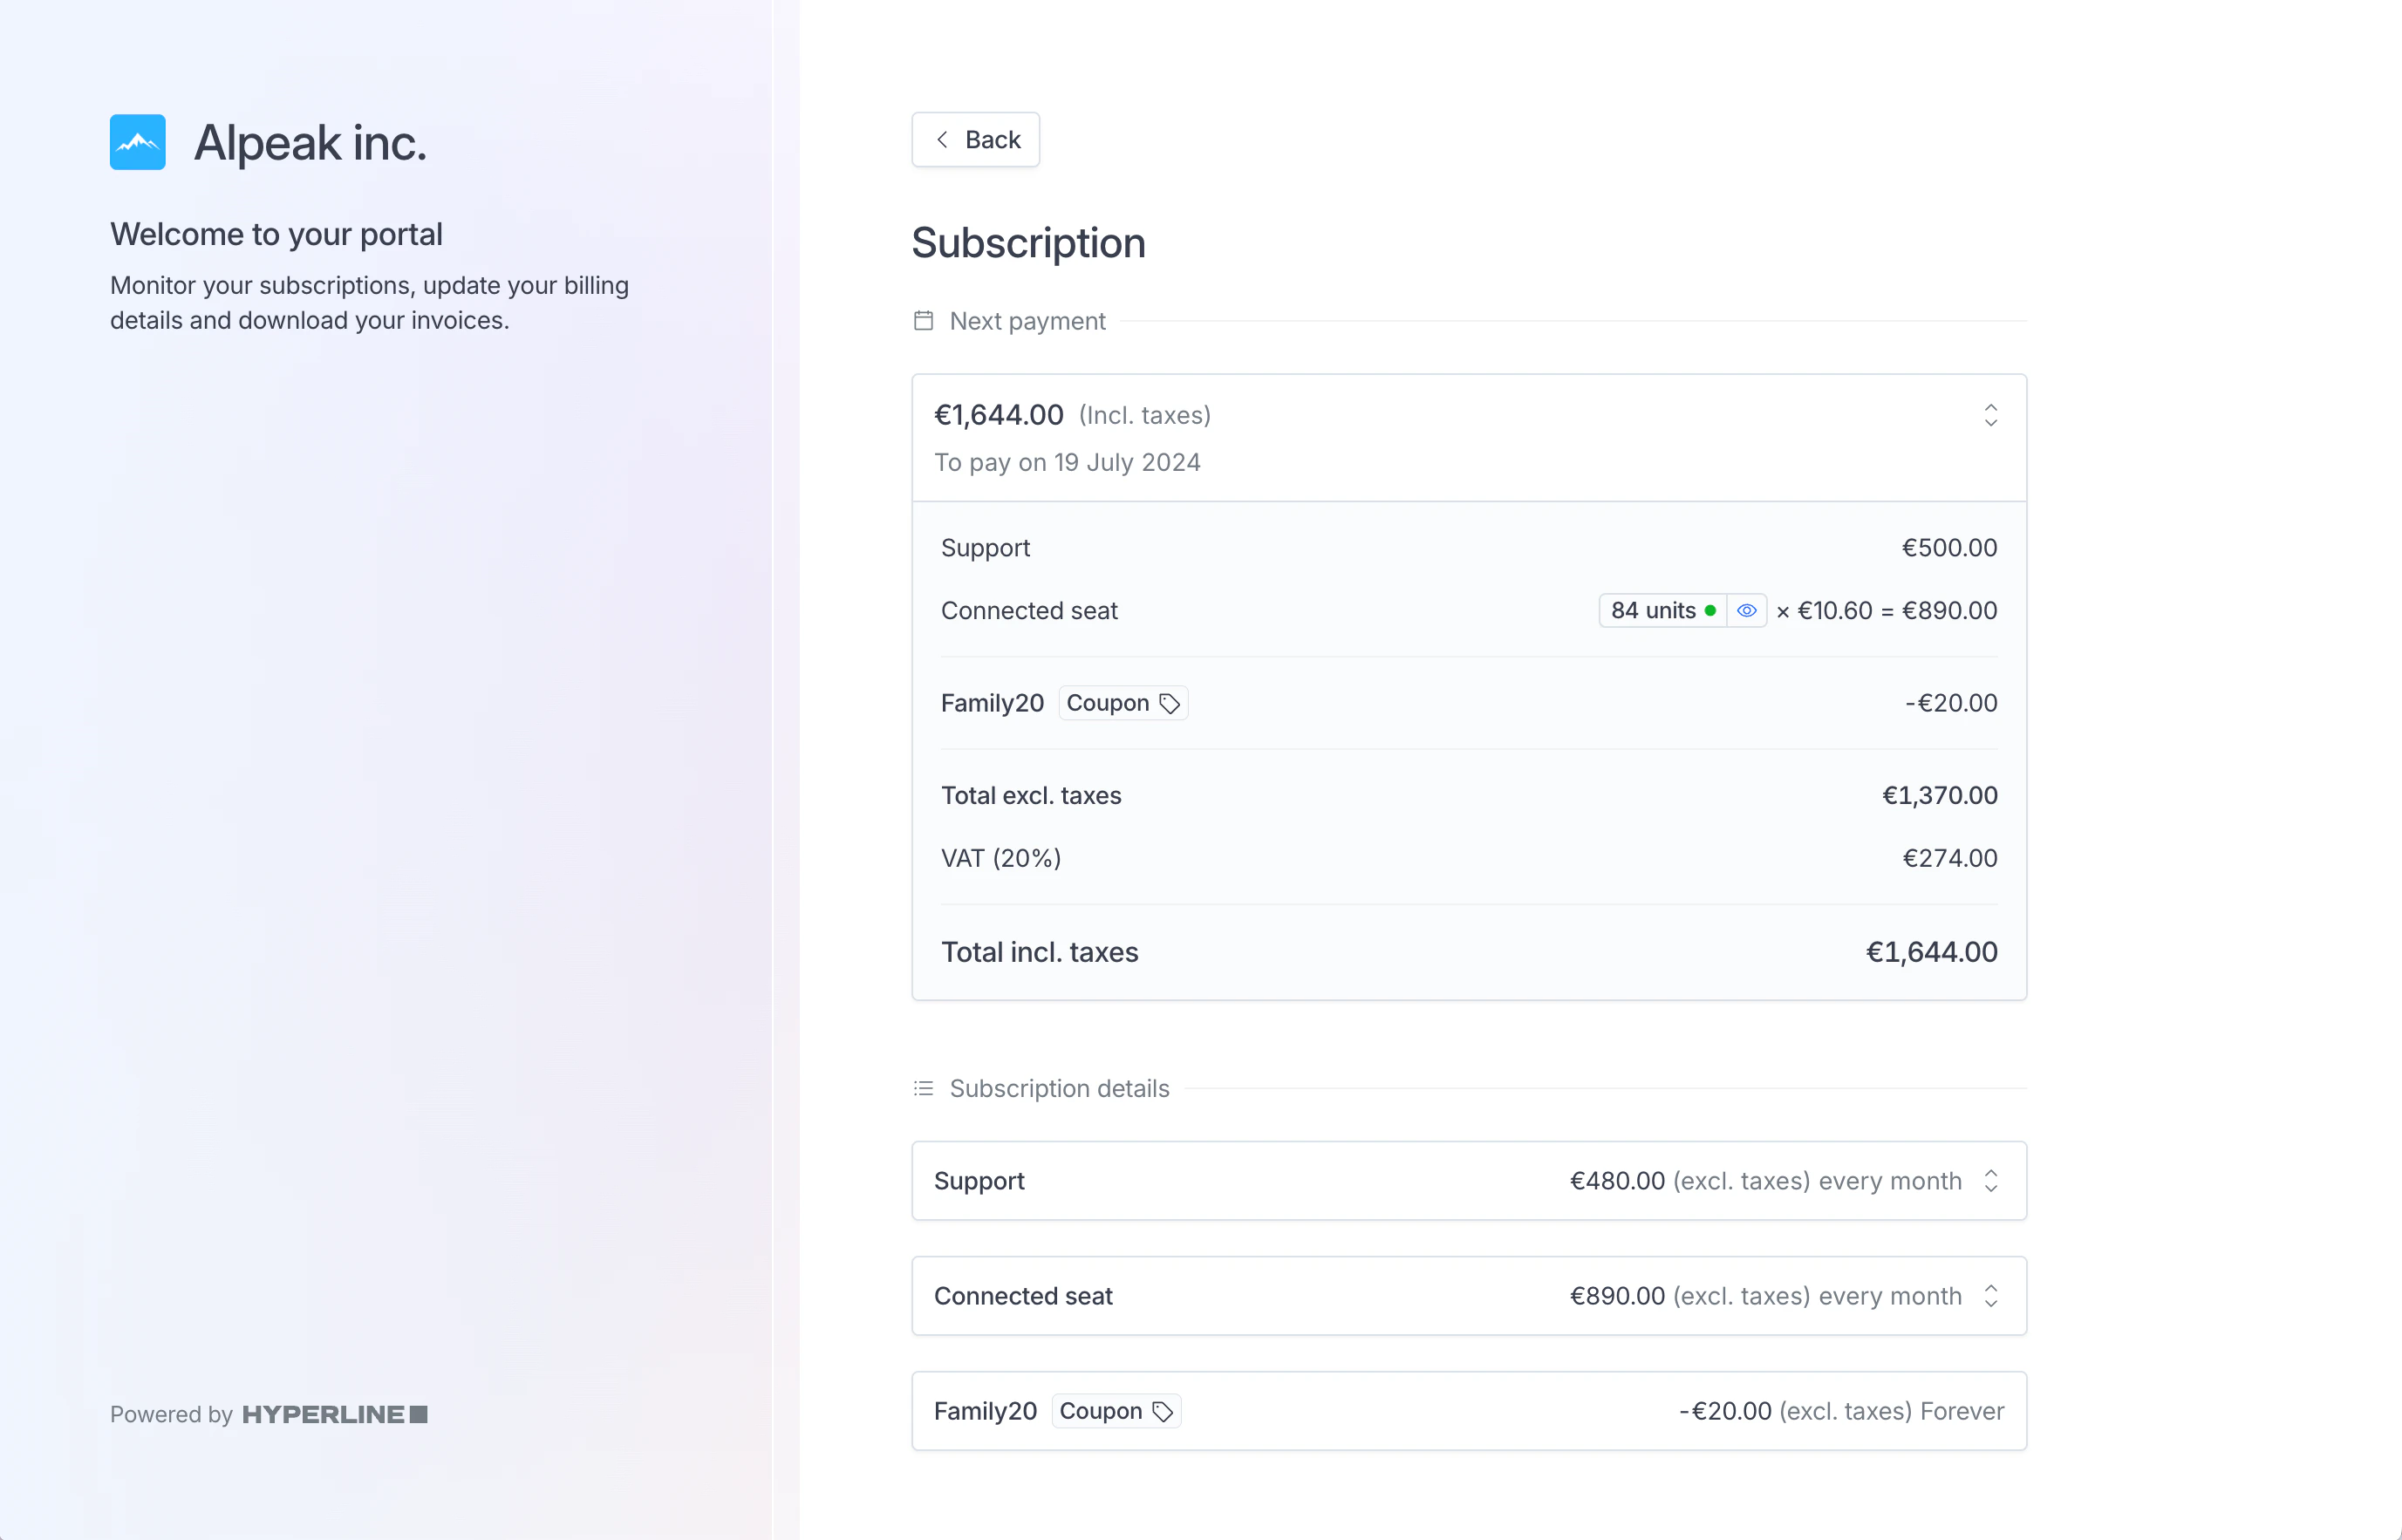
Customers can access the full details of their subscription by clicking on ‘Subscription details’ on the portal.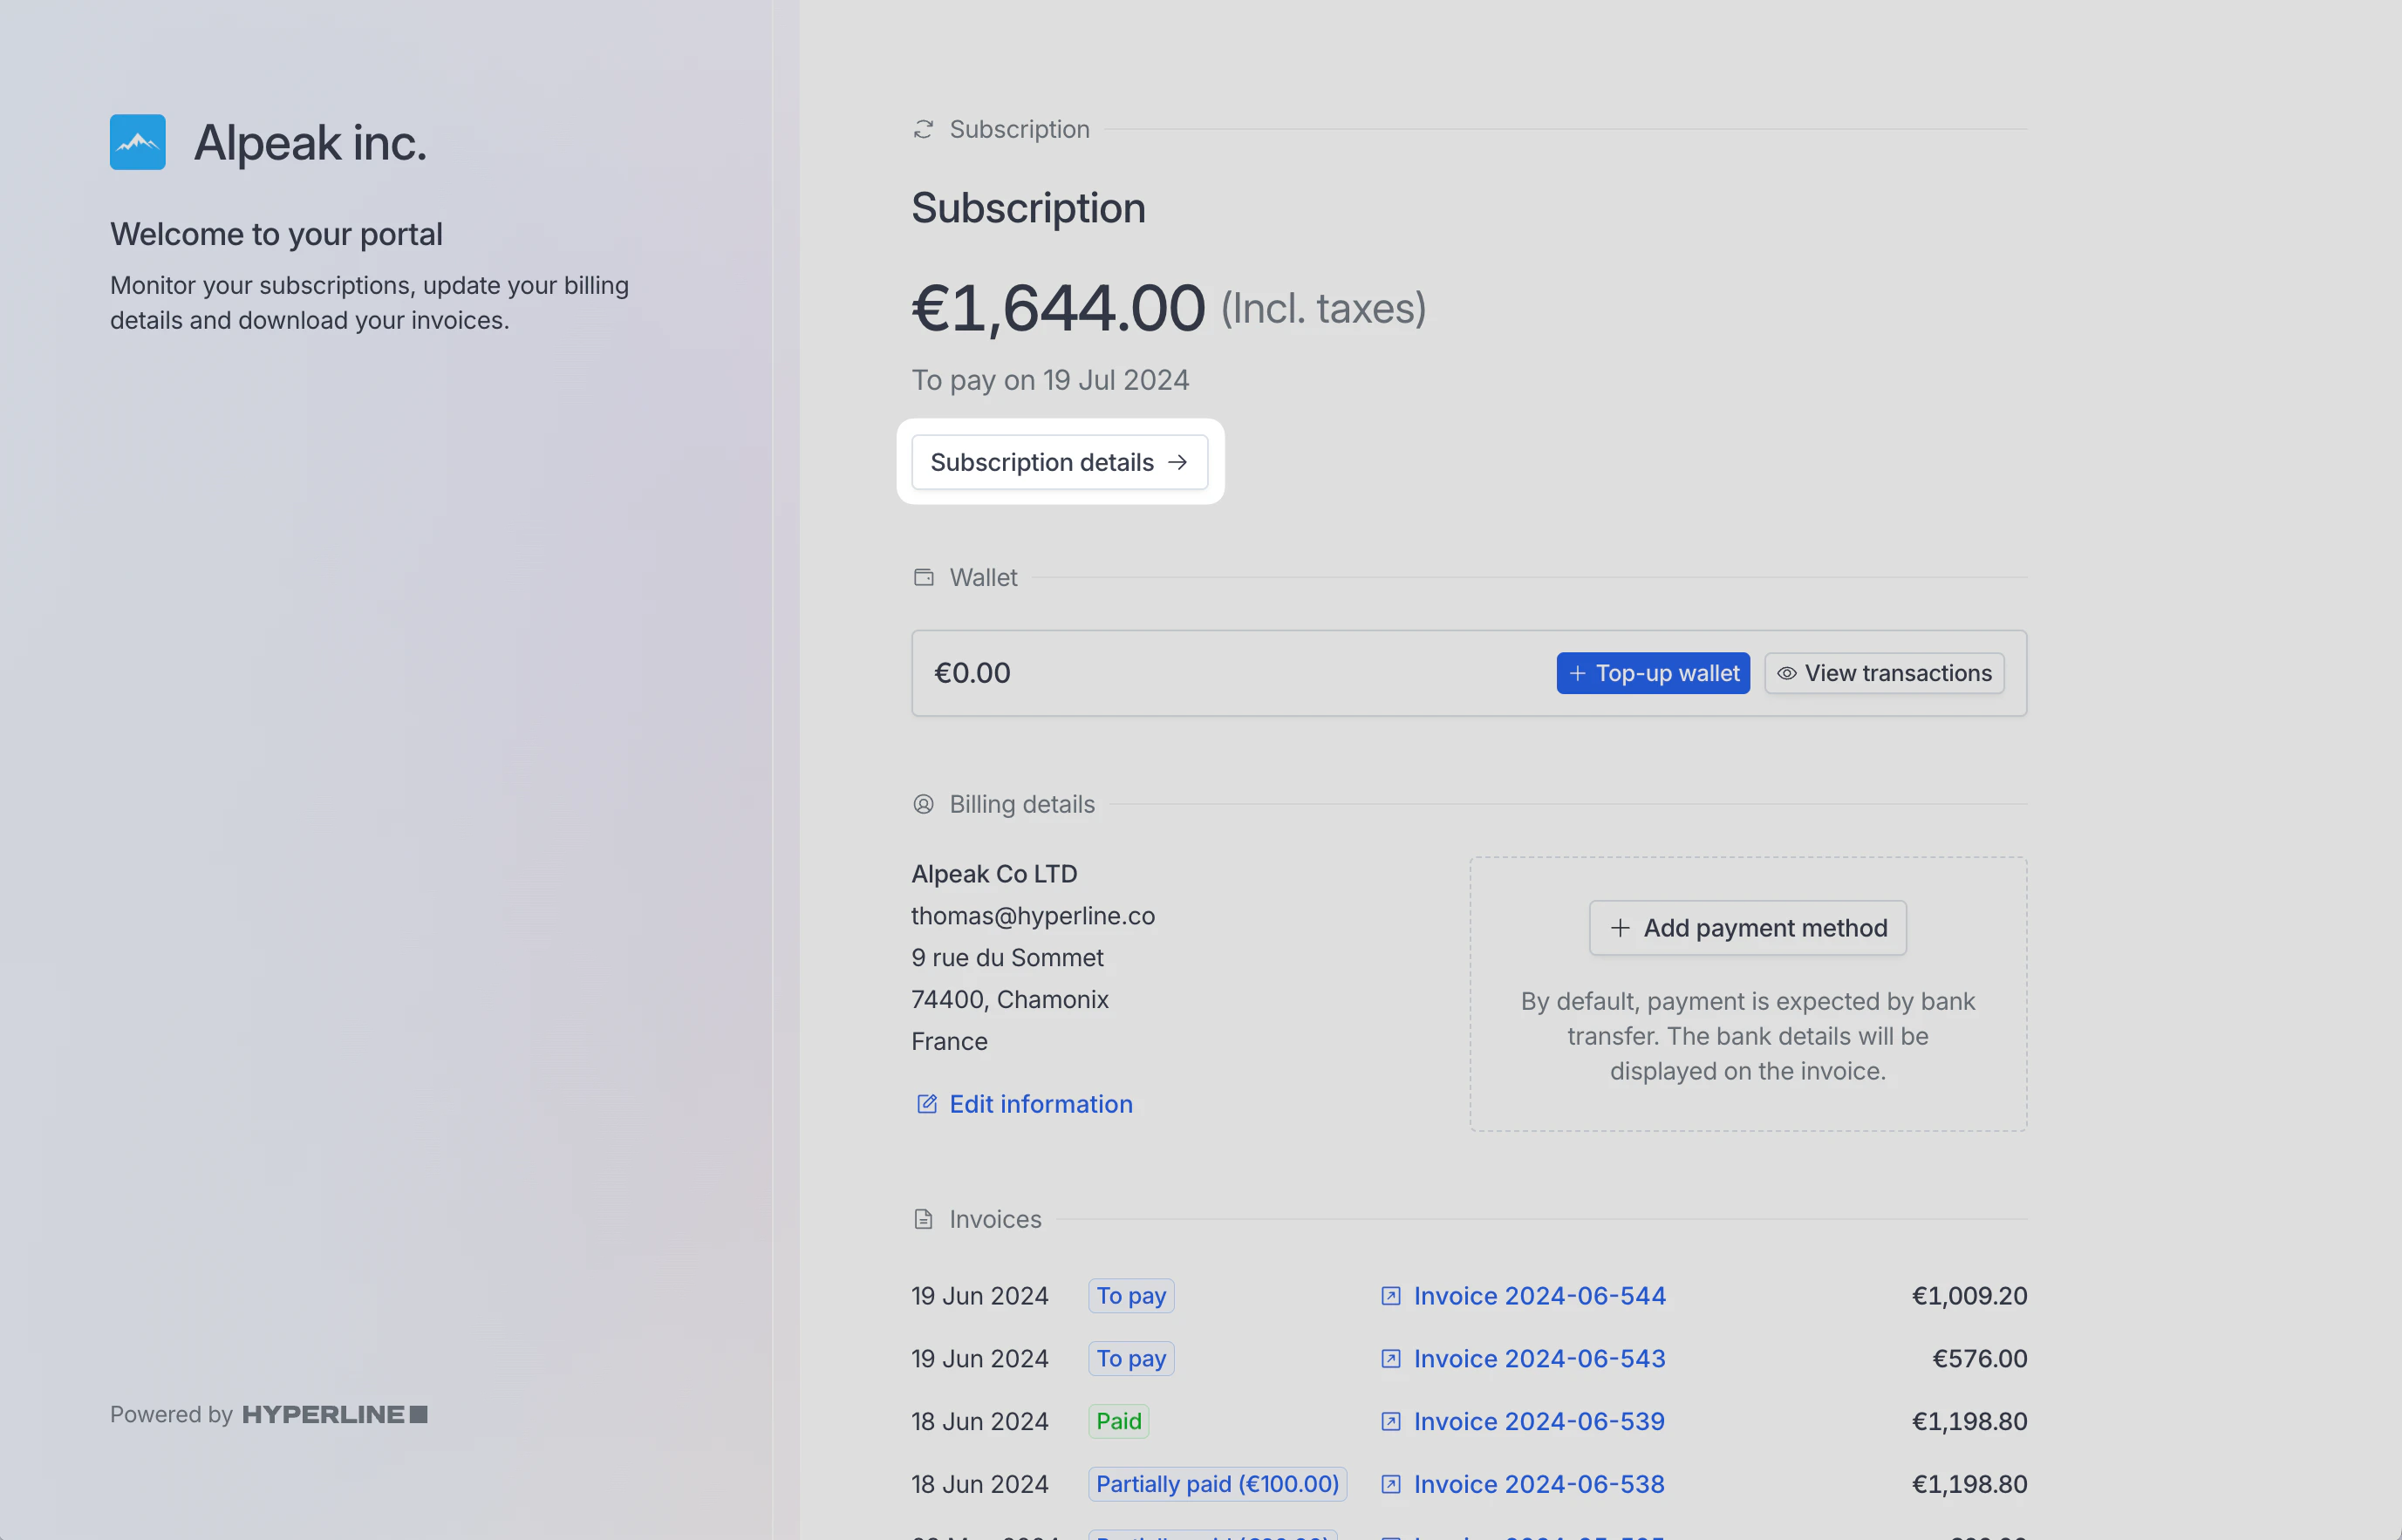
Change payment method
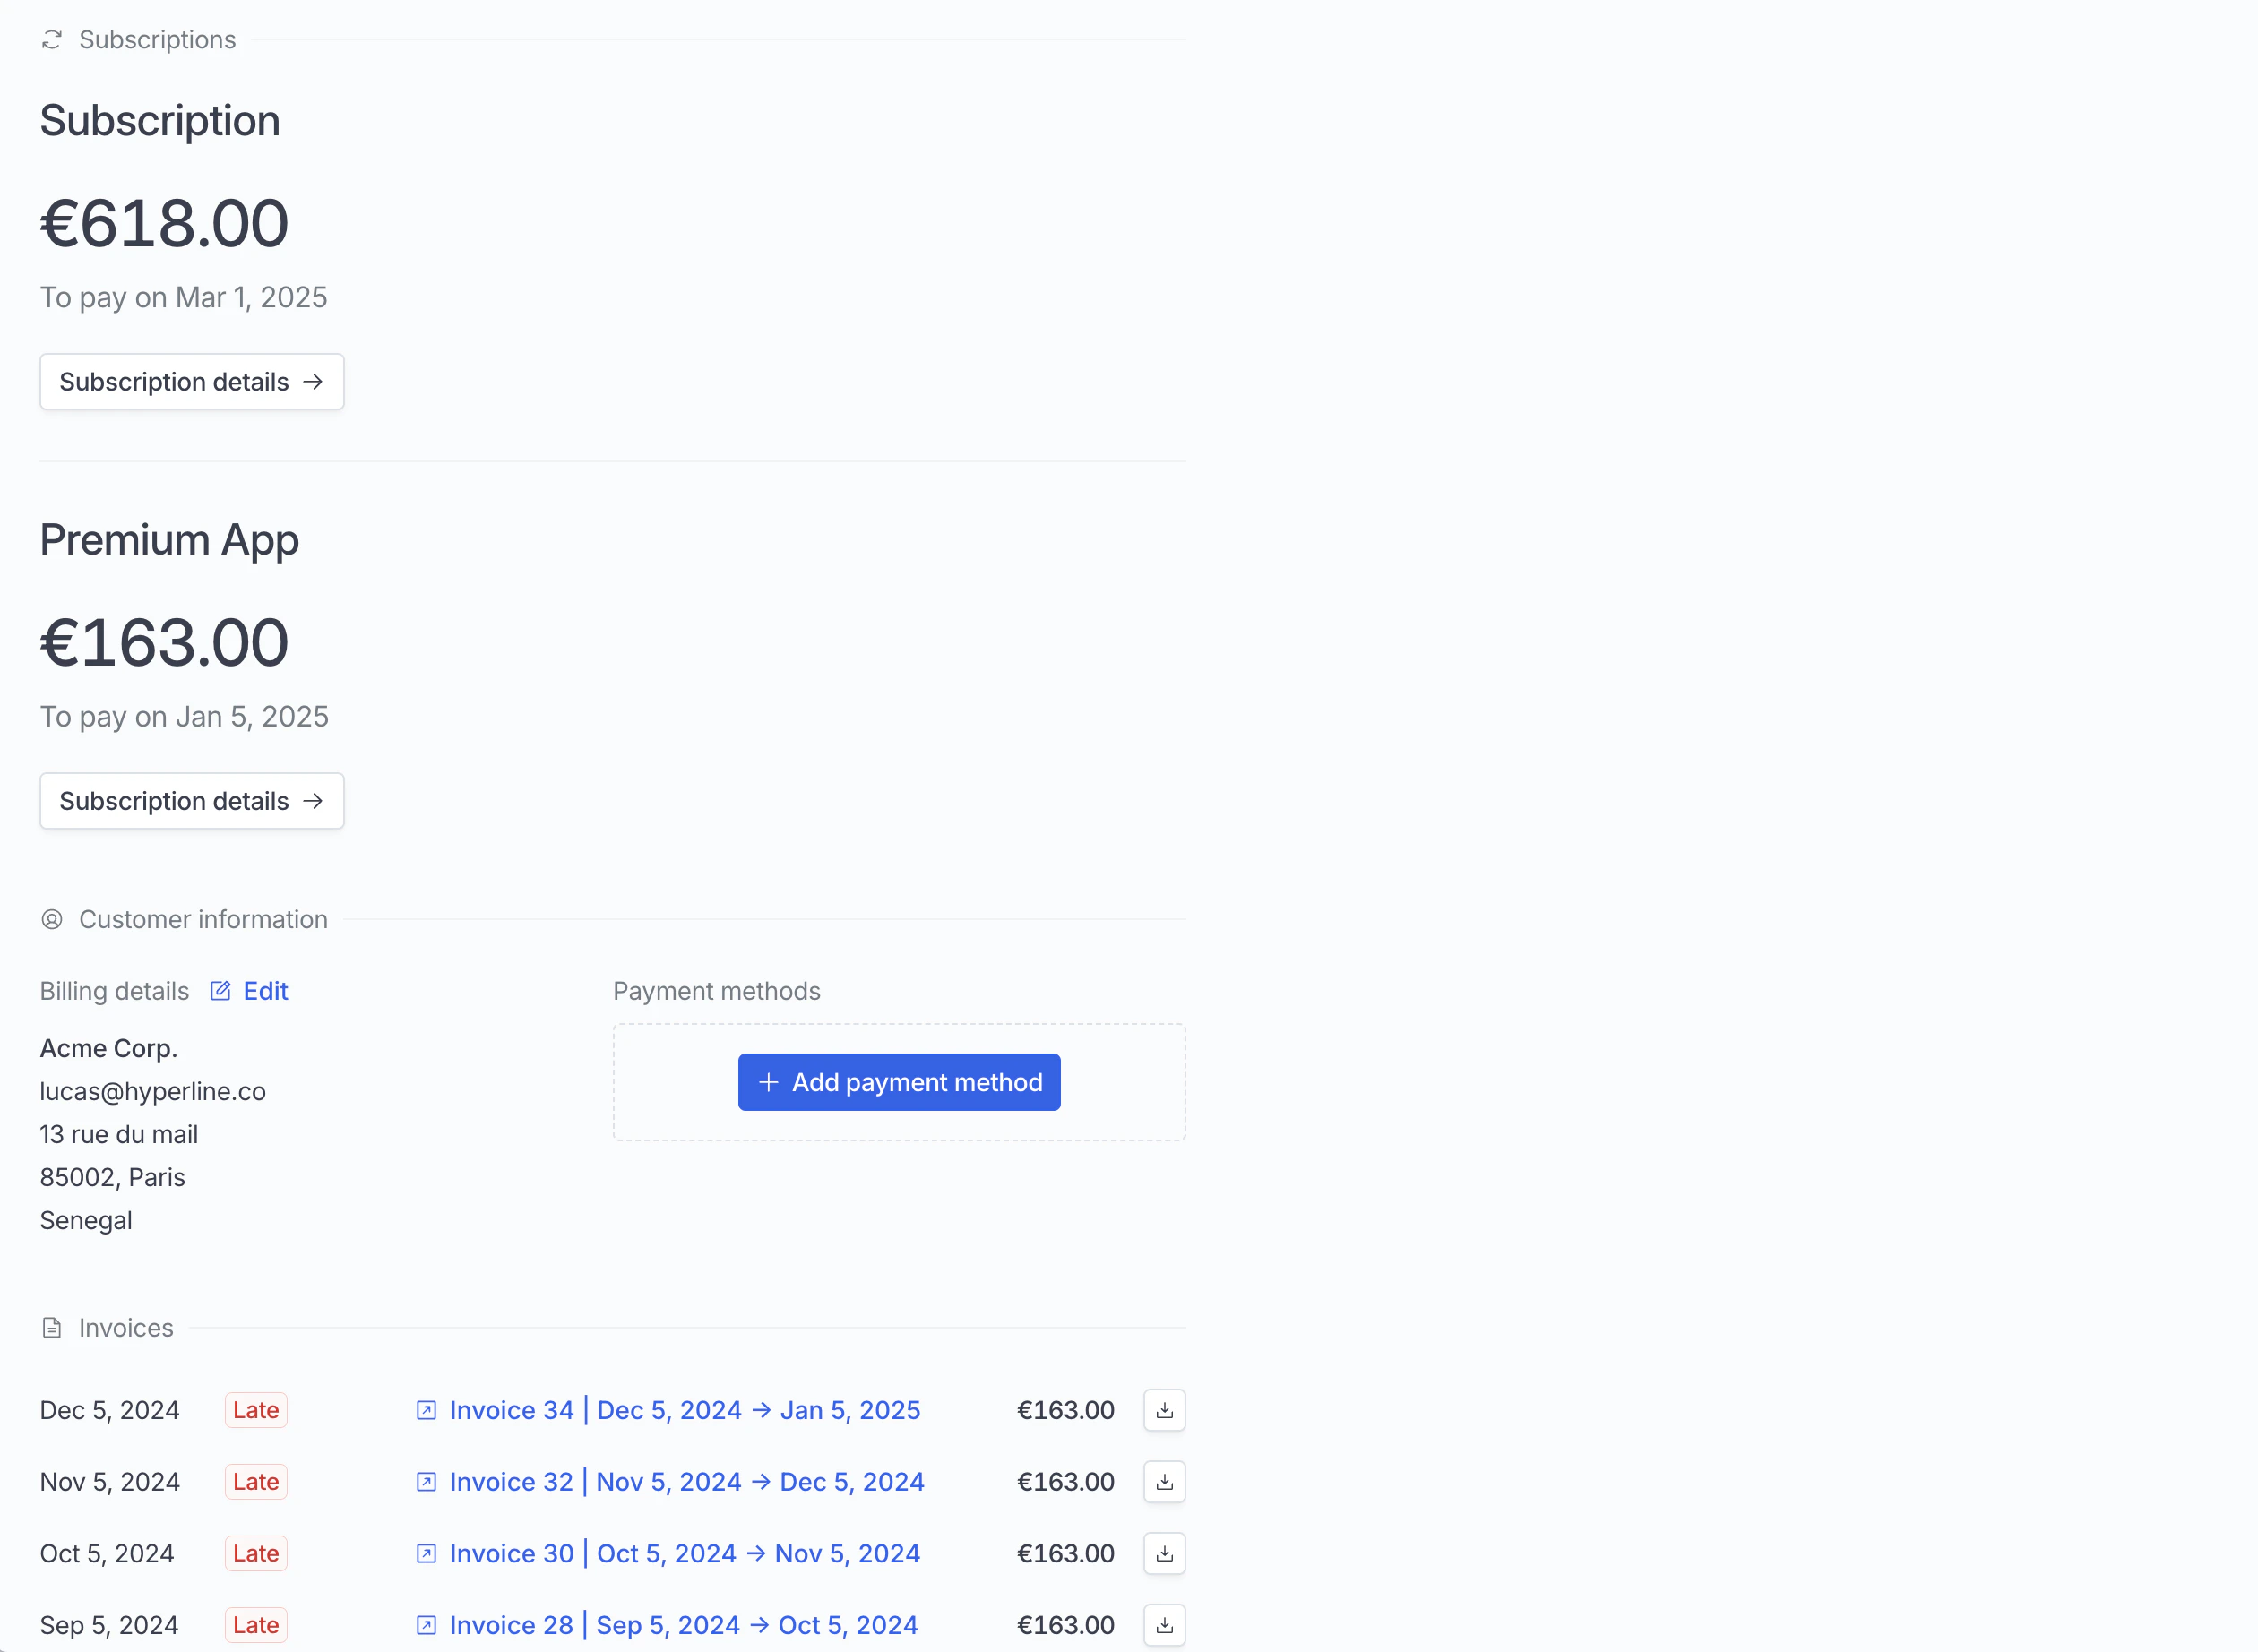
To do that, they just have to click the trash button next to their payment and add the new payment method they want to use.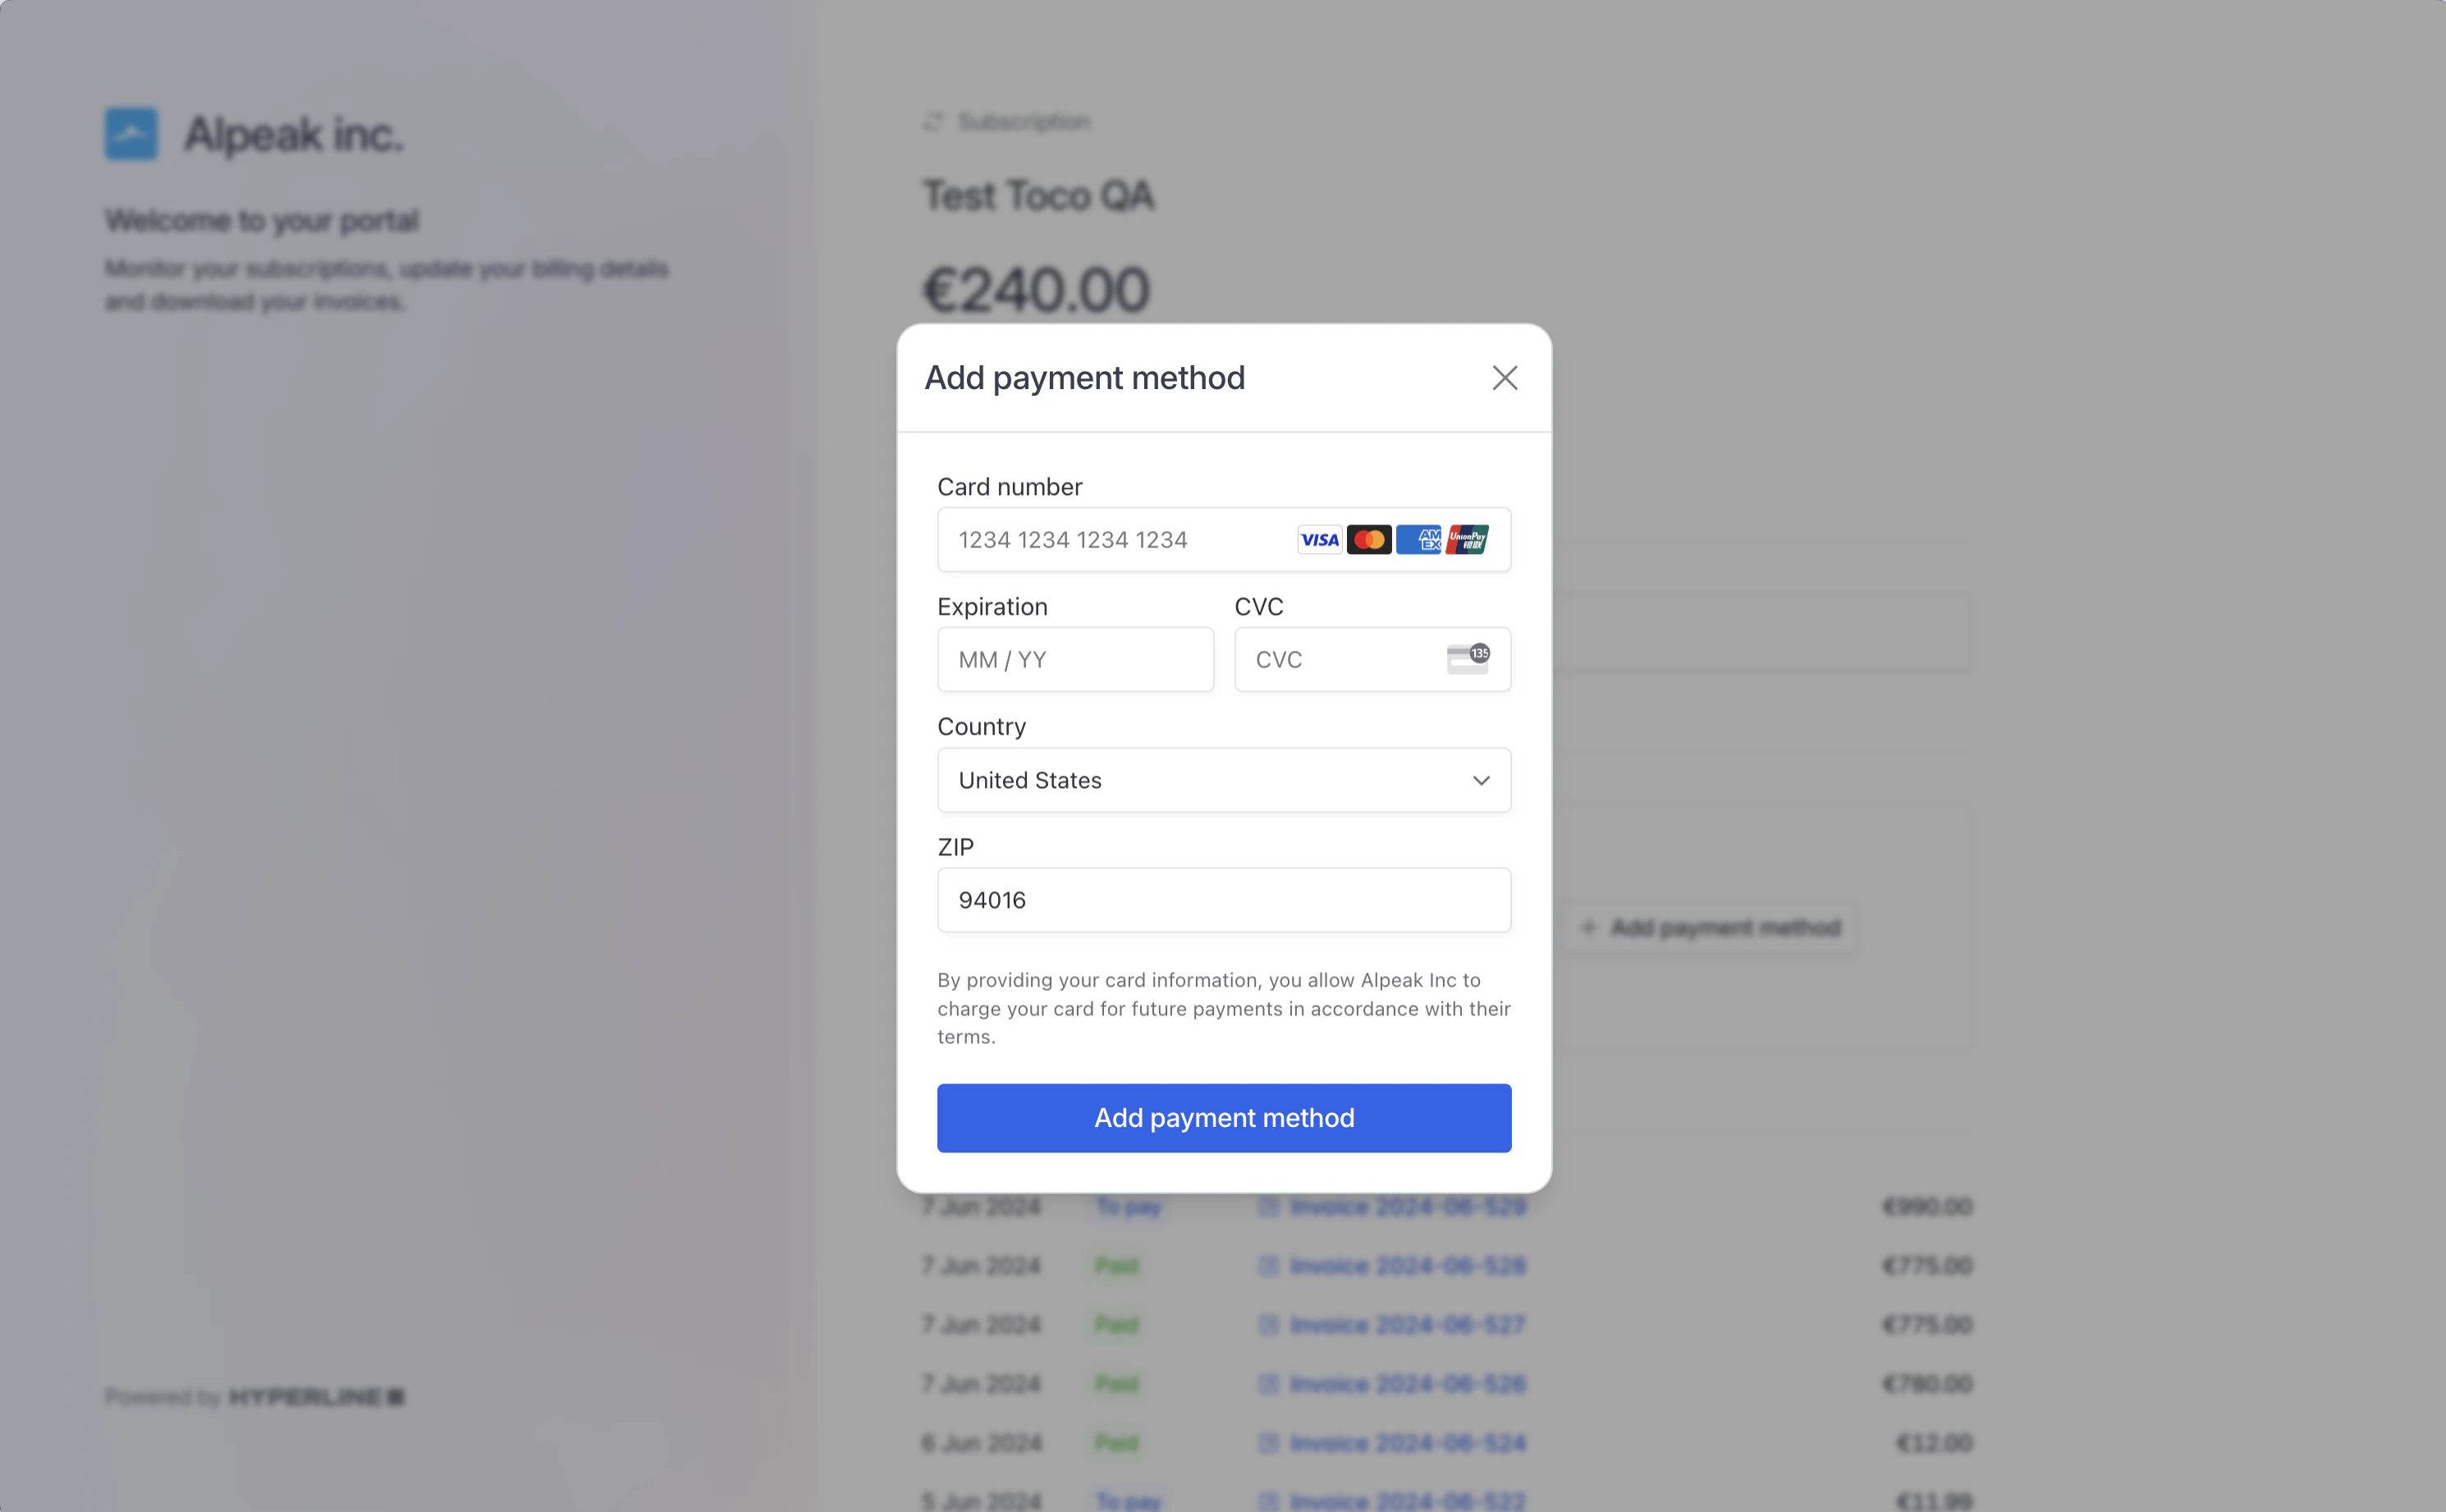
Top-up wallet
You can make your customers autonomous by offering them to top-up their wallet in the portal. For this, make sure you enable the option on the wallet settings first. Clicking on Top-up wallet on this screen will trigger an immediate payment from the registered credit card and credit the wallets instantly.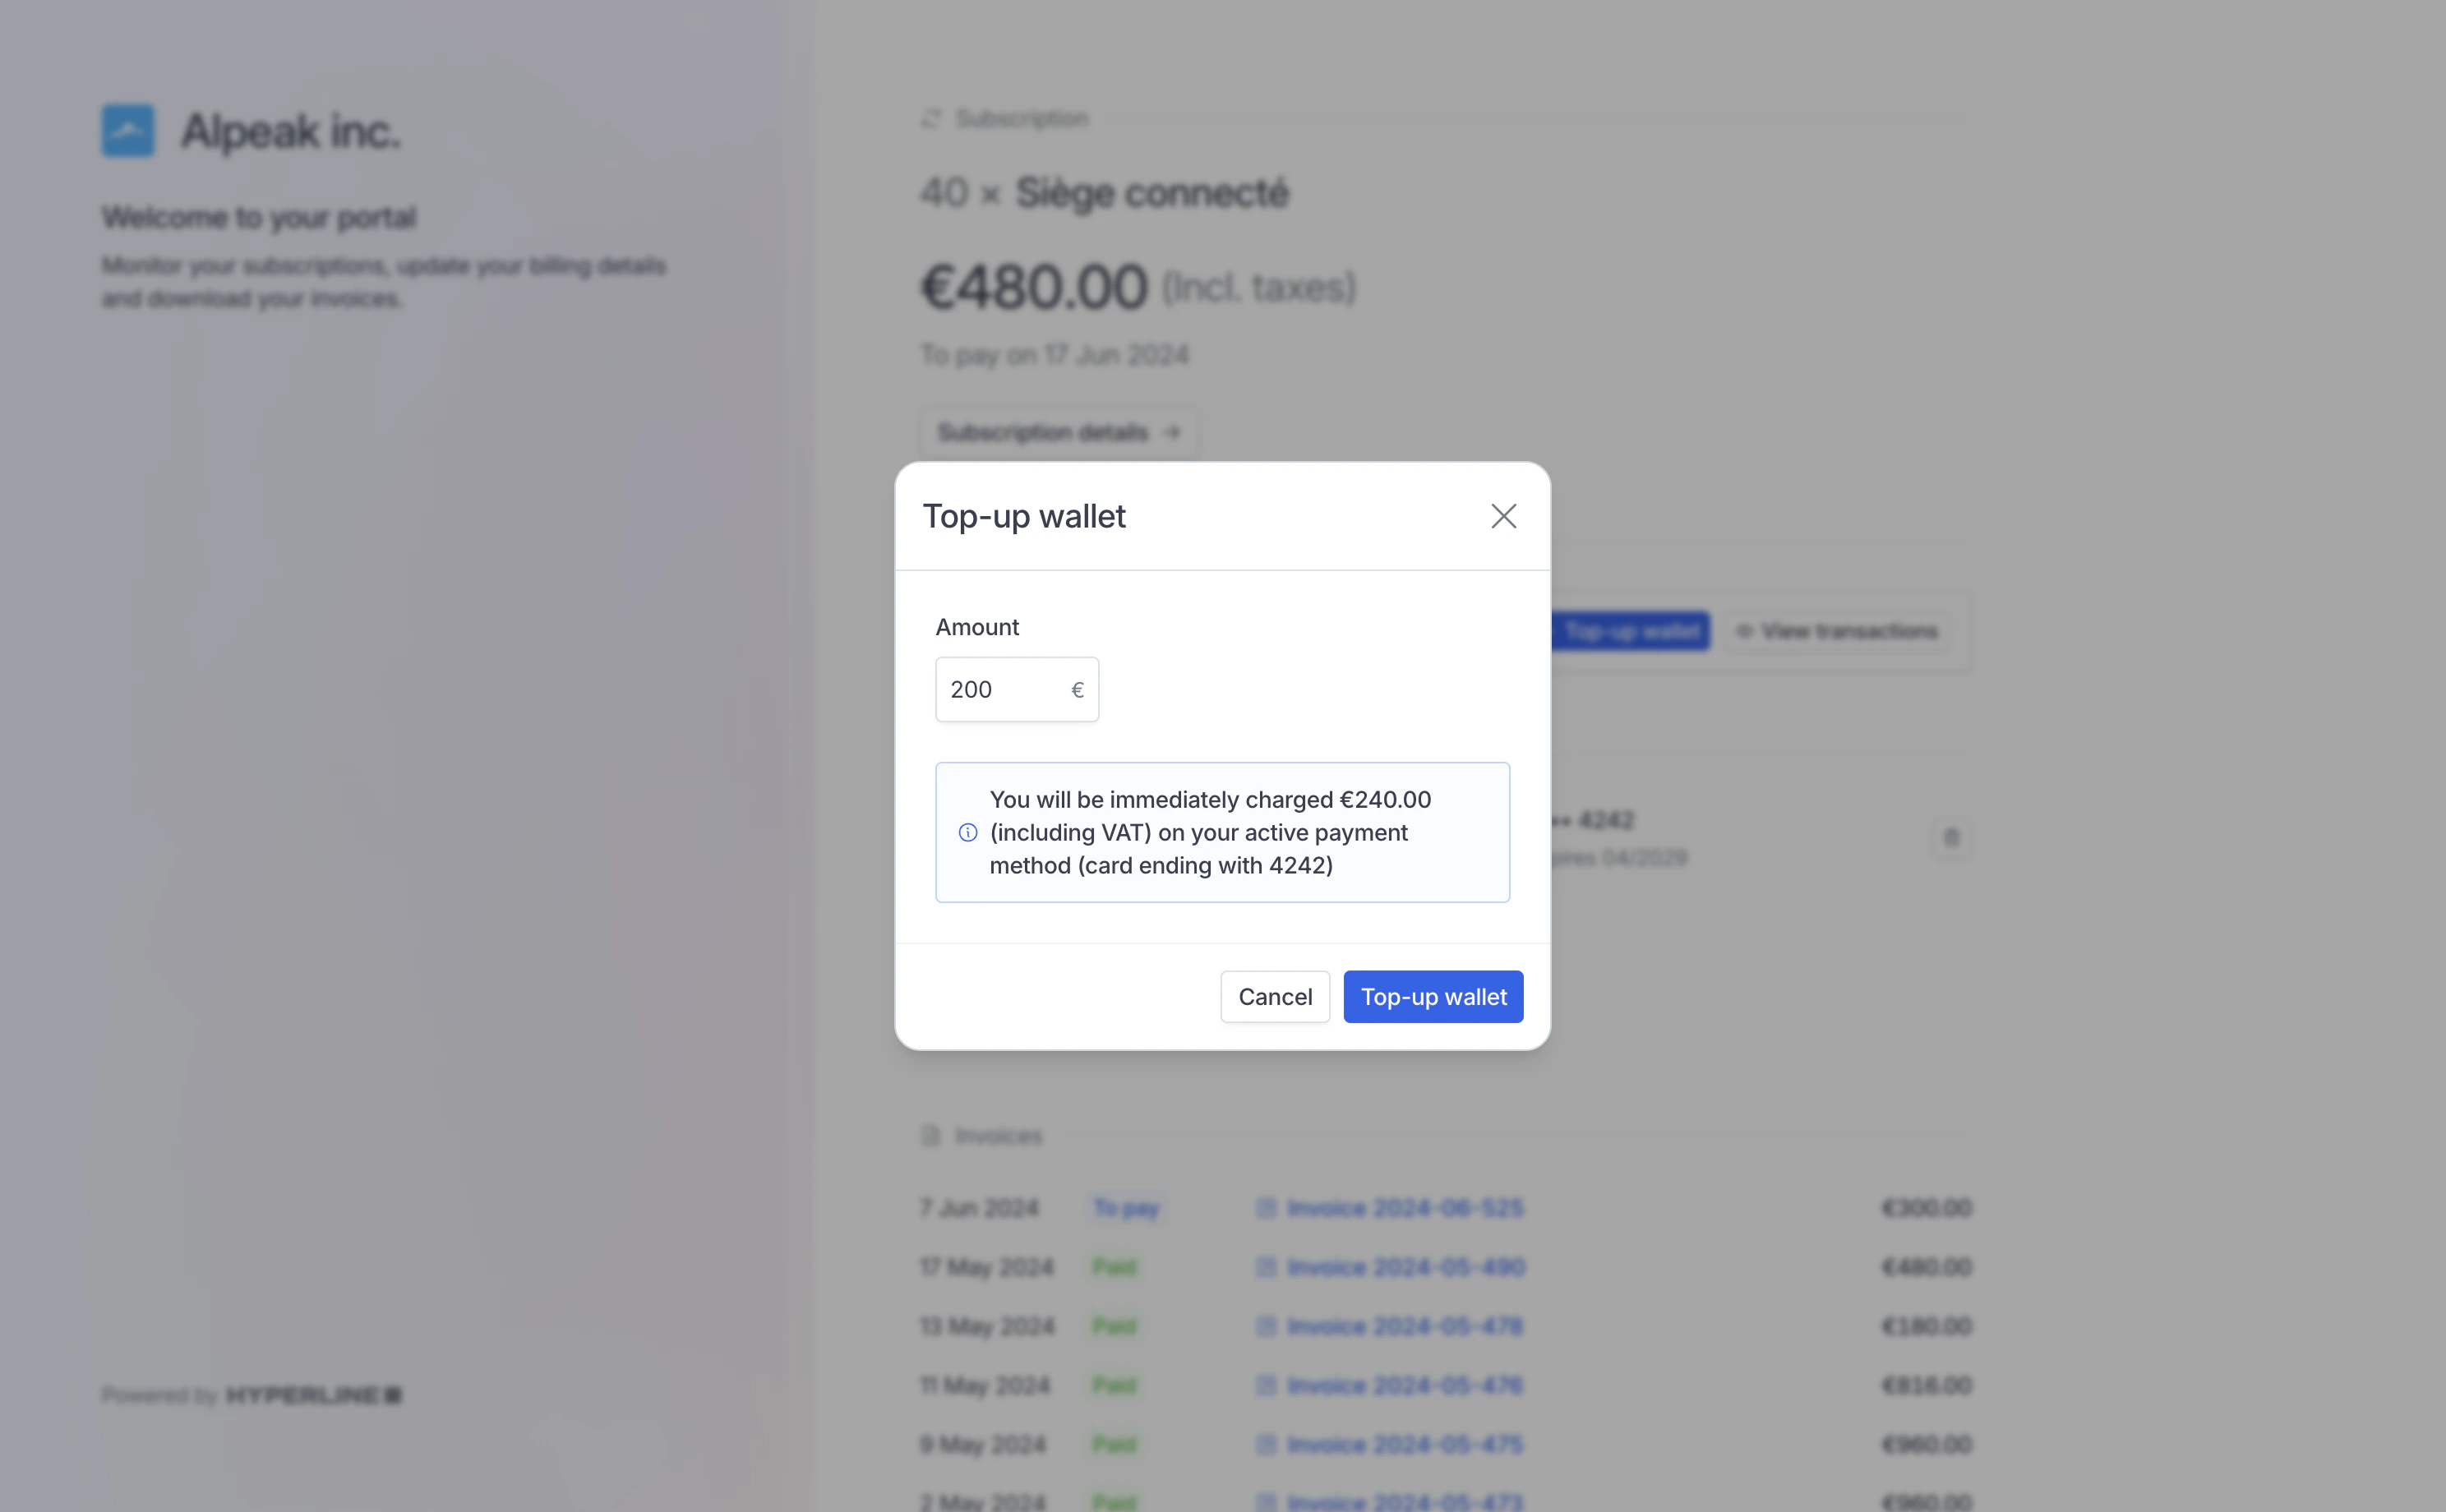
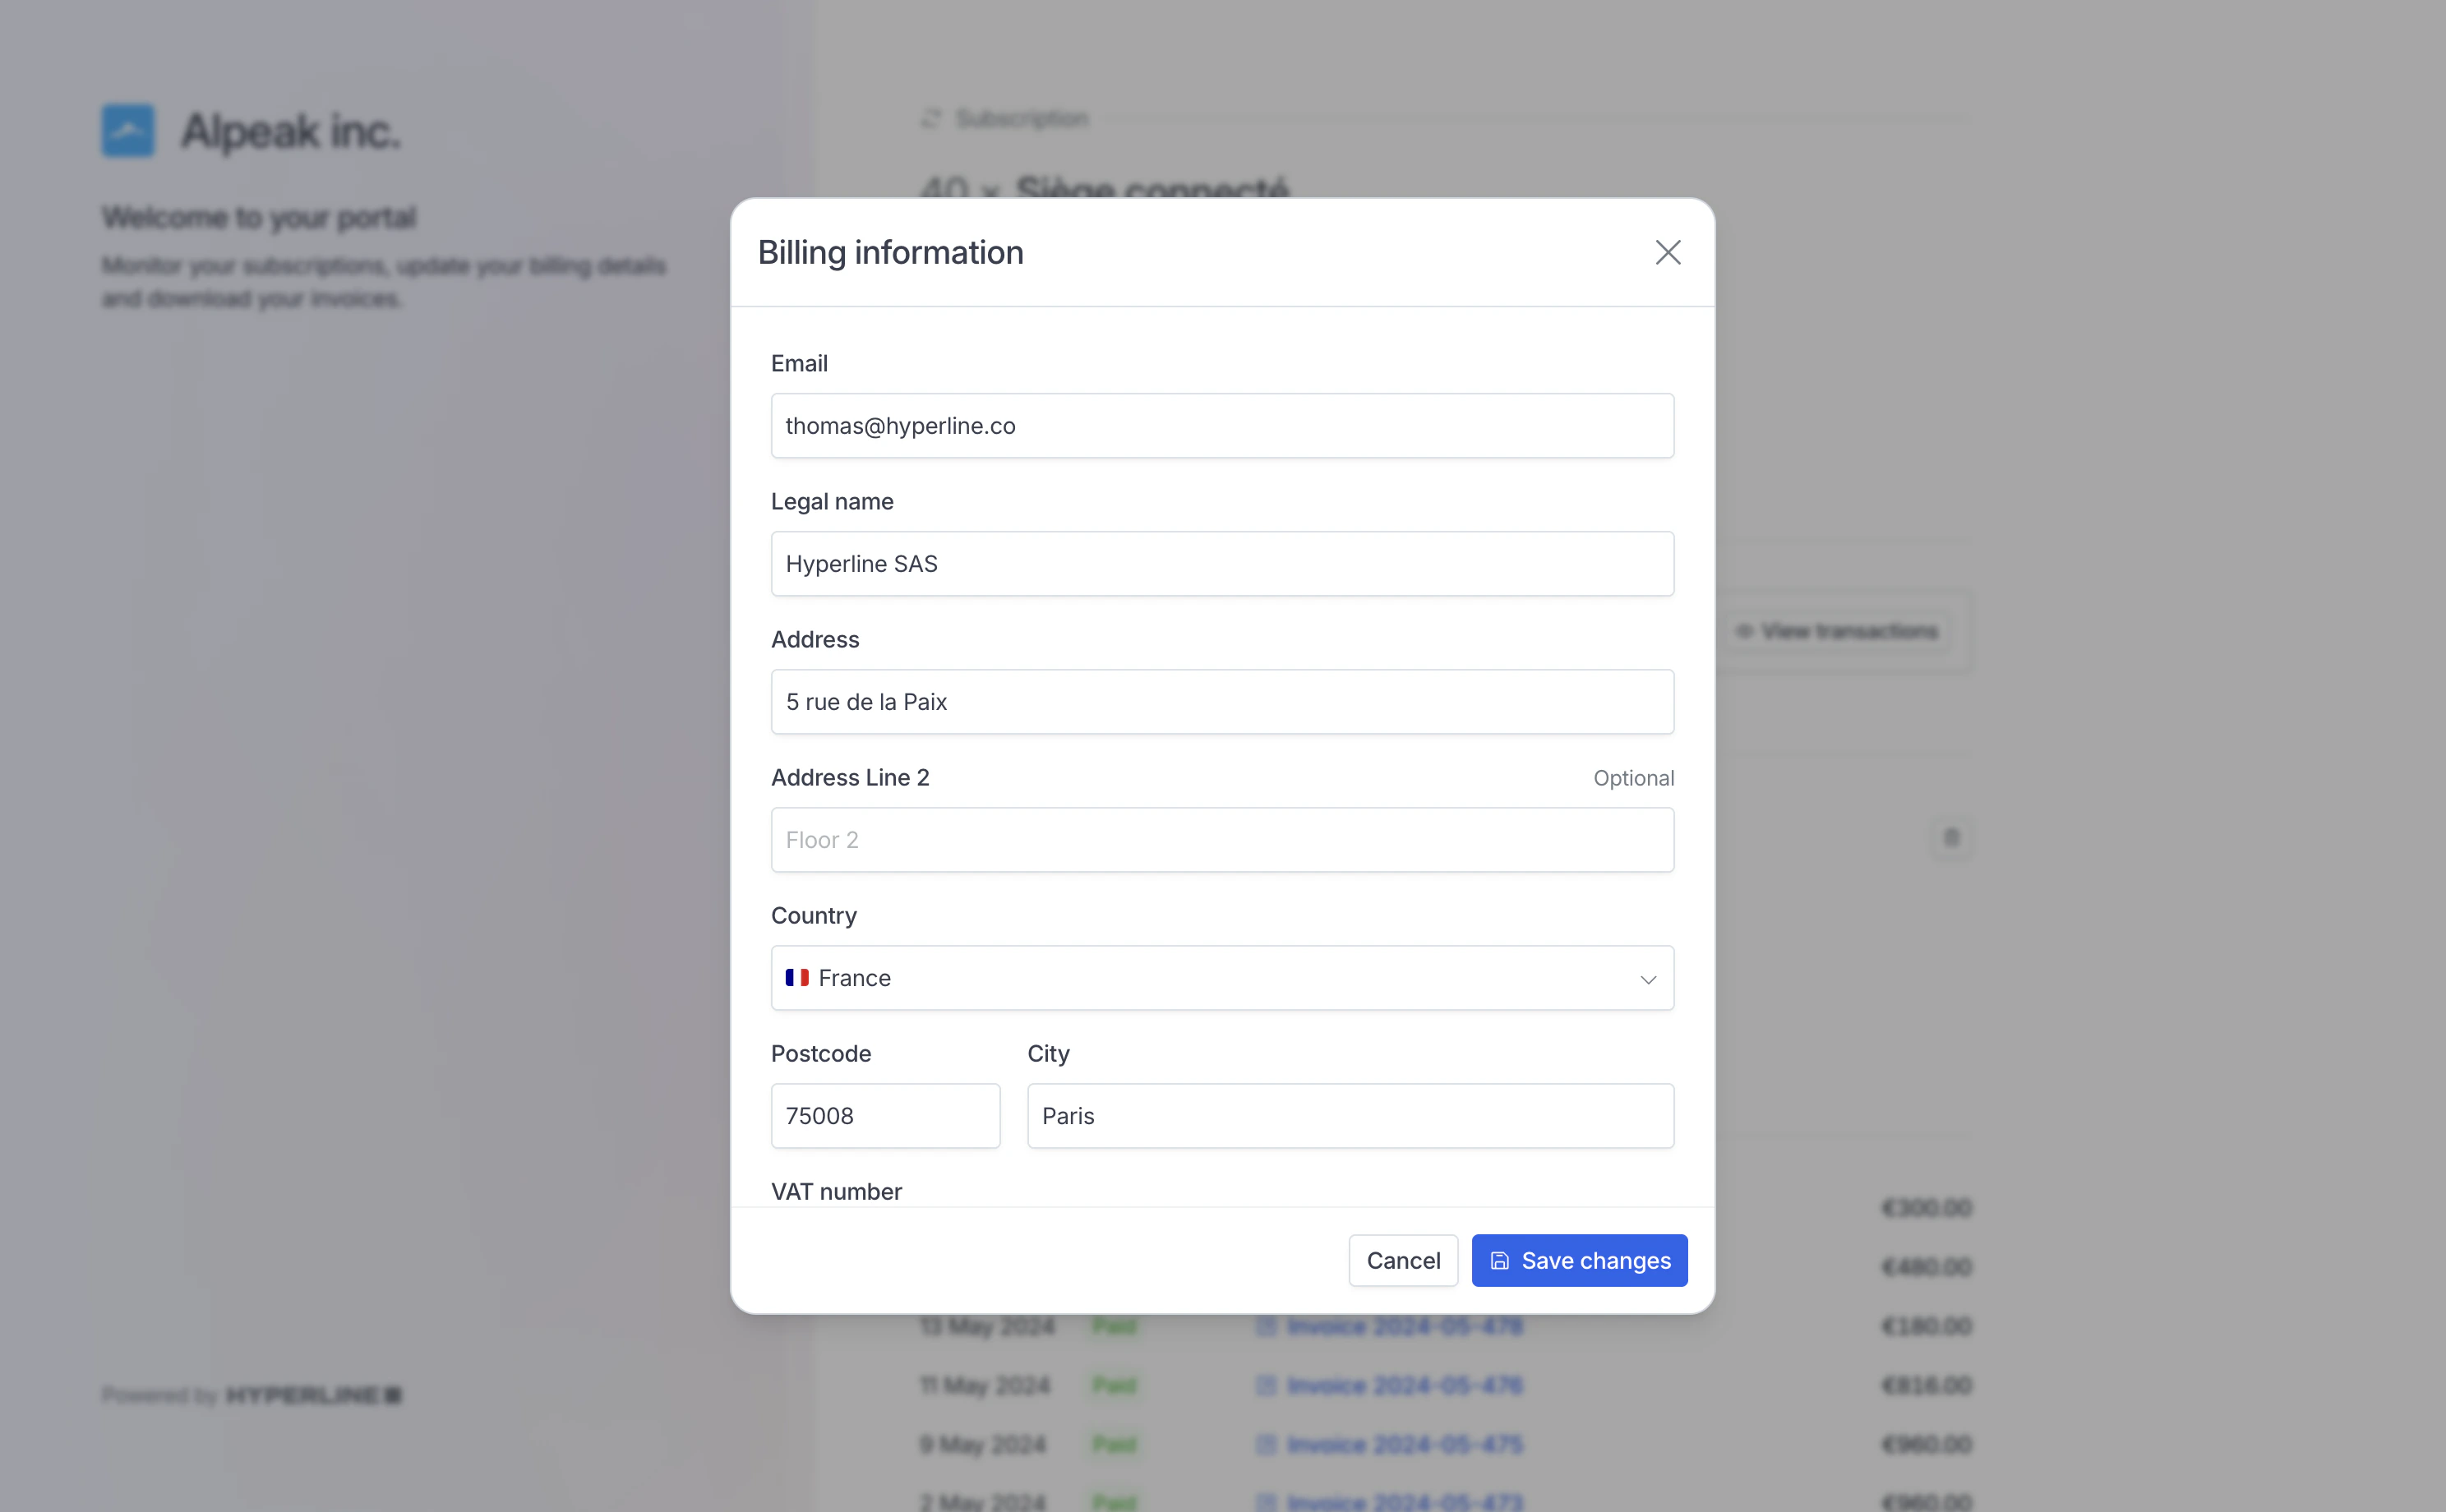
Edit billing information
To make changes, they simply need to click the Edit button. This grants them the ability to update and modify their billing details as needed, ensuring accuracy and up-to-date information for a seamless payment process.This capability can be controlled in Settings > Hosted pages. See the Billing details update section below for more details.
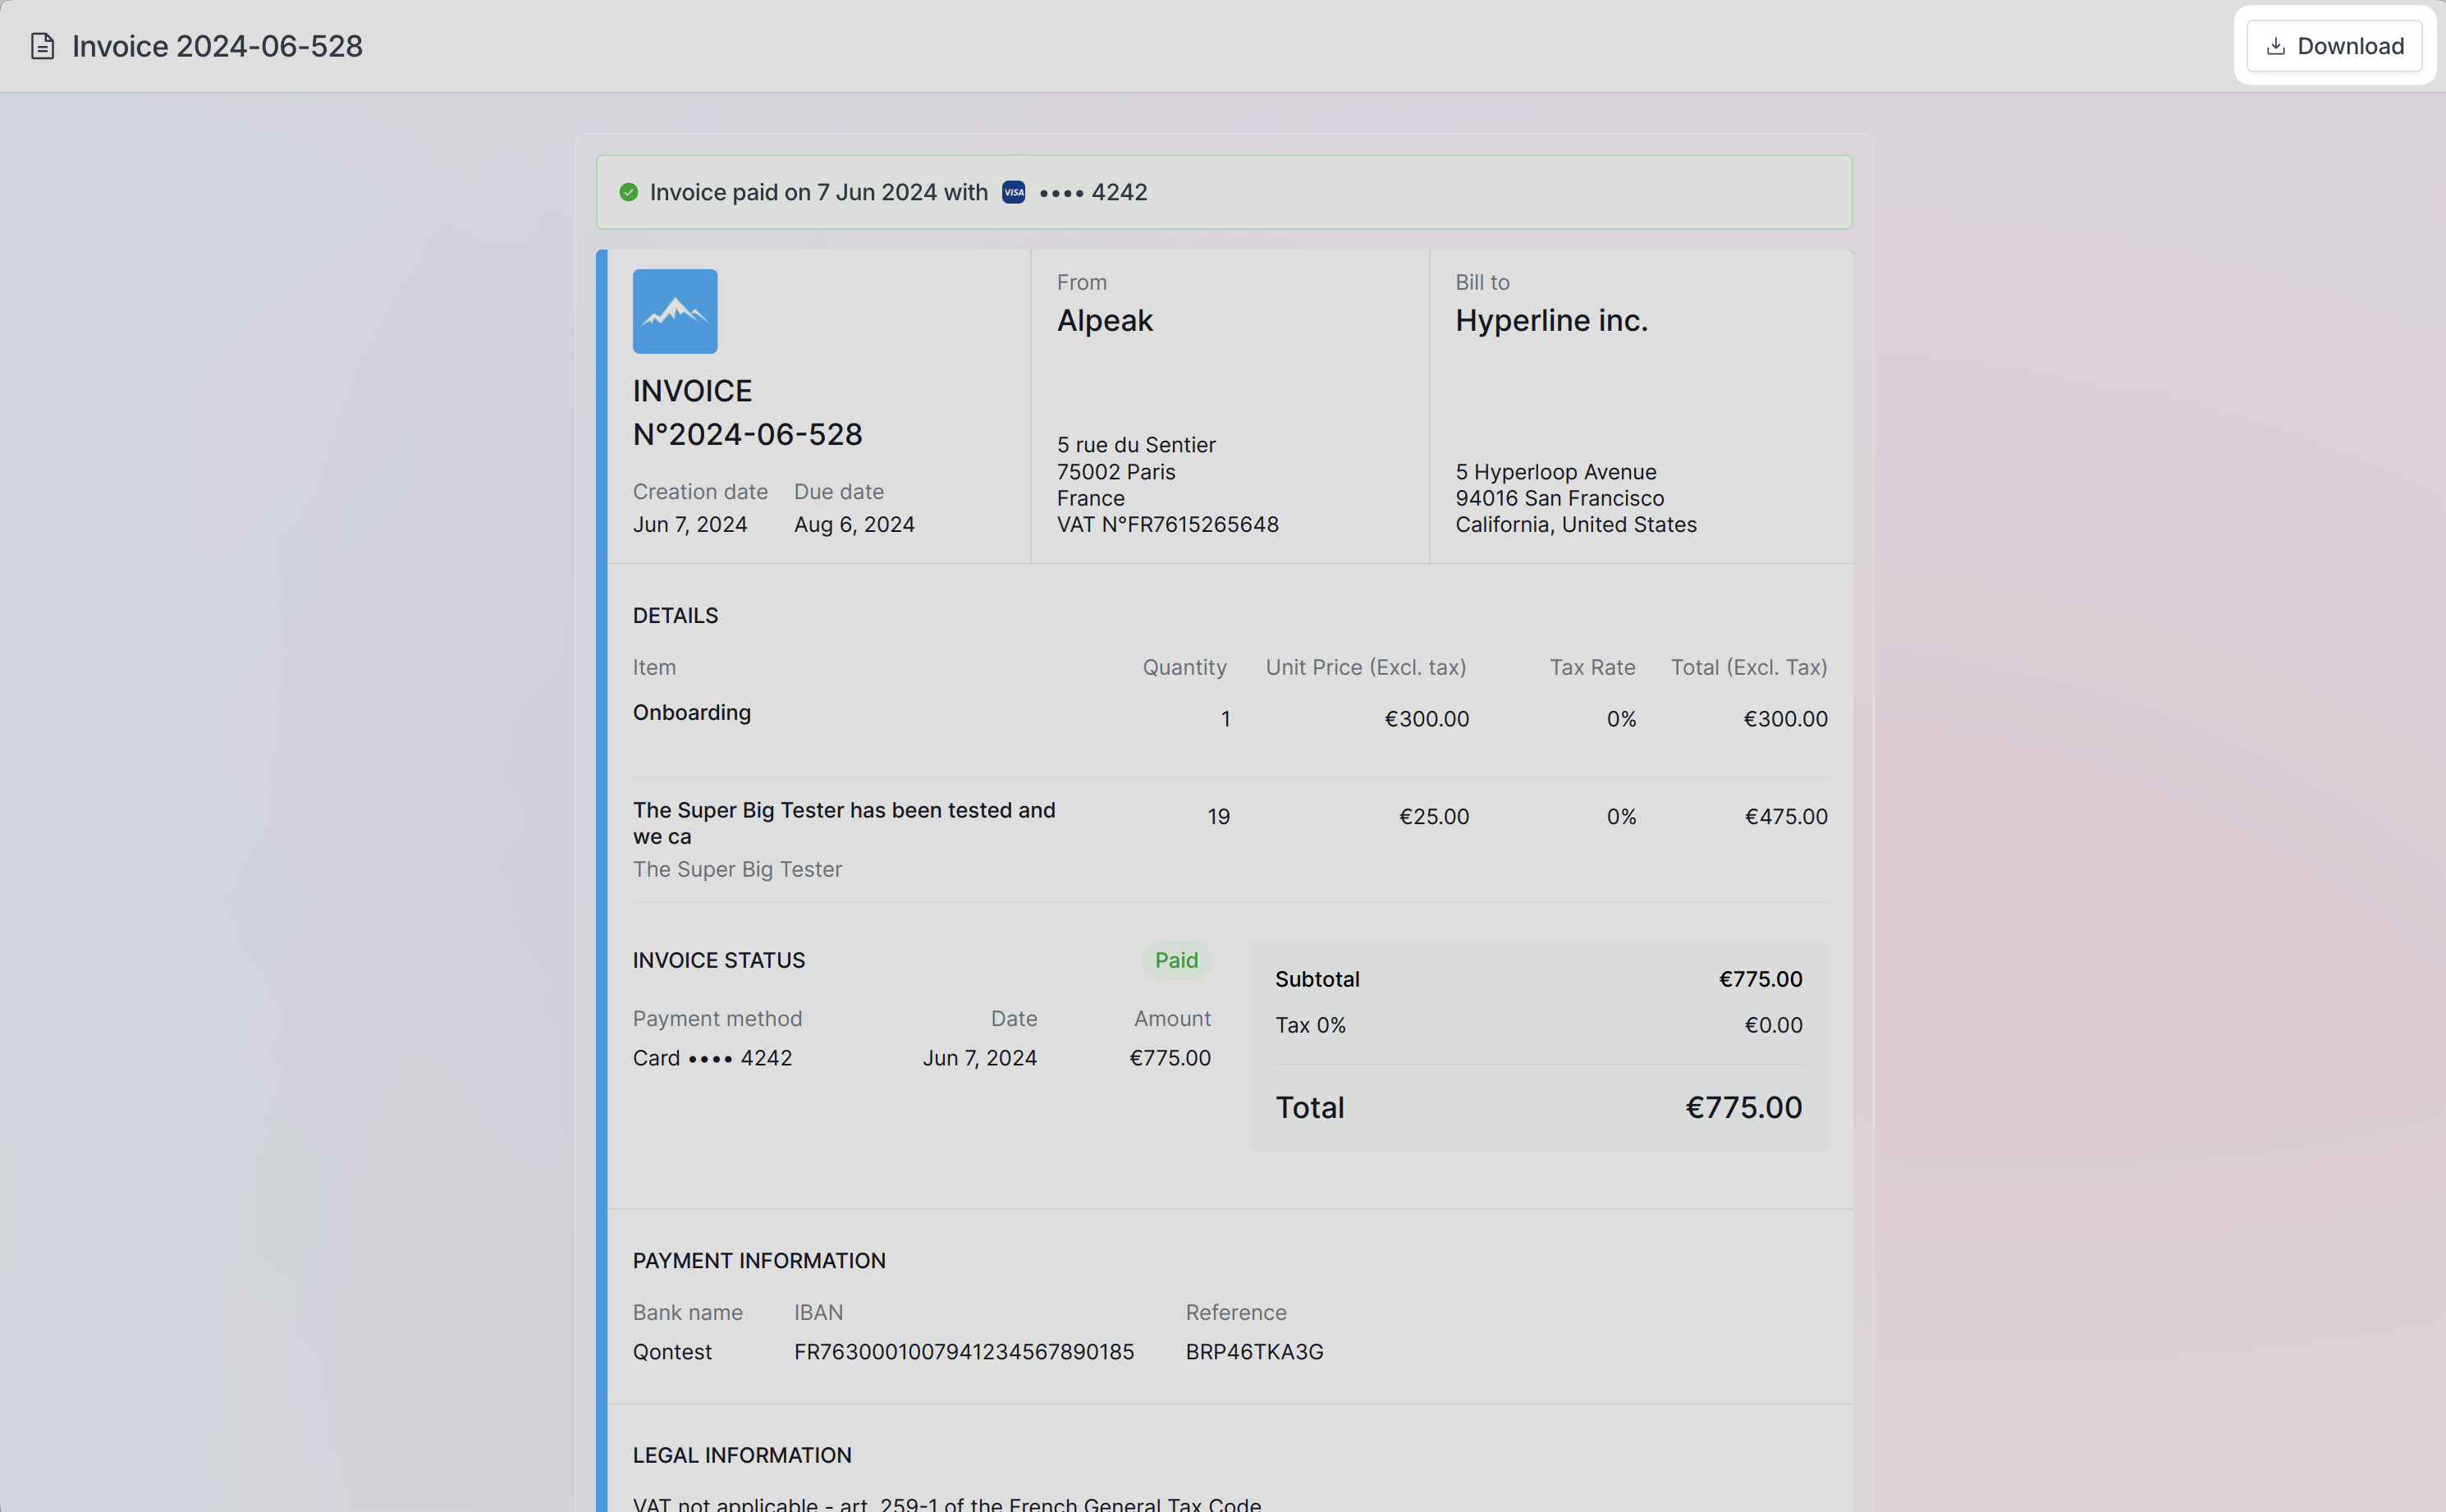
Download invoices
All invoices are listed and can be opened to their dedicated invoice page.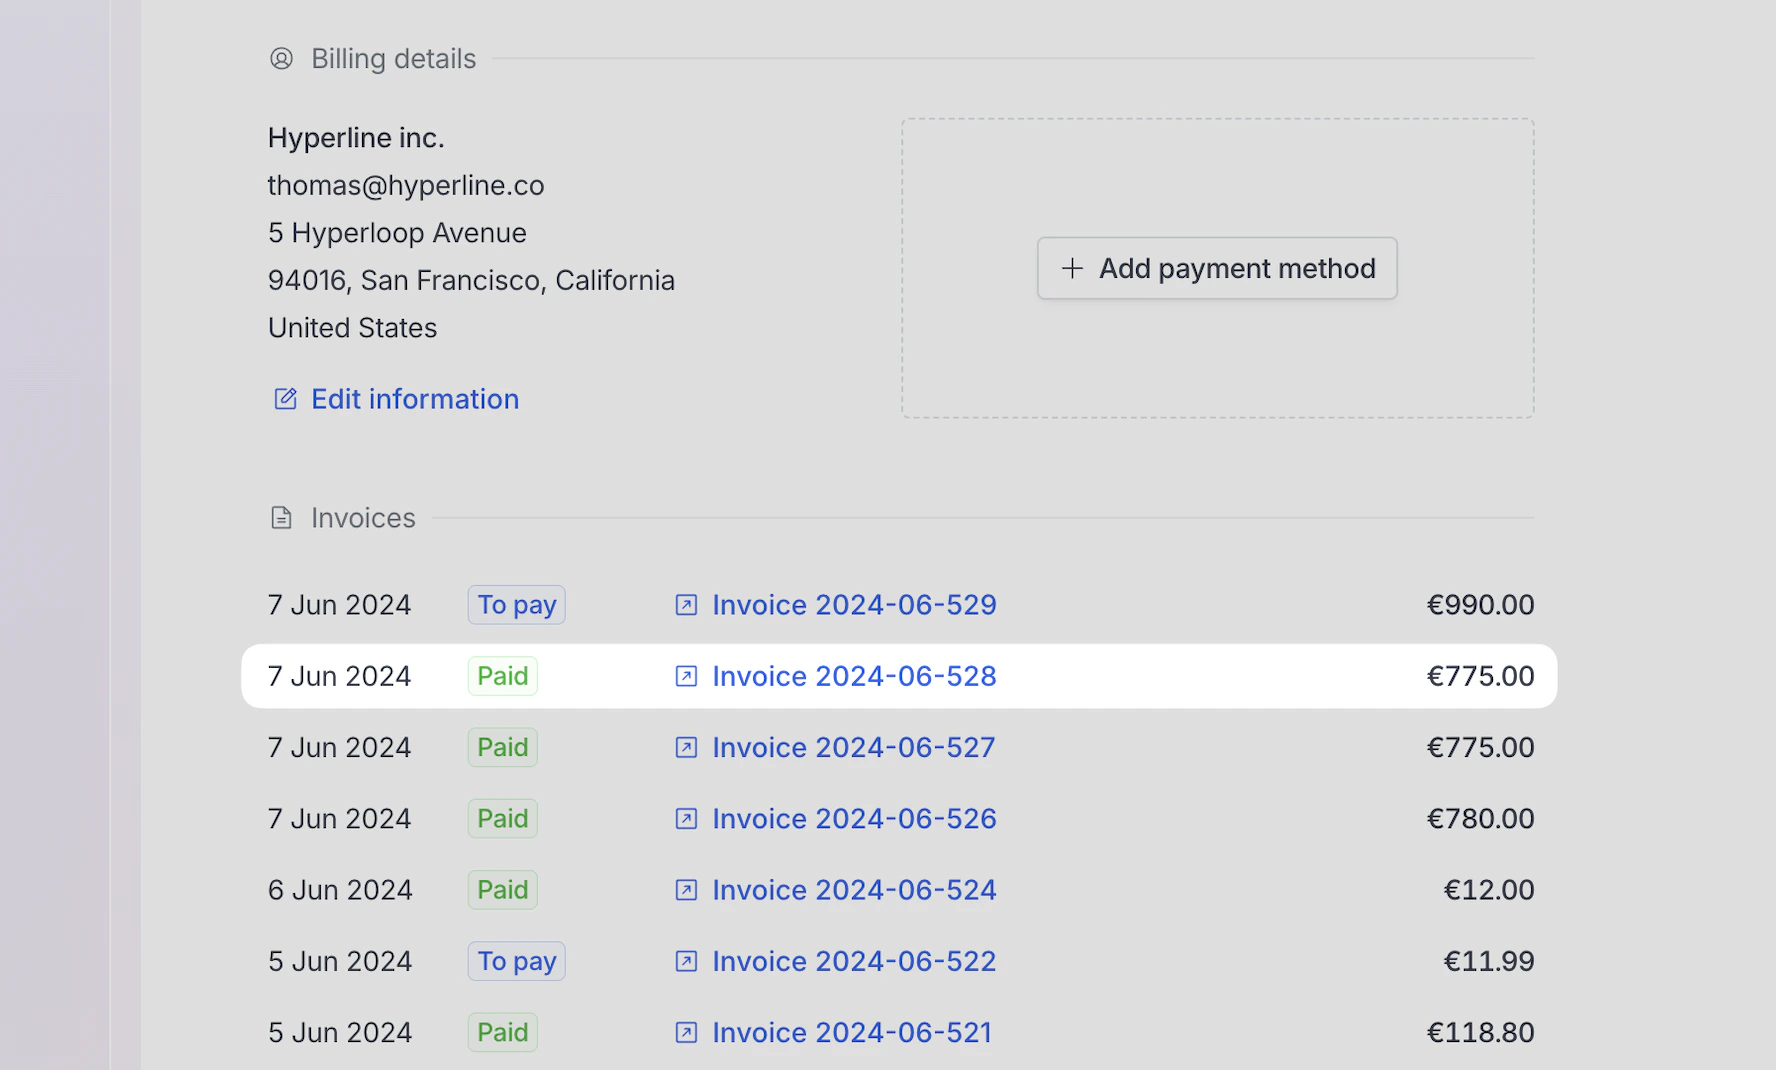
How to access the customer portal
To view the portal for a specific customer: go to the customer page, select the customer you want to view then click the ‘Portal’ button.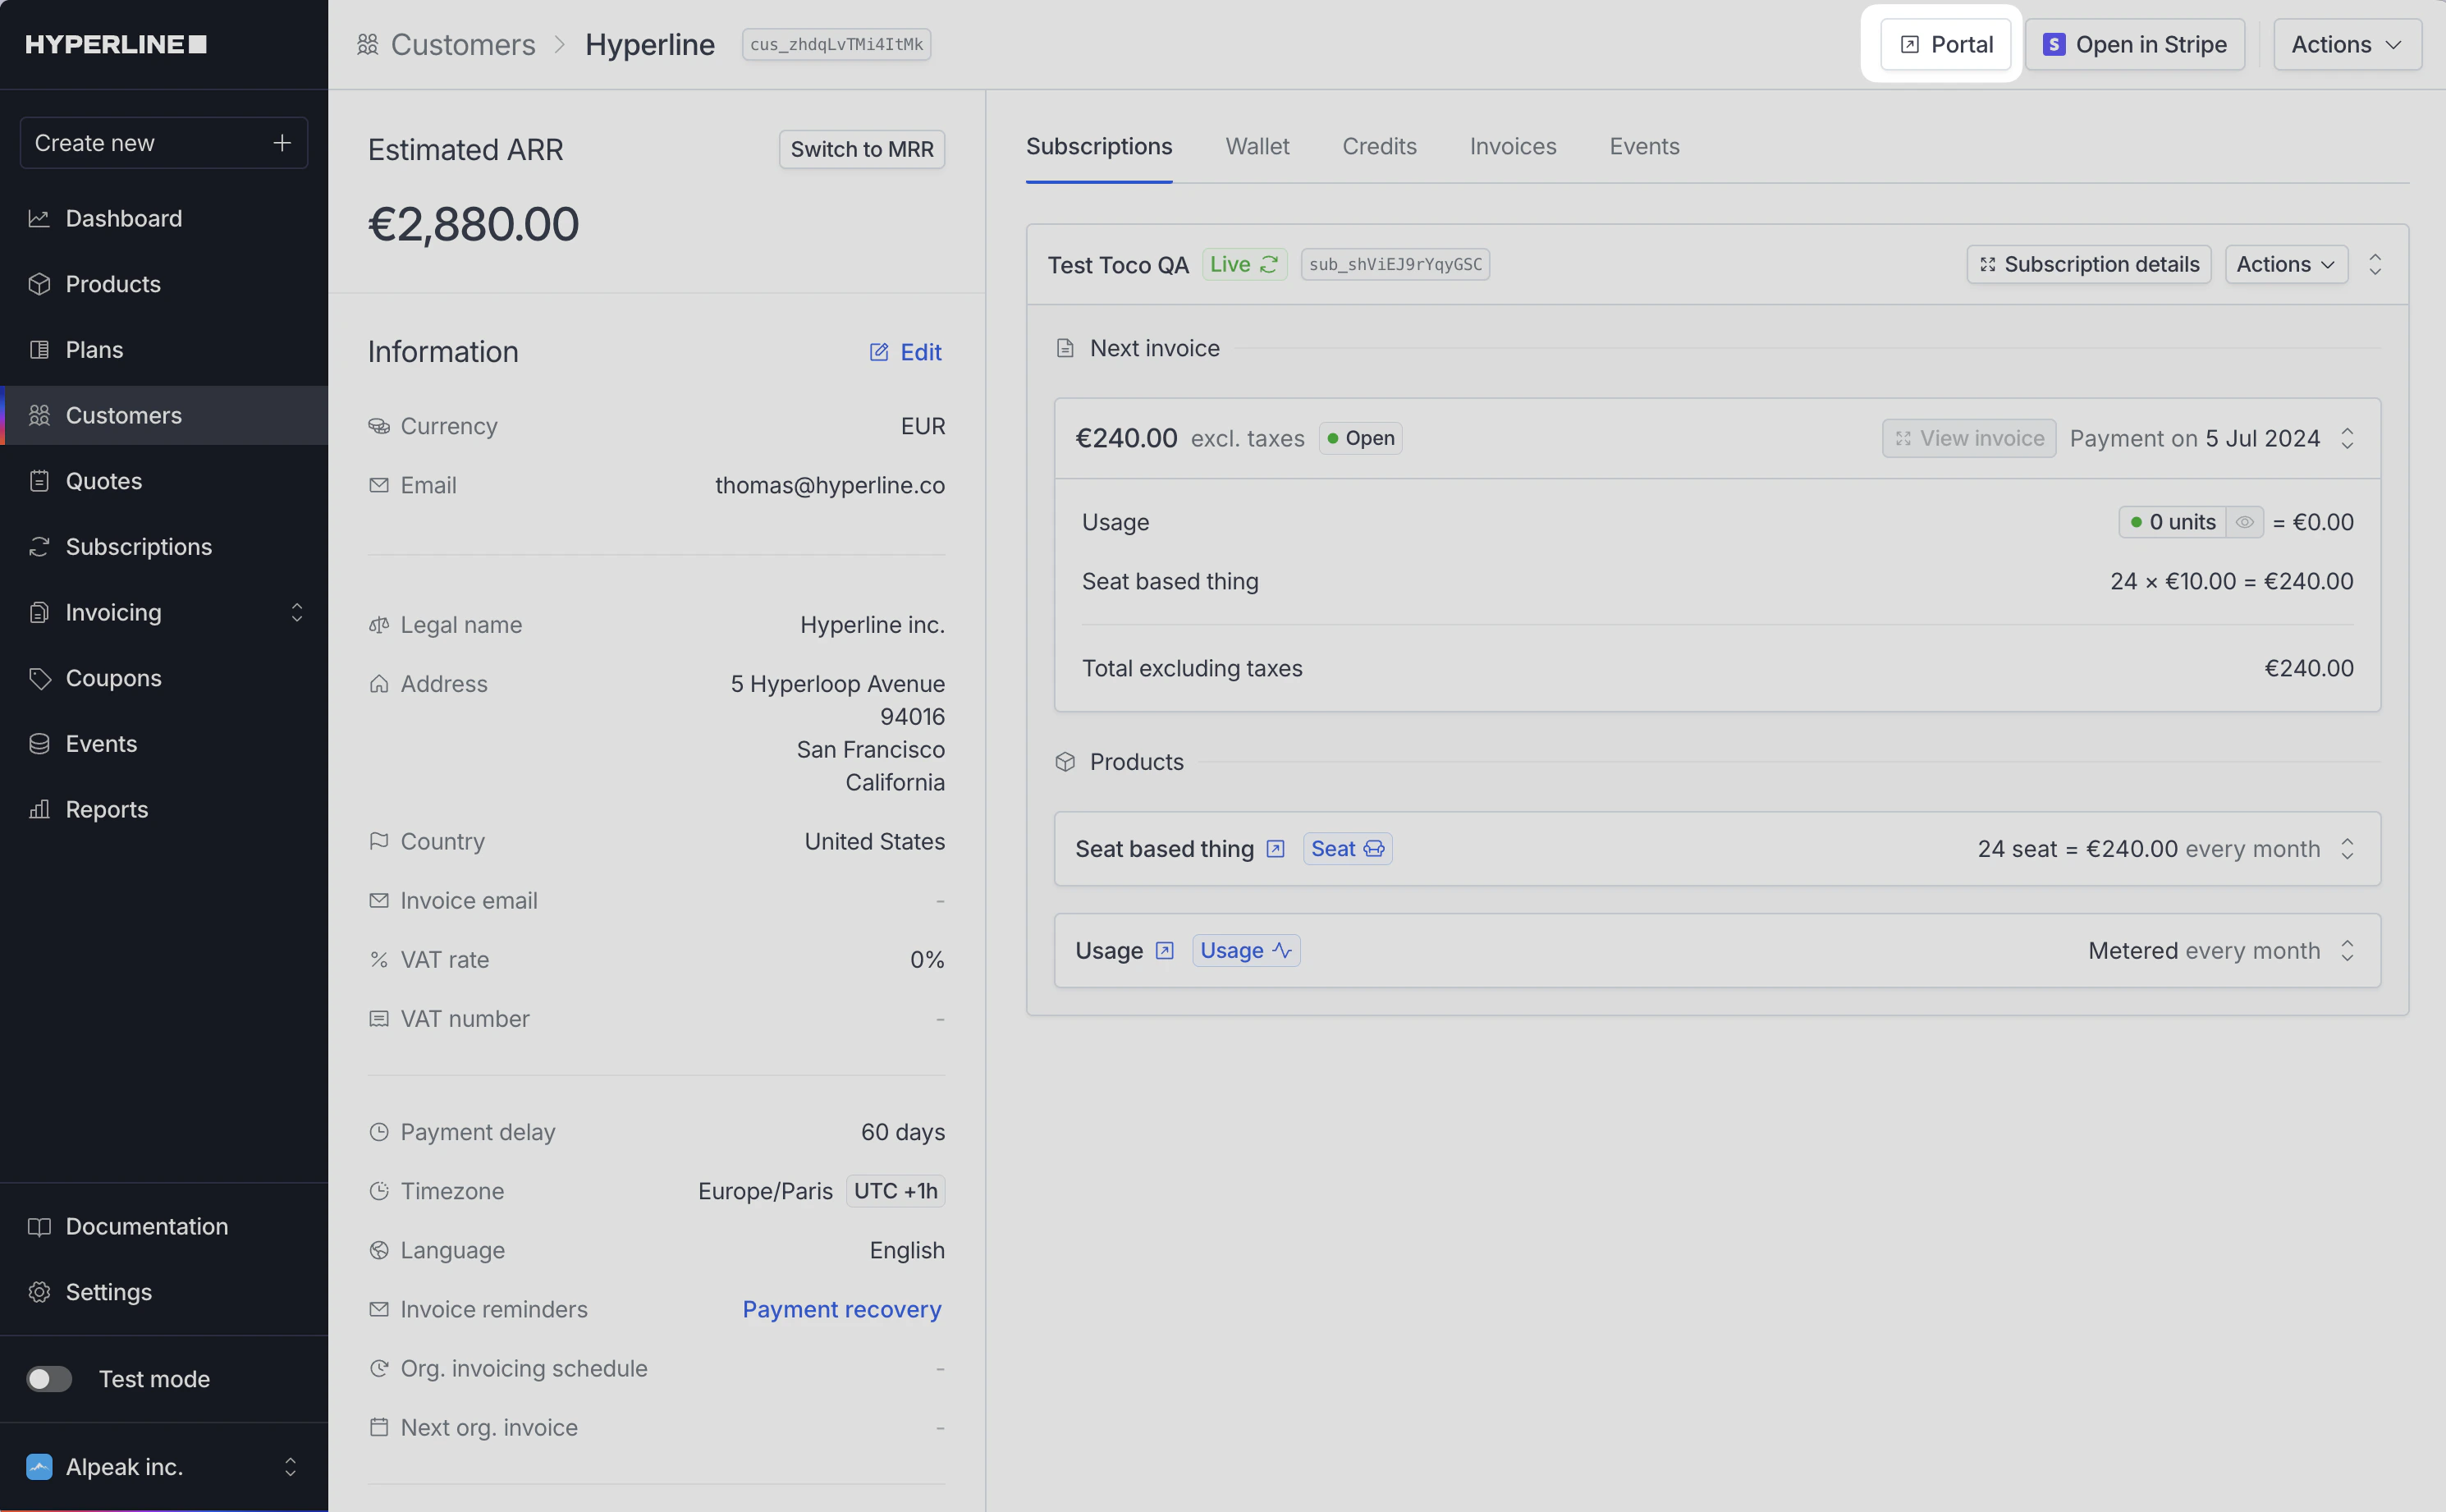
Customize the portal
Colors & brand identity
The portal adopts the primary brand color and icon that have been configured in the ‘Settings’ section under the ‘General’ tab of Hyperline. This uses the same codes as those displayed on the invoice sent to your customers. This feature enables you to personalize your customer portal with the distinct colors and branding of your company.Set a custom domain
In order to personalize further the experience for your customers, you can configure a custom domain for the hosted portal and checkout pages. You can set it in your settings, and to enable it you need to add aCNAME record pointing to cname.hyperline.co on your DNS provider.
For example: you want to set your custom domain to billing.alpeak.com in Hyperline, and add the related CNAME record on your DNS provider, we will provide you portal and checkout URLs with the form:
Customer actions
You can control what actions customers can perform on hosted pages through Settings > Hosted pages under the Customer actions section:Billing details update
You can control whether customers can update their billing details (billing address, billing email, tax ID, and invoice emails) on hosted pages through Settings > Hosted pages under the Customer actions section. Toggle Allow billing details update to enable or disable this capability. When enabled, customers will be able to edit their billing information through the customer portal, checkout, and quote pages.Customer typology selection
By default, hosted pages (customer portal, checkout, and quote pages) allow customers to select between B2C (person) and B2B (corporate) typologies when updating their billing information. You can disable this typology selection in Settings > Hosted pages under the Customer actions section. When disabled, customers will not be able to change their typology on hosted pages, and the form will use their existing typology setting.Payment method deletion
You can control whether customers can delete their default payment method on hosted pages through Settings > Hosted pages under the Customer actions section. Toggle Allow payment method deletion to enable or disable this capability. Non-default payment methods can always be deleted regardless of this setting. When deletion is disabled, customers can still delete a default payment method if it is irreversibly errored — meaning the card or mandate is permanently dead and cannot be recovered. This covers the following error reasons:Expired— the card or mandate has expired.MandateInvalid— the mandate is no longer valid.
InsufficientFunds, AuthenticationRequired, Declined, Fraud, Invalid, NotSupported, AuthorizationError, or Unknown) remain locked, as the customer is expected to retry or re-authenticate rather than delete the payment method.
Display options
You can control what subscription information is displayed on hosted pages through Settings > Hosted pages under the Display section.Hide contract duration
By default, subscription pages show contract details such as the contract start, commitment duration, and renewal terms. Toggle Hide contract duration in Settings > Hosted pages under the Display section to hide these details from the customer portal. Enable it when contract terms are managed outside Hyperline or could confuse customers.Generate a portal link
You can generate a portal link for a specific customer in two ways:- API: call
GET /v1/customers/{id}/portalto retrieve the portal URL. See the endpoint reference. - App: click the Portal button on the customer page (see How to access the customer portal).
Portal authentication
You can require customers to authenticate before accessing the customer portal through Settings > Hosted pages > Security. When enabled, customers without a valid token must verify their identity via a magic link sent to their email address before they can view their portal.How it works
Portal links contain an authentication token. Link expiration delay controls how long that token is valid; Require customer authentication controls what happens when no valid token is present. When authentication is required and a customer opens the portal without a valid token (first visit, expired token, or direct URL):- The portal shows a login screen.
- The customer enters an email matching their billing email or invoice emails.
- A magic link is sent to that email.
- Clicking the magic link grants access — indefinitely if no link expiration is set, otherwise for the configured window.
Portal authentication adds an extra layer of security by ensuring only authorized users can access customer billing information. Useful for B2B customers where multiple people might share portal links.
Authentication vs. link expiration
Portal authentication and Link expiration delay combine to control access:- Auth off, no expiration: portal links work indefinitely (default).
- Auth off, expiration set: tokens expire after the configured delay; revisiting the URL automatically issues a new token, no login required.
- Auth on, no expiration: customers without a valid token are sent to the login screen. After authenticating via magic link, the issued token never expires (one-time auth, permanent access).
- Auth on, expiration set: links work for the configured window. After expiry, customers must re-authenticate via magic link to obtain a new token.
When authentication is required, every visit without a valid token redirects to the login screen. Communicate this to your customers if you change the setting.
Link expiration delay
By default, hosted page URLs (customer portal, checkout, and quote pages) contain authentication tokens that never expire. You can configure an expiration in Settings > Hosted pages > Domain > Link expiration delay (in minutes). When set:- Tokens are included in all hosted page URLs (both Hyperline-hosted and custom domain URLs).
- After the delay, customers need a new link or must re-authenticate to access the page.
- Applies to portal links, checkout session links, and quote links.
Link expiration enhances security by limiting how long a shared link remains valid. Useful when links are sent via email or other channels where they might be forwarded.
Set a redirect button
You can configure a back button in the hosted pages settings.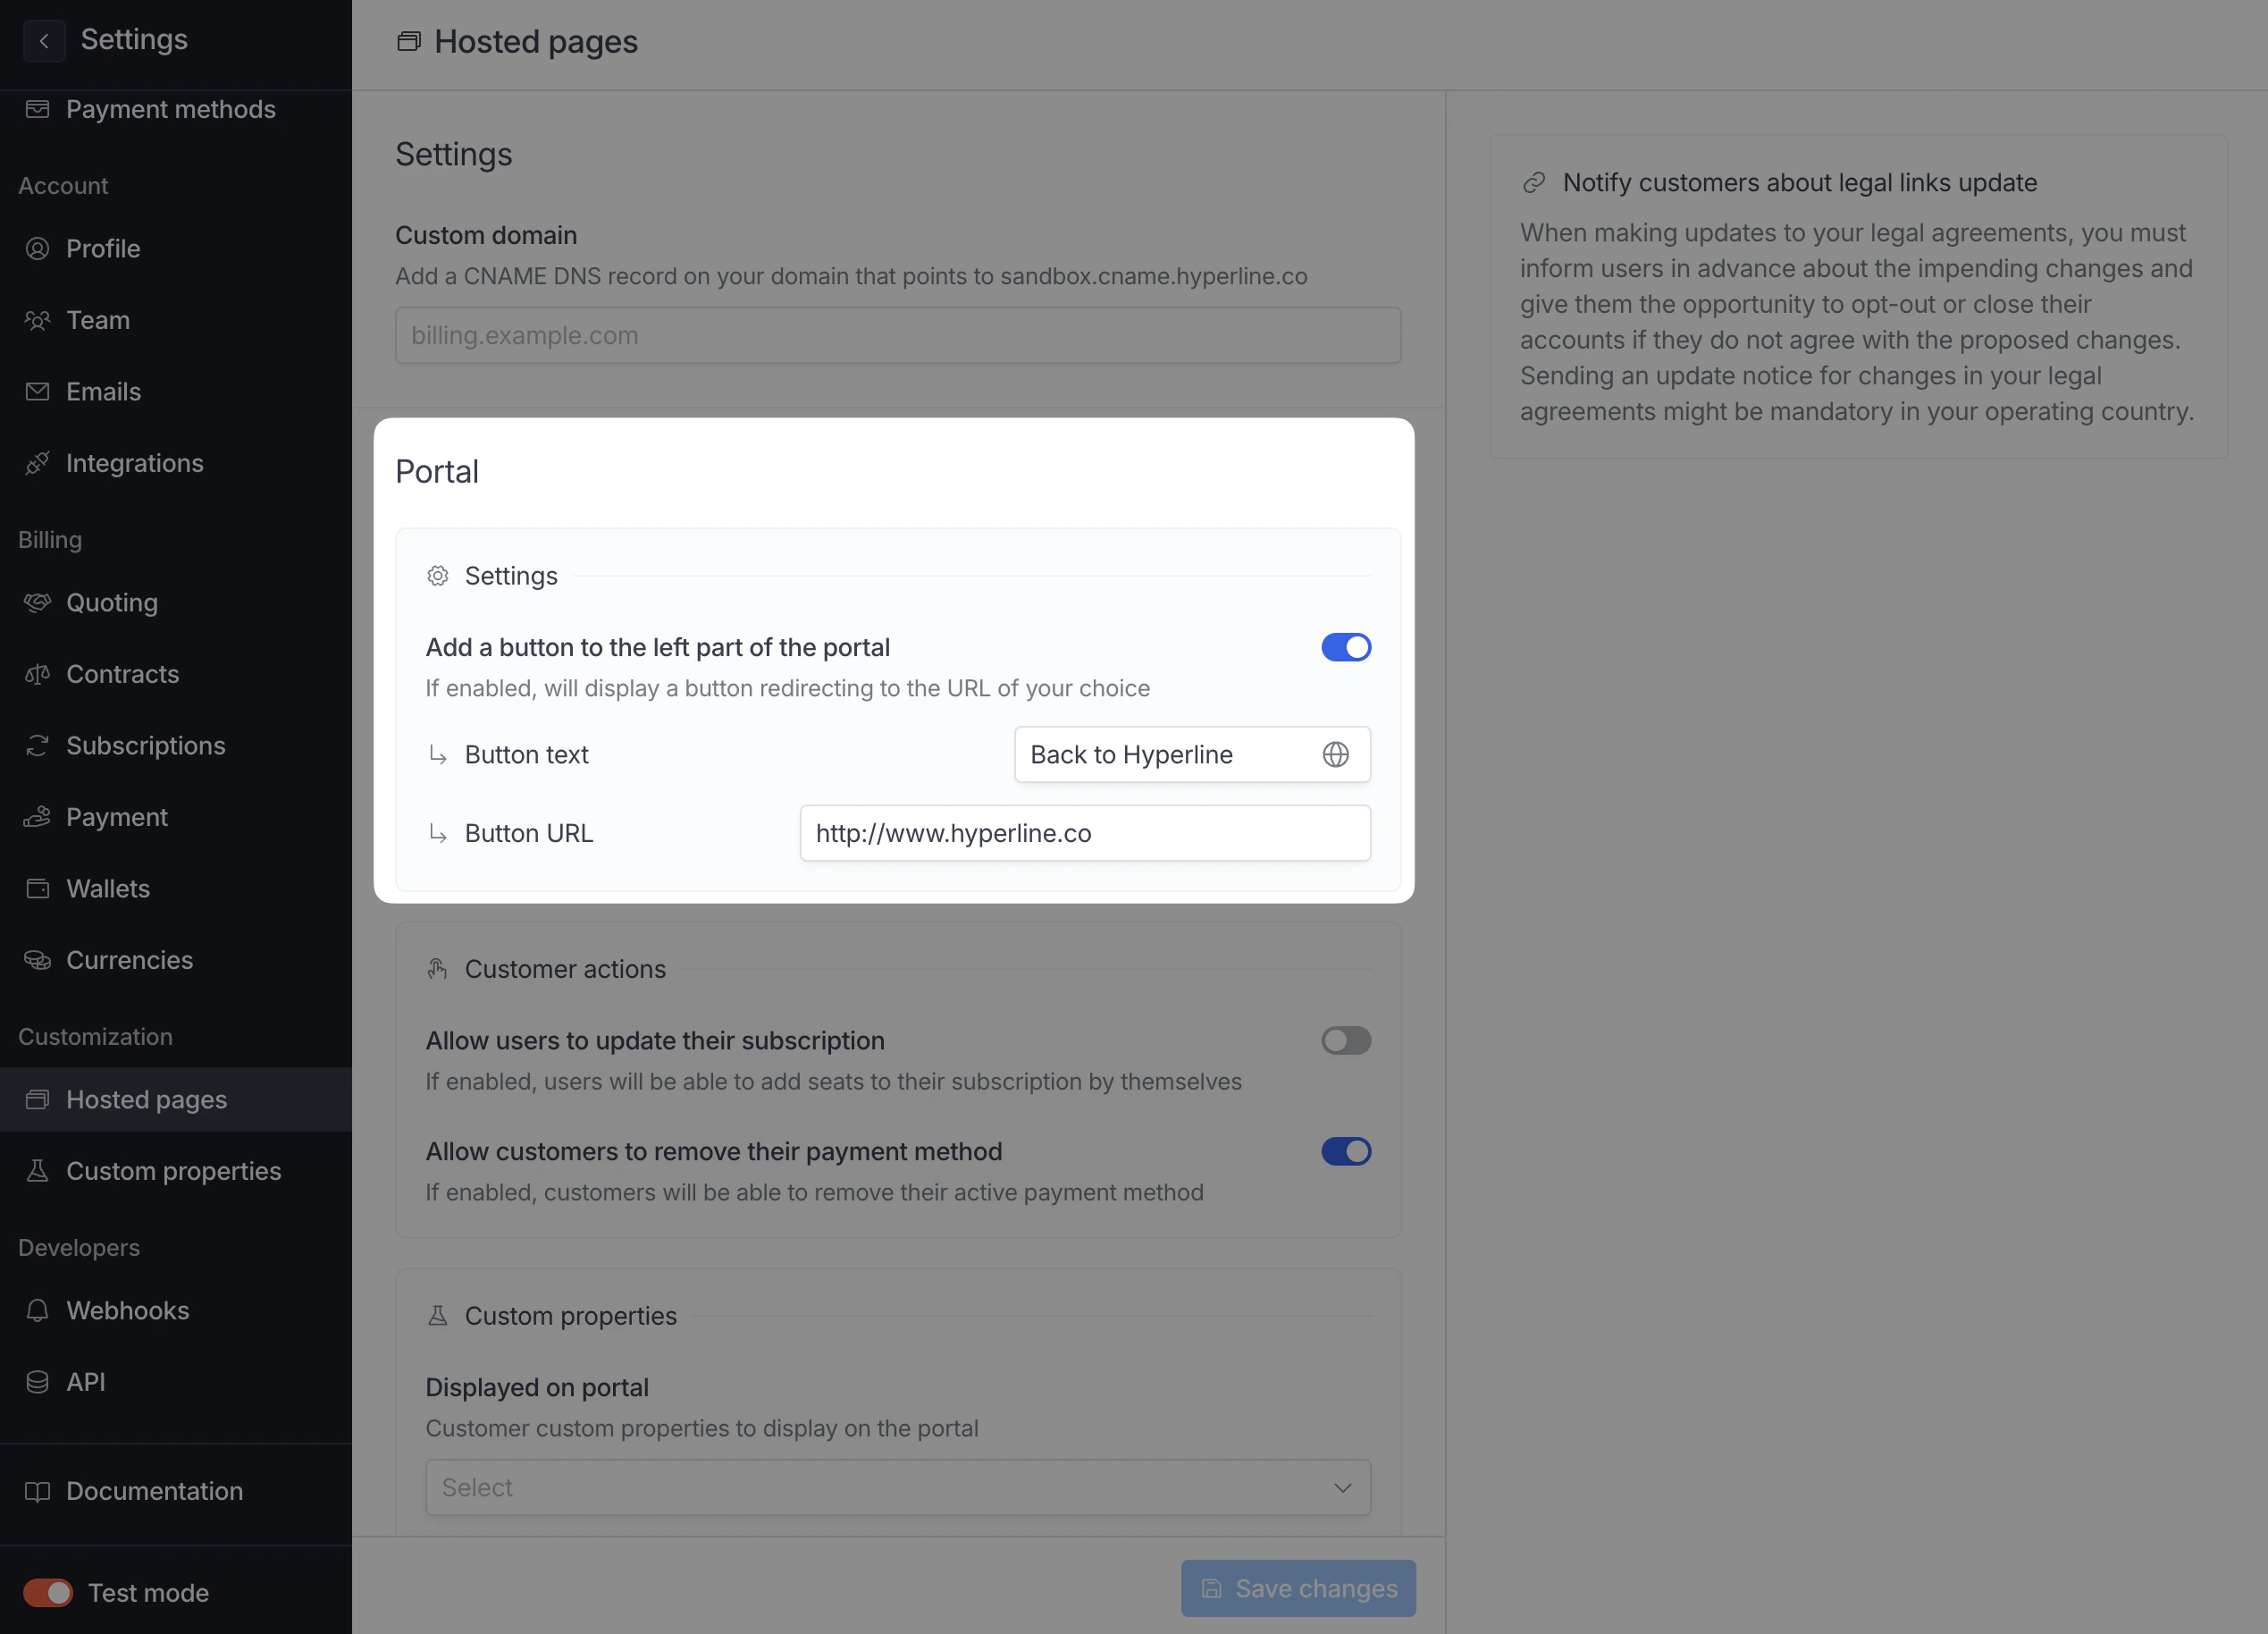

Display personalization
You can add this query parameter to your portal URL to hide the sidebar&hideSidebar=true. It will look like this:
Embed the customer portal in an iframe
You can embed the Hyperline customer portal inside your application using an<iframe>.
Always add the allow="payment" attribute to your iframe:
payment permission. Without this attribute, wallet payment buttons will not appear for your customers — card payments still work.
This also applies if you embed Hyperline checkout, quote, or payment pages in an iframe. If you use the React SDK, the permission is set automatically — make sure you run a recent version of
@hyperline/react-components.- https://app.hyperline.co (Portal UI)
- https://internal.hyperline.co (API calls within the iframe)
- https://api.hyperline.co (Public API calls)
- https://sandbox.app.hyperline.co
- https://sandbox.api.hyperline.co
- https://sandbox.internal.hyperline.co