Add a webhook endpoint
To start listening to webhook messages sent by Hyperline, go to your webhooks settings in the app, select Add Endpoint, provide the termination URL that you control, and select the event types you want to listen to. You can add as many URLs as you want, if you want to segregate the events you want to listen to.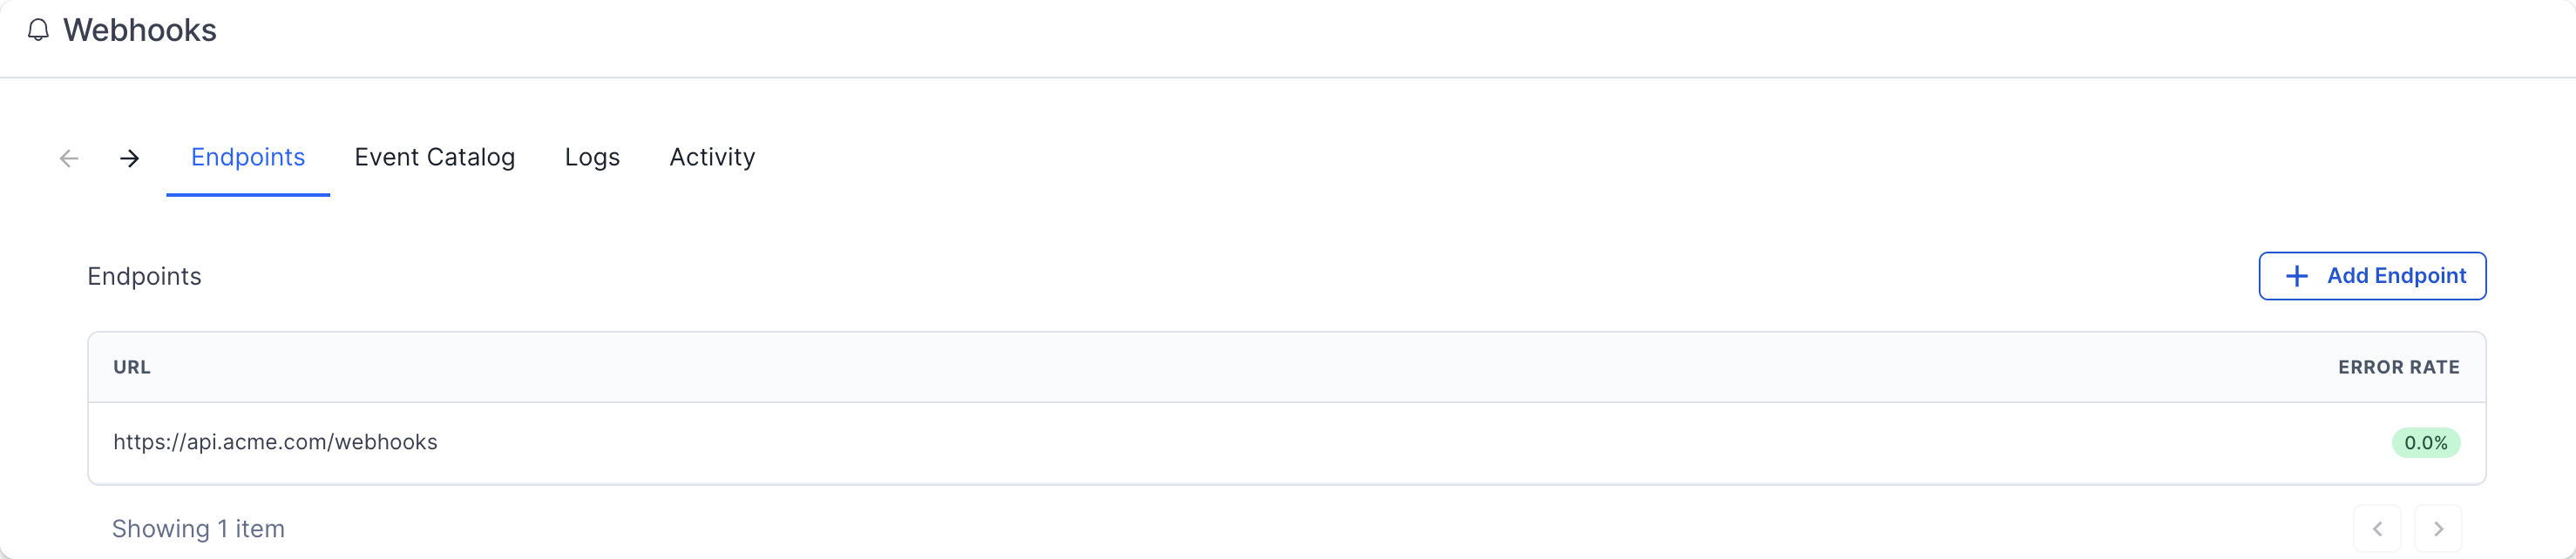
Event types
A complete list of the event types and the shape of the event payload can be
found in the product Webhooks page, on the “Event Catalog” tab.
customer.created,customer.updated,customer.archived,customer.recovered,customer.deletedsubscription.created,subscription.trial_ended,subscription.activated,subscription.reactivated,subscription.contract_started,subscription.contract_renewed,subscription.paused,subscription.phase_activated,subscription.updated,subscription.cancellation_scheduled,subscription.cancelled,subscription.voided,subscription.errored,subscription.charged,subscription.commitment_renewed,subscription.reinstated,subscription.analytics_updatedsubscription_transition.completedinvoice.created,invoice.grace_period.started,invoice.late,invoice.ready,invoice.reminder_sent,invoice.settled,invoice.errored,invoice.chargeback,invoice.voided,invoice.uncollectible,invoice.deletedinvoice.batch.creation_succeeded,invoice.batch.creation_failedcredit_note.ready,credit_note.settled,credit_note.voidedcheckout.created,checkout.completedpayment_method.created,payment_method.activated,payment_method.errored,payment_method.deleted,payment_method.expiring_soon,payment_method.expiredwallet.credited,wallet.debited,wallet.low_projected_balancecredit.created,credit.updated,credit.balance_refreshed,credit.low_balance,credit.balance_at_zero,credit.topup_transaction_created,credit.usage_transaction_created,credit.expiration_transaction_createdquote.created,quote.updated,quote.approval_requested,quote.approved,quote.sent,quote.viewed,quote.signed,quote.voidedbank_account.created,bank_account.deleted,bank_account.erroredcustom_property.created,custom_property.updated,custom_property.deleted,custom_property.value_created,custom_property.value_updatedproduct.created,product.updated,product.archived,product.recovered,product.deletedplan.created,plan.updated,plan.deletedcoupon.created,coupon.updated,coupon.deletedpricebook.created,pricebook.updated,pricebook.deletedapproval_workflow.created,approval_workflow.updated,approval_workflow.deletedapproval_request.created,approval_request.step_approved,approval_request.step_rejected,approval_request.approved,approval_request.rejected,approval_request.cancelleddaily_analytics.readydataloader.failedaggregator.updated,aggregator.threshold_crossedevent.price_calculatedagent.run.completed
Checkout sessions do not expire automatically, so Hyperline does not emit a
checkout.expired event. A checkout remains open until it is completed, cancelled, or errored.Consuming webhooks
Webhook calls will always bePOST HTTPS requests containing a JSON body with this format:
Testing events
The easiest way to be more confident in your endpoint configuration is to start receiving events as quickly as possible. The “Testing” tab is here to help you to send example events to your endpoint.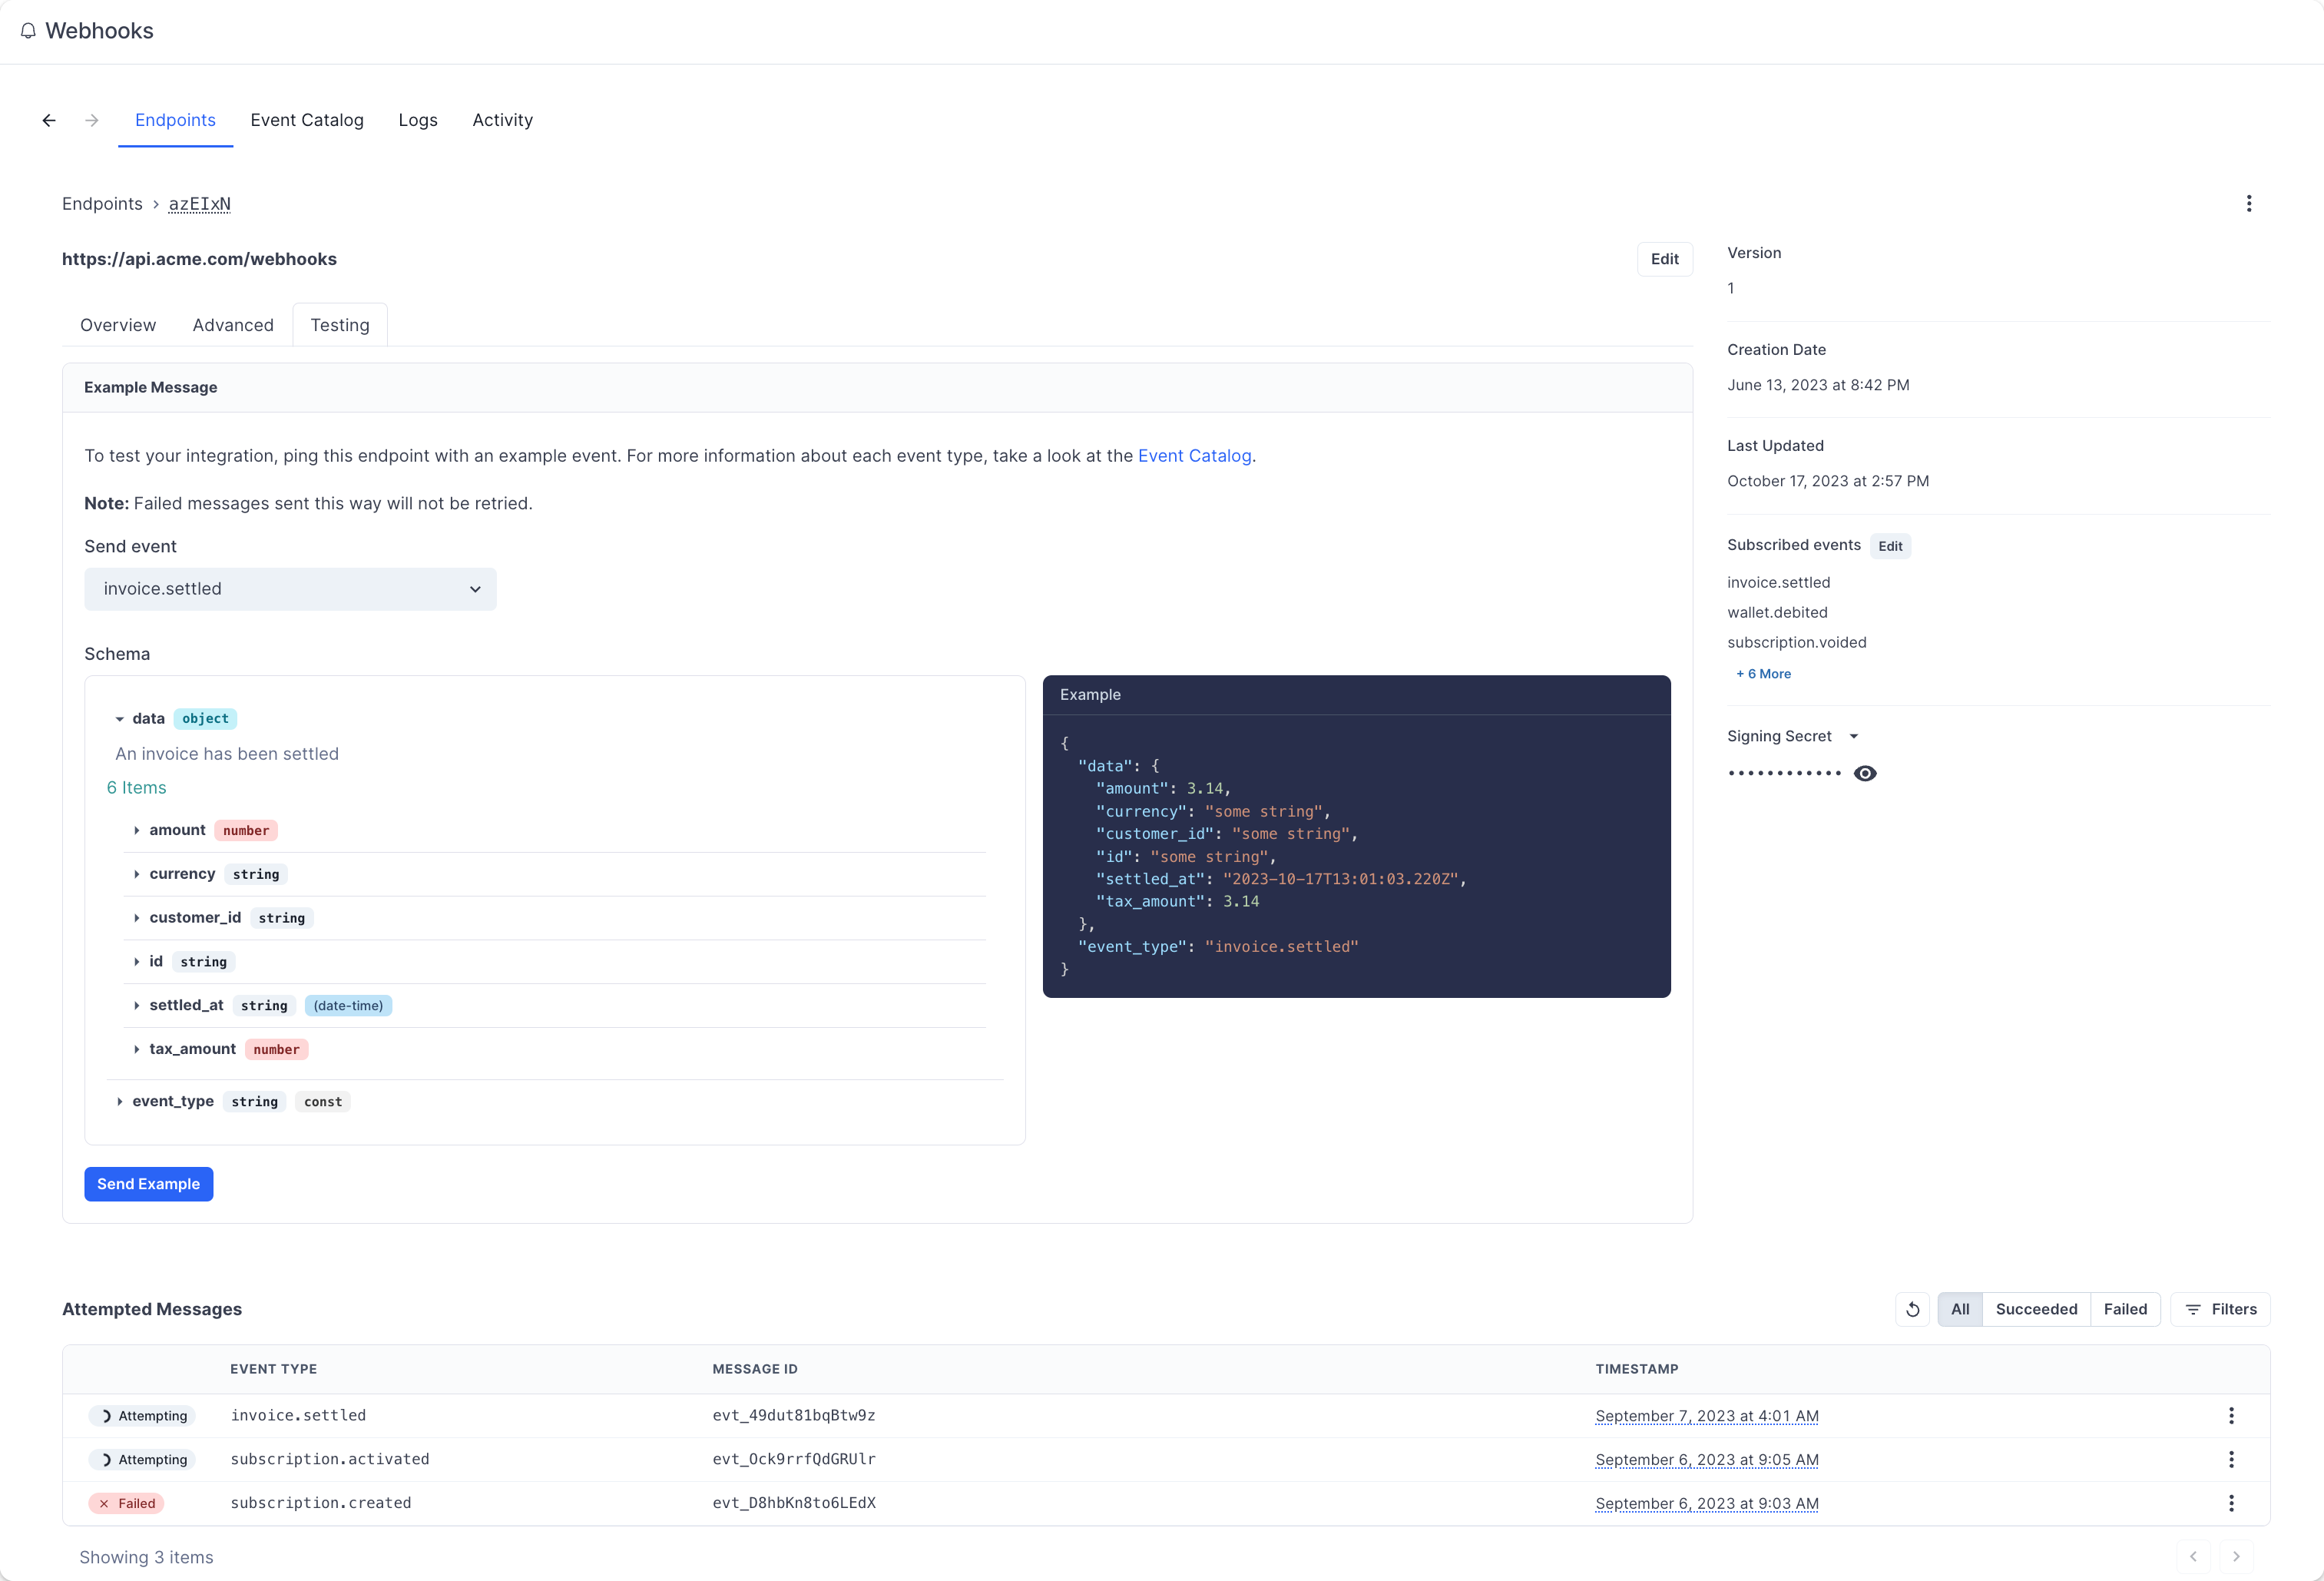
Event delivery
Replaying events
If you want to replay a single (or multiple) events, you can find the message from the UI, open the options menu next to any of the attempts, and select Resend. It’s a great help if your service had downtime or if your endpoint was misconfigured.Retry schedule
Each message is attempted based on the following schedule, where each period is started following the failure of the preceding attempt:- Immediately
- 5 seconds
- 5 minutes
- 30 minutes
- 2 hours
- 5 hours
- 10 hours
- 10 hours (in addition to the previous)
Event ordering
Hyperline doesn’t guarantee delivery of events in the order in which they’re generated. You can find more details about why guaranteeing order doesn’t really work in this article. Your endpoint shouldn’t expect delivery of events in a specific order. We recommend designing your system in a way that doesn’t require ordering. Additionally, you can use the API to fetch any missing objects (for example, you can fetch the subscription details using the ID provided in thesubscription.created event payload).
Static source IP addresses
In case your webhook receiving endpoint is behind a firewall or NAT, you may need to allow traffic from our webhook servers’ static IP addresses. In such scenarios, we recommend that you whitelist the following IP addresses:Best practices
Handling duplicate events
Webhook endpoints might occasionally receive the same event more than once. You can guard against duplicated event receipts by making your event processing idempotent. One way of doing this is logging the events you’ve processed, and then not processing already-logged events.Prevent stale data
As webhooks can be retried, another update can occur once your server is finally able to process the event. Therefore, we advise you to query the latest version of the related entity upon receiving a webhook.Verify webhooks
Verifying webhooks is an important part of the consumption. Because of the way webhooks work, attackers can impersonate services by simply sending a fake webhook to an endpoint. This is a potential security hole for your application. In order to prevent it, every webhook and its metadata is signed with a unique key for each endpoint. This signature can then be used to verify the webhook indeed comes from Hyperline, and only process it if it is. Another potential security hole is what’s called replay attacks. A replay attack is when an attacker intercepts a valid payload (including the signature), and re-transmits it to your endpoint. This payload will pass signature validation, and will therefore be acted upon. To mitigate this attack, a timestamp (webhook-timestamp header) is included in every request for when the webhook attempt occurred. We recommend you reject webhooks with a timestamp that is more than five minutes away (past or future) from the current time.
Verifying signatures
Each webhook call includes three headers with additional information that are used for verification:
webhook-id: the unique message identifier for the webhook message. This identifier is unique across all messages but will be the same when the same webhook is being resent (e.g. due to a previous failure).webhook-timestamp: timestamp in seconds since epoch.webhook-signature: the Base64 encoded list of signatures (space delimited).
.). In code, it will look something like:
body is the raw body of the request. The signature is sensitive to any changes, so even a small change in the body will cause the signature to be completely different. This means that you should not change the body in any way before verifying.
Determining the expected signature
HMAC with SHA-256 is used to sign webhooks.
So to calculate the expected signature, you should HMAC the signed_content from above using the base64 portion of your signing secret (this is the part after the whsec_ prefix) as the key. For example, given the secret whsec_MfKQ9r8GKYqrTwjUPD8ILPZIo2LaLaSw you will want to use MfKQ9r8GKYqrTwjUPD8ILPZIo2LaLaSw.
Here is an example of how you can calculate the signature in Node.js:
webhook-signature header.
This header is composed of a list of space-delimited signatures and their corresponding version identifiers. The signature list is most commonly of length one, though there could be any number of signatures. For example: