# Currency amounts
Source: https://docs.hyperline.co/api-reference/docs/amount
Technical representation of monetary values in Hyperline
Learn about [currencies support](../../docs/getting-started/currencies) in Hyperline.
On the technical side, our APIs always represent currencies using their **three-letter ISO 4217 code** (see a complete list [here](https://en.wikipedia.org/wiki/ISO_4217#Active_codes_\(List_One\))), and accept and return integer amounts in the **currency's smallest unit**.
For **European currencies**, this means that amounts are represented in **cents**. If you want to convert an amount with decimals into its Hyperline's format you need to multiply it by `100`. For example, an amount of €`34.17` (Euro, a two-decimal currency) will be represented in Hyperline as `3417`.
Hyperline also supports **zero-decimal currencies** and **three-decimal currencies**. In this case, you need to apply the right multiplier (or none). For example, an amount of `F CFA 12065` (West African CFA franc, a zero-decimal currency) will be represented in Hyperline as `12065`.
# Authentication
Source: https://docs.hyperline.co/api-reference/docs/authentication
Learn how to authenticate to use Hyperline's API
The Hyperline API requires either an **API key** or an **access token** to identify and authorise calls. API keys are associated with a single Hyperline account, and an access token represents delegated access to a specific account (used for [third-party app](./third-party-app)). You can have more than one token or key at any point in time.
Those tokens are able to authenticate to Hyperline and perform actions on your account so it's important that you keep them safe in the same way that you would a password.
## Manage API keys
### How to generate an API key
Generating an **API key** is very simple and allow you to use Hyperline's API or integration such as Zapier.
As a Hyperline's admin:
1. Go to your workspace [Settings](https://app.hyperline.co/app/settings/api), section API
2. Click on `+ New API key`
3. Add a name for this key, and select the appropriate scopes (in most cases you'll need right/write accesses)
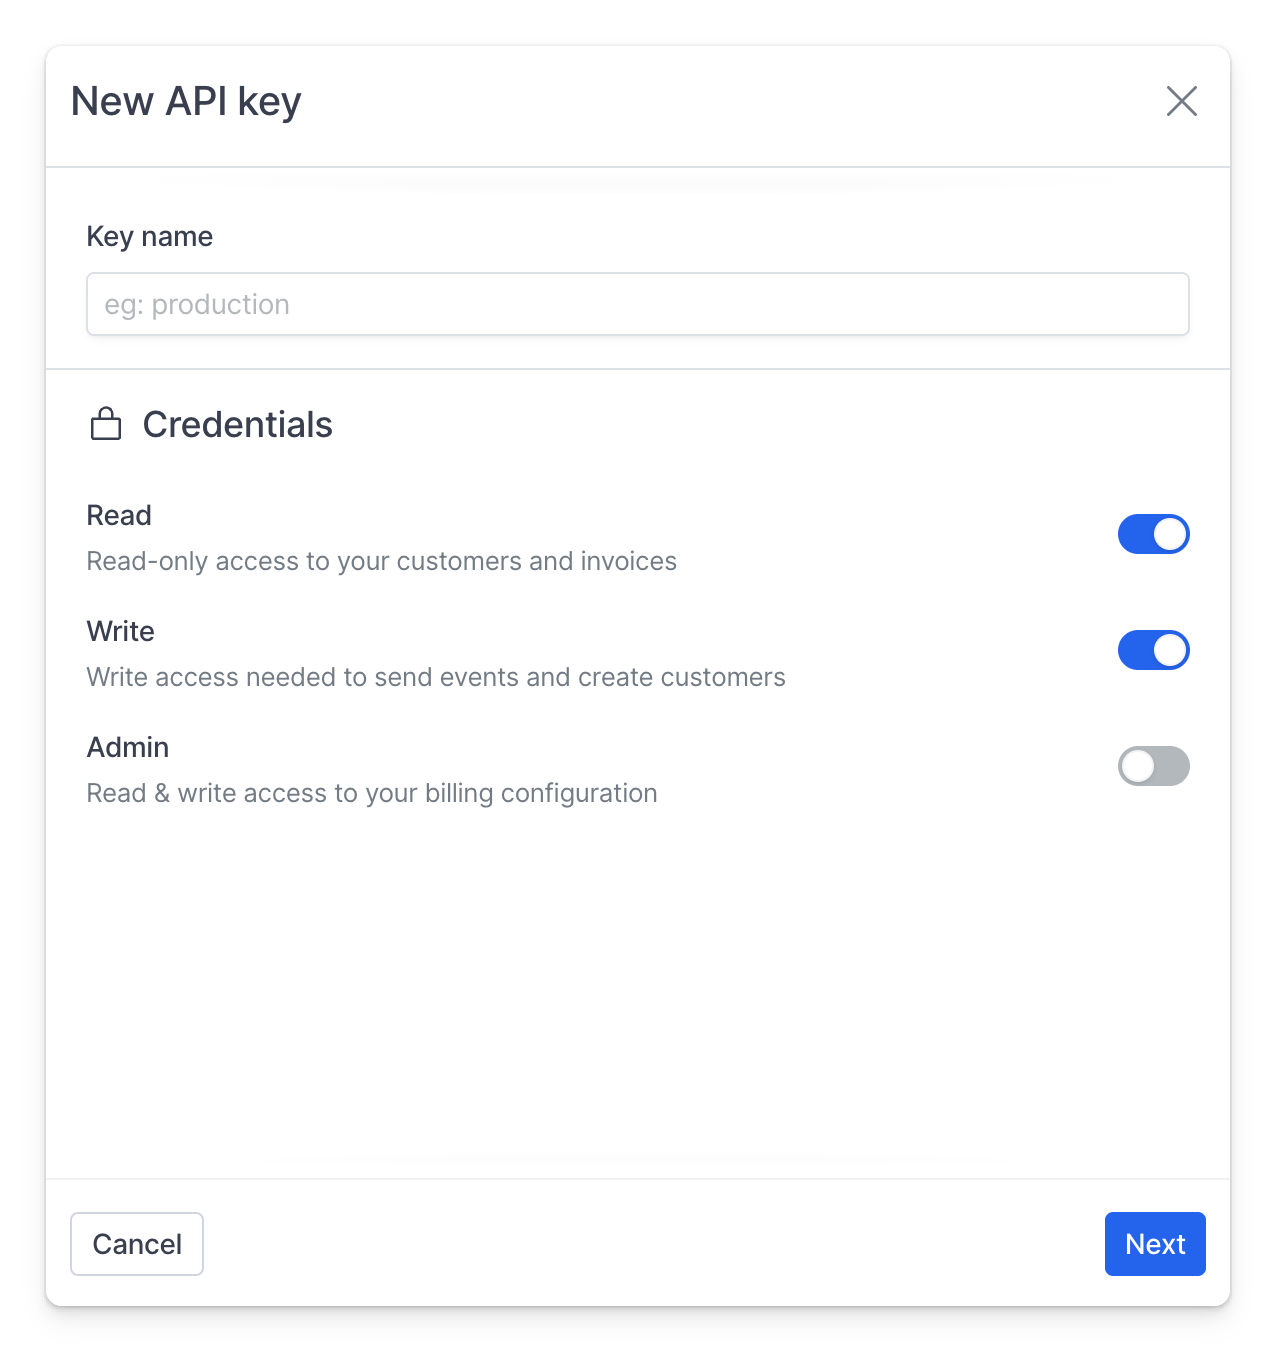 4. Copy the key and it in a safe space, you won't be able to see it later in Hyperline
API keys are prefixed either with `prod_` or `test_` to easily identify and
distinguish them between environments.
### Using authentication token
API keys or access tokens must be provided with every API call, specified in the `Authorization` header after a `Bearer` prefix. All requests happen using HTTPS.
For example:
```sh theme={null}
curl -H "Authorization: Bearer " https://api.hyperline.co/v1/customers
```
We also support HTTP Basic Authentication, where the `username` is the API key
and the `password` is left blank, but we recommend using Bearer Authentication
because it's simpler for debugging.
### Keeping your data safe
Your API keys should be treated as **highly sensitive information** - think of a token like a password. You should only give tokens to services you fully trust.
If leaked, tokens could be used maliciously - they can provide someone with access to all of your Hyperline data. If you suspect a token has been compromised, revoke it and replace it with a new one.
Tokens should never be shared with support teams or your customers.
### Revoke a key
Workspace admins can permanently revoke tokens from the [API Settings](https://app.hyperline.co/app/settings/api) in Hyperline.
To revoke a token, click on the `…` icon on the line of the key name, then `Delete` to permanently delete it. A deleted key cannot be recovered.
# Dates & timezones
Source: https://docs.hyperline.co/api-reference/docs/dates-and-timezones
Technical representation of dates in Hyperline
# Date Format and Timezone Handling
All dates in the Hyperline API are handled in UTC (Coordinated Universal Time). When sending dates to the API, you must convert your local timezone dates to UTC. Similarly, all dates returned by the API will be in UTC format.
## Working with Customer Timezones
When creating subscriptions for customers in specific timezones, you'll need to convert the desired local time to UTC before sending it to the API.
### Examples
Let's say you want to create a subscription that starts at midnight (00:00) in Paris timezone (Europe/Paris):
```javascript theme={null}
// Example 1: January 1st, 2024 at 00:00 Paris time
// Paris is UTC+1 in winter, so we need to convert to UTC (23:00 previous day)
"2023-12-31T23:00:00Z"
// Example 2: July 1st, 2024 at 00:00 Paris time
// Paris is UTC+2 in summer (due to daylight saving), so we need to convert to UTC (22:00 previous day)
"2024-06-30T22:00:00Z"
```
Note that the `Z` suffix in the date string indicates that the timestamp is in UTC.
## Best Practices
* Always use ISO 8601 format for dates
* Include the UTC indicator (`Z`) in your timestamps
* Consider daylight saving time when converting from local timezones
* Use a reliable date library (like `date-fns` or `luxon`) to handle timezone conversions
# Error handling
Source: https://docs.hyperline.co/api-reference/docs/error-handling
Learn how to handle errors when using Hyperline's API
The Hyperline API uses conventional HTTP response codes to indicate the success or failure of an API request. This page details how to handle errors effectively and what to expect in error responses.
## HTTP Status Codes
The API uses standard HTTP status codes to indicate the success or failure of requests:
* **2xx Success**: The request was successful
* **4xx Client Error**: The request was invalid or cannot be processed
* **5xx Server Error**: An internal server error occurred
## Error Response Format
When an error occurs, the API returns a JSON response with a `message` property containing a human-readable description of the error:
```json theme={null}
{
"message": "The requested resource was not found"
}
```
## Common Error Codes
### 400 Bad Request
The request was malformed or contains invalid parameters.
```json theme={null}
{
"message": "Cannot assign a subscription to a customer without a currency set"
}
```
### 401 Unauthorized
The request lacks valid authentication credentials.
```json theme={null}
{
"message": "Missing authentication token"
}
```
### 404 Not Found
The requested resource was not found.
```json theme={null}
{
"message": "Product not found"
}
```
### 429 Too Many Requests
The request rate limit has been exceeded. See [Rate Limiting](./rate-limiting) for more details.
## Getting Help
If you encounter an error that you cannot resolve, please:
1. Check the error message for guidance
2. Verify your request format and parameters
3. Ensure your authentication credentials are valid
4. Contact our support team with the error details and request information
# Getting started
Source: https://docs.hyperline.co/api-reference/docs/getting-started
Welcome to the Hyperline technical documentation
We offer you a complete set of resources, including APIs, a webhook system, low-code solutions, and developer tools, to facilitate the creation of a full technical integration seamlessly. However, our main principle is to minimize the technical workload on your end and abstract away the complexities of managing a billing system, allowing you to focus on delivering your core product value.
The Hyperline API is structured following REST principles and utilizes JSON-encoded data payloads. It adheres to industry standards and strives to deliver the most user-friendly interface possible, with straightforward operations, detailed error messages, and predictable behavior. This ensures that integrating with us is an effortless process.
**Sandbox environment**
In order to experiment, we provide you with a test mode (sandbox environment) where no real money or operations are involved. This allows you to test any flows you want without affecting your live data or interact with the banking networks.
To do this, you can switch on the **test mode** option on your Hyperline account.
## Not a developer?
Hyperline offers plenty of options to get started with pricing and billing capabilities without any code implementation.
For this, you can check out our [product documentation](../../docs).
## Services endpoints
### Production environment
| Service | Base URL |
| -------------------- | ---------------------------------------------------------- |
| Main API | [https://api.hyperline.co](https://api.hyperline.co) |
| Events ingestion API | [https://ingest.hyperline.co](https://ingest.hyperline.co) |
| Browser application | [https://app.hyperline.co](https://app.hyperline.co) |
### Sandbox environment (test mode)
| Service | Base URL |
| -------------------- | -------------------------------------------------------------------------- |
| Main API | [https://sandbox.api.hyperline.co](https://sandbox.api.hyperline.co) |
| Events ingestion API | [https://sandbox.ingest.hyperline.co](https://sandbox.ingest.hyperline.co) |
| Browser application | [https://sandbox.app.hyperline.co](https://sandbox.app.hyperline.co) |
# Pagination and filtering
Source: https://docs.hyperline.co/api-reference/docs/pagination
All list requests can be paginated and filtered using the same query format. For convenience, we've made sure all *list-based* endpoints returned data with the same structure.
## Pagination
We're using 2 parameters for pagination:
* `take` is the number of items the API will return, default is **50**, max is **100**
* `skip` is the number of items the API will skip, default is **0**
So if you want to get the first 50 items of a list, you don't need any parameters. If you need items from the 350th to the 425th, you'll use `take=75` and `skip=350`.
Here's an example with the customer list:
```sh theme={null}
curl --request GET \
--url 'https://api.hyperline.co/v1/customers?take=10&skip=10' \
--header 'Authorization: Bearer '
```
The API will always return a similarly shaped payload containing:
* `data` the items you requested
* `meta` the contextual information (total number of items, number selected...)
For instance for customers:
```json theme={null}
{
"meta": {
"total": 2,
"taken": 2,
"skipped": 0
},
"data": [
{
"id": "cus_3fhwCWcL0Rx5MQ"
// other properties
},
{
"id": "cus_9huL9ahn7KQqHo"
// other properties
}
]
}
```
## Filtering
Our API is offering many filtering capabilities so you can always find what you're looking for. Filters are passed as query parameters using a common pattern.
`fieldName__operator=value`
For instance:
* `GET /v1/customers?name__contains=instagram` will return all customers with the name containing instagram
* `GET /v1/customers?id__in=123,456,789` will return customers with ID equals to 123, 456, or 789
## List of available operators
* `equals` (or just `=xxx`)
* `not`
* `lt`
* `lte`
* `gt`
* `gte`
* `contains`
* `startsWith`
* `endWith`
* `in`
* `notIn`
* `isNull`
* `isNotNull`
Numerical operators can be applied to numbers or dates.
Not all fields can be filtered, please refer to each model in the API Reference to see which ones are available.
# Rate limiting
Source: https://docs.hyperline.co/api-reference/docs/rate-limiting
Our API implements rate limiting to ensure fair usage and protect the system from abuse. This page details our rate limiting policies and how to handle them effectively.
## Rate Limits
| Operation Type | Limit | Window |
| -------------------------------- | ----- | ---------- |
| Read (GET) | 200 | 10 seconds |
| Write (POST, PUT, PATCH, DELETE) | 50 | 10 seconds |
## Rate Limit Headers
API responses include the following rate limit headers:
* `X-RateLimit-Limit`: The maximum number of requests allowed in the current window
* `X-RateLimit-Remaining`: The number of requests remaining in the current window
* `X-RateLimit-Reset`: The date and time when the rate limit window resets
* `Retry-After`: The minimum number of seconds to wait before retrying (only when the limit has been reached)
## Handling Rate Limits
When you exceed the rate limit, the API will return a **429 Too Many Requests** HTTP status code. The response body will be:
```json theme={null}
Too many requests
```
### Best Practices
1. **Monitor Rate Limits**: Track the `X-RateLimit-Remaining` header to anticipate when you're approaching the limit
2. **Implement Backoff**: When you receive a 429 response:
* Wait until the date specified in the `X-RateLimit-Reset` header
* Consider implementing exponential backoff for retries
3. **Batch Requests**: When possible, combine multiple operations into a single request
4. **Caching**: Cache responses when appropriate to reduce the number of API calls
## Example Response Headers
Rate limit not exceeded:
```
HTTP/1.1 200 OK
X-RateLimit-Limit: 200
X-RateLimit-Remaining: 150
X-RateLimit-Reset: 2025-04-15T10:18:08.107Z
```
Rate limit exceeded:
```
HTTP/1.1 429 Too Many Requests
X-RateLimit-Limit: 200
X-RateLimit-Remaining: 0
X-RateLimit-Reset: 2025-04-15T10:18:08.107Z
Retry-After: 5
```
## Custom Rate Limits
If your application requires higher rate limits, please contact our support team. We'll work with you to establish appropriate limits based on your use case.
# React components
Source: https://docs.hyperline.co/api-reference/docs/react-components
Learn how to embed Hyperline directly into your React application
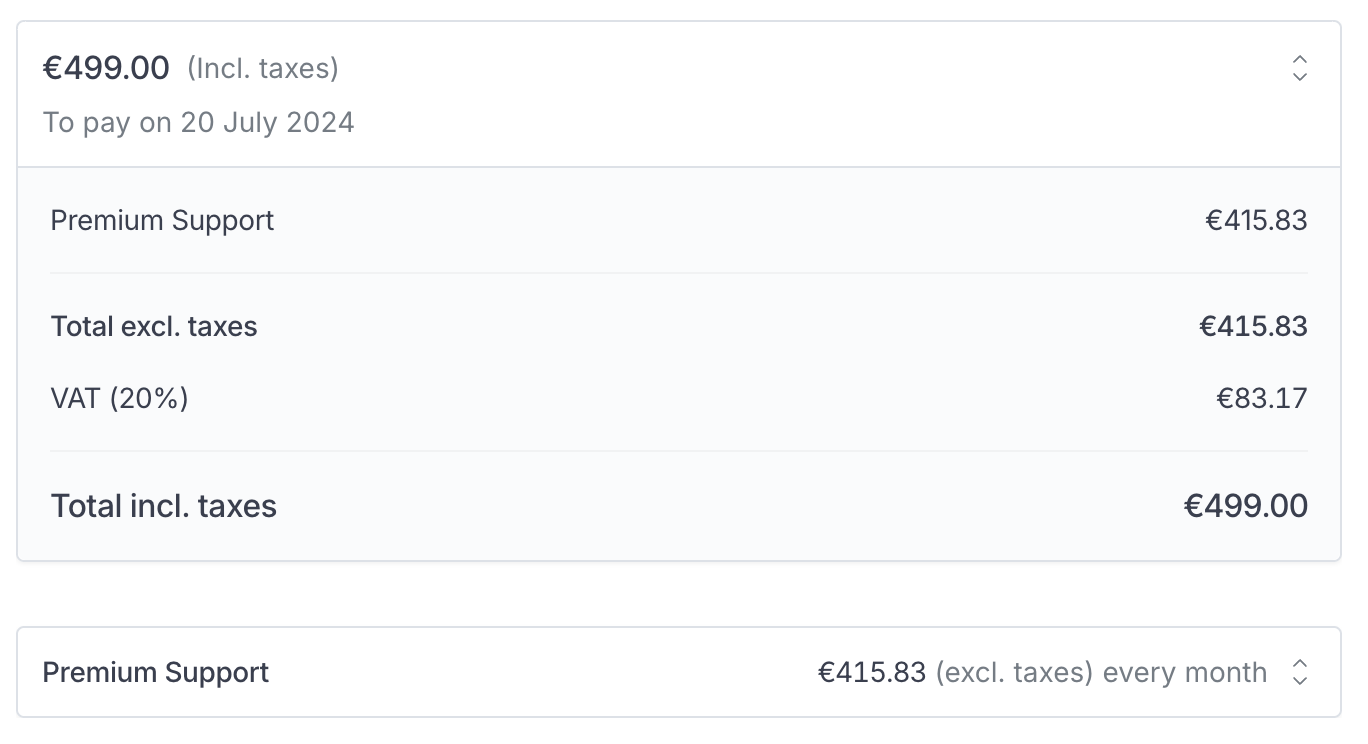
Hyperline provides built-in React components to:
* For each customer, display their subscriptions
* preview and update the payment method
* list and download invoices
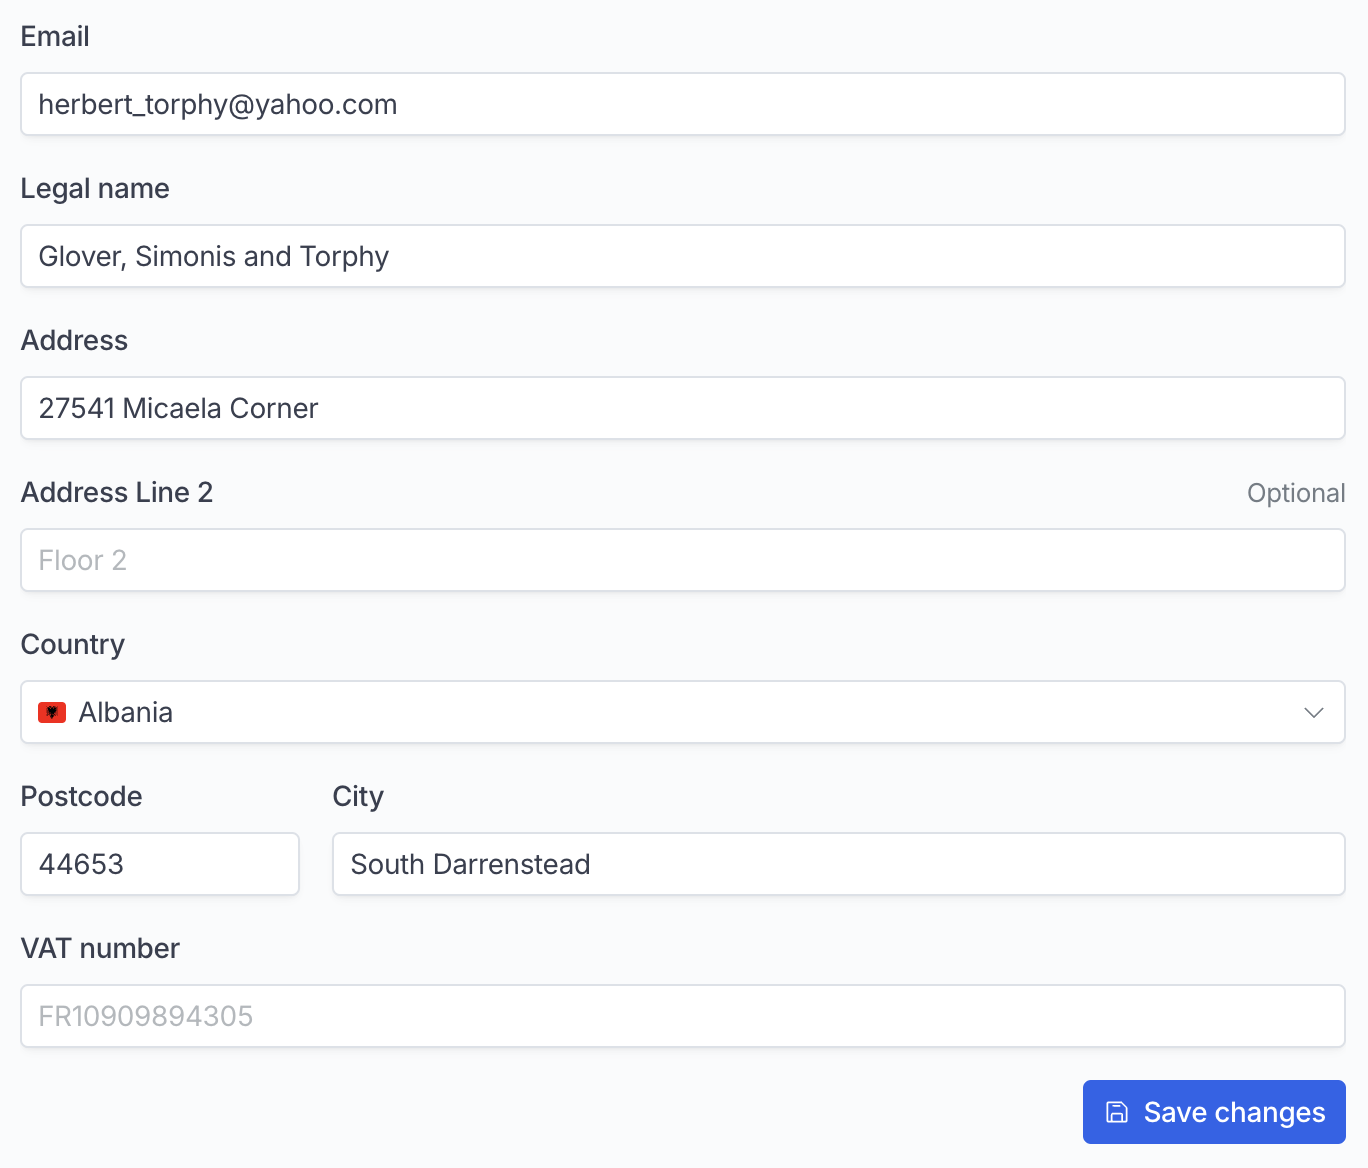
* list and update billing information

 This doc assumes that you already have a basic working knowledge of [React](https://react.dev/) and that you have already set up a React project.
## Getting started
First install the `@hyperline/react-components` NPM package.
```sh Install the package theme={null}
npm install @hyperline/react-components
```
To allow a customer to see its Hyperline's data, you need to generate a unique authentication token on your server side. You can use our API and the [create auth token endpoint](../../api-reference/endpoints/integrations/create-component-token) for this.
```sh cURL theme={null}
curl -X POST 'https://api.hyperline.co/v1/integrations/components/token' \
-H 'Content-Type: application/json' \
-H 'Authorization: Bearer ' \ # You can create an [api key here](https://app.hyperline.co/app/settings/api)
-d '{ "customer_id": "" }'
```
Then, integrate the React components. You will most likely generate a new token every time your customer access the page.
```ts theme={null}
import { Subscriptions, PaymentMethod } from "@hyperline/react-components";
export default function HyperlineSubscriptions() {
return (
",
mode: "production" // if you're using our sandbox, set "sandbox" here
locale: "en" // optional
}}
/>
);
}
export default function HyperlinePaymentMethod() {
return (
",
mode: "production" // if you're using our sandbox, set "sandbox" here
locale: "en" // optional
}}
onPaymentMethodCreated={() => do something} // optional, from 0.2.20
onPaymentMethodDeleted={() => do something} // optional, from 0.2.20
/>
);
}
```
 ## Components
### Subscriptions
List all active subscriptions
```tsx theme={null}
"
}}
/>
```
### Subscription
Display a subscripton by ID
```tsx theme={null}
"
}}
/>
```
### InvoicesList
List and download all invoices and refunds
```tsx theme={null}
"
}}
/>
```
### PaymentMethod
Display the current payment method, delete it if allowed, or add a new payment method
```tsx theme={null}
"
}}
/>
```
### CustomerBillingInfoForm
Display a form with all billing info, with an optional callback when the form has been successfully saved.
```tsx theme={null}
{}}
options={{
token: ""
}}
/>
```
## Component options
When using the components, you will need to provide an `options` prop with the following parameters:
| name | Description | Type | Default value | Required |
| ---------- | ----------------------------------------- | --------------------- | ------------- | -------- |
| token | The token specific to your customer | string | | ☑️ |
| mode | Which Hyperline environment are you using | production \| sandbox | production | |
| appearance | Customise the appearance of the component | Object | | |
### Appearance
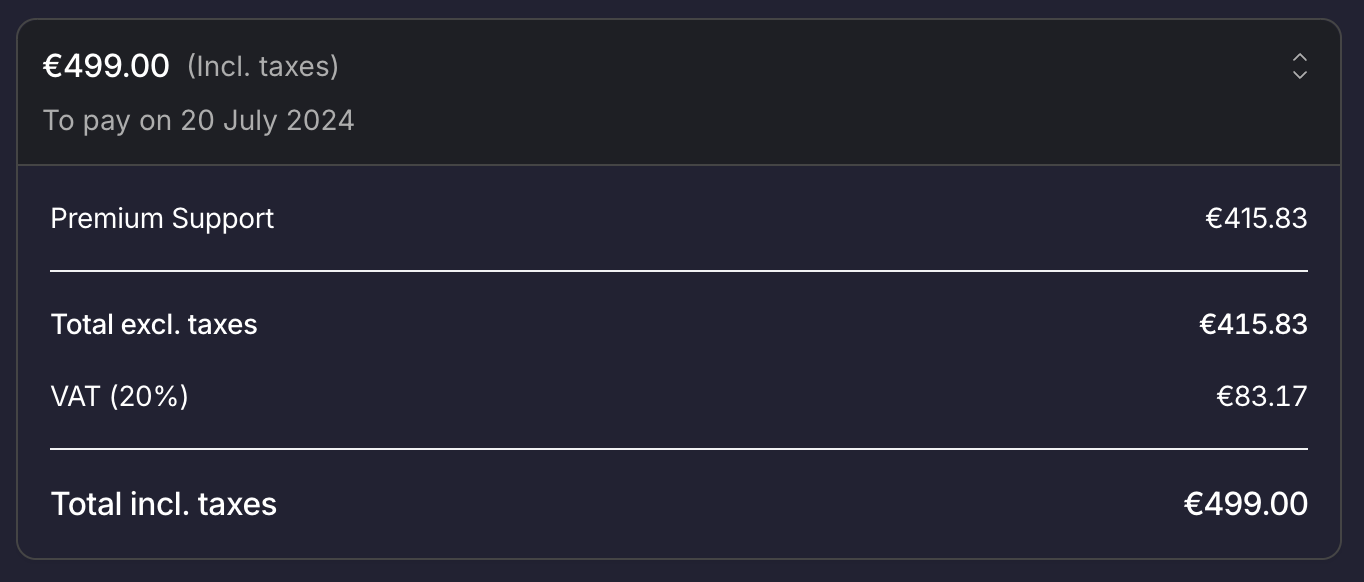
You can change the colors and fonts of the component.
```tsx theme={null}
",
appearance: {
variables: {
borderRadius: "10px",
colorBackground: "#000000",
colorPrimary: "#e1e2f3",
colorPrimaryHover: "#d0d1e5",
colorPrimaryDisabled: "#667",
colorBorder: "#445",
colorText: "#f1f2f3",
colorTextSecondary: "#dededf",
fontFamily: "sacramento"
},
fonts: [
{
src: "url(https://fonts.gstatic.com/s/sacramento/v13/buEzpo6gcdjy0EiZMBUG4C0f_f5Iai0.woff2)",
family: "sacramento"
}
]
}
}}
/>
```
 ### Variables
They are meant to customise all elements at once.
| Variable name | Description |
| ---------------------- | ------------------------------------------------------------------------------------------------------------------ |
| `borderRadius` | Change the roundness of the elements: Buttons, tables, ... |
| `colorBackground` | Most elements have a transparent background. In other cases, you can customise the background color of the element |
| `colorPrimary` | Color used for buttons and accent text |
| `colorPrimaryHover` | Hover color for buttons |
| `colorPrimaryDisabled` | Color of disabled buttons |
| `colorBorder` | The color of all our regular borders |
| `colorText` | Default text color |
| `colorTextSecondary` | Text color of secondary text |
| `fontFamily` | Font used. If you need to import a font, please read the next section |
### Fonts
Set your application's font.
* `src` Url of the font file
* `family` Name of the font - this is the name you'll use for the `fontFamily` variable
```ts theme={null}
```
# Third-party app
Source: https://docs.hyperline.co/api-reference/docs/third-party-app
Enable your app to access Hyperline accounts using OAuth flows
Hyperline supports the creation of external integrations, so your product can connect with any Hyperline account.
This capability allows external apps to build use-cases such as:
* automating or white-labeling billing-specific needs
* allowing your app to view the data of an Hyperline account
* enabling your app to manage the customer base of an Hyperline account
* allowing your app to manage the product catalog of an Hyperline account
* allowing your app to manage recurring subscriptions or one-time payments of an Hyperline account
* fetching invoices from an Hyperline account
This list is non-exhaustive and variety of flows can be built levering this kind of app.
## Getting started
Hyperline uses **OAuth** standard to allow your app to access data from a connected account with the user consent. This prevents having to manually exchange API keys. For example, with the user's consent, using OAuth you can call the subscription API on behalf of your user to create an Hyperline subscription.
Our API supports the Authorization Code Grant flow ([RFC 6749 section 4.1](https://datatracker.ietf.org/doc/html/rfc6749#section-4.1)), which allows your application to get separate access tokens for each connected Hyperline account.
We recommend using a well-established library for making OAuth requests. You can find some recommendations [here](https://oauth.net/code/).
## Registering your app
### Prerequisites
The third-party app creation capability is granted manually by Hyperline. Please contact our support if you are interested and want to enable it.
### Creating an app
The first thing you need to do is [creating a new app](../../api-reference/endpoints/third-party-apps/create-app) using the Apps API. You will receive a Client ID and Client Secret, both of which should be kept secret. These credentials can be used to:
1. Redirect users to your app's authorization form (Client ID)
2. Exchange auth codes for access tokens (Client ID & Client Secret)
3. Renew your access tokens
4. Deauthorize users from your app (Client ID & Client Secret)
Use the create new app API, including the following attributes in a JSON body:
* `name`: displayed to the user during the authorization flow
* `description` (optional): to show more details to the user
* `logo_uri` (optional): to customise the authorization screen with your brand
* `callbacks`: URLs whitelisted to use as a callback/redirect after authorization (e.g. an URL within your app that processes authorizations)
For now, apps can only be managed (listed, updated, deleted) using our API.
## OAuth flow
To initiate the flow, you need to direct your user to [`https://api.hyperline.co/v1/oauth/authorize`](../endpoints/oauth2/authorize) (or `https://sandbox.api.hyperline.co/v1/oauth/authorize`). You must append these four query parameters to the URL:
* `client_id`: received upon app registration
* `redirect_uri`: where the user will be sent after authorization, it must match the URL you set when registering your app
* `response_type=code`: the only supported mode at the moment
* `state`: a random string to prevent CSRF attacks that you verify when the user returns to your app - [more information](https://auth0.com/docs/secure/attack-protection/state-parameters)
This endpoint will redirect the user to the Hyperline login page.
After authorization, the user is redirected to your `redirect_uri` with the `code` and `state` query parameters. You must ensure that the query parameter `state` matches the original state you passed at the start of the flow.
If it does, you can exchange the provided code for tokens by making a POST request to [`https://api.hyperline.co/v1/oauth/tokens`](../endpoints/oauth2/generate-tokens) (`https://sandbox.api.hyperline.co/v1/oauth/tokens`), including the following attributes in a JSON body:
* `client_id`: as above
* `client_secret`: received upon app registration
* `grant_type: "authorization_code"`
* `code`: as provided in the query parameters
* `redirect_uri`: must match the value set at the `1. Authorize` step
You'll then receive tokens in the JSON body:
```json Response JSON body theme={null}
{
"access_token": "",
"refresh_token": "",
"expires_in": 3600,
"token_type": "bearer"
}
```
Access tokens must be provided with every API call, specified in the `Authorization` header after a Bearer prefix. For example:
```sh API call using cURL theme={null}
curl -H "Authorization: Bearer " https://api.hyperline.co/v1/customers
```
### Tokens expiration
Access tokens are time limited — you need to refresh them periodically using the refresh token. The time limits are listed below.
* Access token: 24h
* Refresh token: does not expire automatically (can be revoked)
You can use the `expires_in` field to know the number of seconds left before the app access token expires. Be sure to renew it before this reaches zero.
## Managing tokens
### Refresh a token
If you wish to renew an access token, you can make a POST request to [`https://api.hyperline.co/v1/oauth/tokens`](../endpoints/oauth2/generate-tokens) (or `https://sandbox.api.hyperline.co/v1/oauth/tokens`), including the following attributes in a JSON body:
* `client_id`: received upon app registration
* `client_secret`: received upon app registration
* `grant_type: "refresh_token"`
* `refresh_token`: received during the first authorization flow
### Revoke a token
Once issued, access tokens cannot be revoked in the same way as cookies with session IDs for server-side sessions. As a result, tokens should be refreshed periodically if the user remains active.
You can revoke refresh tokens in case they become compromised. Simply make a POST request to [`https://api.hyperline.co/v1/oauth/revoke`](../endpoints/oauth2/revoke-token) (or `https://sandbox.api.hyperline.co/v1/oauth/revoke`), including the following attributes in a JSON body:
* `client_id`: received upon app registration
* `client_secret`: received upon app registration
* `token`: refresh token you want to revoke
## Multiple accounts
Learn about [multiple accounts](../../docs/getting-started/multiple-accounts) on Hyperline.
Each access token grants access to all companies associated with the user. To retrieve a list of all user-accessible companies, utilize the [`https://api.hyperline.co/v1/companies`](../endpoints/companies/get-companies) endpoint.
For targeting a particular company, include the `Hyperline-CompanyId` header in each API request.
If a user has access to multiple companies and you don't specify the `Hyperline-CompanyId` header, the first company (oldest one) linked to the user will be used.
We advise including this header by default when constructing a third-party app/flow.
# API upgrades
Source: https://docs.hyperline.co/api-reference/docs/upgrades
Keep track of changes and deprecation to the Hyperline API
## December 11, 2025
* Added `Customer.tax_ids` and `Customer.tax_rate_custom` on `/v1/customers` GET, POST endpoints
* Added `Customer.tax_ids` and `Customer.tax_rate_custom` on `/v1/customers/{id}` GET, PUT endpoint
* Added `Invoice.customer.tax_id` on `/v1/invoices` GET endpoint
* Added `Invoice.customer.tax_id` on `/v1/invoices/{id}` GET endpoint
* Major Deprecation warning
* Deprecating `Customer.vat_number` and `Customer.vat_number_valid` in favor of `Customer.tax_ids`
* Deprecating `Customer.vat_rate_custom` in favor of `Customer.tax_rate_custom`
* Deprecating `Invoice.customer.vat_number` in favor of `Invoice.customer.tax_id`
## December 4, 2025
* Added `custom_properties` query param on `/v2/subscriptions` GET endpoint
## December 1, 2025
* Added `Customer.shipping_address` on `/v1/customers` GET, POST endpoints
* Added `Customer.shipping_address` on `/v1/customers/{id}` GET, PUT endpoints
## November 28, 2025
* Added `Invoice.public_url` on `/v1/invoices/{id}` GET endpoint
## November 19, 2025
* Added `/v1/exports` POST endpoint
* Added `/v1/exports/{id}` GET endpoint
* Added `/v1/exports/{id}/download` GET endpoint
## October 31, 2025
* Added `/v1/customers/{id}/credits/{id}` PUT endpoint
## October 23, 2025
* Added `Invoice.coupons` on `/v1/invoices` POST endpoint
* Added `Invoice.coupons` on `/v1/invoices/{id}` PATCH endpoint
* Added `Invoice.coupons` on `/v1/invoices/batch` POST endpoint
## October 16, 2025
* Added `Coupon.product_ids` on `/v1/coupons` GET endpoint
* Added `Coupon.product_ids` on `/v1/coupons` POST endpoint
* Added `Coupon.product_ids` on `/v1/coupons/{id}` GET endpoint
* Added `Coupon.product_ids` on `/v1/coupons/{id}` PUT endpoint
* Added `/v1/subscriptions/templates` GET endpoint
* Added `/v1/subscriptions/templates/{id}` GET endpoint
* Added `Subscription.template_id` on `/v2/subscriptions` POST endpoint
* Added `Subscription.template_configuration_id` on `/v2/subscriptions` POST endpoint
* Major Deprecation warning
* Deprecating `/v1/plans` GET endpoint
* Deprecating `/v1/plans/{id}` GET endpoint
## October 1, 2025
* Added `product_id`, `customer_id`, `updated_at` query params on `/v1/customers/credits` GET endpoint
## September 30, 2025
* Added `Customer.is_government_affiliated` on `/v1/customers` POST, GET, PUT endpoints
## September 26, 2025
* Added `/v1/customers/credits` GET endpoint
* Added `Credit.auto_topup` on `/v1/customers/{id}/credits` POST, GET endpoints
* Added `Credit.auto_topup` on `/v1/customers/{id}/credits/{creditId}` GET endpoint
## September 23, 2025
* Added `/v1/quotes/{id}/approve` POST endpoint
## September 19, 2025
* Added `Customer.integrations` on `/v1/customers` GET endpoint
## September 16, 2025
* Added `period_start` and `period_end` query params on `/v1/invoices` GET endpoint
## September 15, 2025
* Added `Subscription.activation_strategy` on `/v2/subscriptions` GET endpoint
## September 11, 2025
* Added `Subscription.phases[].do_not_invoice_phase` on `/v2/subscriptions/{id}` GET endpoint
* Added `Subscription.phases[].do_not_invoice_phase` on `/v2/subscriptions` POST endpoint
* Added `Subscription.phases[].do_not_invoice_phase` on `/v2/subscriptions/{id}` PUT endpoint
## September 10, 2025
* Added `/v1/invoices/{id}/uncollectible` POST endpoint
## September 5, 2025
* Added `Subscription.phases` on `/v2/subscriptions/{id}` PUT endpoint
## August 27, 2025
* Added `Invoice.source` on `/v1/invoices` GET endpoint
* Added `Invoice.source` on `/v1/invoices/{id}` GET endpoint
## August 25, 2025
* Added `/v1/bank-accounts` GET endpoint
* Added `/v1/bank-accounts/{id}` GET endpoint
## August 18, 2025
* Added `/v1/subscriptions/{id}/simulate-updates` POST endpoint
* Added `plan.created`, `plan.updated` and `plan.deleted` webhooks
## August 8, 2025
* Added `Quote.updated_at` on `/v1/quotes` GET endpoint
* Added `Quote.updated_at` on `/v1/quotes/{id}` GET endpoint
* Added `PriceConfiguration.price_book_id` on `/v1/price-configurations` GET endpoint
## July 21, 2025
* Added `Subscription.crm_opportunity_id` on `/v2/subscriptions` POST endpoint
* Added `Subscription.crm_opportunity_id` on `/v2/subscriptions/{id}` PUT endpoint
## July 17, 2025
* Added `reason` on `/v1/subscriptions/{id}/cancel` POST endpoint
* Added `Subscription.cancellation_reason` on `/v2/subscriptions` GET endpoint
* Added `Subscription.cancellation_reason` on `/v2/subscriptions/{id}` GET endpoint
## July 11, 2025
* Added `/v1/customers/{id}/payment-methods` POST endpoint
* Added `Transaction.provider_name` and `Transaction.provider_transaction_id` on `/v1/invoices/{id}/transactions` POST endpoint
## July 7, 2025
* Added `/v1/files` GET, POST endpoints
* Added `/v1/files/{id}` DELETE endpoint
* Added `/v1/files/{id}/download` GET endpoint
* Added `Invoice.properties` on `/v1/invoices` GET, POST endpoints
* Added `Invoice.properties` on `/v1/invoices/{id}` GET, PATCH endpoints
## July 3, 2025
* Added `/v1/subscriptions/{id}/renew` POST endpoint
## June 27, 2025
* Added `Invoice.coupons` and `Invoice.transactions` on `/v1/invoices` GET endpoint
## June 18, 2025
* Added `Subscription.name` on `/v2/subscriptions/{subscriptionId}` GET endpoint
* Added `Subscription.name` on `/v2/subscriptions` GET endpoint
## June 13, 2025
* Added `Subscription.generate_document`, `Subscription.document_name` and `Subscription.add_vat_to_document` on `/v2/subscriptions` POST endpoint
## June 11, 2025
* Added `/v1/invoices/{id}/credit-notes` POST endpoint
* Added `Invoice.integrations` on `/v1/invoices/{id}` GET endpoint
* Added `Customer.integrations` on `/v1/customers/{id}` GET endpoint
* Added `PaymentMethod.integration` on `/v1/customers/{id}/payment-methods/{id}` GET endpoint
* Major
Deprecation warning- Deprecating
`Customer.providers` in favor of `Customer.integrations`
## June 6, 2025
* Added `/v1/price-configurations` GET endpoint
* Added `/v1/price-configurations/{id}` DELETE endpoint
## May 16, 2025
* Added `purchase_order` query param on `/v2/subscriptions` GET endpoint
## May 9, 2025
* Added `/v1/promotion-codes` GET, POST endpoints
* Added `/v1/promotion-codes/{id}` GET, PATCH, DELETE endpoints
## April 30, 2025
* Added `Subscription.contract_terms` on `/v2/subscriptions/{subscriptionId}` GET endpoint
* Added `Subscription.contract_terms` on `/v2/subscriptions` POST endpoint
* Added `Quote.subscription.contract_terms` on `/v1/quotes` POST endpoint
* Added `Invoice.bank_account_id` on `/v1/invoices/{id}` GET endpoint
* Added `Invoice.bank_account_id` on `/v1/invoices/{id}` PATCH endpoint
* Added `Invoice.payment_method_type` on `/v1/invoices/{id}` PATCH endpoint
* Added `Invoice.payment_method_id` on `/v1/invoices/{id}` PATCH endpoint
## April 18, 2025
* Added `Subscription.billing_cycle_alignment` on `/v2/subscriptions` POST endpoint
## April 8, 2025
* Added `Invoice.type` on `/v1/invoices` POST endpoint
* Added `Invoice.type` on `/v1/invoices/{id}` PATCH endpoint
* Added `Invoice.document_name` on `/v1/invoices` POST endpoint
* Added `Invoice.document_name` on `/v1/invoices/{id}` PATCH endpoint
* Added `Invoice.tax_scheme` on `/v1/invoices` POST endpoint
* Added `Invoice.tax_scheme` on `/v1/invoices/{id}` PATCH endpoint
* Added `Invoice.line_items` on `/v1/invoices/{id}` PATCH endpoint
## April 4, 2025
* Added `Subscription.trial` on `/v2/subscriptions` POST endpoint
* Added `Quote.subscription.trial` on `/v1/quotes` POST endpoint
* Major
Deprecation warning
* Deprecating
`Subscription.trial_ends_at` and `Subscription.trial_delay_first_invoice` in
favor of `Subscription.trial`
* Deprecating `Quote.subscription.trial_ends_at`
and `Quote.subscription.trial_delay_first_invoice` in favor of `Quote.subscription.trial`
## March 31, 2025
* Added `/v1/invoices/{id}/charge` POST endpoint
* Added `Invoice.transactions[].chargeback` on `/v1/invoices/{id}` GET endpoint
* Added `Subscription.phases[].billing_cycle_alignment` on `/v2/subscriptions/{subscriptionId}` GET endpoint
* Added `SubscriptionPhase.billing_cycle_alignment` on `/v2/subscriptions/{subscriptionId}/phases` GET endpoint
* Added `SubscriptionPhase.billing_cycle_alignment` on `/v2/subscriptions/{subscriptionId}/phases/{phaseId}` GET endpoint
* Added `Subscription.phases[].billing_cycle_alignment` on `/v2/subscriptions` POST endpoint
* Added `Quote.subscription.phases[].billing_cycle_alignment` on `/v1/quotes` POST endpoint
* Added `subscription.reinstated` webhook
## March 24, 2025
* Added `PaymentMethod.status` on `/v1/customers/{id}/payment-methods` GET endpoint
* Added `PaymentMethod.status` on `/v1/customers/{id}/payment-methods/{paymentMethodId}` GET endpoint
* Added `Customer.price_book_id` on `/v1/customers` GET endpoint
* Added `Customer.price_book_id` on `/v1/customers/{id}` GET endpoint
## March 11, 2025
* Added `/v1/products/{id}/archive` PUT endpoint
* Added `/v1/products/{id}/unarchive` PUT endpoint
## March 6, 2025
* Added `/v1/invoices/{id}/transactions` POST endpoint
* Added `/v1/invoices/{id}/transactions/{transactionId}` DELETE endpoint
* Added `provider_id` on `/v1/customers/providers-bulk-update` POST endpoint
## February 27, 2025
* Added `Subscription.phases` on `/v2/subscriptions` POST endpoint
* Added `Subscription.phases` on `/v2/subscriptions/{id}` GET endpoint
## February 4, 2025
* Added `Invoice.payment_method_id` on `/v1/invoices` POST endpoint
* Added `Invoice.line_items[].tax_rate` on `/v1/invoices` POST endpoint
## January 28, 2025
* Added `Invoice.line_items[].product_id` on `/v1/invoices` POST endpoint
## January 15, 2025
* Added `Subscription.quote` on `/v2/subscriptions/{id}` GET endpoint
## January 14, 2025
* Added `/v2/subscriptions/{id}/phases` GET endpoint
* Added `/v2/subscriptions/{id}/phases/{phaseId}` GET endpoint
* Added `Subscription.current_phase_id` on `/v2/subscriptions` GET endpoint
* Added `Subscription.current_phase_id` on `/v2/subscriptions/{id}` GET endpoint
## January 10, 2025
* Added `Quote.original_subscription_id` on `/v1/quotes` GET endpoint
* Added `Quote.original_subscription_id` on `/v1/quotes/{id}` GET endpoint
## January 8, 2025
* Added `/v1/invoices/{id}` DELETE endpoint
## November 6, 2024
* Added `/v1/customers/{id}/unarchive` PUT endpoint
* Added `/v1/invoices/{id}` PATCH endpoint
* Added `/v1/subscriptions/{id}/activate` POST endpoint
## October 23, 2024
* Added `/v1/customers/{id}/payment-methods` GET endpoint
* Added `/v1/customers/{id}/payment-methods/{paymentMethodId}` GET, DELETE endpoints
## October 8, 2024
* Added `/v1/companies` POST endpoint
## August 21, 2024
* Added `custom_property.created`, `custom_property.updated`, `custom_property.deleted`, `custom_property.value_created`, `custom_property.value_updated`, `bank_account.created`, `bank_account.deleted` webhooks
## August 20, 2024
* Added `/v1/taxes/rates` GET endpoint
* Added `/v1/taxes/rates/{id}` GET endpoint
* Added `Product.accounting` on `/v1/products/{id}` GET, POST, PUT endpoints
* Added `Invoice.line_items[].tax_rate_id` on `/v1/invoices` GET endpoint
* Added `Invoice.line_items[].tax_rate_id` on `/v1/invoices/{id}` GET endpoint
* Added `Customer.custom_payment_delay` on `/v1/customers` GET endpoint
* Added `Customer.custom_payment_delay` on `/v1/customers/{id}` GET, POST, PUT endpoints
## August 12, 2024
* Added `Subscription.custom_properties` on `/v2/subscriptions` GET, POST endpoints
* Added `Subscription.custom_properties` on `/v2/subscriptions/{id}` GET, PUT endpoints
## August 7, 2024
* Added `/v1/quotes/{id}/sign` POST endpoint
* Added `/v1/invoices/{id}/void` POST endpoint
## July 30, 2024
* Added `Customer.timezone` on `/v1/customers` GET, POST endpoints
* Added `Customer.timezone` on `/v1/customers/{id}` GET, PUT endpoints
## July 3, 2024
* Added `/v1/organisations/{id}` GET endpoint
* Added `/v1/organisations/{id}` PATCH endpoint
* Added `Customer.organisation_id` and `Customer.organisation_invoicing` on `/v1/customers` POST endpoint
* Added `Customer.organisation_id` and `Customer.organisation_invoicing` on `/v1/customers/{id}` GET, PUT endpoints
* Added `Subscription.contract_start` and `Subscription.contract_end` on `/v2/subscriptions/*` endpoints
* Added `Subscription.products[].attached_at` and `Subscription.products[].detached_at` on `/v2/subscriptions/*` endpoints
* Added `/v1/subscriptions/{id}/reinstate` POST endpoint
* Added `update_prices` `SubscriptionUpdate.type` on `/v1/subscriptions/{id}/update` POST endpoint
* Added `/v1/subscriptions/{id}/update-many` POST endpoint
* Major Deprecation warning
* Deprecating `Subscription.starts_at` in favor of `Subscription.contract_start`
* Major Planned for September 1, 2024
* Removing `SubscriptionUpdate.payload.billing_item_ids` in favor of `SubscriptionUpdate.payload.product_ids` for `add_coupon` update type
* Removing `add_item` `SubscriptionUpdate.type` in favor of `add_product`
* Removing `remove_item` `SubscriptionUpdate.type` in favor of `remove_product`
## June 26, 2024
* Added `/v1/quotes` POST endpoint
* Added `/v1/quotes/{id}/download` GET endpoint
* Added `/v1/quotes/{id}/send` POST endpoint
* Added `/v1/quotes/{id}/void` POST endpoint
## June 12, 2024
* Added `Customer.custom_properties` on `/v1/customers` GET endpoint
## May 27, 2024
* Added `/v1/quotes` GET endpoint
* Added `/v1/quotes/{id}` GET endpoint
* Added `/v1/quotes/{quoteId}/files/{id}/download` GET endpoint
## April 2, 2024
* Major Removed deprecated subscription endpoints
* Removed `GET /v1/subscriptions` in favor of `GET /v2/subscriptions`
* Removed `GET /v1/subscriptions/{id}` in favor of `GET /v2/subscriptions/{id}`
* Removed `POST /v1/subscriptions` in favor of `POST /v2/subscriptions`
* Removed `GET /v1/billing-plans/{id}` in favor of `GET /v1/plans/{id}`
* Removed `GET /v1/billing-scenarios`
* Removed `GET /v1/billing-scenarios/{id}`
## March 6, 2024
* Added `/v1/subscriptions/{id}/pause` PUT endpoint
* Added `/v1/subscriptions/{id}/reactivate` PUT endpoint
* Added `/v1/subscriptions/refresh` POST endpoint
## March 5, 2024
* Added `/v1/webhooks/endpoints` GET, POST endpoints
* Added `/v1/webhooks/endpoints/{id}` GET, PUT, DELETE endpoints
## March 1, 2024
* Major Removed unit concept on wallets (only money pocket) in favor of credit-type products to manage credit units.
* Removed `WalletBalance.units`
* Removed `WalletSettings.unit_credit_prices`
* Removed `WalletTransaction.units` and `WalletTransaction.transaction_id`
## February 28, 2024
* Major Removed unique current customer subscription in favor of subscriptions array.
* Removed `Customer.current_subscription_id` on `/v1/customers` GET endpoint
* Removed `Customer.current_subscription` on `/v1/customers/{id}` GET endpoint
## February 20, 2024
* Added `Customer.type` on `/v1/customers` GET, POST and PUT endpoints
* Added `Customer.invoice_emails` on `/v1/customers` GET, POST and PUT endpoints
* Added `Customer.vat_rate_custom` on `/v1/customers` GET, POST and PUT endpoints
* Added `external` option on `Customer.payment_method_type` on `/v1/customers` POST and PUT endpoints
## February 16, 2024
* Major Planned for April 1, 2024
* Removing `Customer.country` in favor of `Customer.billing_address.country`
* Removing `GET /v1/subscriptions` in favor of `GET /v2/subscriptions`
* Removing `GET /v1/subscriptions/{id}` in favor of `GET /v2/subscriptions/{id}`
* Removing `POST /v1/subscriptions` in favor of `POST /v2/subscriptions`
* Major Planned for February 28, 2024
* Removing `Customer.current_subscription_id` on `/v1/customers` GET endpoint in favor of `Customer.subscriptions`
* Removing `Customer.current_subscription` on `/v1/customers/{id}` GET endpoint in favor of `Customer.subscriptions`
# Webhooks
Source: https://docs.hyperline.co/api-reference/docs/webhooks
Receive webhook messages
Webhooks are automated messages sent from Hyperline when something happens on our system. They have a specific payload for each action they notify and are sent to a unique URL, an HTTPS endpoint on your server. Webhooks are a great way to integrate your application with Hyperline as you can fine-tune product flows and build deeper integrations based on your needs, with little development work on your end.
## Add a webhook endpoint
To start listening to webhook message sent by Hyperline, go to your [webhooks settings](https://app.hyperline.co/app/settings/webhooks) in the app, click on "Add Endpoint", provide the termination URL that you control, and select the event types you want to listen to. You can add as many URLs, if you want to segregate the events you want to listen to.
 That's it! You will now receive webhook calls when the event occurs on the Hyperline system.
## Event types
A complete list of the event types and the shape of the event payload can be
find in the product Webhooks page, on the "Event Catalog" tab.
Here is a preview of the events you can be notified:
* `customer.created`, `customer.updated`, `customer.archived`, `customer.recovered`, `customer.deleted`
* `subscription.created`, `subscription.contract_started`, `subscription.activated`, `subscription.phase_activated`, `subscription.trial_ended`, `subscription.paused`, `subscription.reinstated`, `subscription.updated`, `subscription.cancellation_scheduled`, `subscription.cancelled`, `subscription.voided`, `subscription.errored`, `subscription.charged`, `subscription.commitment_renewed`
* `invoice.created`, `invoice.ready`, `invoice.grace_period.started`, `invoice.settled`, `invoice.errored`, `invoice.voided`, `invoice.reminder_sent`
* `quote.created`, `quote.updated`, `quote.approved`, `quote.sent`, `quote.viewed`, `quote.signed`, `quote.voided`
* `credit_note.ready`, `credit_note.settled`
* `checkout.created`, `checkout.completed`
* `payment_method.created`, `payment_method.activated`, `payment_method.errored`, `payment_method.deleted`
* `bank_account.created`, `bank_account.deleted`
* `wallet.credited`, `wallet.debited`
* `credit.created`, `credit.updated`, `credit.balance_refreshed`, `credit.low_balance`, `credit.balance_at_zero`, `credit.topup_transaction_created`, `credit.usage_transaction_created`
* `custom_property.created`, `custom_property.updated`, `custom_property.deleted`, `custom_property.value_created`, `custom_property.value_updated`
* `product.created`, `product.updated`, `product.archived`, `product.recovered`, `product.deleted`
* `coupon.created`, `coupon.updated`, `coupon.deleted`
* `daily_analytics.ready`
* `dataloader.failed`
## Consuming webhooks
Webhook calls will always be `POST` HTTPS request contains a JSON body with this format:
```json theme={null}
{
"event_type": ".",
"data": {}
}
```
Your endpoint must quickly return a 2xx (status code 200-299) response prior to any complex logic that could cause a timeout (max 15s).
Another important aspect of handling webhooks is to verify the signature and timestamp when processing them.
## Testing events
The easiest way to be more confident in your endpoint configuration is to start receiving events as quickly as possible. The "Testing" tab is here to help you to send example events to your endpoint.
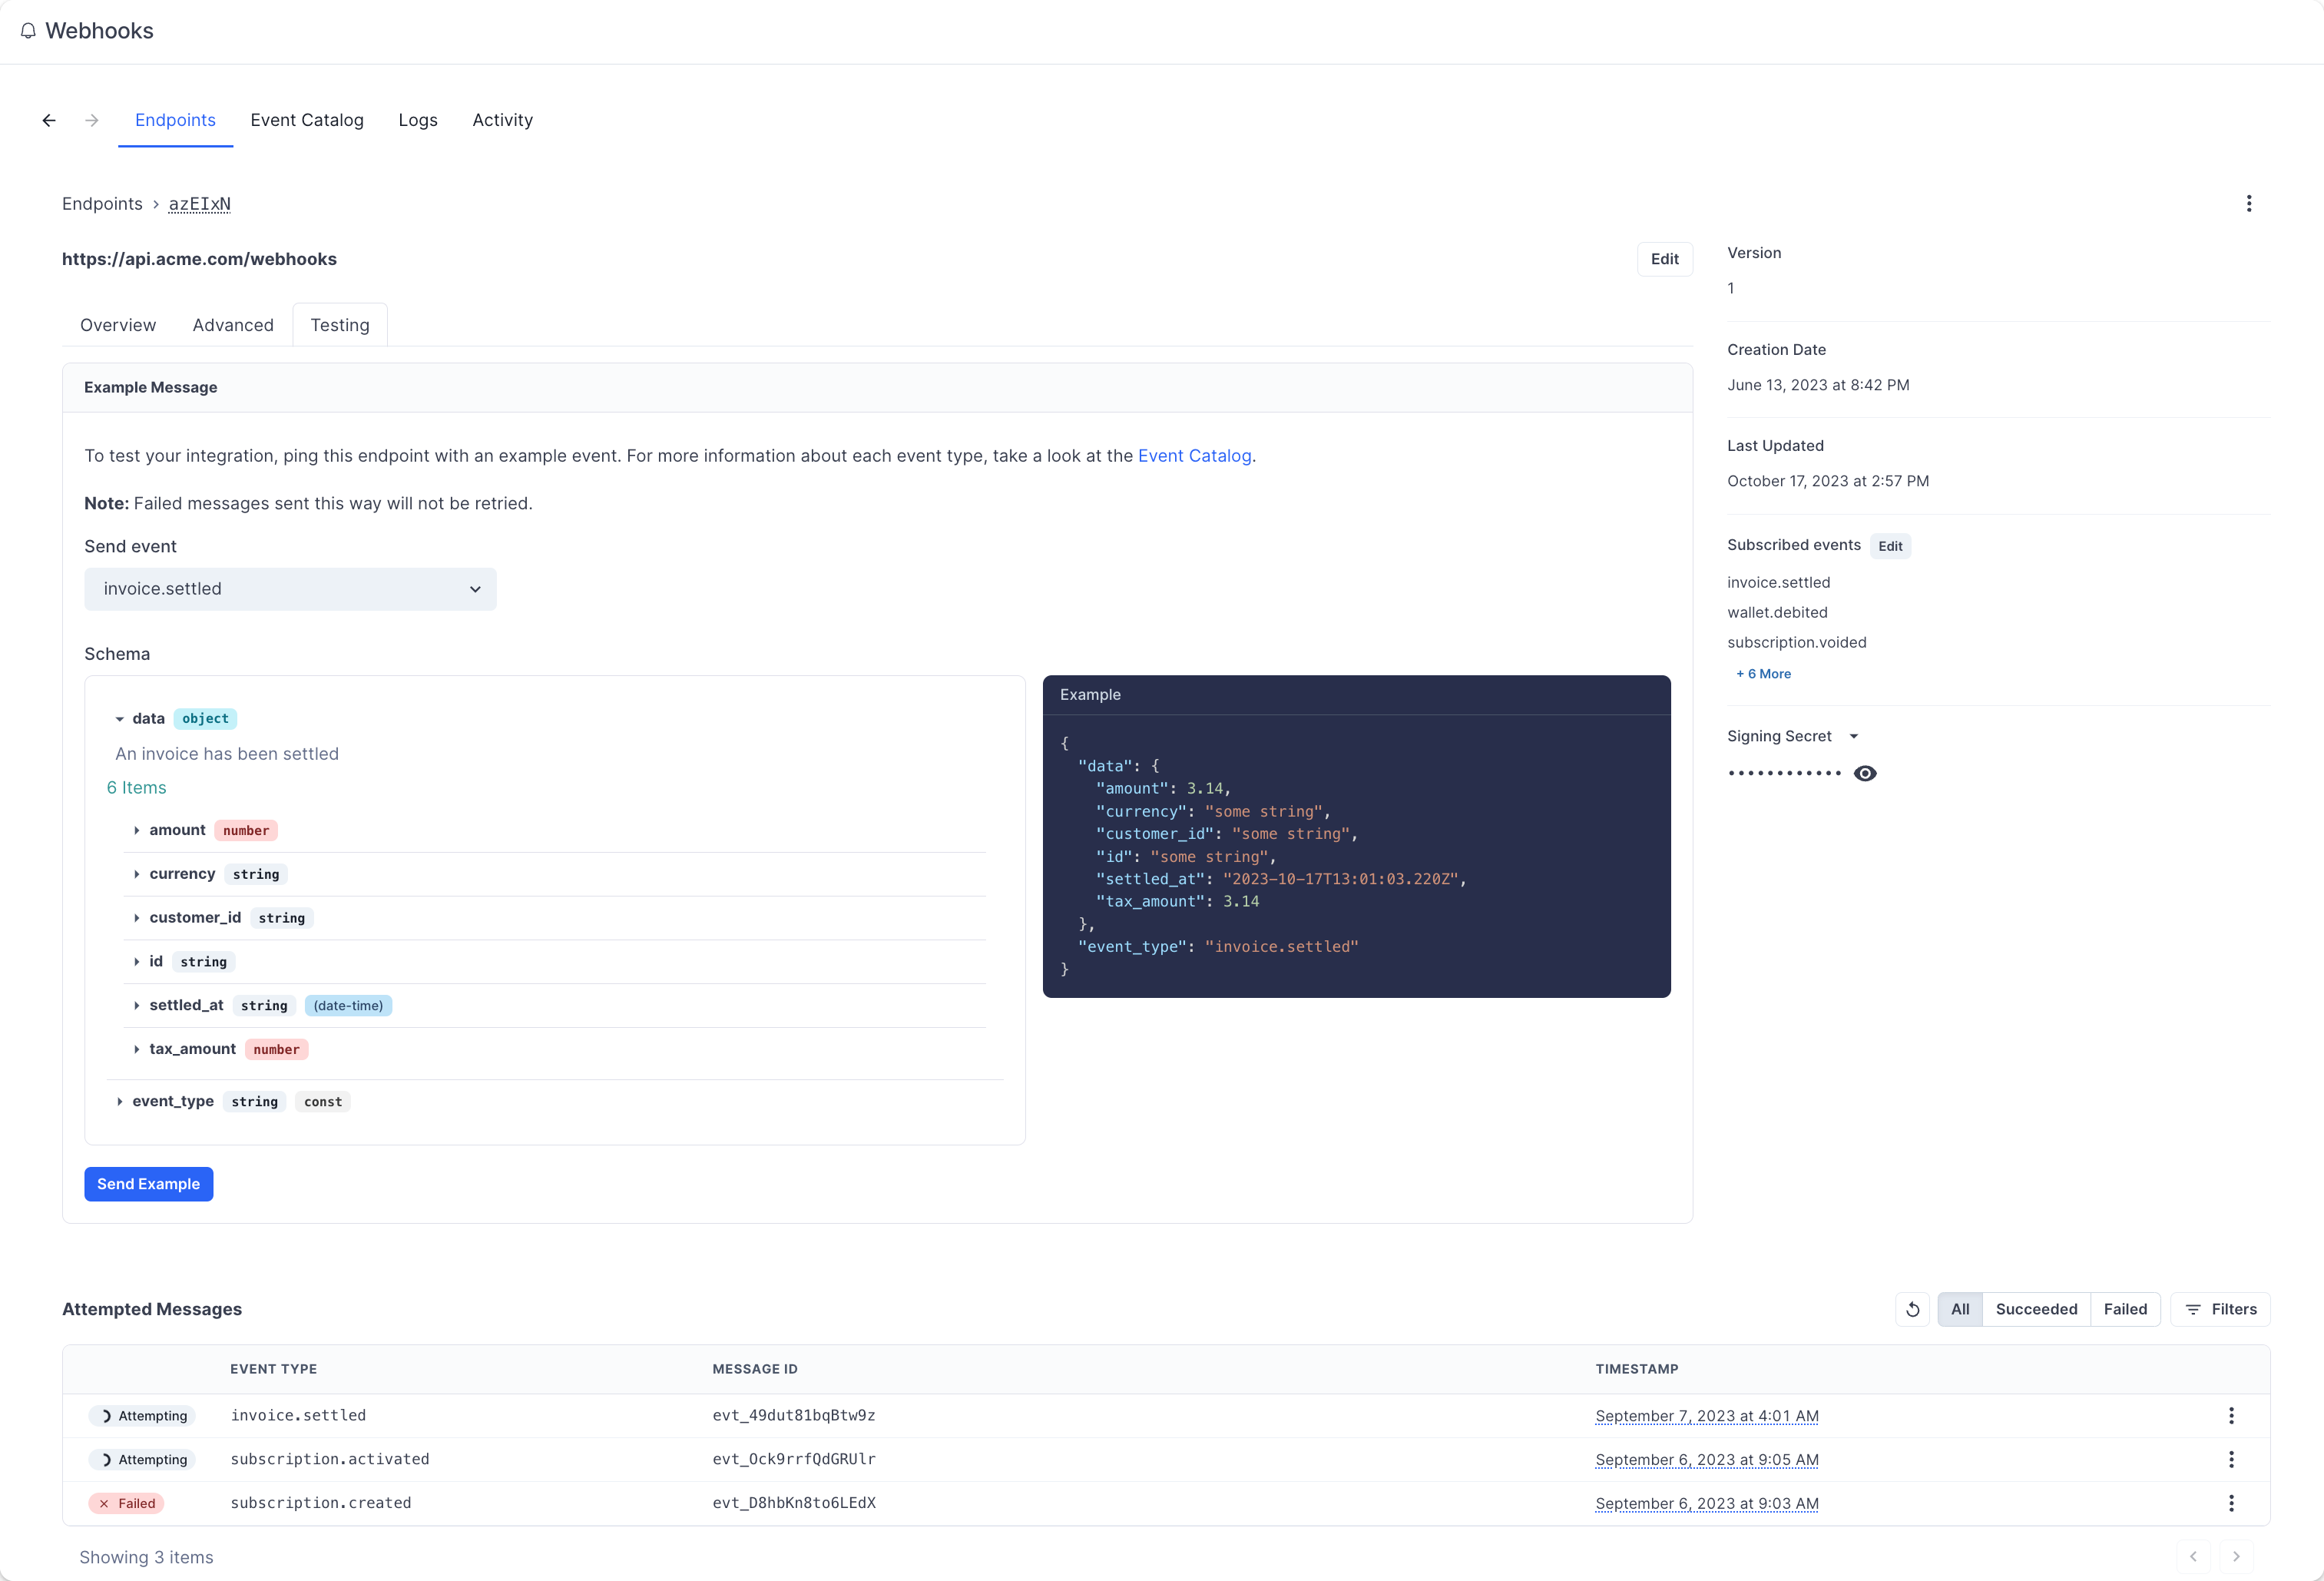 After sending an example event, you can click into the message to view the message payload, all of the message attempts, and whether it succeeded or failed.
Additionally, the Logs section is here to help you have a complete view of past call attempts with their date, status, and payload.
## Event delivery
### Replaying events
If you want to replay a single (or multiple) events, you can find the message from the UI, open the options menu next to any of the attempts, and click on "Resend".
It's a great help if your service had downtime or if your endpoint was misconfigured.
### Retry schedule
Each message is attempted based on the following schedule, where each period is started following the failure of the preceding attempt:
* Immediately
* 5 seconds
* 5 minutes
* 30 minutes
* 2 hours
* 5 hours
* 10 hours
* 10 hours (in addition to the previous)
If an endpoint is removed or disabled delivery attempts to the endpoint will be disabled as well.
### Event ordering
Hyperline doesn't guarantee delivery of events in the order in which they're generated. You can find more details about why guaranteeing order doesn't really work in [this article](https://www.svix.com/blog/guaranteeing-webhook-ordering).
Your endpoint shouldn't expect delivery of events in a specific order. We recommend designing your system in a way that doesn't require ordering. Additionally, you can use the API to fetch any missing objects (for example, you can fetch the subscription details using the ID provided in the `subscription.created` event payload).
### Static source IP addresses
In case your webhook receiving endpoint is behind a firewall or NAT, you may need to allow traffic from our webhook servers' static IP addresses.
In such scenarios, we recommend you to whitelist the following IP addresses:
```
52.215.16.239
54.216.8.72
63.33.109.123
2a05:d028:17:8000::/56
```
## Best practices
### Handling duplicate events
Webhook endpoints might occasionally receive the same event more than once. You can guard against duplicated event receipts by making your event processing [idempotent](https://en.wikipedia.org/wiki/Idempotence). One way of doing this is logging the events you've processed, and then not processing already-logged events.
### Prevent stale data
As webhooks can be retried, another update can occur once your server is finally able to process the event. Therefore, we advise you to query the latest version of the related entity upon receiving a webhook.
### Verify webhooks
Verifying webhooks is an important part of the consumption. Because of the way webhooks work, attackers can impersonate services by simply sending a fake webhook to an endpoint. This is a potential security hole for your application.
In order to prevent it, every webhook and its metadata is **signed** with a unique key for each endpoint. This signature can then be used to verify the webhook indeed comes from Hyperline, and only process it if it is.
Another potential security hole is what's called replay attacks. A replay attack is when an attacker intercepts a valid payload (including the signature), and re-transmits it to your endpoint. This payload will pass signature validation, and will therefore be acted upon.
To mitigate this attack, a timestamp (`webhook-timestamp` header) is included in every request for when the webhook attempt occurred. We recommend you reject webhooks with a timestamp that is more than five minutes away (past or future) from the current time.
**Verifying signatures**
Each webhook call includes three headers with additional information that are used for verification:
* `webhook-id`: the unique message identifier for the webhook message. This identifier is unique across all messages but will be the same when the same webhook is being resent (e.g. due to a previous failure).
* `webhook-timestamp`: timestamp in seconds since epoch.
* `webhook-signature`: the Base64 encoded list of signatures (space delimited).
**Constructing the signed content**
The content to sign is composed by concatenating the id, timestamp, and payload, separated by the full-stop character (`.`). In code, it will look something like:
```
signedContent = "${webhook_id}.${webhook_timestamp}.${body}"
```
Where `body` is the raw body of the request. The signature is sensitive to any changes, so even a small change in the body will cause the signature to be completely different. This means that you should not change the body in any way before verifying.
**Determining the expected signature**
`HMAC` with `SHA-256` is used to sign webhooks.
So to calculate the expected signature, you should HMAC the `signed_content` from above using the base64 portion of your signing secret (this is the part after the `whsec_` prefix) as the key. For example, given the secret `whsec_MfKQ9r8GKYqrTwjUPD8ILPZIo2LaLaSw` you will want to use `MfKQ9r8GKYqrTwjUPD8ILPZIo2LaLaSw`.
Here is an example of how you can calculate the signature in Node.js:
```js theme={null}
const crypto = require("crypto");
const signedContent = `${webhook_id}.${webhook_timestamp}.${body}`;
const secret = "whsec_MfKQ9r8GKYqrTwjUPD8ILPZIo2LaLaSw";
// Need to base64 decode the secret
const secretBytes = new Buffer(secret.split("_")[1], "base64");
const signature = crypto
.createHmac("sha256", secretBytes)
.update(signedContent)
.digest("base64");
console.log(signature);
```
This generated signature should match one of the ones sent in the `webhook-signature` header.
This header is composed of a list of space-delimited signatures and their corresponding version identifiers. The signature list is most commonly of length one. Though there could be any number of signatures. For example:
```
v1,g0hM9SsE+OTPJTGt/tmIKtSyZlE3uFJELVlNIOLJ1OE= v1,bm9ldHUjKzFob2VudXRob2VodWUzMjRvdWVvdW9ldQo= v2,MzJsNDk4MzI0K2VvdSMjMTEjQEBAQDEyMzMzMzEyMwo=
```
Make sure to remove the version prefix and delimiter (e.g. v1,) before verifying the signature.
# Get analytics
Source: https://docs.hyperline.co/api-reference/endpoints/analytics/get-analytics
get /v1/analytics
Retrieve your pre-computed account's analytics (ARR, revenues, churn, etc).
# Get bank account
Source: https://docs.hyperline.co/api-reference/endpoints/bank-accounts/get-bank-account
get /v1/bank-accounts/{id}
Retrieve a specific bank account by ID.
# Get bank accounts
Source: https://docs.hyperline.co/api-reference/endpoints/bank-accounts/get-bank-accounts
get /v1/bank-accounts
Retrieve all bank accounts.
# Create billable event
Source: https://docs.hyperline.co/api-reference/endpoints/billable-events/create-billable-event
post /v1/events
Create a new billable event.
# Create billable events
Source: https://docs.hyperline.co/api-reference/endpoints/billable-events/create-billable-events
post /v1/events/batch
Create several billable events in batch (limited to max 5000 events per request).
# Delete billable events
Source: https://docs.hyperline.co/api-reference/endpoints/billable-events/delete-billable-events
delete /v1/events
Delete existing billable events.
# Get billable event prices
Source: https://docs.hyperline.co/api-reference/endpoints/billable-events/get-billable-event-prices
get /v1/events/prices
Get previous calculation results for a billable event. You can search by either calculation_id / record_id or both.
# Ingest and calculate billable event prices
Source: https://docs.hyperline.co/api-reference/endpoints/billable-events/ingest-and-calculate-billable-event-prices
post /v1/events/prices
Ingest and calculate prices for a single billable event. After the first ingestion, events are not ingested again and the prices won't be calculated again. The initially calculated prices will be returned in subsequent calls.
# Simulate billable event prices
Source: https://docs.hyperline.co/api-reference/endpoints/billable-events/simulate-billable-event-prices
post /v1/events/simulate-prices
Simulate prices for a single billable event without ingesting it.
# Create company
Source: https://docs.hyperline.co/api-reference/endpoints/companies/create-company
post /v1/companies
Create a new company to which the authentication token will have access to.
# Get companies
Source: https://docs.hyperline.co/api-reference/endpoints/companies/get-companies
get /v1/companies
Retrieve all companies that the authentication token has access to.
# Create promotion code
Source: https://docs.hyperline.co/api-reference/endpoints/coupons->-promotion-codes/create-promotion-code
post /v1/promotion-codes
Create a new promotion code.
# Delete promotion code
Source: https://docs.hyperline.co/api-reference/endpoints/coupons->-promotion-codes/delete-promotion-code
delete /v1/promotion-codes/{id}
Delete an existing promotion code.
# Get promotion code
Source: https://docs.hyperline.co/api-reference/endpoints/coupons->-promotion-codes/get-promotion-code
get /v1/promotion-codes/{id}
Retrieve the details of an existing promotion code.
# Get promotion codes
Source: https://docs.hyperline.co/api-reference/endpoints/coupons->-promotion-codes/get-promotion-codes
get /v1/promotion-codes
Retrieve existing promotion codes.
# Update promotion code
Source: https://docs.hyperline.co/api-reference/endpoints/coupons->-promotion-codes/update-promotion-code
patch /v1/promotion-codes/{id}
Update the details of an existing promotion code.
# Create coupon
Source: https://docs.hyperline.co/api-reference/endpoints/coupons/create-coupon
post /v1/coupons
Create a new coupon.
# Delete coupon
Source: https://docs.hyperline.co/api-reference/endpoints/coupons/delete-coupon
delete /v1/coupons/{id}
Delete an existing coupon.
# Get coupon
Source: https://docs.hyperline.co/api-reference/endpoints/coupons/get-coupon
get /v1/coupons/{id}
Retrieve the details of an existing coupon.
# Get coupons
Source: https://docs.hyperline.co/api-reference/endpoints/coupons/get-coupons
get /v1/coupons
Retrieve existing coupons.
# Update coupon
Source: https://docs.hyperline.co/api-reference/endpoints/coupons/update-coupon
put /v1/coupons/{id}
Update the details of an existing coupon.
# Create custom property
Source: https://docs.hyperline.co/api-reference/endpoints/custom-properties/create-custom-property
post /v1/custom-properties
Create a new custom property.
# Delete custom property
Source: https://docs.hyperline.co/api-reference/endpoints/custom-properties/delete-custom-property
delete /v1/custom-properties/{id}
Delete an existing custom property.
# Get custom properties
Source: https://docs.hyperline.co/api-reference/endpoints/custom-properties/get-custom-properties
get /v1/custom-properties
Retrieve all custom properties previously created.
# Update custom property
Source: https://docs.hyperline.co/api-reference/endpoints/custom-properties/update-custom-property
put /v1/custom-properties/{id}
Update an existing custom property.
# Create credit product
Source: https://docs.hyperline.co/api-reference/endpoints/customers->-credits/create-credit-product
post /v1/customers/{id}/credits
Create a credit entity for a given product with an optional balance.
# Create credits usage
Source: https://docs.hyperline.co/api-reference/endpoints/customers->-credits/create-credits-usage
post /v1/customers/{id}/credits/{productId}/usage
Create a usage entry for a credit product. This will impact the balance of the customer by `usage_retained`.
# Get all credit products
Source: https://docs.hyperline.co/api-reference/endpoints/customers->-credits/get-all-credit-products
get /v1/customers/credits
Retrieve credit products for all customers.
# Get credit product
Source: https://docs.hyperline.co/api-reference/endpoints/customers->-credits/get-credit-product
get /v1/customers/{id}/credits/{productId}
Retrieve the details of an existing credit product for a customer.
# Get credit products
Source: https://docs.hyperline.co/api-reference/endpoints/customers->-credits/get-credit-products
get /v1/customers/{id}/credits
Retrieve credit products attached to a customer.
# Get credit transactions
Source: https://docs.hyperline.co/api-reference/endpoints/customers->-credits/get-credit-transactions
get /v1/customers/{id}/credits/{productId}/transactions
Retrieve all credit transactions associated with a credit product.
# Purchase credits
Source: https://docs.hyperline.co/api-reference/endpoints/customers->-credits/purchase-credits
post /v1/customers/{id}/credits/{productId}/purchase
Purchase a number of credits. This action will generate an invoice and charge the customer.
# Topup credits
Source: https://docs.hyperline.co/api-reference/endpoints/customers->-credits/topup-credits
post /v1/customers/{id}/credits/{productId}/topup
Topup a number of free credits. This action will not charge the customer.
# Update credit product
Source: https://docs.hyperline.co/api-reference/endpoints/customers->-credits/update-credit-product
put /v1/customers/{id}/credits/{productId}
Update the configuration of a customer's credit product.
# Create payment method
Source: https://docs.hyperline.co/api-reference/endpoints/customers->-payment-methods/create-payment-method
post /v1/customers/{id}/payment-methods
Import an existing customer payment method from a connected payment provider.
# Delete payment method
Source: https://docs.hyperline.co/api-reference/endpoints/customers->-payment-methods/delete-payment-method
delete /v1/customers/{id}/payment-methods/{paymentMethodId}
Delete an existing customer payment method.
# Get payment method
Source: https://docs.hyperline.co/api-reference/endpoints/customers->-payment-methods/get-payment-method
get /v1/customers/{id}/payment-methods/{paymentMethodId}
Retrieve the details of an existing customer payment method.
# Get payment methods
Source: https://docs.hyperline.co/api-reference/endpoints/customers->-payment-methods/get-payment-methods
get /v1/customers/{id}/payment-methods
Retrieve payment methods attached to a customer.
# Archive customer
Source: https://docs.hyperline.co/api-reference/endpoints/customers/archive-customer
put /v1/customers/{id}/archive
Archive an existing customer.
# Bulk update providers/customers mapping
Source: https://docs.hyperline.co/api-reference/endpoints/customers/bulk-update-providerscustomers-mapping
post /v1/customers/providers-bulk-update
Bulk update providers/customers mapping, make sure to check the query response to see if all customers were updated.
# Create customer
Source: https://docs.hyperline.co/api-reference/endpoints/customers/create-customer
post /v1/customers
Create a new customer.
# Create customers batch
Source: https://docs.hyperline.co/api-reference/endpoints/customers/create-customers-batch
post /v1/customers/batch
Create a batch of new customers.
# Delete customer
Source: https://docs.hyperline.co/api-reference/endpoints/customers/delete-customer
delete /v1/customers/{id}
Delete an existing customer. The customer must be archived prior to the deletion.
# Get customer
Source: https://docs.hyperline.co/api-reference/endpoints/customers/get-customer
get /v1/customers/{id}
Retrieve the details of an existing customer.
# Get customer portal
Source: https://docs.hyperline.co/api-reference/endpoints/customers/get-customer-portal
get /v1/customers/{id}/portal
Retrieve the URL of the customer portal.
# Get customer tax rates
Source: https://docs.hyperline.co/api-reference/endpoints/customers/get-customer-tax-rates
get /v1/customers/{id}/taxes/rates
Retrieve the eligible tax rates for a customer.
# Get customers
Source: https://docs.hyperline.co/api-reference/endpoints/customers/get-customers
get /v1/customers
Retrieve existing customers.
# Unarchive customer
Source: https://docs.hyperline.co/api-reference/endpoints/customers/unarchive-customer
put /v1/customers/{id}/unarchive
Unarchive an archived customer.
# Update customer
Source: https://docs.hyperline.co/api-reference/endpoints/customers/update-customer
put /v1/customers/{id}
Update the details of an existing customer.
# Create export
Source: https://docs.hyperline.co/api-reference/endpoints/exports/create-export
post /v1/exports
Prepare an export of a given type for download. You can check the export readiness status using the GET endpoint. Once the export is ready, download the export using the download endpoint.
# Download export
Source: https://docs.hyperline.co/api-reference/endpoints/exports/download-export
get /v1/exports/{exportId}/download
Download the file associated with a specific export.
# Get export
Source: https://docs.hyperline.co/api-reference/endpoints/exports/get-export
get /v1/exports/{exportId}
Retrieve the details of an existing export.
# Create file
Source: https://docs.hyperline.co/api-reference/endpoints/files/create-file
post /v1/files
Create a new file.
# Delete file
Source: https://docs.hyperline.co/api-reference/endpoints/files/delete-file
delete /v1/files/{id}
Delete an existing file.
# Download file
Source: https://docs.hyperline.co/api-reference/endpoints/files/download-file
get /v1/files/{id}/download
Download an existing file content.
# Get files
Source: https://docs.hyperline.co/api-reference/endpoints/files/get-files
get /v1/files
Retrieve existing files.
# Create component token
Source: https://docs.hyperline.co/api-reference/endpoints/integrations/create-component-token
post /v1/integrations/components/token
Create a new token for embedded components.
# Create transaction
Source: https://docs.hyperline.co/api-reference/endpoints/invoices->-transactions/create-transaction
post /v1/invoices/{id}/transactions
Create a transaction linked to an existing invoice. This may update the invoice status to paid/partially paid.
# Delete transaction
Source: https://docs.hyperline.co/api-reference/endpoints/invoices->-transactions/delete-transaction
delete /v1/invoices/{id}/transactions/{transactionId}
Delete a transaction linked to an existing invoice. Only applies to scheduled transaction.
# Charge invoice
Source: https://docs.hyperline.co/api-reference/endpoints/invoices/charge-invoice
post /v1/invoices/{id}/charge
Manually trigger the payment of the invoice.
# Create credit note
Source: https://docs.hyperline.co/api-reference/endpoints/invoices/create-credit-note
post /v1/invoices/{id}/credit-notes
Create a credit note for an existing invoice.
# Create invoice
Source: https://docs.hyperline.co/api-reference/endpoints/invoices/create-invoice
post /v1/invoices
Create a new invoice.
# Create invoices
Source: https://docs.hyperline.co/api-reference/endpoints/invoices/create-invoices
post /v1/invoices/batch
Create new invoices in batch (max 50 items).
# Delete invoice
Source: https://docs.hyperline.co/api-reference/endpoints/invoices/delete-invoice
delete /v1/invoices/{id}
Delete an invoice in `draft` status or imported from an external source. For other statuses, the `POST /v1/invoices/{id}/void` endpoint must be used.
# Download invoice
Source: https://docs.hyperline.co/api-reference/endpoints/invoices/download-invoice
get /v1/invoices/{id}/download
Download the PDF of an existing invoice.
# Get invoice
Source: https://docs.hyperline.co/api-reference/endpoints/invoices/get-invoice
get /v1/invoices/{id}
Retrieve the details of an existing invoice.
# Get invoices
Source: https://docs.hyperline.co/api-reference/endpoints/invoices/get-invoices
get /v1/invoices
Retrieve existing invoices. By default, invoices with status `open` are not included.
# Mark as uncollectible
Source: https://docs.hyperline.co/api-reference/endpoints/invoices/mark-as-uncollectible
post /v1/invoices/{id}/uncollectible
Mark an invoice as uncollectible, useful for keeping track of bad debts that can be written off for accounting purposes.
# Update invoice
Source: https://docs.hyperline.co/api-reference/endpoints/invoices/update-invoice
patch /v1/invoices/{id}
Update an invoice in draft or grace_period status.
# Upload PDF to invoice
Source: https://docs.hyperline.co/api-reference/endpoints/invoices/upload-pdf-to-invoice
post /v1/invoices/{id}/upload
Upload a PDF file to an existing invoice.
# Validate draft invoice
Source: https://docs.hyperline.co/api-reference/endpoints/invoices/validate-draft-invoice
post /v1/invoices/{id}/validate
Send a draft invoice for payment, set the status to `to_pay` and its number. This is not reversible.
# Void invoice
Source: https://docs.hyperline.co/api-reference/endpoints/invoices/void-invoice
post /v1/invoices/{id}/void
Void an invoice in a `to_pay` status. This action generates a corresponding credit note.
# Create invoicing entity
Source: https://docs.hyperline.co/api-reference/endpoints/invoicing-entities/create-invoicing-entity
post /v1/invoicing-entities
Create a new invoicing entity to send invoices from.
# Delete invoicing entity
Source: https://docs.hyperline.co/api-reference/endpoints/invoicing-entities/delete-invoicing-entity
delete /v1/invoicing-entities/{id}
Soft deletes an invoicing entity. This action won't delete the associated invoices.
# Get invoicing entities
Source: https://docs.hyperline.co/api-reference/endpoints/invoicing-entities/get-invoicing-entities
get /v1/invoicing-entities
Retrieve all invoicing entities for your current client.
# Get invoicing entity
Source: https://docs.hyperline.co/api-reference/endpoints/invoicing-entities/get-invoicing-entity
get /v1/invoicing-entities/{id}
Retrieve a specific invoicing entity.
# Update invoicing entity
Source: https://docs.hyperline.co/api-reference/endpoints/invoicing-entities/update-invoicing-entity
put /v1/invoicing-entities/{id}
Update an existing invoicing entity.
# Authorize
Source: https://docs.hyperline.co/api-reference/endpoints/oauth2/authorize
get /v1/oauth/authorize
Redirects the user to the Hyperline's login page, and grants authorization to your integration.
# Generate tokens
Source: https://docs.hyperline.co/api-reference/endpoints/oauth2/generate-tokens
post /v1/oauth/tokens
Exchange an auth code received at the authorize endpoint for an actual access token, or refresh it.
# Get user info
Source: https://docs.hyperline.co/api-reference/endpoints/oauth2/get-user-info
get /v1/oauth/userinfo
Returns the user information associated with an access token.
# Revoke token
Source: https://docs.hyperline.co/api-reference/endpoints/oauth2/revoke-token
post /v1/oauth/revoke
Revoke a refresh token. Once revoked the token can not be used anymore.
# Get organisation
Source: https://docs.hyperline.co/api-reference/endpoints/organisations/get-organisation
get /v1/organisations/{id}
Retrieve the details of an existing organisation.
# Patch organisation
Source: https://docs.hyperline.co/api-reference/endpoints/organisations/patch-organisation
patch /v1/organisations/{id}
Update the details of an existing organisation.
# Create payment
Source: https://docs.hyperline.co/api-reference/endpoints/payments/create-payment
post /v1/payments
Initiate a new payment (limited to one-time): generate an invoice and charge it directly or with a checkout session
# Get plan
Source: https://docs.hyperline.co/api-reference/endpoints/plans/get-plan
get /v1/plans/{id}
Plans are discontinued and progressively replaced by subscription templates.
# Get plans
Source: https://docs.hyperline.co/api-reference/endpoints/plans/get-plans
get /v1/plans
Plans are discontinued and progressively replaced by subscription templates.
# Delete price configuration
Source: https://docs.hyperline.co/api-reference/endpoints/price-configurations/delete-price-configuration
delete /v1/price-configurations/{id}
Delete an existing price configuration.
# Get price configurations
Source: https://docs.hyperline.co/api-reference/endpoints/price-configurations/get-price-configurations
get /v1/price-configurations
Retrieve existing price configurations.
# Update prices
Source: https://docs.hyperline.co/api-reference/endpoints/price-configurations/update-prices
put /v1/price-configurations/{id}/prices
Update prices of an existing price configuration.
# Archive product
Source: https://docs.hyperline.co/api-reference/endpoints/products/archive-product
put /v1/products/{id}/archive
Archive an existing product.
# Create product
Source: https://docs.hyperline.co/api-reference/endpoints/products/create-product
post /v1/products
Create a new product.
# Get product
Source: https://docs.hyperline.co/api-reference/endpoints/products/get-product
get /v1/products/{id}
Retrieve the details of an existing product. Only the first 50 price configurations are returned, to retrieve all of them use `GET /v1/price-configurations`.
# Get products
Source: https://docs.hyperline.co/api-reference/endpoints/products/get-products
get /v1/products
Retrieve existing products.
# Unarchive product
Source: https://docs.hyperline.co/api-reference/endpoints/products/unarchive-product
put /v1/products/{id}/unarchive
Unarchive an archived product.
# Update product
Source: https://docs.hyperline.co/api-reference/endpoints/products/update-product
put /v1/products/{id}
Update the details of an existing product.
# Approve quote
Source: https://docs.hyperline.co/api-reference/endpoints/quotes/approve-quote
post /v1/quotes/{id}/approve
Approve an existing quote (acting as the account owner).
# Create quote
Source: https://docs.hyperline.co/api-reference/endpoints/quotes/create-quote
post /v1/quotes
Create a new quote.
# Download quote
Source: https://docs.hyperline.co/api-reference/endpoints/quotes/download-quote
get /v1/quotes/{id}/download
Download an existing quote.
# Download quote file
Source: https://docs.hyperline.co/api-reference/endpoints/quotes/download-quote-file
get /v1/quotes/{quoteId}/files/{id}/download
Download a file (attachment or manually signed file) attached to an existing quote.
# Get quote
Source: https://docs.hyperline.co/api-reference/endpoints/quotes/get-quote
get /v1/quotes/{id}
Retrieve the details of an existing quote.
# Get quotes
Source: https://docs.hyperline.co/api-reference/endpoints/quotes/get-quotes
get /v1/quotes
Retrieve existing quotes.
# Send quote
Source: https://docs.hyperline.co/api-reference/endpoints/quotes/send-quote
post /v1/quotes/{id}/send
Send an existing quote by email for signature.
# Sign quote
Source: https://docs.hyperline.co/api-reference/endpoints/quotes/sign-quote
post /v1/quotes/{id}/sign
Manually mark the quote as signed externally. Built-in Hyperline signature flow won't be used.
# Void quote
Source: https://docs.hyperline.co/api-reference/endpoints/quotes/void-quote
post /v1/quotes/{id}/void
Void an existing quote.
# Get subscription template
Source: https://docs.hyperline.co/api-reference/endpoints/subscriptions->-templates/get-subscription-template
get /v1/subscriptions/templates/{id}
Retrieve an existing subscription template with its configurations details.
# Get subscription templates
Source: https://docs.hyperline.co/api-reference/endpoints/subscriptions->-templates/get-subscription-templates
get /v1/subscriptions/templates
Retrieve existing subscription templates.
# Activate subscription
Source: https://docs.hyperline.co/api-reference/endpoints/subscriptions/activate-subscription
post /v1/subscriptions/{id}/activate
Manually start a subscription for the first time.
# Cancel subscription
Source: https://docs.hyperline.co/api-reference/endpoints/subscriptions/cancel-subscription
post /v1/subscriptions/{id}/cancel
Cancel an existing subscription.
# Create subscription
Source: https://docs.hyperline.co/api-reference/endpoints/subscriptions/create-subscription
post /v2/subscriptions
Create a new subscription from a plan or manually with products.
# Create subscription update
Source: https://docs.hyperline.co/api-reference/endpoints/subscriptions/create-subscription-update
post /v1/subscriptions/{id}/update
Create an update to apply on an existing subscription.
# Create subscription updates
Source: https://docs.hyperline.co/api-reference/endpoints/subscriptions/create-subscription-updates
post /v1/subscriptions/{id}/update-many
Create multiple updates to apply at once to an existing subscription.
# Get subscription
Source: https://docs.hyperline.co/api-reference/endpoints/subscriptions/get-subscription
get /v2/subscriptions/{id}
Retrieve the details of an existing subscription.
# Get subscription phase
Source: https://docs.hyperline.co/api-reference/endpoints/subscriptions/get-subscription-phase
get /v2/subscriptions/{id}/phases/{phaseId}
Retrieve the details of a phase for an existing subscription.
# Get subscription phases
Source: https://docs.hyperline.co/api-reference/endpoints/subscriptions/get-subscription-phases
get /v2/subscriptions/{id}/phases
Retrieve the details of the phases for an existing subscription.
# Get subscriptions
Source: https://docs.hyperline.co/api-reference/endpoints/subscriptions/get-subscriptions
get /v2/subscriptions
Retrieve existing subscriptions. By default, draft, voided, and cancelled subscriptions are not included.
# Pause subscription
Source: https://docs.hyperline.co/api-reference/endpoints/subscriptions/pause-subscription
post /v1/subscriptions/{id}/pause
Pause a subscription.
# Reactivate subscription
Source: https://docs.hyperline.co/api-reference/endpoints/subscriptions/reactivate-subscription
post /v1/subscriptions/{id}/reactivate
Reactivate a paused subscription.
# Refresh seat products
Source: https://docs.hyperline.co/api-reference/endpoints/subscriptions/refresh-seat-products
post /v2/subscriptions/{id}/refresh-seat-products
Triggers 'count' updates on connected seat products within the subscription. This action will use the dataloader query to retrieve and update the number of units for each seat product.
# Refresh subscriptions
Source: https://docs.hyperline.co/api-reference/endpoints/subscriptions/refresh-subscriptions
post /v1/subscriptions/refresh
Triggers refresh of subscriptions usage data and related open invoices. This action is used when the automatic billing update upon ingestion option is disabled for the account.
# Reinstate subscription
Source: https://docs.hyperline.co/api-reference/endpoints/subscriptions/reinstate-subscription
post /v1/subscriptions/{id}/reinstate
Reinstate an existing subscription scheduled for cancellation.
# Renew subscription
Source: https://docs.hyperline.co/api-reference/endpoints/subscriptions/renew-subscription
post /v1/subscriptions/{id}/renew
This action will move the subscription into the future up to a specific date (exclusive), as if the renewals had occurred. As a result, the corresponding future invoices will be generated.
If the subscription is currently pending, this action will activate it. A limit of 36 renewals applies.
# Simulate subscription updates
Source: https://docs.hyperline.co/api-reference/endpoints/subscriptions/simulate-subscription-updates
post /v1/subscriptions/{id}/simulate-updates
Simulate the effect of updates on a subscription without actually applying them.
# Transition subscription to next phase
Source: https://docs.hyperline.co/api-reference/endpoints/subscriptions/transition-subscription-to-next-phase
post /v2/subscriptions/{id}/next-phase
Update a subscription and transition it to the next available phase.
# Update subscription
Source: https://docs.hyperline.co/api-reference/endpoints/subscriptions/update-subscription
put /v2/subscriptions/{id}
Update configuration of a subscription including phases and products.
# Get tax rate
Source: https://docs.hyperline.co/api-reference/endpoints/taxes/get-tax-rate
get /v1/taxes/rates/{id}
Retrieve the details of an existing custom tax rate.
# Get tax rates
Source: https://docs.hyperline.co/api-reference/endpoints/taxes/get-tax-rates
get /v1/taxes/rates
Retrieve existing custom tax rates.
# Create app
Source: https://docs.hyperline.co/api-reference/endpoints/third-party-apps/create-app
post /v1/apps
Create a new third-party app.
# Delete app
Source: https://docs.hyperline.co/api-reference/endpoints/third-party-apps/delete-app
delete /v1/apps/{id}
Delete an existing third-party app.
# Get apps
Source: https://docs.hyperline.co/api-reference/endpoints/third-party-apps/get-apps
get /v1/apps
Retrieve existing third-party apps.
# Update app
Source: https://docs.hyperline.co/api-reference/endpoints/third-party-apps/update-app
put /v1/apps/{id}
Update an existing third-party app.
# Create wallet
Source: https://docs.hyperline.co/api-reference/endpoints/wallets/create-wallet
post /v1/wallets
Create a new wallet.
# Get wallet
Source: https://docs.hyperline.co/api-reference/endpoints/wallets/get-wallet
get /v1/wallets/{id}
Retrieve the details of an existing wallet.
# Get wallet settings
Source: https://docs.hyperline.co/api-reference/endpoints/wallets/get-wallet-settings
get /v1/wallets/settings
Retrieve the global settings of the wallets.
# Get wallet transactions
Source: https://docs.hyperline.co/api-reference/endpoints/wallets/get-wallet-transactions
get /v1/wallets/{id}/transactions
Retrieve all transactions of an existing wallet.
# Get wallets
Source: https://docs.hyperline.co/api-reference/endpoints/wallets/get-wallets
get /v1/wallets
Retrieve existing wallets.
# Load wallet
Source: https://docs.hyperline.co/api-reference/endpoints/wallets/load-wallet
post /v1/wallets/{id}/load
Load credits on an existing wallet. The related customer must have an active payment method.
# Update wallet
Source: https://docs.hyperline.co/api-reference/endpoints/wallets/update-wallet
put /v1/wallets/{id}
Update the details of an existing wallet.
# Update wallet settings
Source: https://docs.hyperline.co/api-reference/endpoints/wallets/update-wallet-settings
patch /v1/wallets/settings
Update the global settings of the wallets.
# Create webhook endpoint
Source: https://docs.hyperline.co/api-reference/endpoints/webhooks/create-webhook-endpoint
post /v1/webhooks/endpoints
Create a new webhook endpoint.
# Delete webhook endpoint
Source: https://docs.hyperline.co/api-reference/endpoints/webhooks/delete-webhook-endpoint
delete /v1/webhooks/endpoints/{id}
Delete an existing webhook endpoint.
# Get webhook endpoint
Source: https://docs.hyperline.co/api-reference/endpoints/webhooks/get-webhook-endpoint
get /v1/webhooks/endpoints/{id}
Retrieve an existing webhook endpoint.
# Get webhook endpoints
Source: https://docs.hyperline.co/api-reference/endpoints/webhooks/get-webhook-endpoints
get /v1/webhooks/endpoints
Retrieve all webhook endpoints.
# Get webhook messages
Source: https://docs.hyperline.co/api-reference/endpoints/webhooks/get-webhook-messages
get /v1/webhooks/messages
Retrieve all webhook messages sent.
Please note that, by default, this endpoint is limited to retrieving 90 days' worth of data relative to now. Messages that date back more than 90 days are still accessible, but their payloads are expunged.
If an iterator is provided, the endpoint retrieves data spanning 90 days before/after the time indicated by the iterator ID. If you require data beyond those time ranges, you will need to explicitly set the before or after parameter as appropriate.
# Update webhook endpoint
Source: https://docs.hyperline.co/api-reference/endpoints/webhooks/update-webhook-endpoint
put /v1/webhooks/endpoints/{id}
Update an existing webhook endpoint.
# Product updates June, 2025
Source: https://docs.hyperline.co/changelog/2025-06
## Multi-Factor Authentication (MFA)
Hyperline now supports advanced authentication via Multi-Factor Authentication (MFA or 2FA) for our enterprise clients. Supported methods include one-time passwords (OTP), one-time codes via email, and biometric authentication (e.g., Touch ID or passkeys).
 Once MFA is activated, it will be enforced for all account members at their next login. If a user belongs to multiple accounts, MFA will be required for each.
## Update subscription phases
Subscription future phases can now be updated. Additionally, you can add new phases or remove existing ones. This allows you to plan contract changes in advance, such as pricing updates or multi-year configurations.
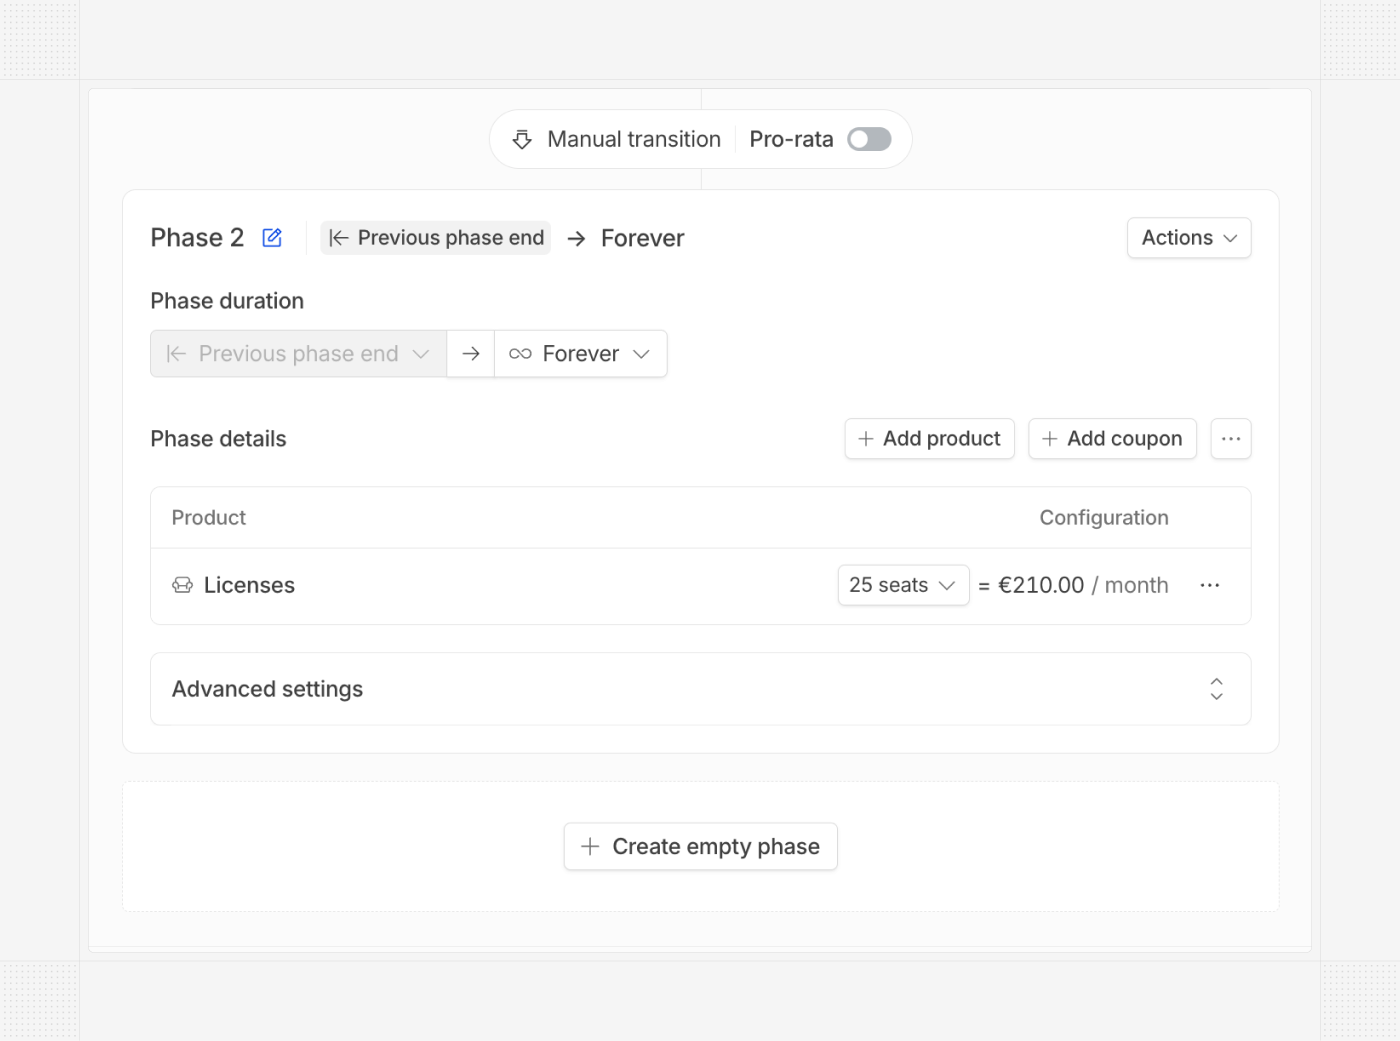 ## Record cancellation reason
You can now record the reason for cancelling a subscription. This will be displayed in the subscription details page and accessible from the API.
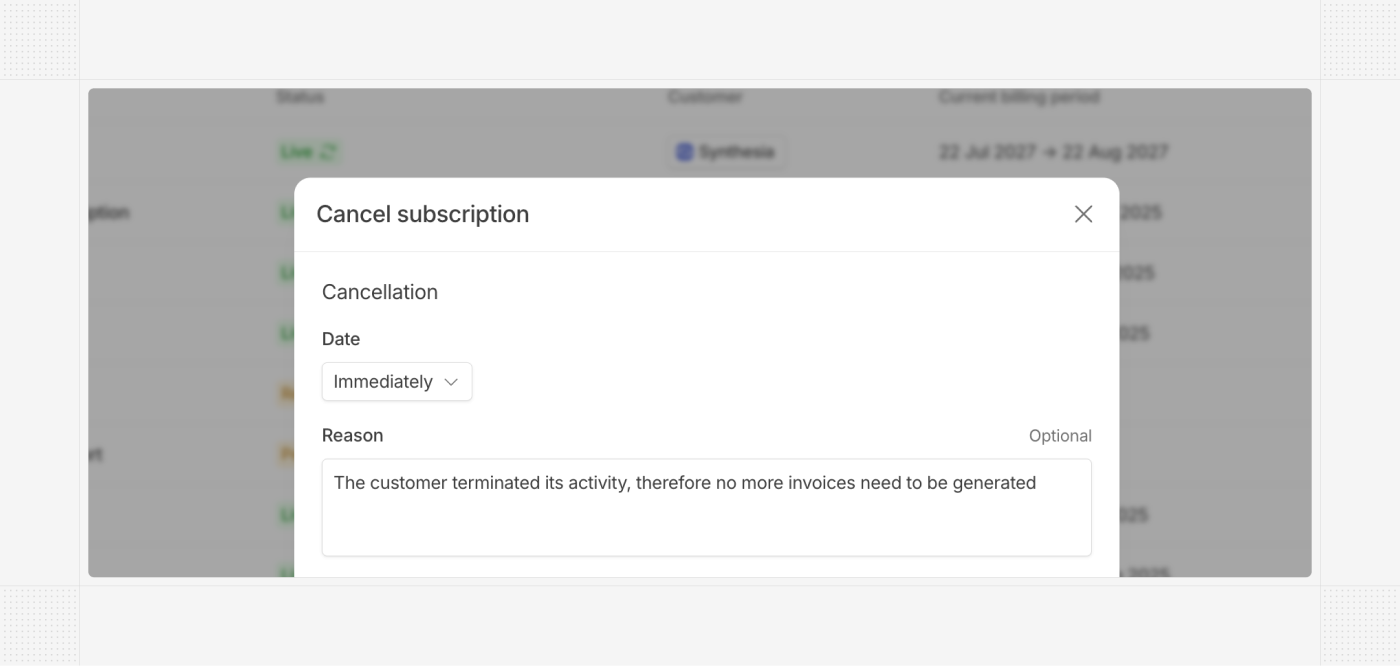 ## New bundle pricing model
The bundle pricing model is now available for seat-based products. This allows you to configure predefined bundles with specific quantity/price combinations, making only those options available when creating new quotes and subscriptions.
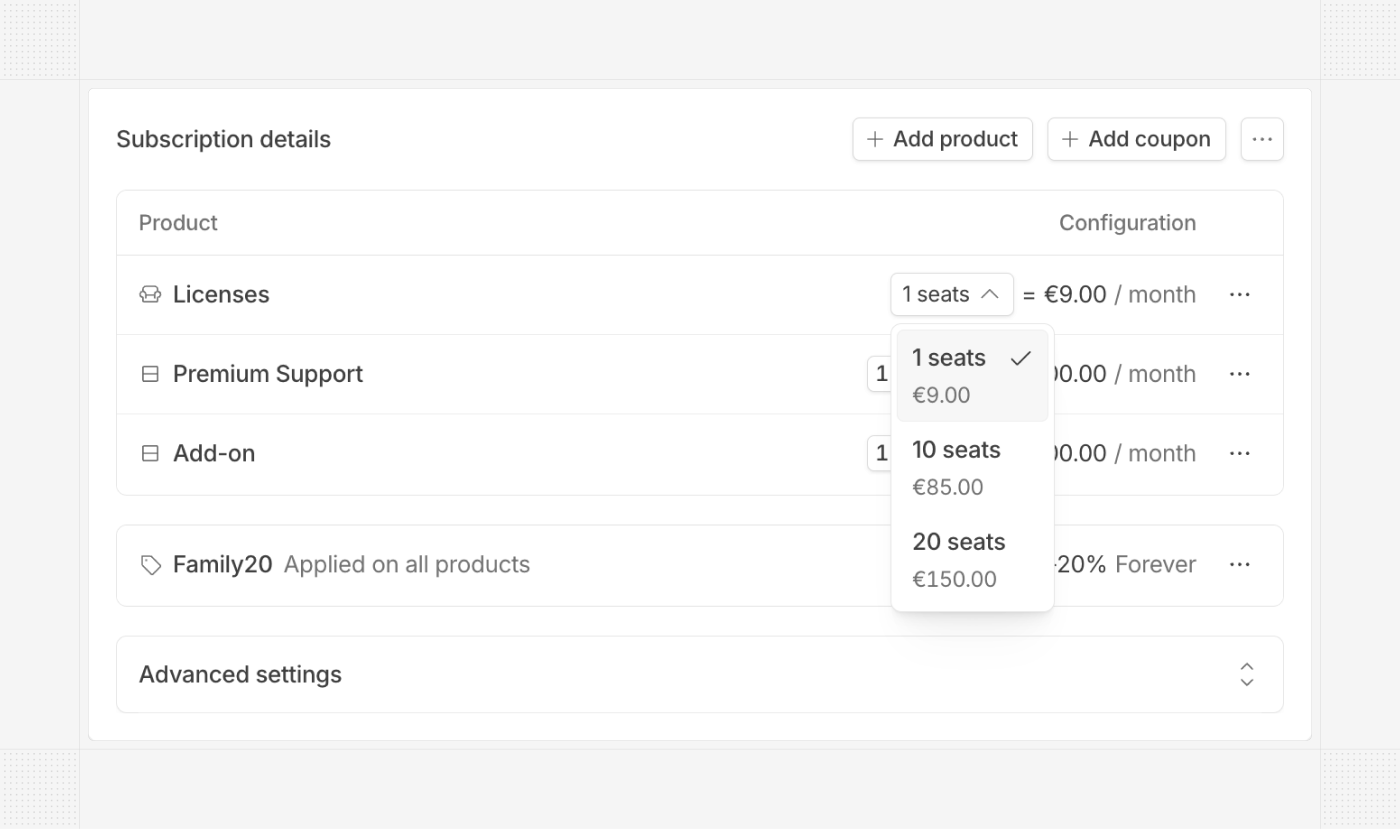 ## Edit footer invoice
In addition to the global invoice legal/additional information global settings, you can now edit these footer sections of each invoice directly in the invoice editor. This allows for advanced invoice customization to meet ad-hoc needs.
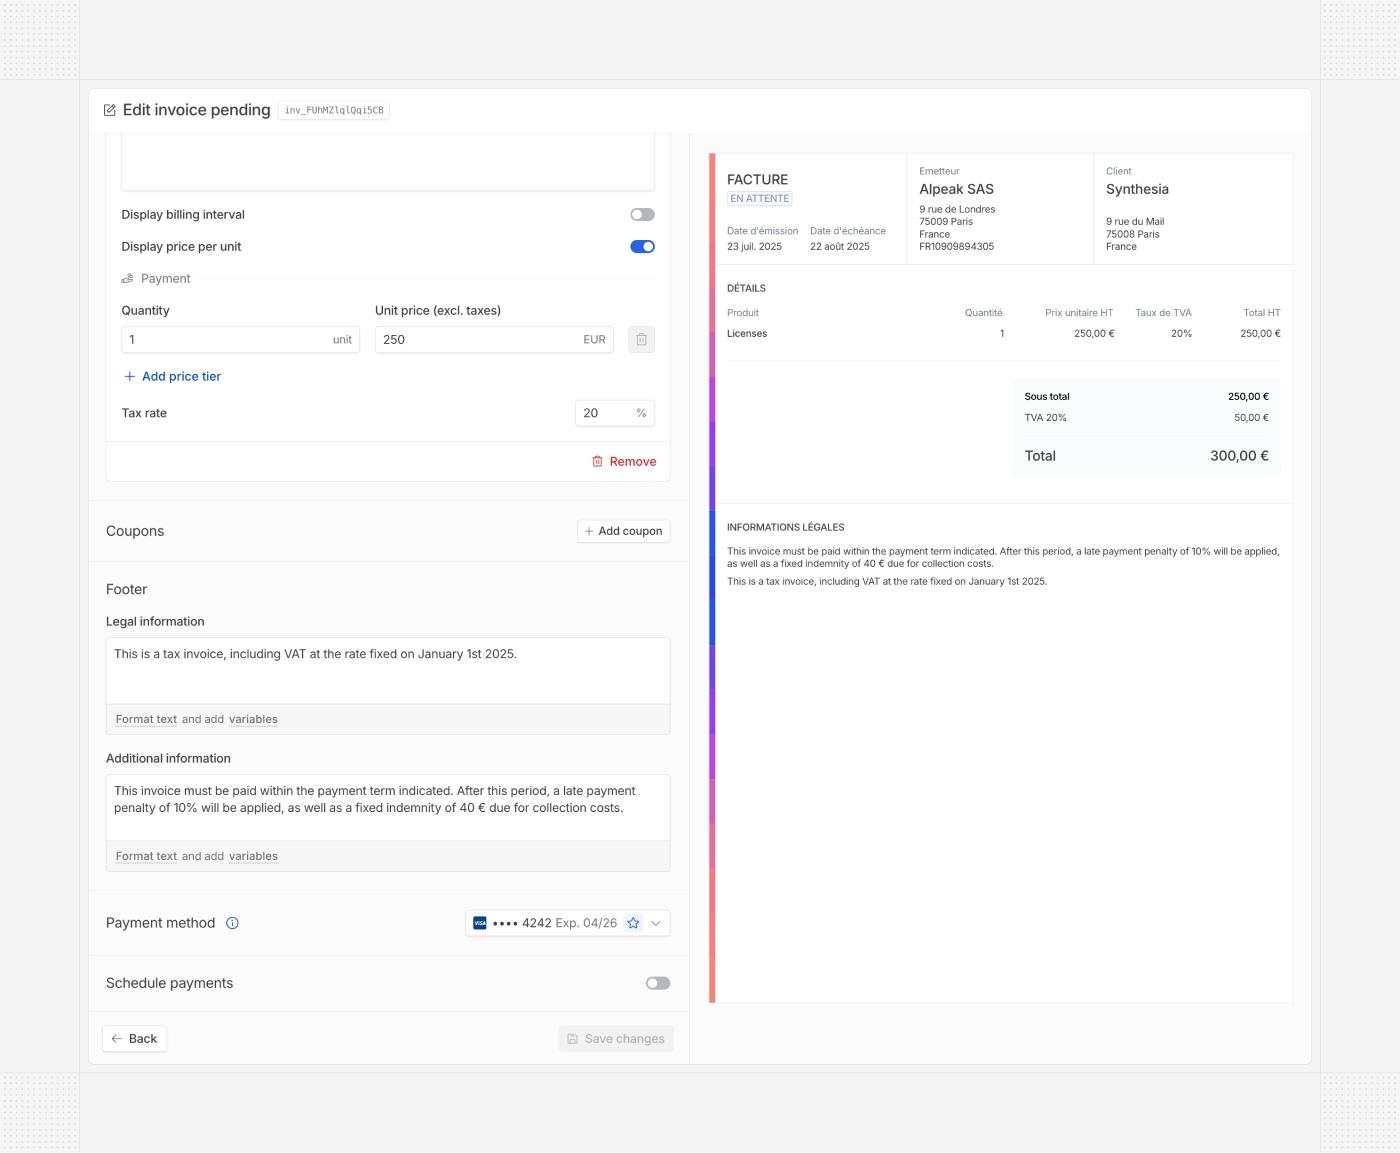 ## Switch between B2C or B2B on public pages
Public pages (customer portal, checkout, and quote pages) now allow your customers to select between B2C (person) and B2B (corporate) typologies. This selection will determine the required form fields during these flows, and categorize more accurately the customers in Hyperline.
 ## ChorusPro auto-transmission
As part of e-invoicing regulations, Hyperline now supports the automatic transmission of invoices to ChorusPro for Business-to-Government (B2G) customers. Until now, only PDF/XML file generation was available — this new capability removes the need for any manual action on the ChorusPro side by finance teams.
# Product updates July, 2025
Source: https://docs.hyperline.co/changelog/2025-07
## Apple Pay / Google Pay
Hyperline now supports Apple Pay and Google Pay, enabling frictionless payments and removing the need to manually enter card details. With these methods, customers can also save their card for future use. The payment flow works the same as with credit or debit cards.
 ## More filters
We've added new filters on list pages:
* Customers can now be filtered by integration.
* Invoices can now be filtered by plan and integration.
* Subscriptions can now be filtered by product and coupon.
 ## Manage customer files via the API
You can now list, create, delete, and download customer files through the API. This allows you to programmatically manage files and build advanced use cases for your product on top of Hyperline.
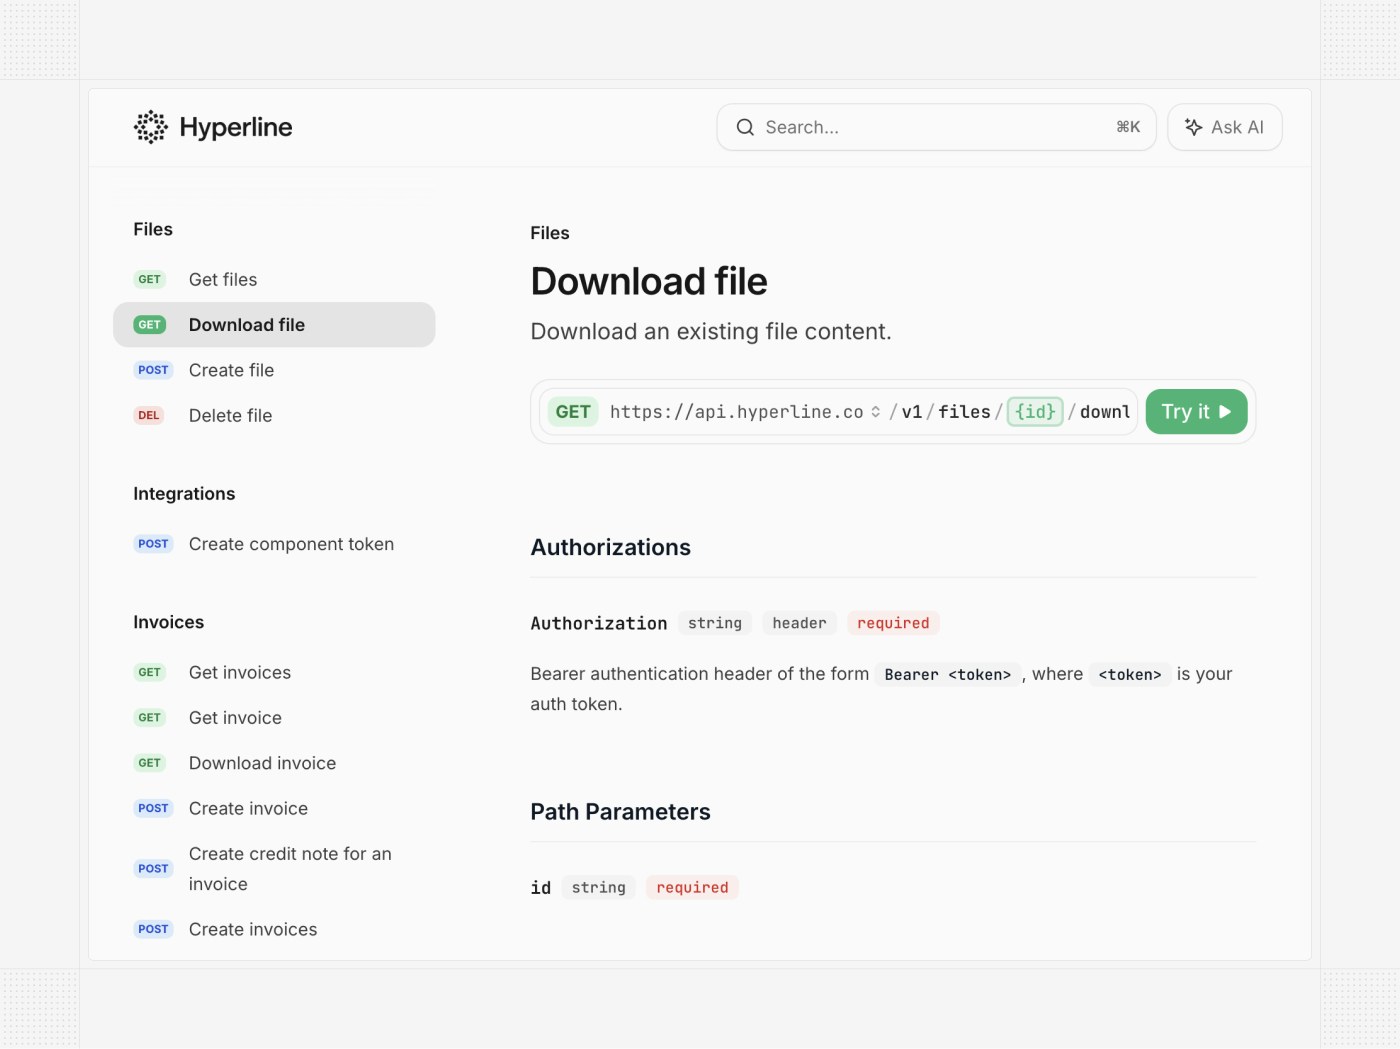 ## Custom quote file names
The name of a downloaded quote file can now be customized for your account.
 ## Import external payment methods
Payment methods collected outside of Hyperline (for example, via an embedded PSP form in your product) can now be imported into Hyperline using the API.
# Product updates August, 2025
Source: https://docs.hyperline.co/changelog/2025-08
## Edit subscription phases
You can now add, edit, and delete subscription phases for active subscriptions directly from the subscription update page. This makes it easier to customize phases to better align with each customer or contract's future needs.
 ## Prefill quantity from plan
Plans with seat-based products can now include a preconfigured quantity. When the plan is used to create a subscription, the quantity will be automatically prefilled—no manual input required.
 ## Preview invoices and quotes
We improved the PDF preview of invoices and quotes by clearly highlighting the displayed language. You can now easily switch between the account language (legal) and the customer's language with a single click when both are different.
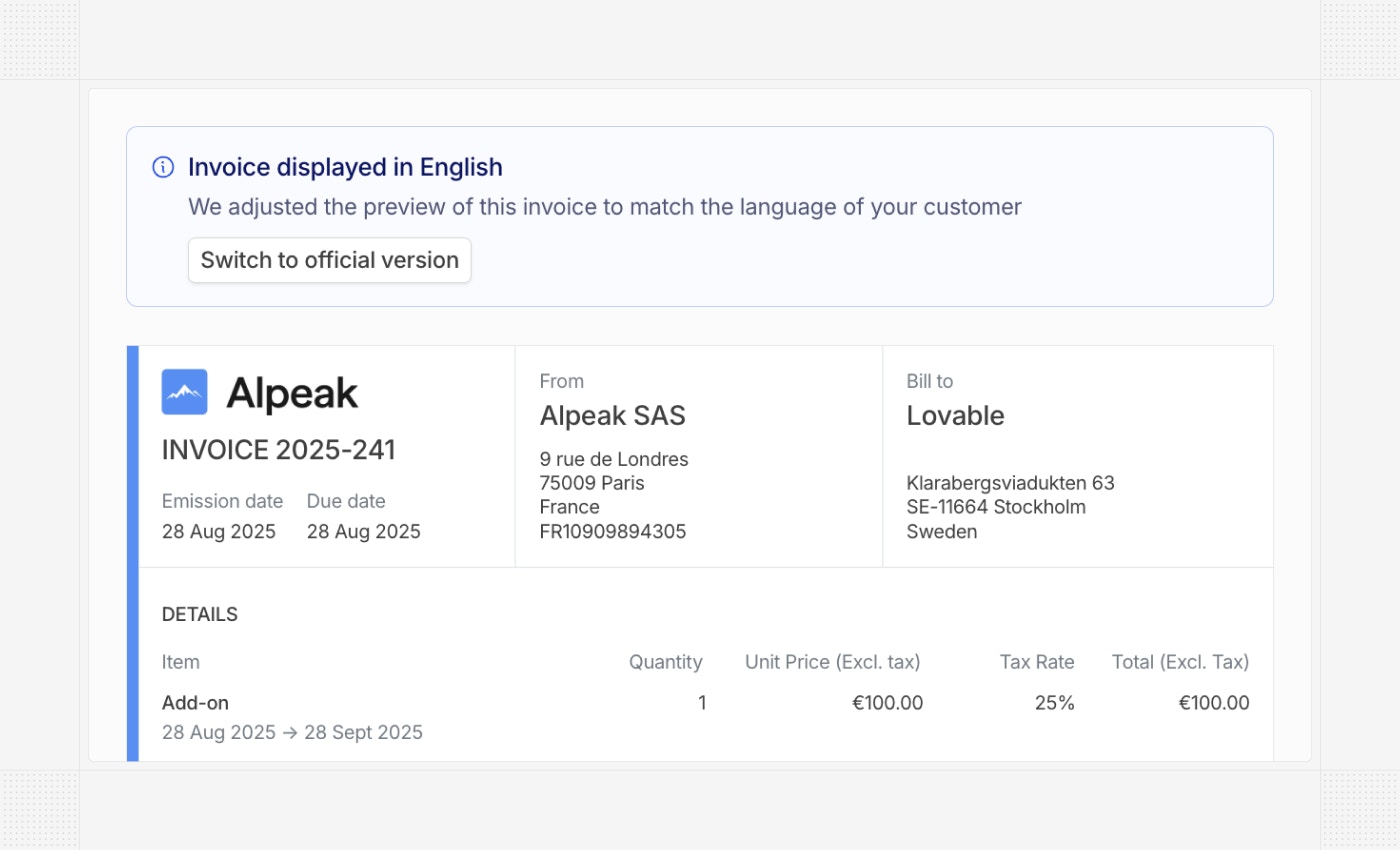 ## Product order in subscriptions
The order of products in a subscription can now be adjusted during creation. Simply move products up or down to control the display order, which will be reflected in related quotes and invoices.
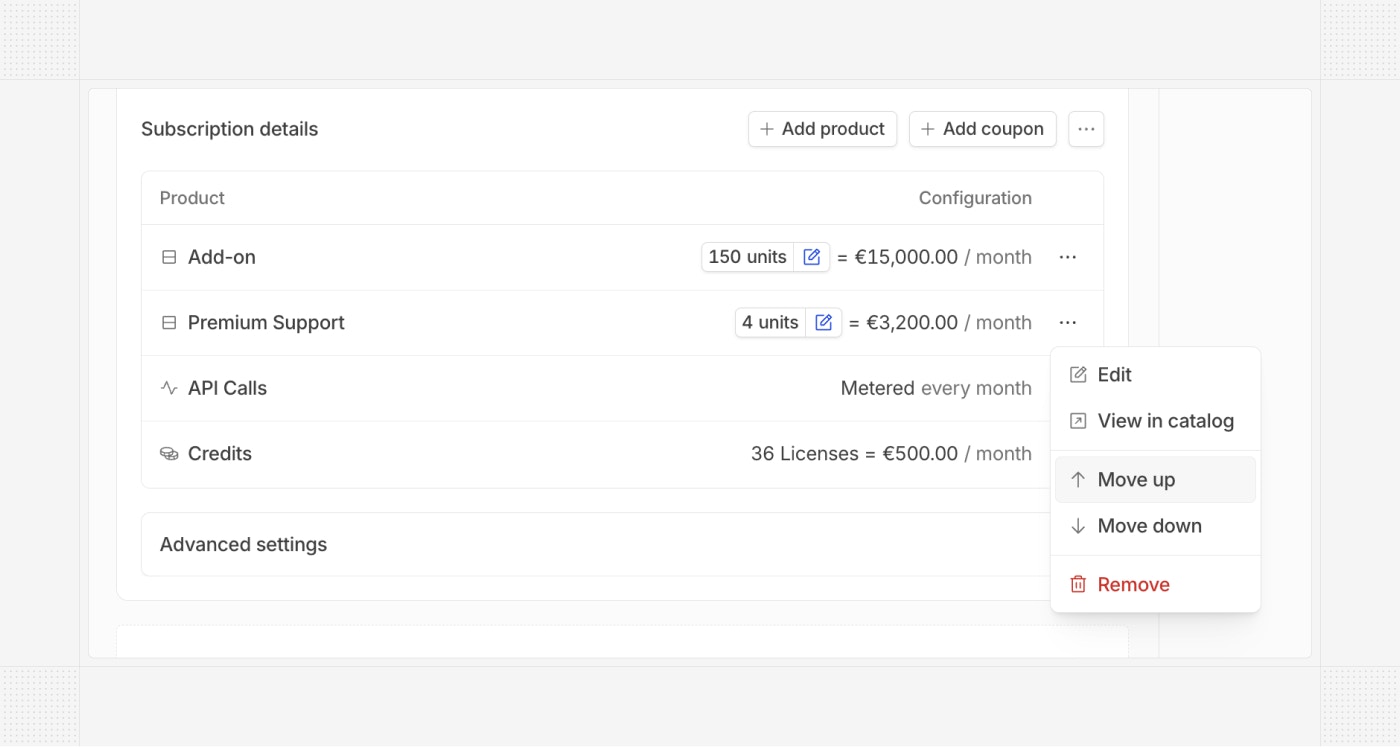 ## ChartMogul integration
[ChartMogul](https://www.chartmogul.com?utm_source=hyperline) now natively supports Hyperline. Benefit from all ChartMogul capabilities to analyze your subscription revenue from your Hyperline data.
 ## Schedule subscription changes
It's now possible to schedule subscription changes for a specific date using the API. This allows you to programmatically plan updates in advance and build more advanced subscription flows.
## Support for Stripe Link
Hyperline now supports Stripe Link, a Stripe-specific payment method that can be automatically imported and used to process invoice charges in Hyperline.
# Product updates September, 2025
Source: https://docs.hyperline.co/changelog/2025-09
## Subscription templates
We are progressively rolling out a subscription templates module, introducing a new way to preconfigure subscriptions with their full set of options and capabilities. Similar to plans, they allow subscriptions to be assigned in a single click and can be used in quote templates.
The key difference from plans is that all subscription options available in the subscription assignment flow are included in these templates (phases, contracts, advanced options, etc.), removing existing limitations and moving toward a broader concept of templates. Plans will be gradually discontinued.
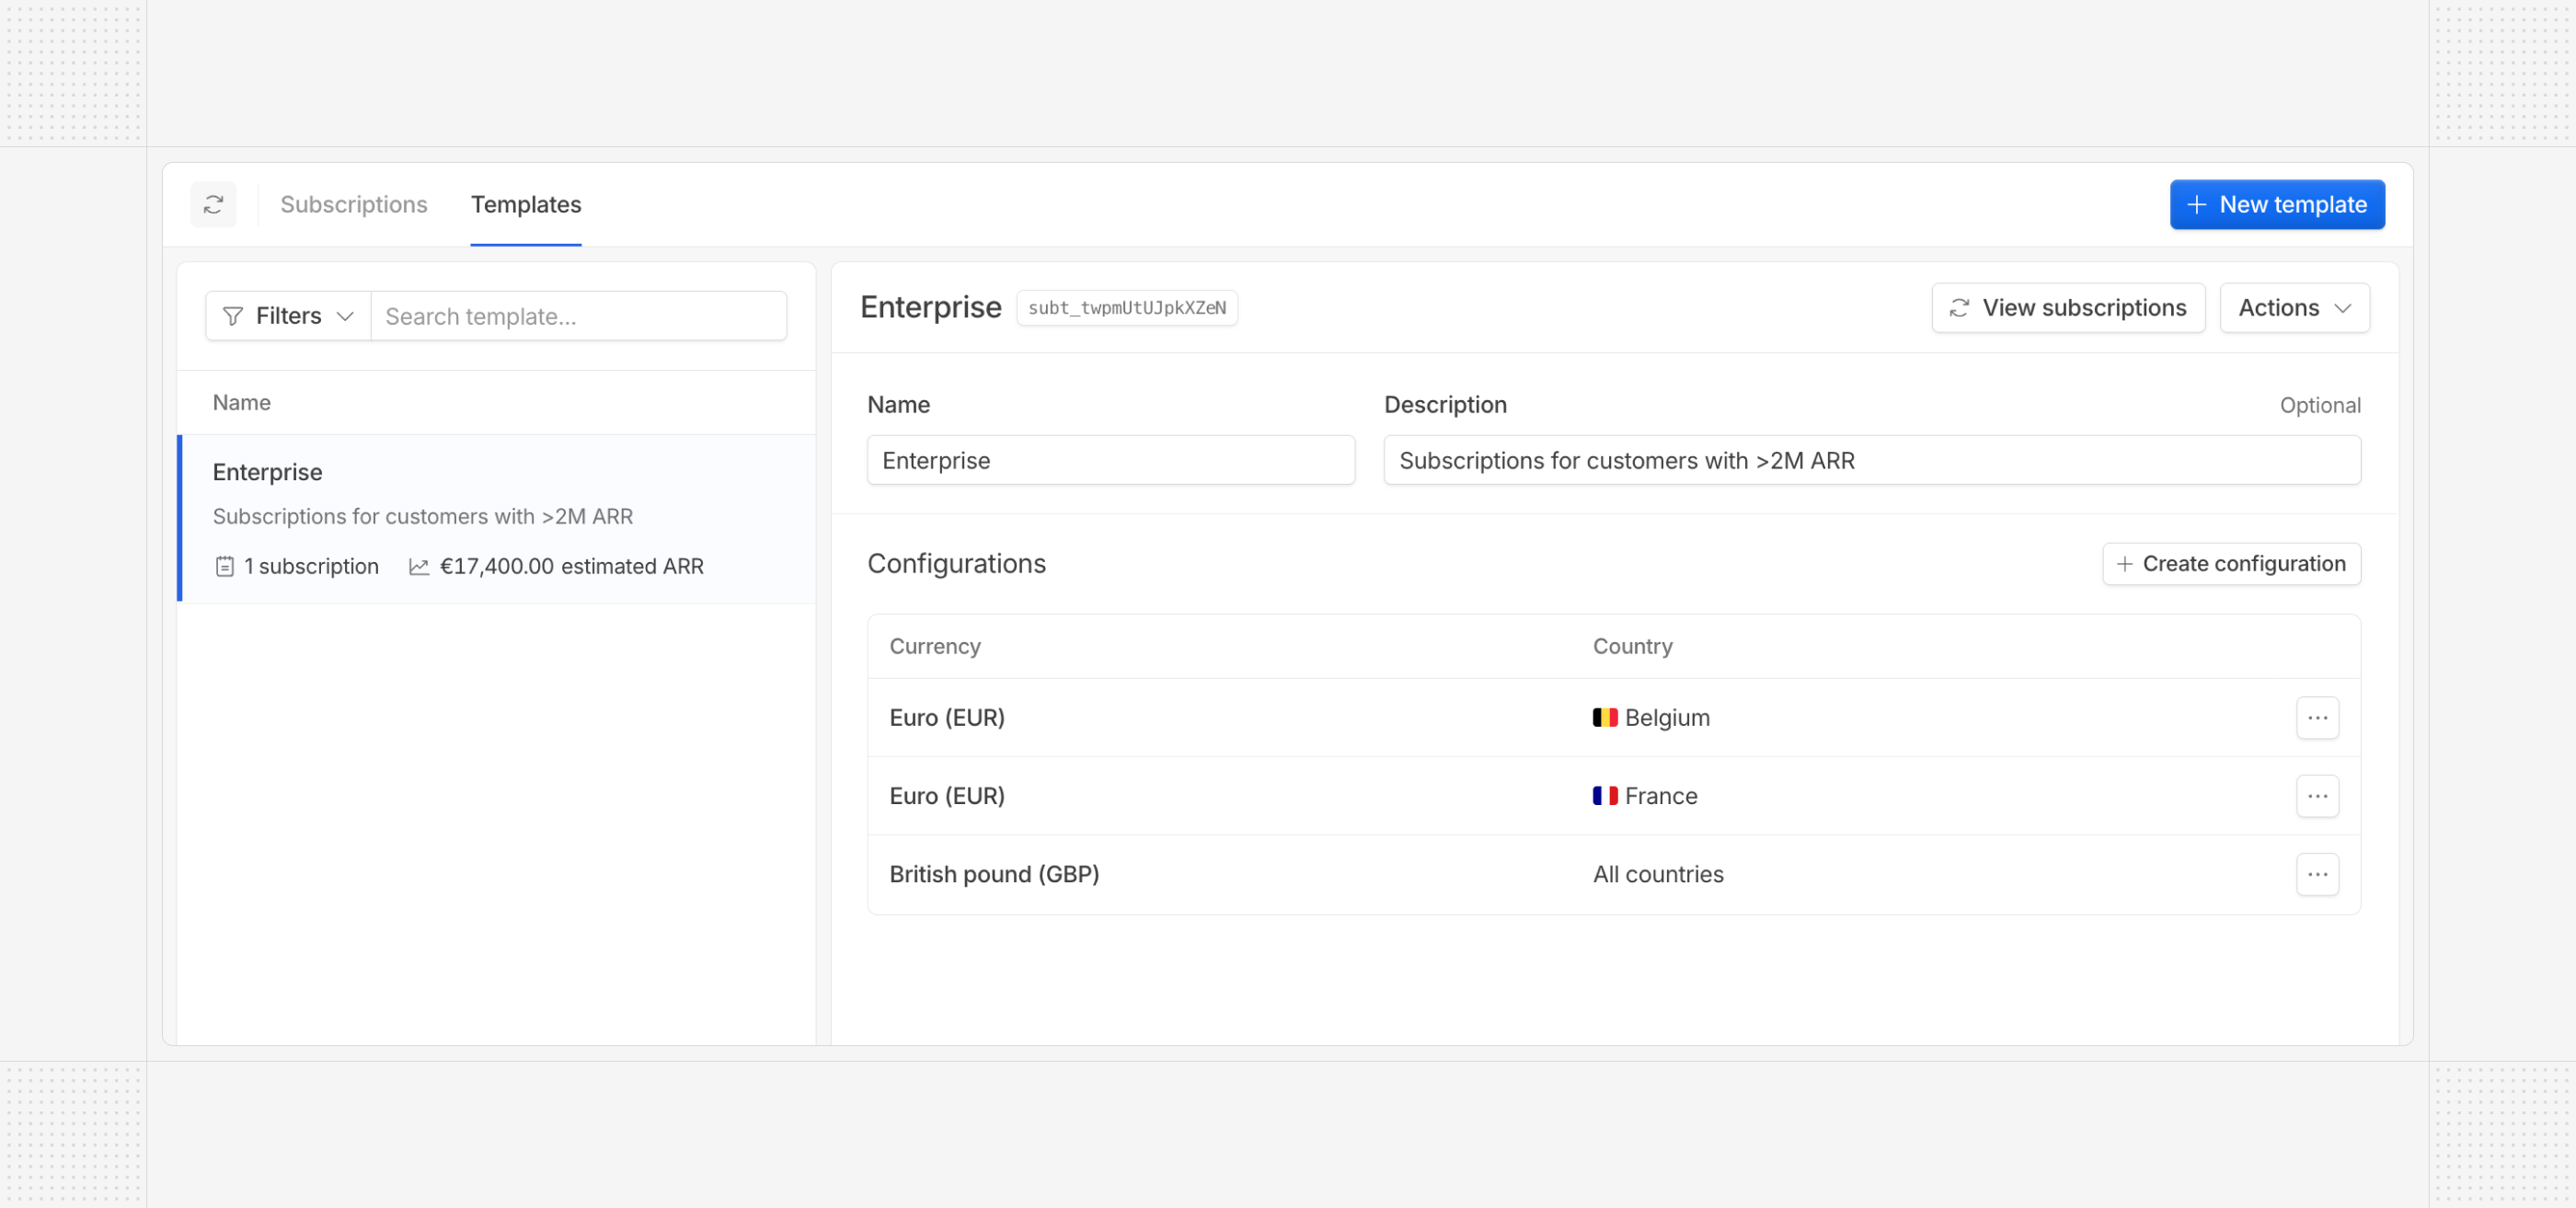 *Contact our support if you are interested.*
## Auto top-up on credits
Customer credit balances can now be automatically topped up, either from an existing catalog price or a custom one. These options are available both in the UI and via the API.
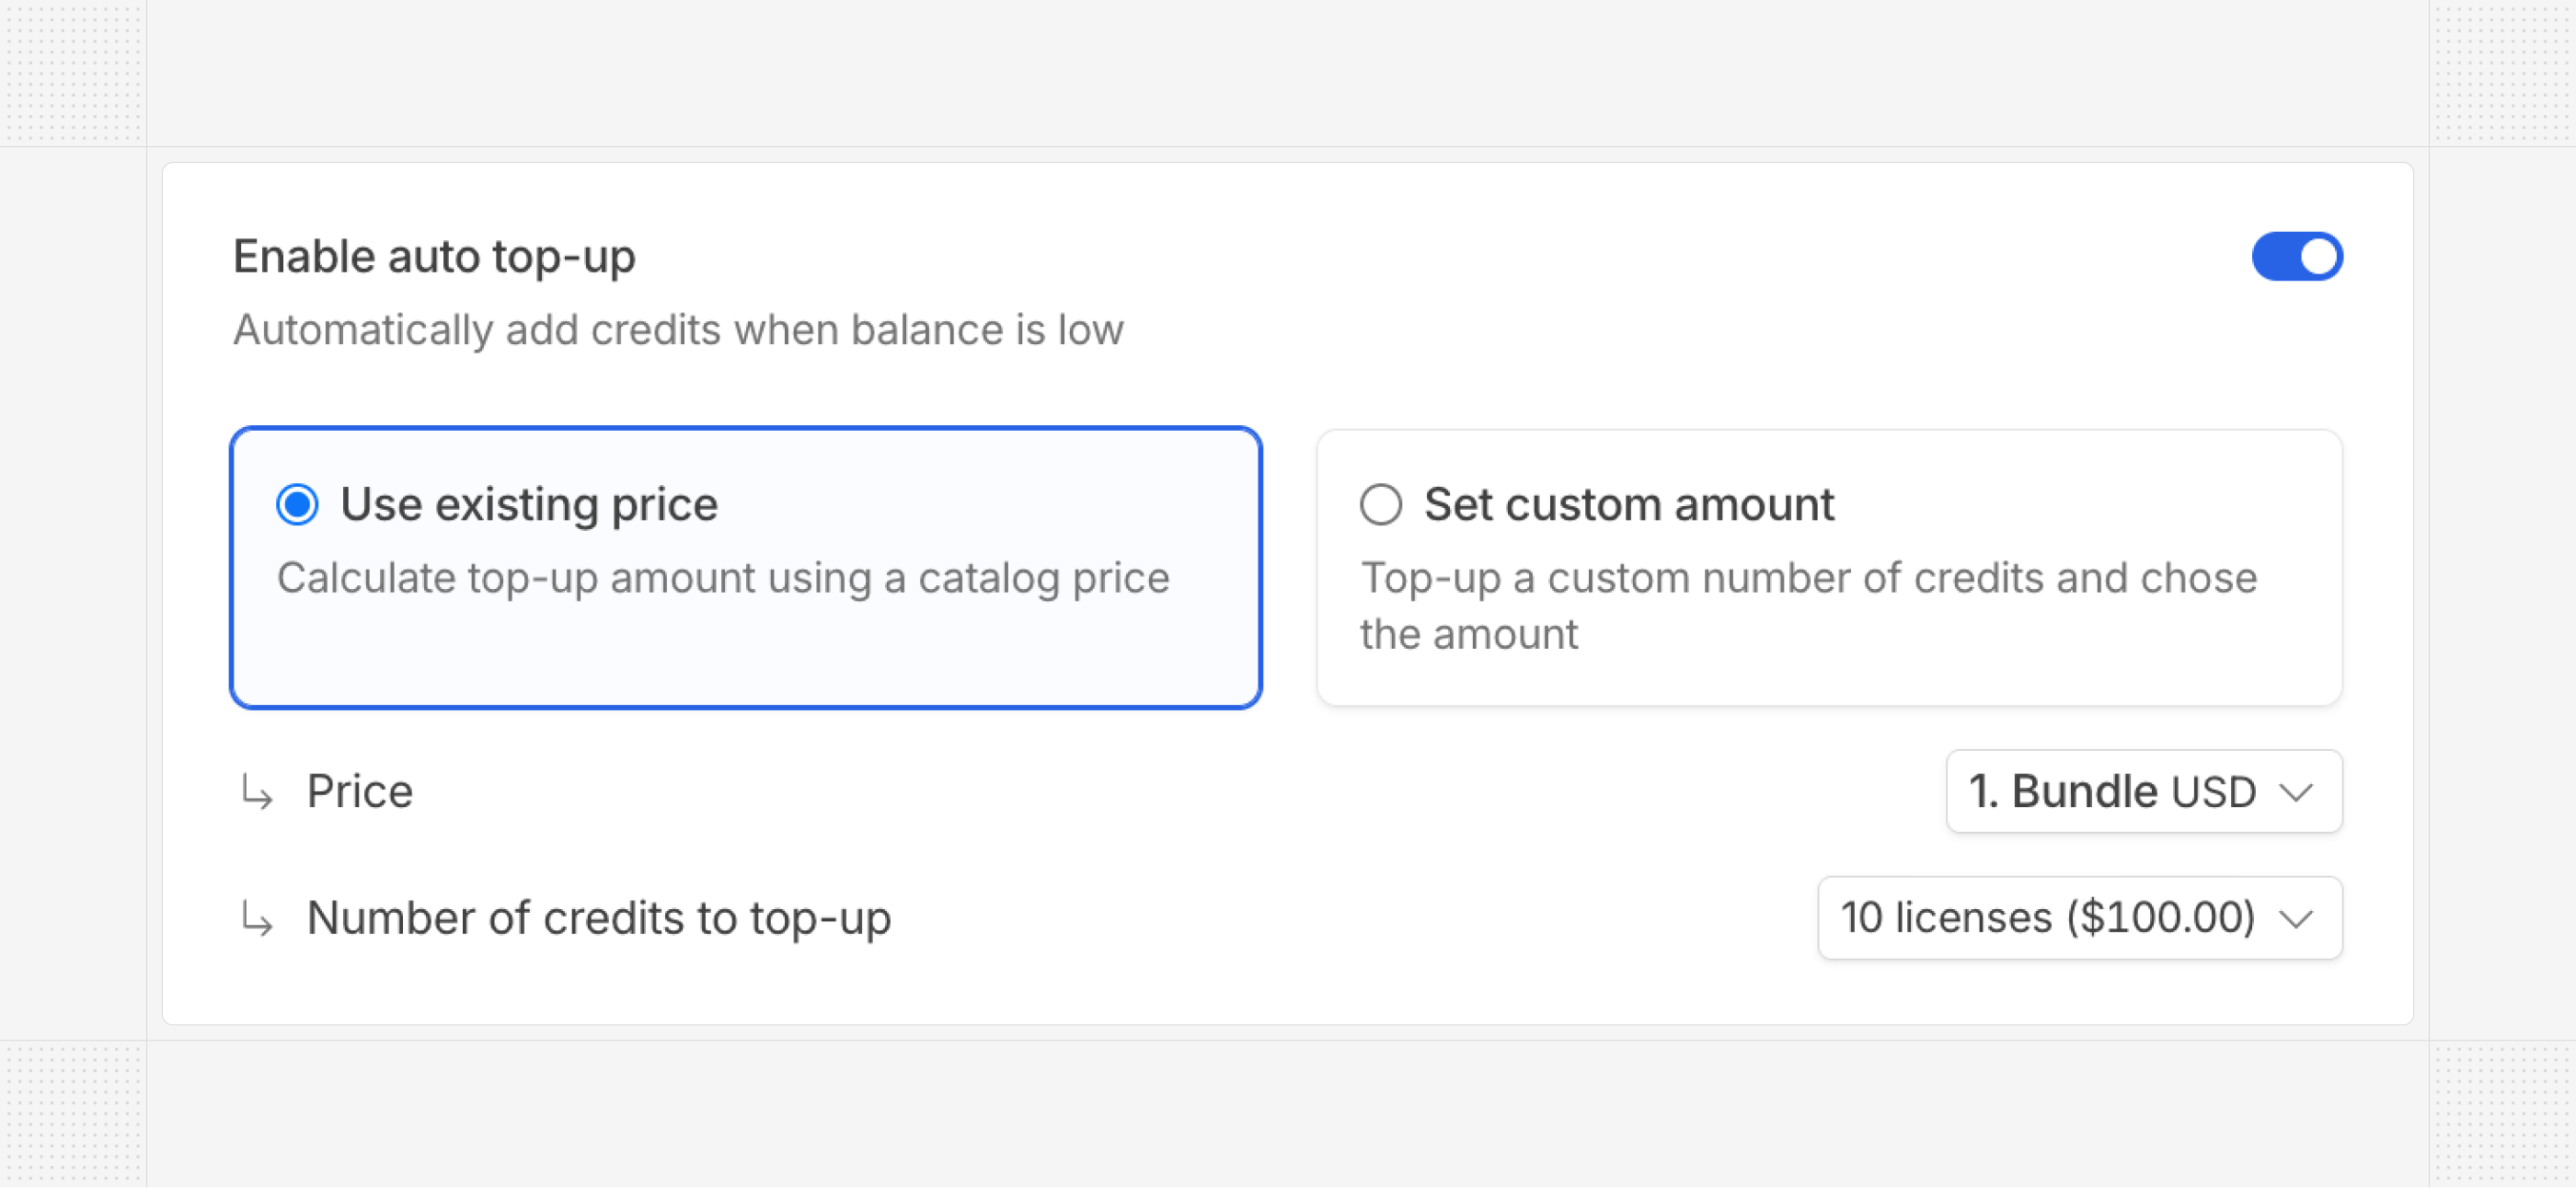 ## Relative duration on coupons
Coupons within subscriptions can now be configured with a relative duration (e.g., 6 months). You can now set them to apply once, for a fixed duration, or for the entire phase or subscription period.
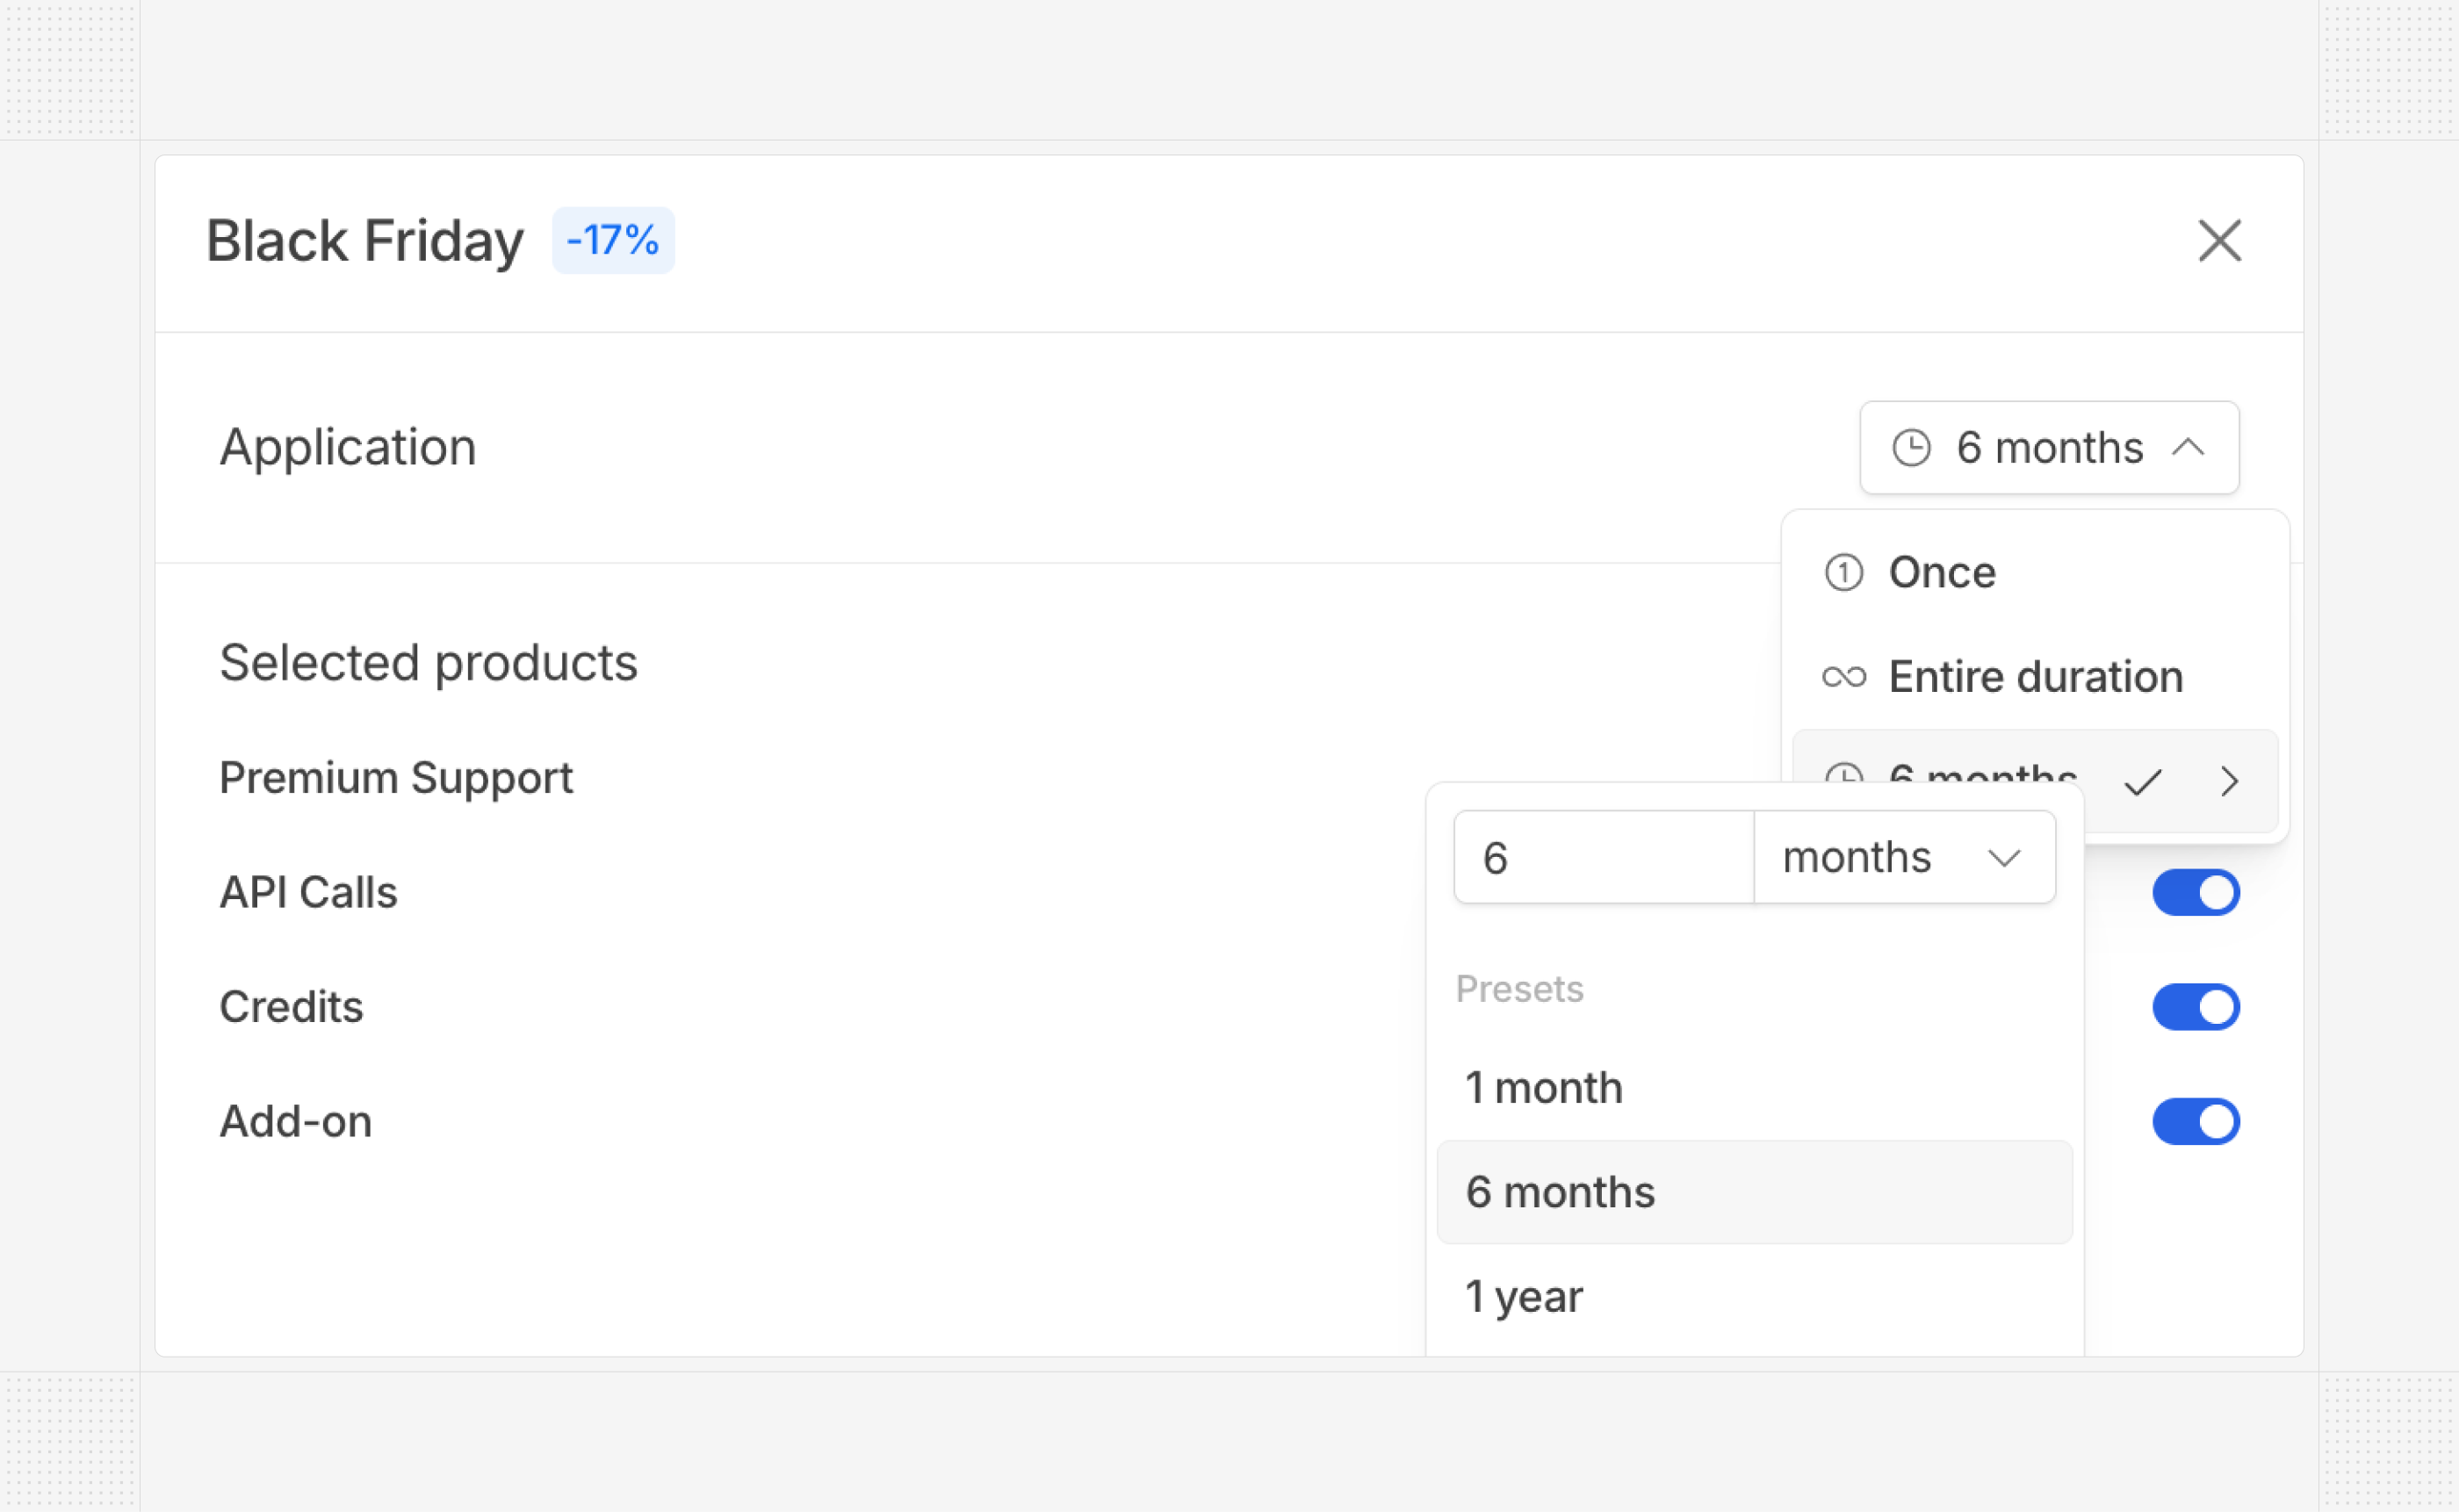 ## Custom quote name
Clients can now customize the quote name on the document — for example, renaming “Quote” to “Contract” or removing the quote number displayed.
 The configuration of this name is available in all supported languages.
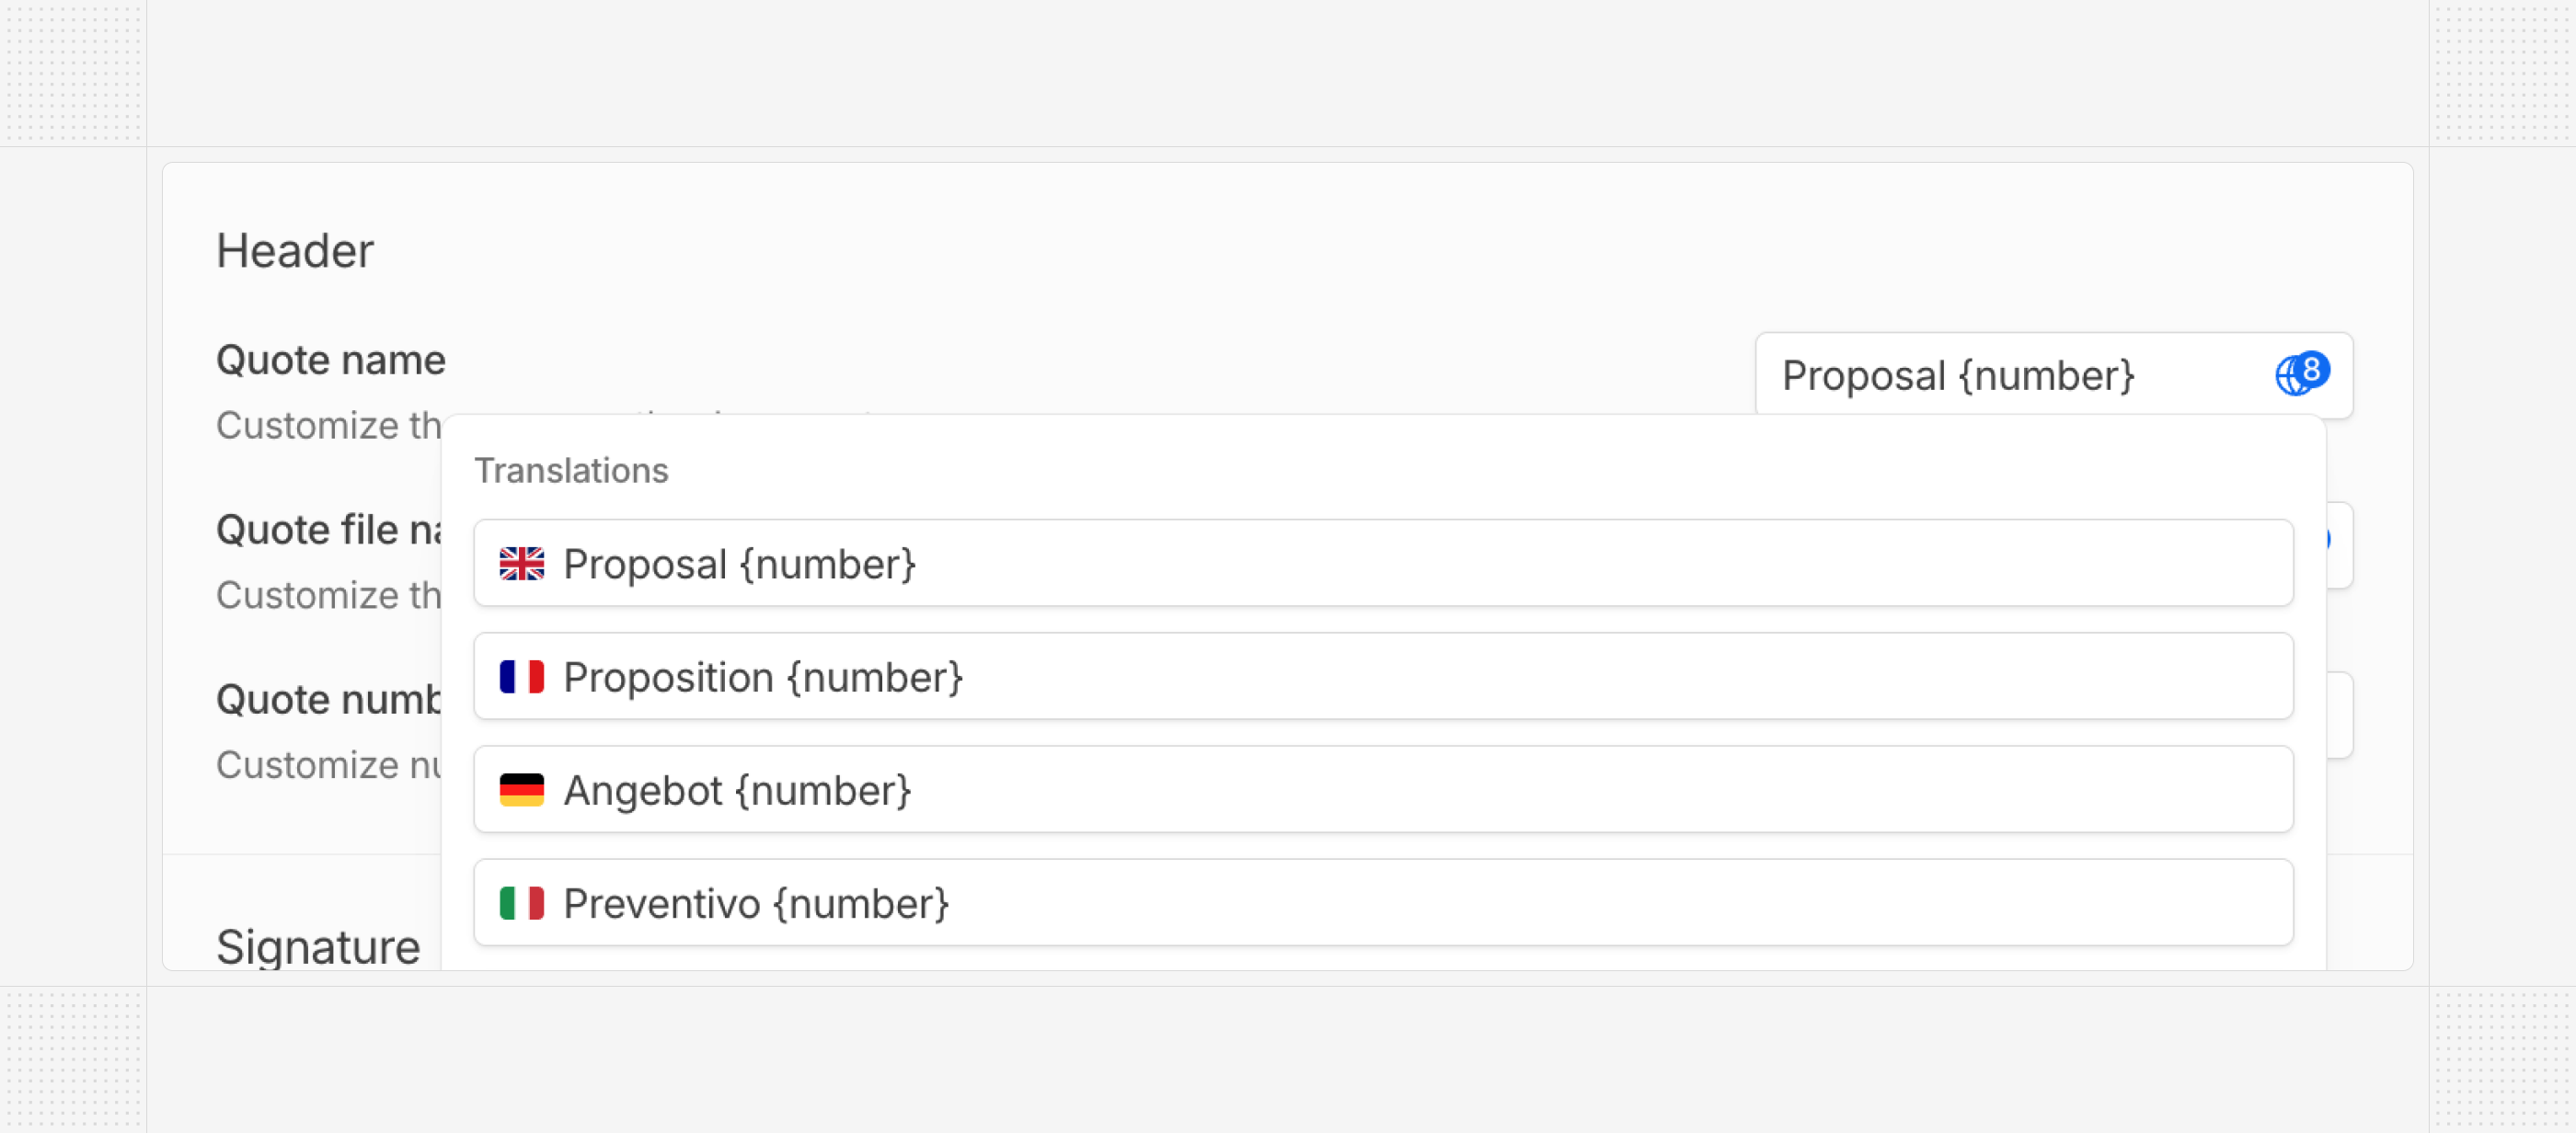 ## Uncollectible invoice
Invoices can now be marked as uncollectible, allowing you to track bad debts that may be written off for accounting purposes. An uncollectible invoice can still be paid by the customer (it remains “to pay”).
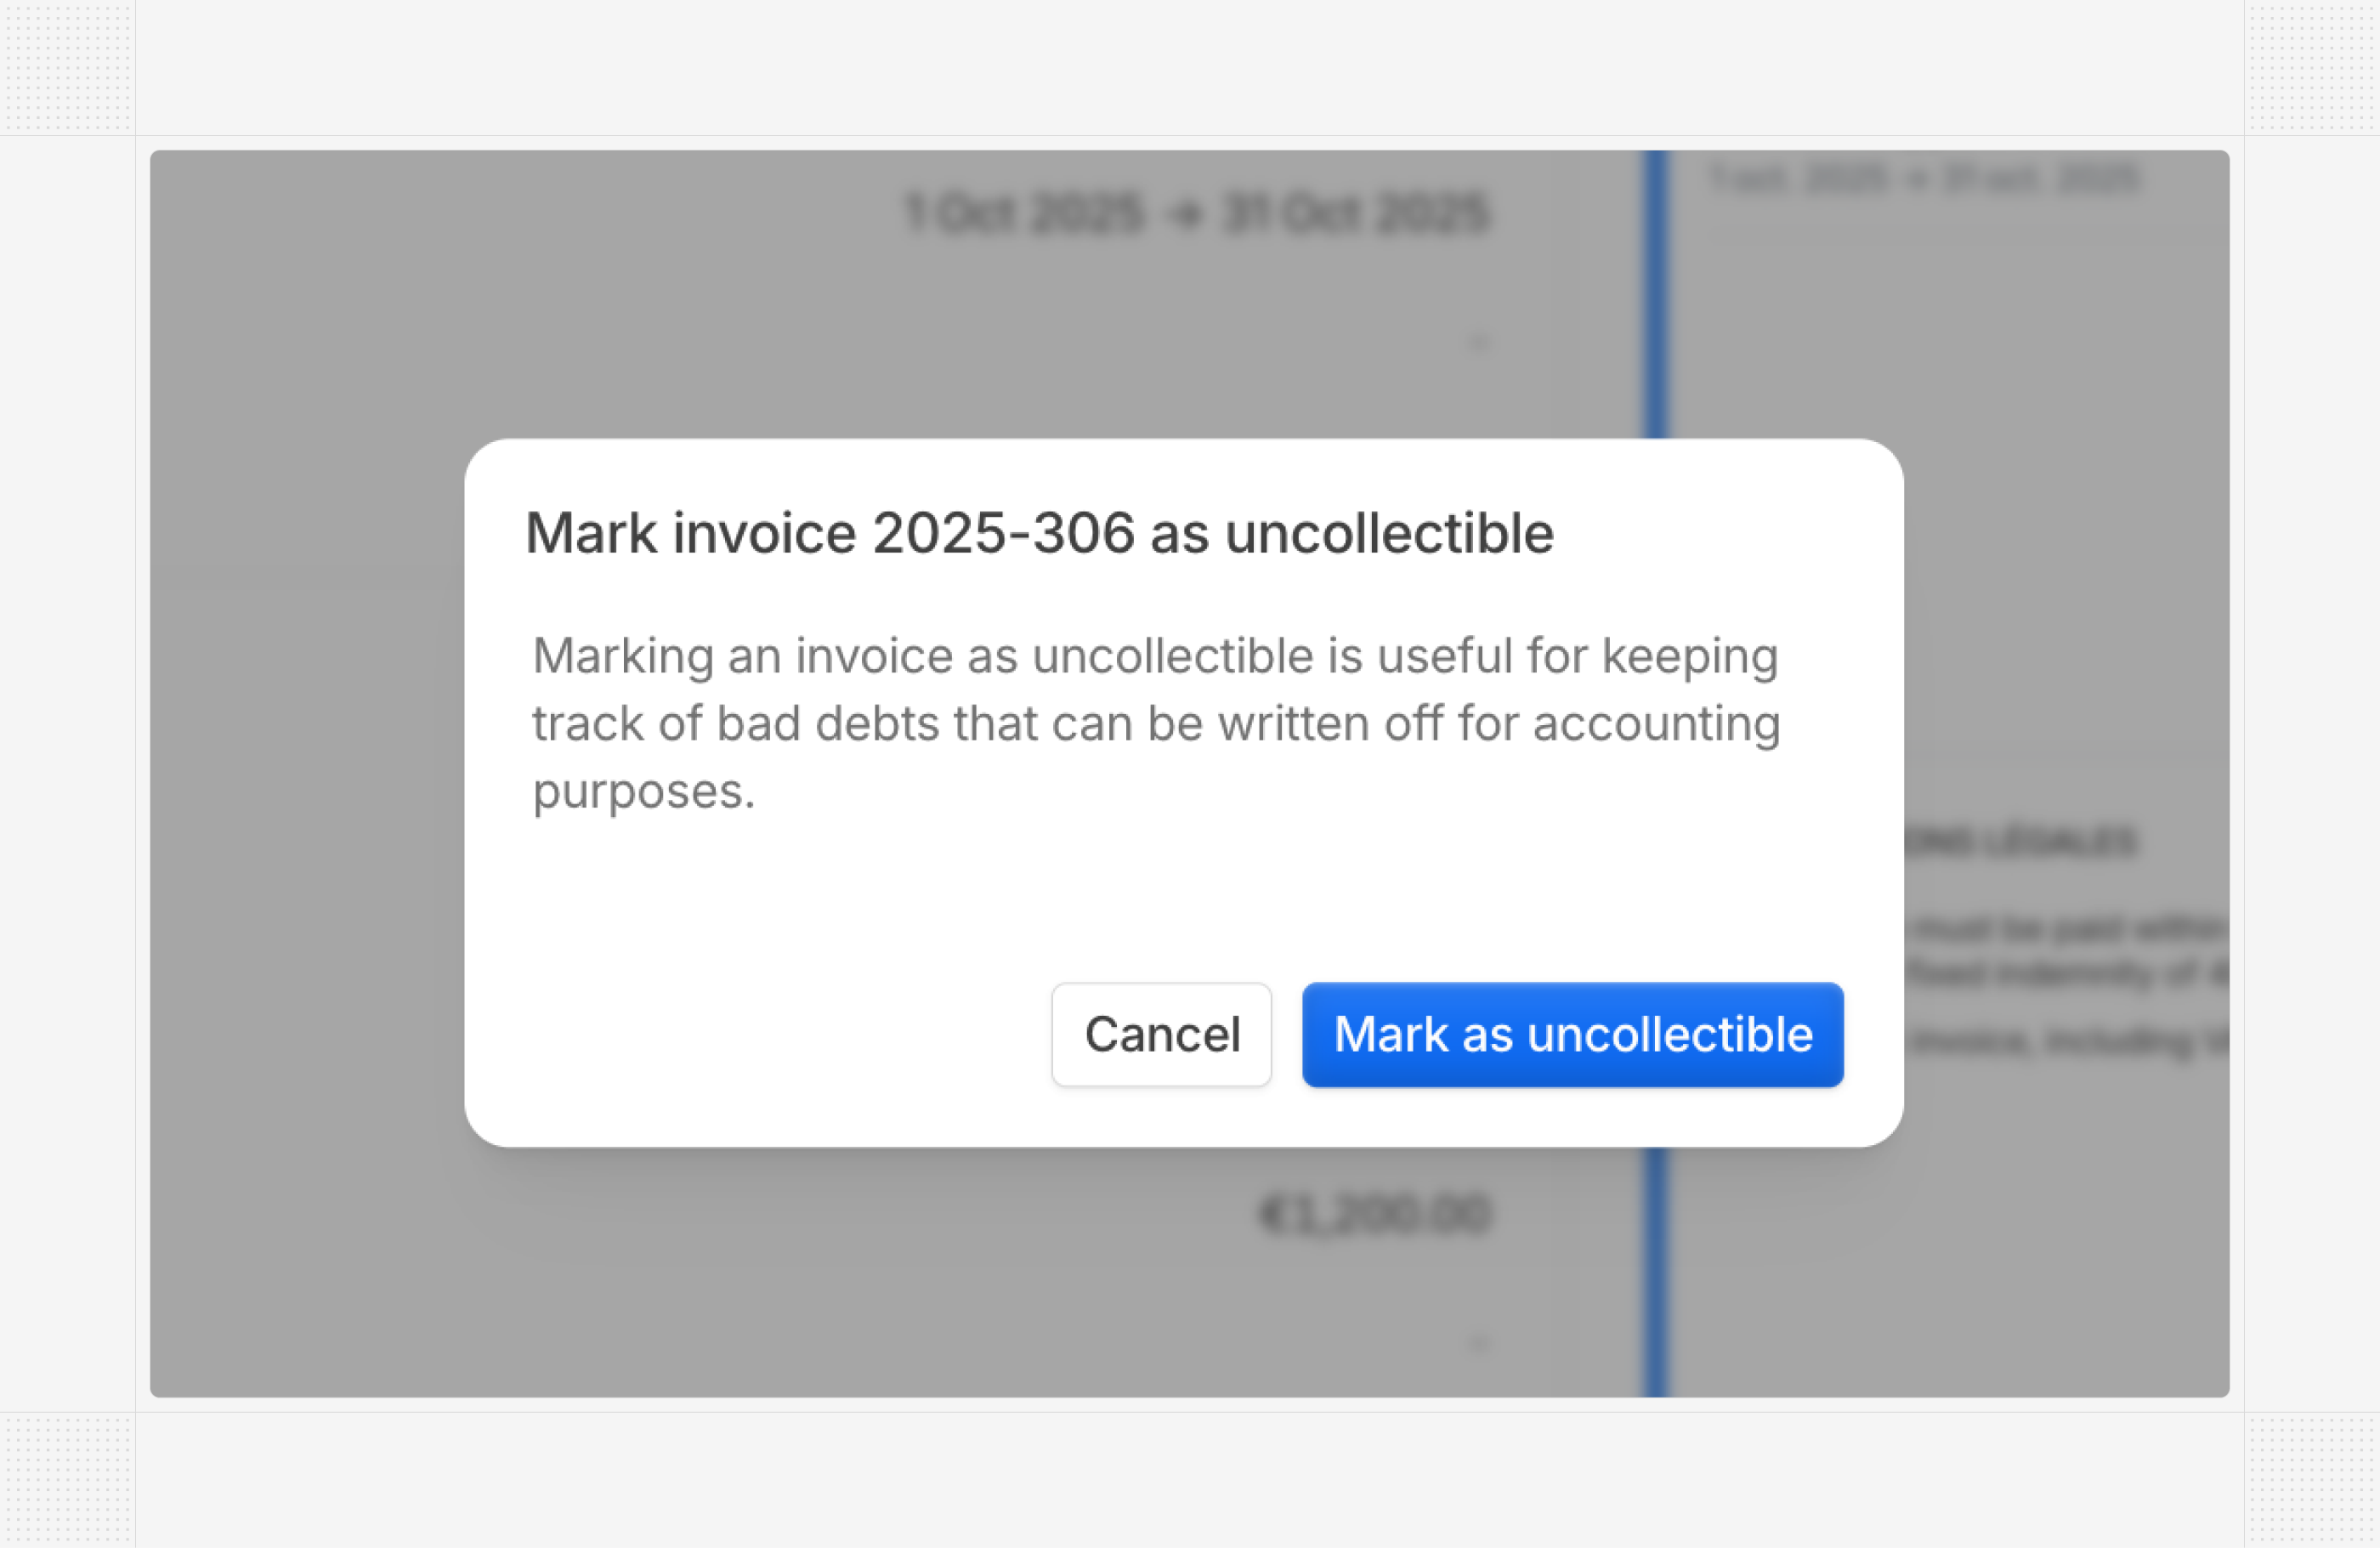 ## Non-recurring subscriptions
Hyperline subscriptions can now contain one-time products only, allowing you to represent customer contracts and terms, or include only credit-based products — all without recurring usage.
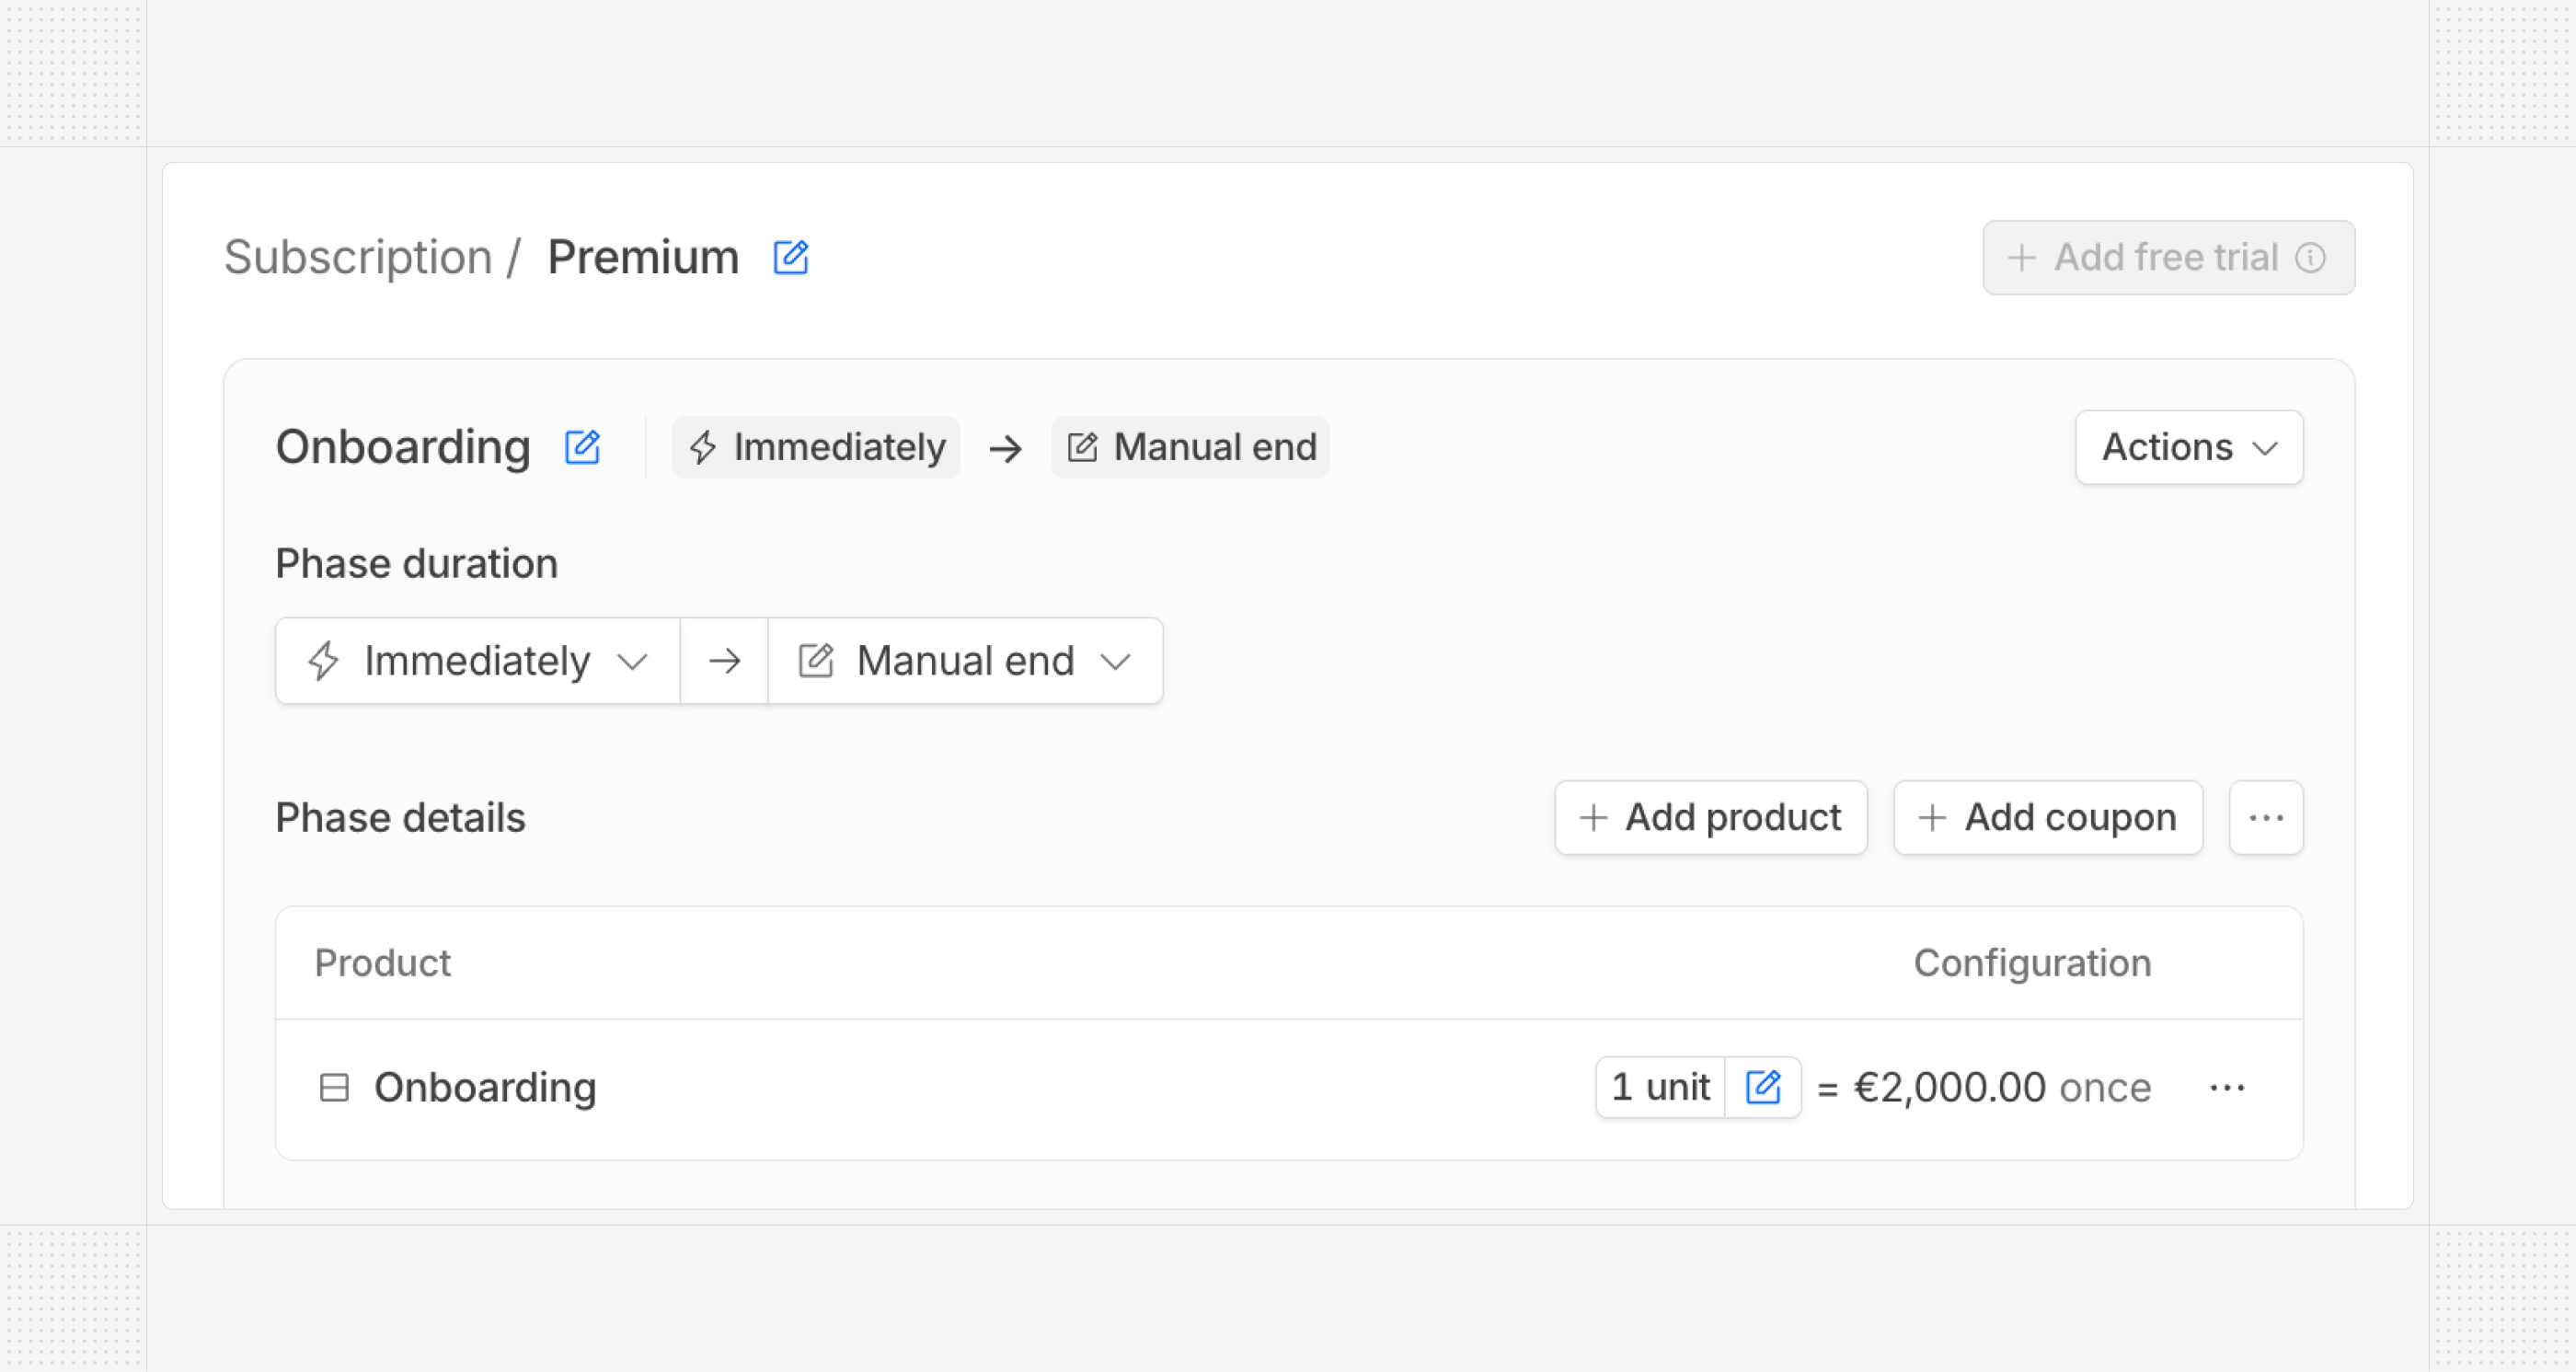 ## Transition options on quote update
When configuring a quote for a subscription update, you now have different options to transition from the current configuration to the new one:
* Direct: a new billing cycle starts when the quote is signed, with no transition invoice (no refund from the previous phase and no prorated charge for the new phase).
* Pro-rata: the default behavior until now — billing cycles are preserved when possible, and a transition invoice with prorations is issued at quote signature. This remains the default behavior.
## Transaction synchronization with accounting software
When using an integration with accounting software, you now have the flexibility to configure the synchronization direction between Hyperline and your accounting system.
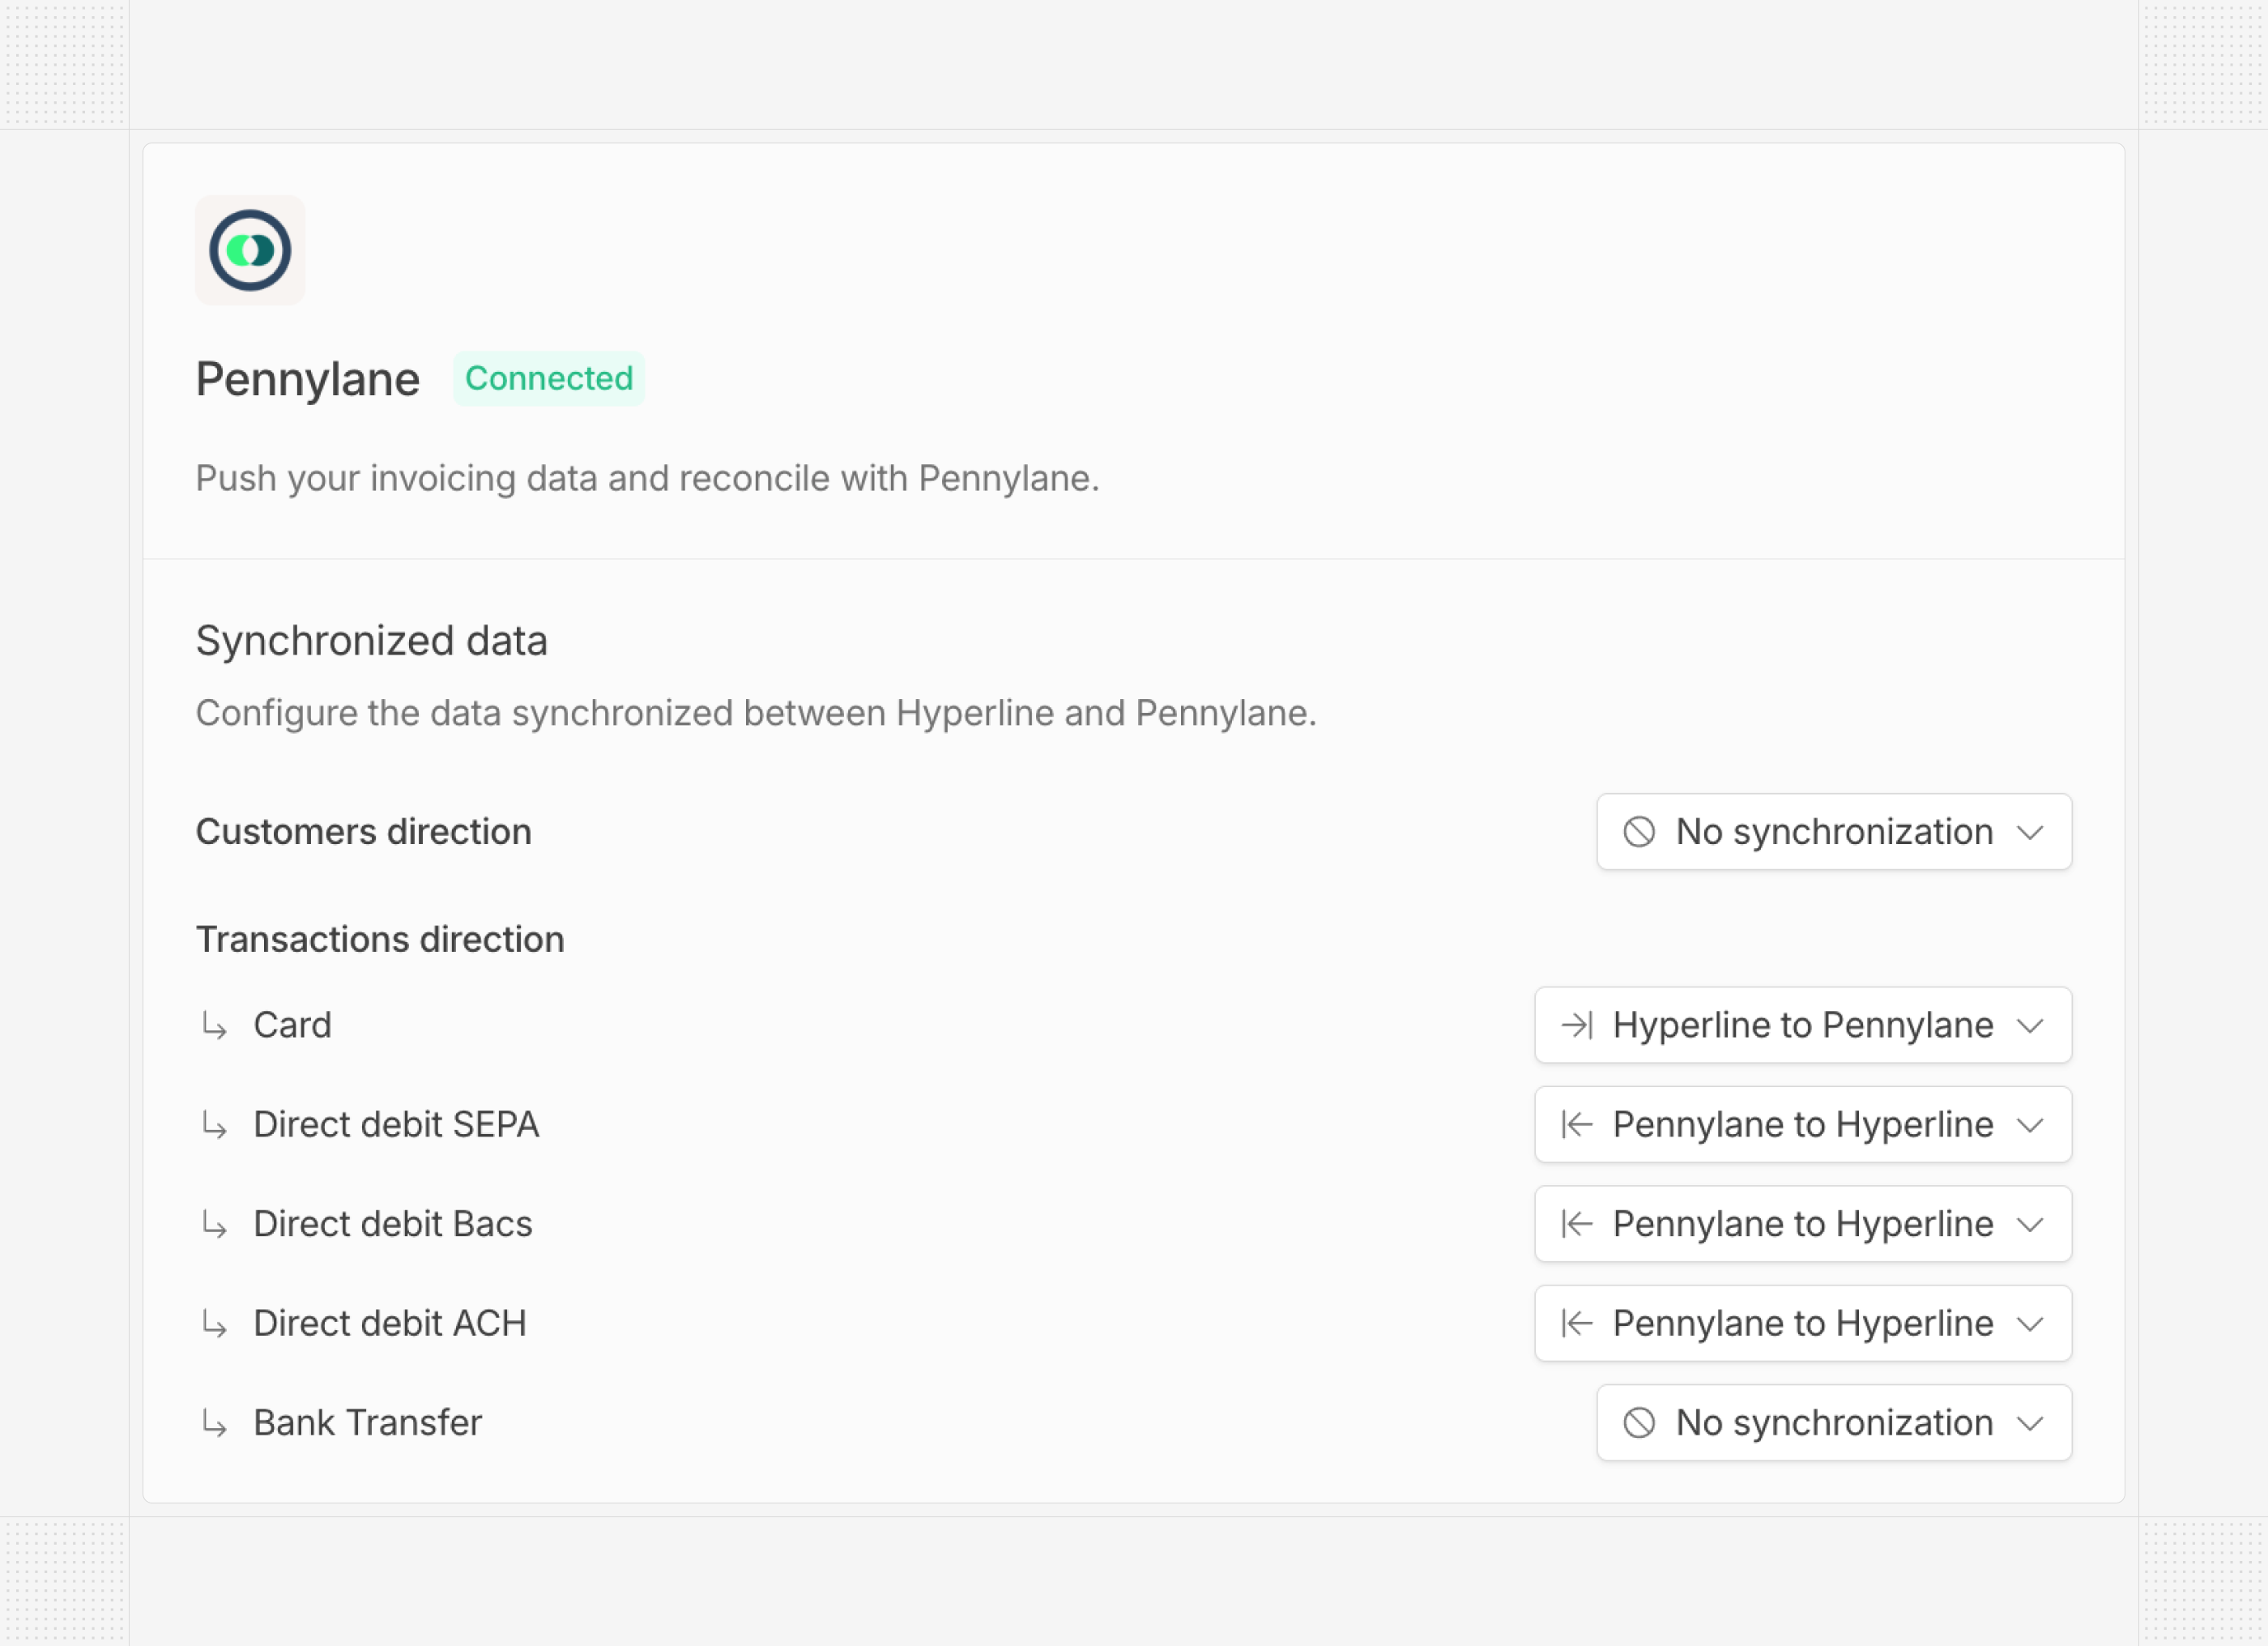 ## UI updates
We've rolled out several UI improvements:
* Added a secondary navigation bar for each product category
* Moved audit pages to the main navigation
* Added filters to the products page
* Updated status iconography for quotes, invoices, and transactions
# Product updates October, 2025
Source: https://docs.hyperline.co/changelog/2025-10
## Transactions page
We added a brand-new page in Hyperline to track transactions at the account level. This page lists all transactions that occurred in your account, including payments and refunds, providing a clear overview of your cash activity. Filters and export options are also available.
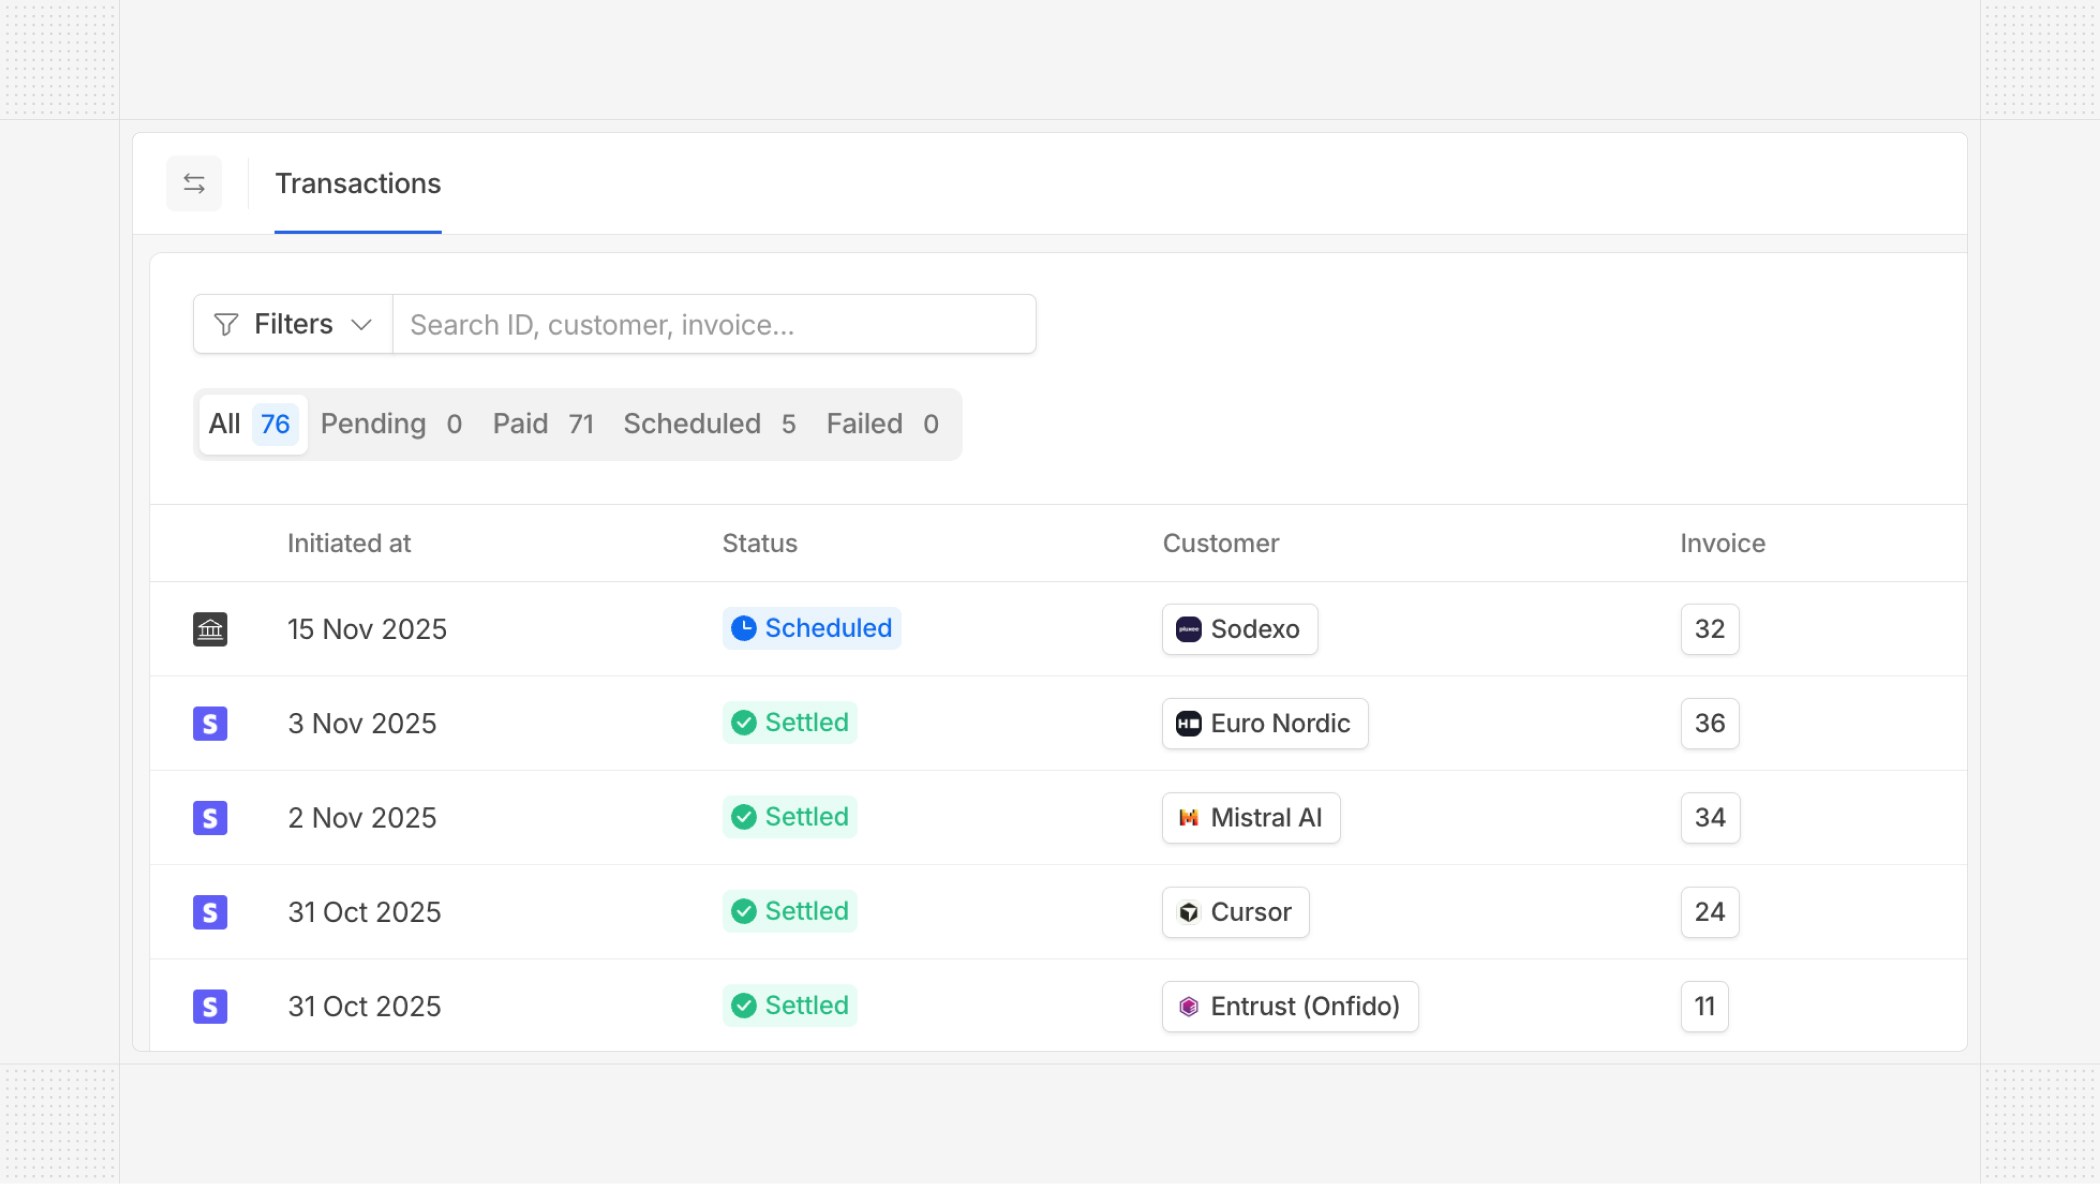 ## Subscription versions
We introduced subscription versions to help you track changes to your subscriptions over time. Each time a subscription is updated, a new version is created, allowing you to view the full history of changes made to that subscription.
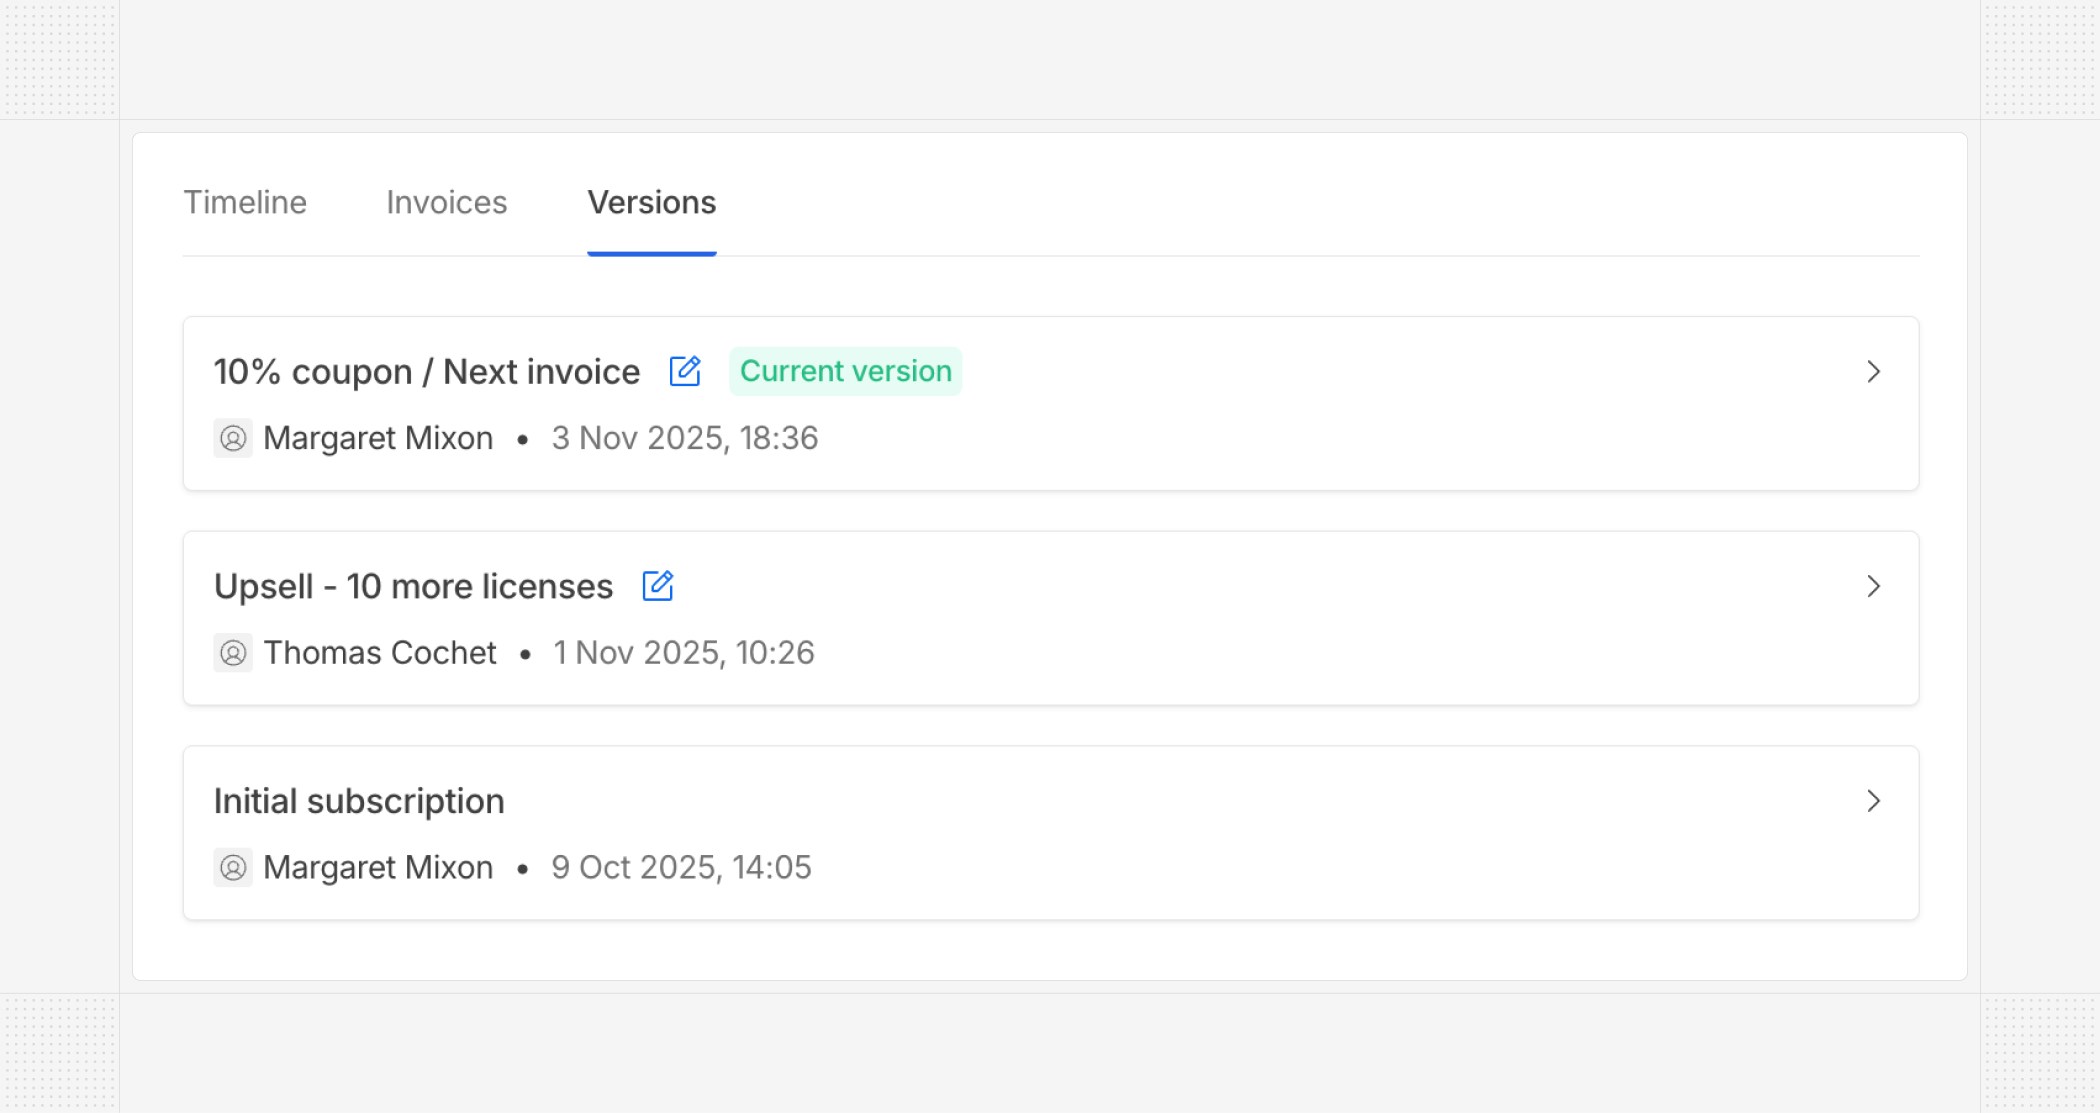 ## Accounting integrations observability
We improved the observability of our accounting integrations by adding detailed logs in case of issues. This helps you clearly monitor syncs and quickly identify and resolve any problems that may arise.
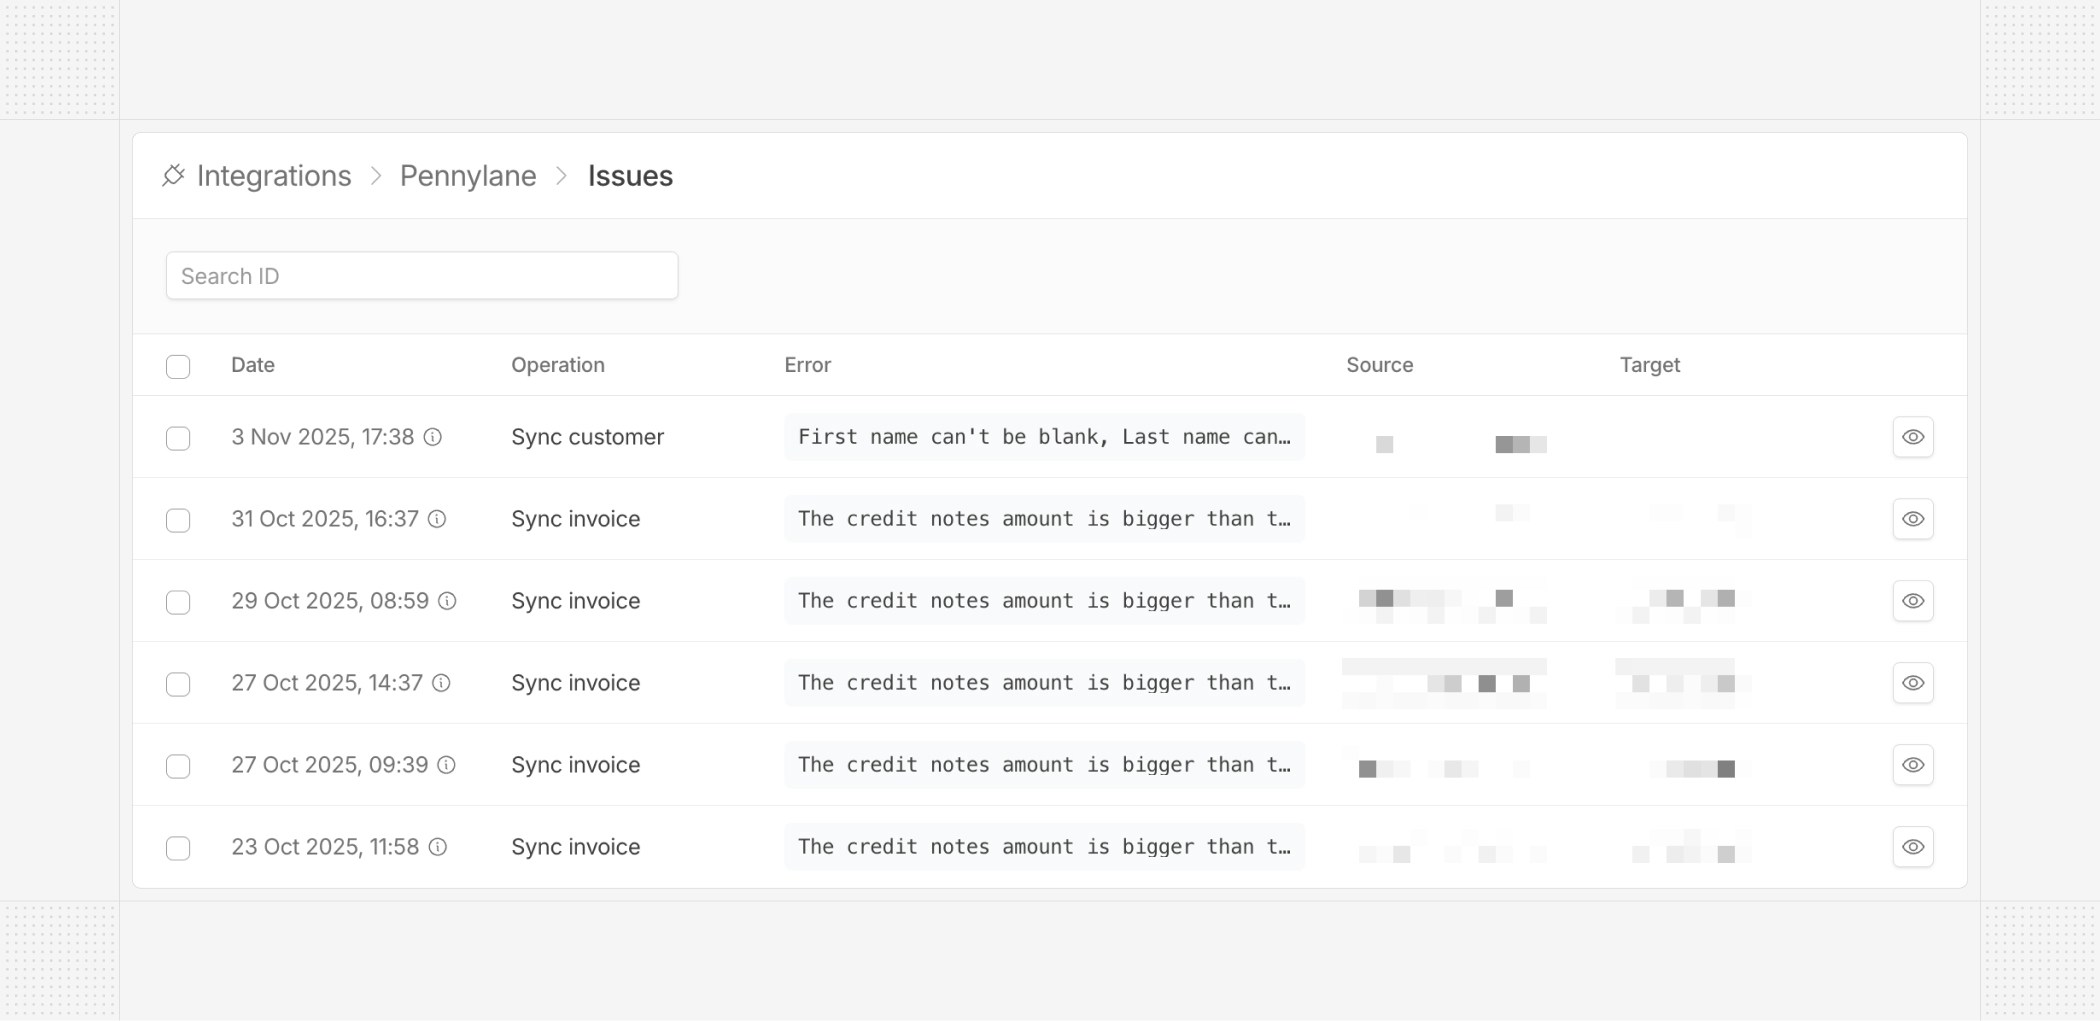 ## Edit current subscription phase
Just like with future phases, you can now edit the current phase of a subscription.
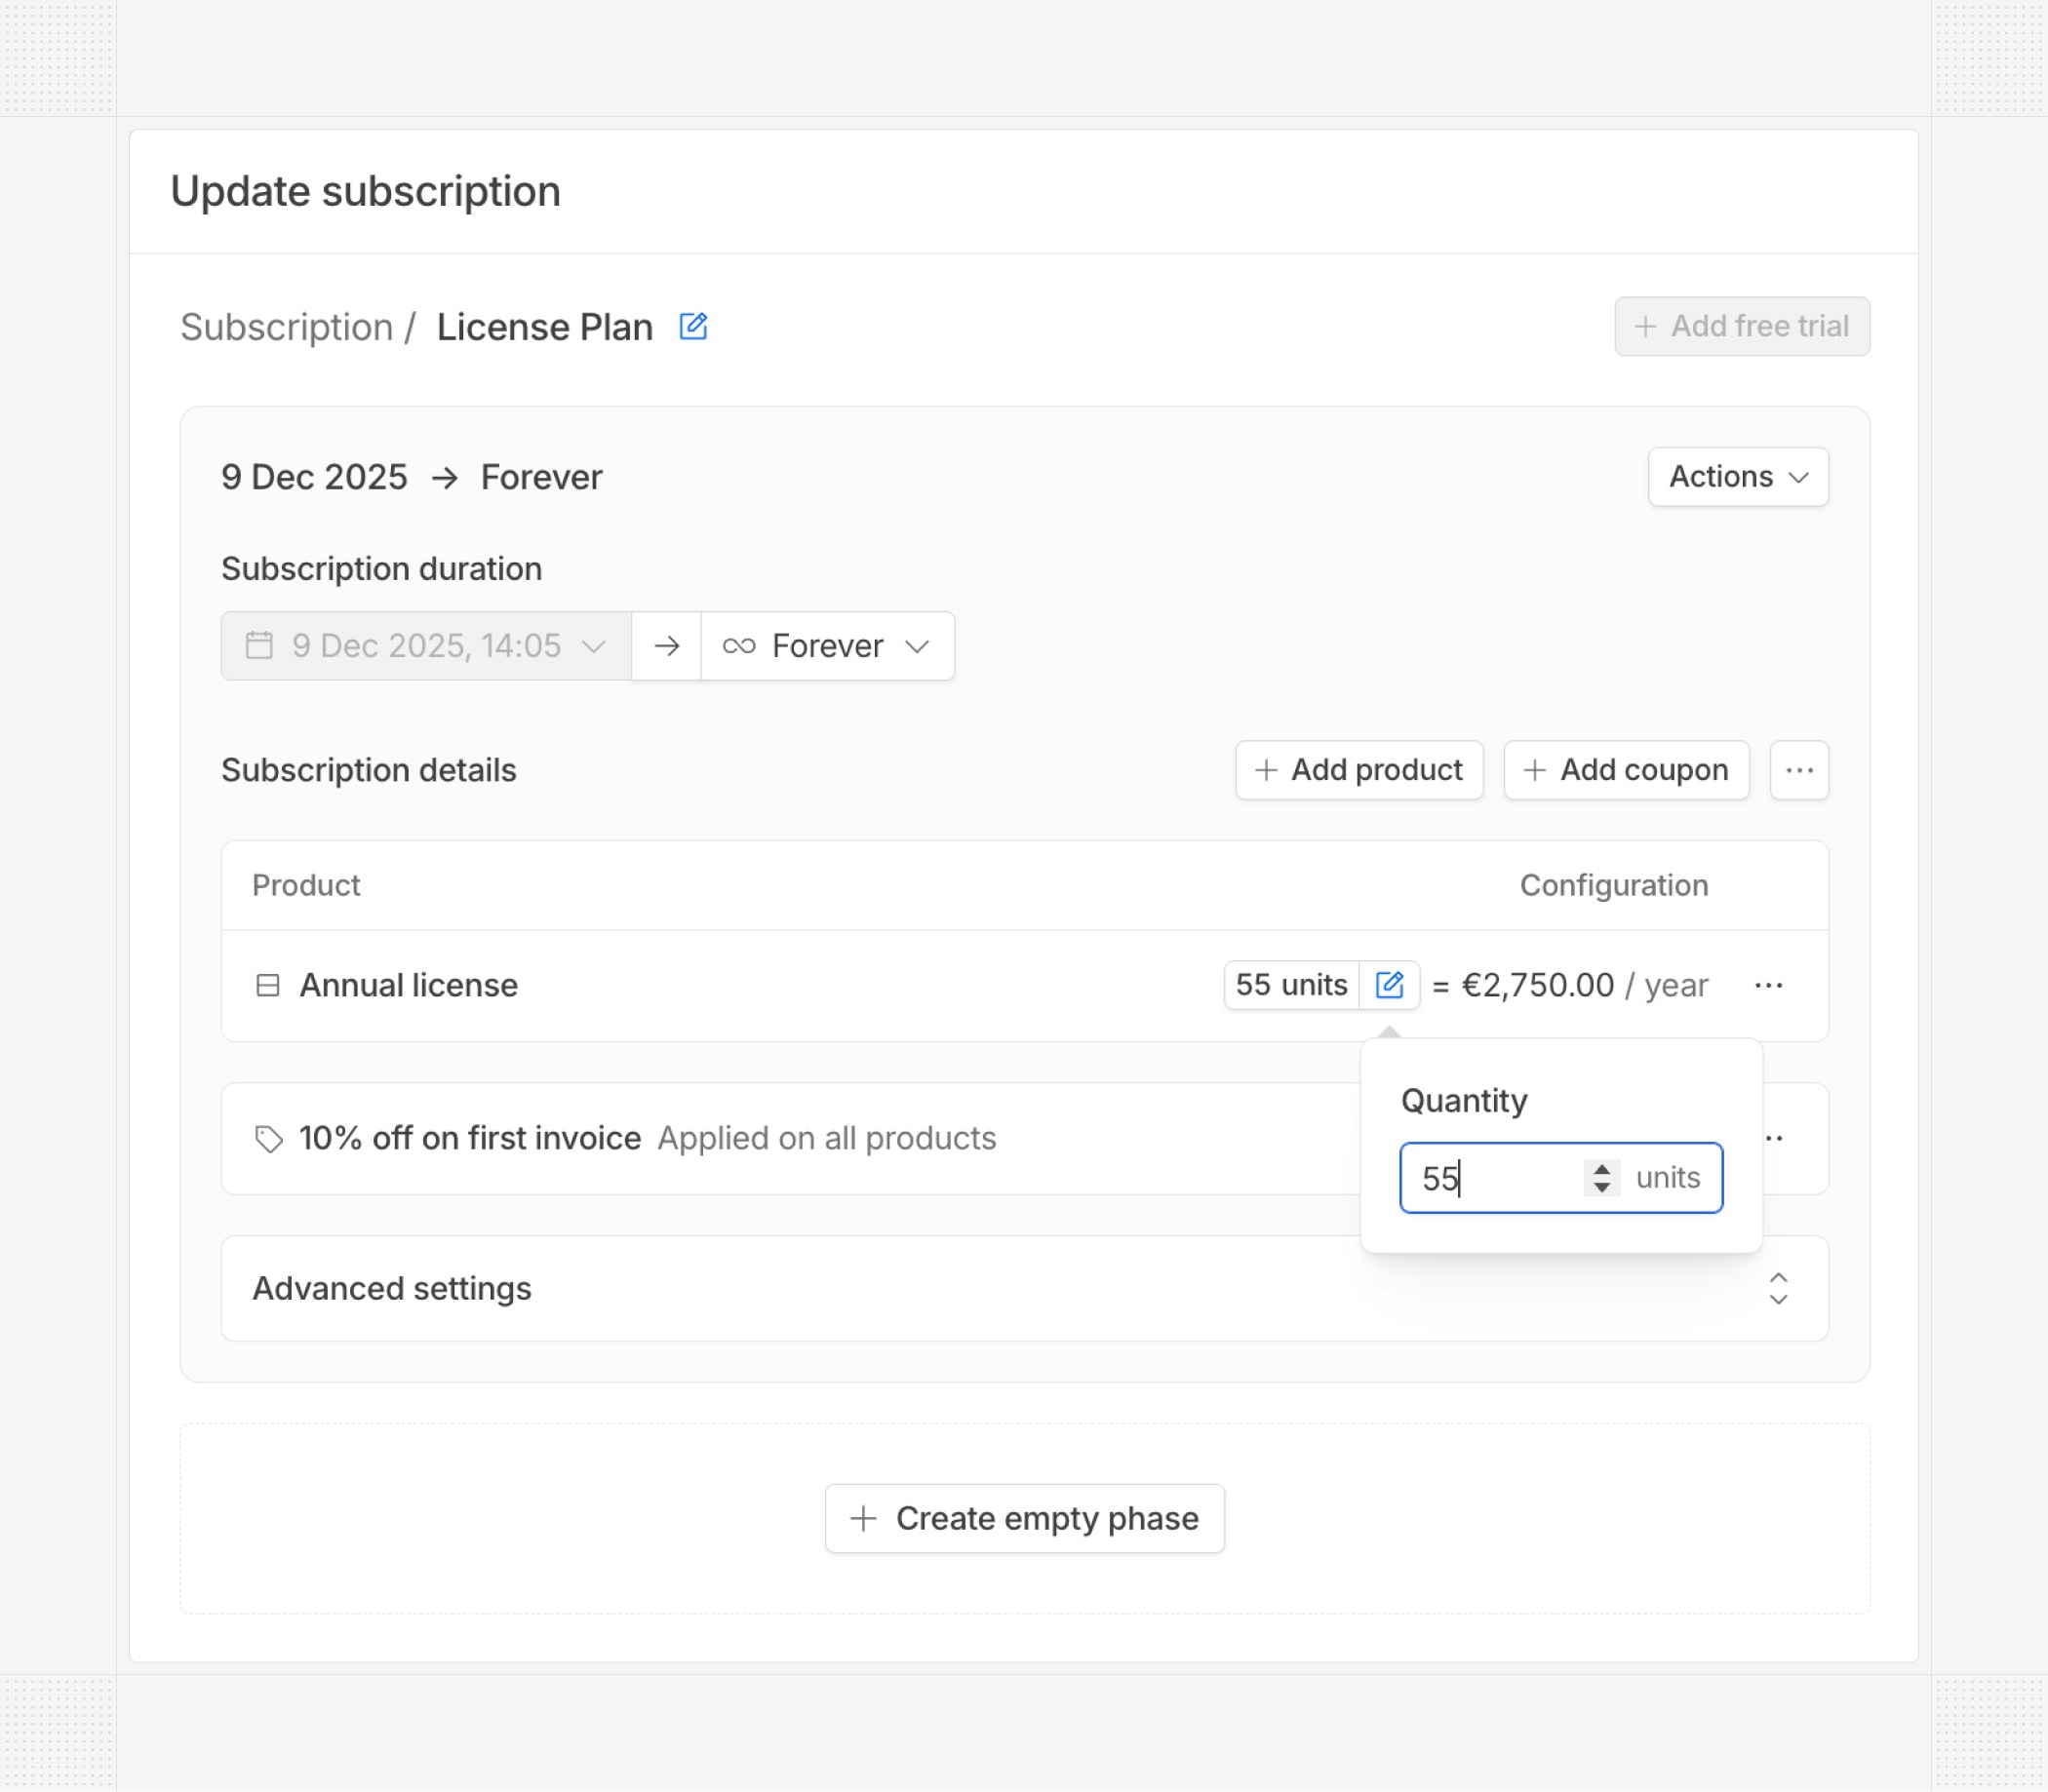 ## E-invoicing Spain and Belgium
Automated e-invoicing transmission is now available for Spain and Belgium. We now send your invoices directly to the tax authorities in these countries, ensuring compliance with local regulations.
 ## Coupons improvements
We made several improvements to the coupons feature. Coupons can now be applied with a relative duration (e.g., for 3 months), and you can choose which line items the coupon applies to when creating or editing an invoice in the visual editor.
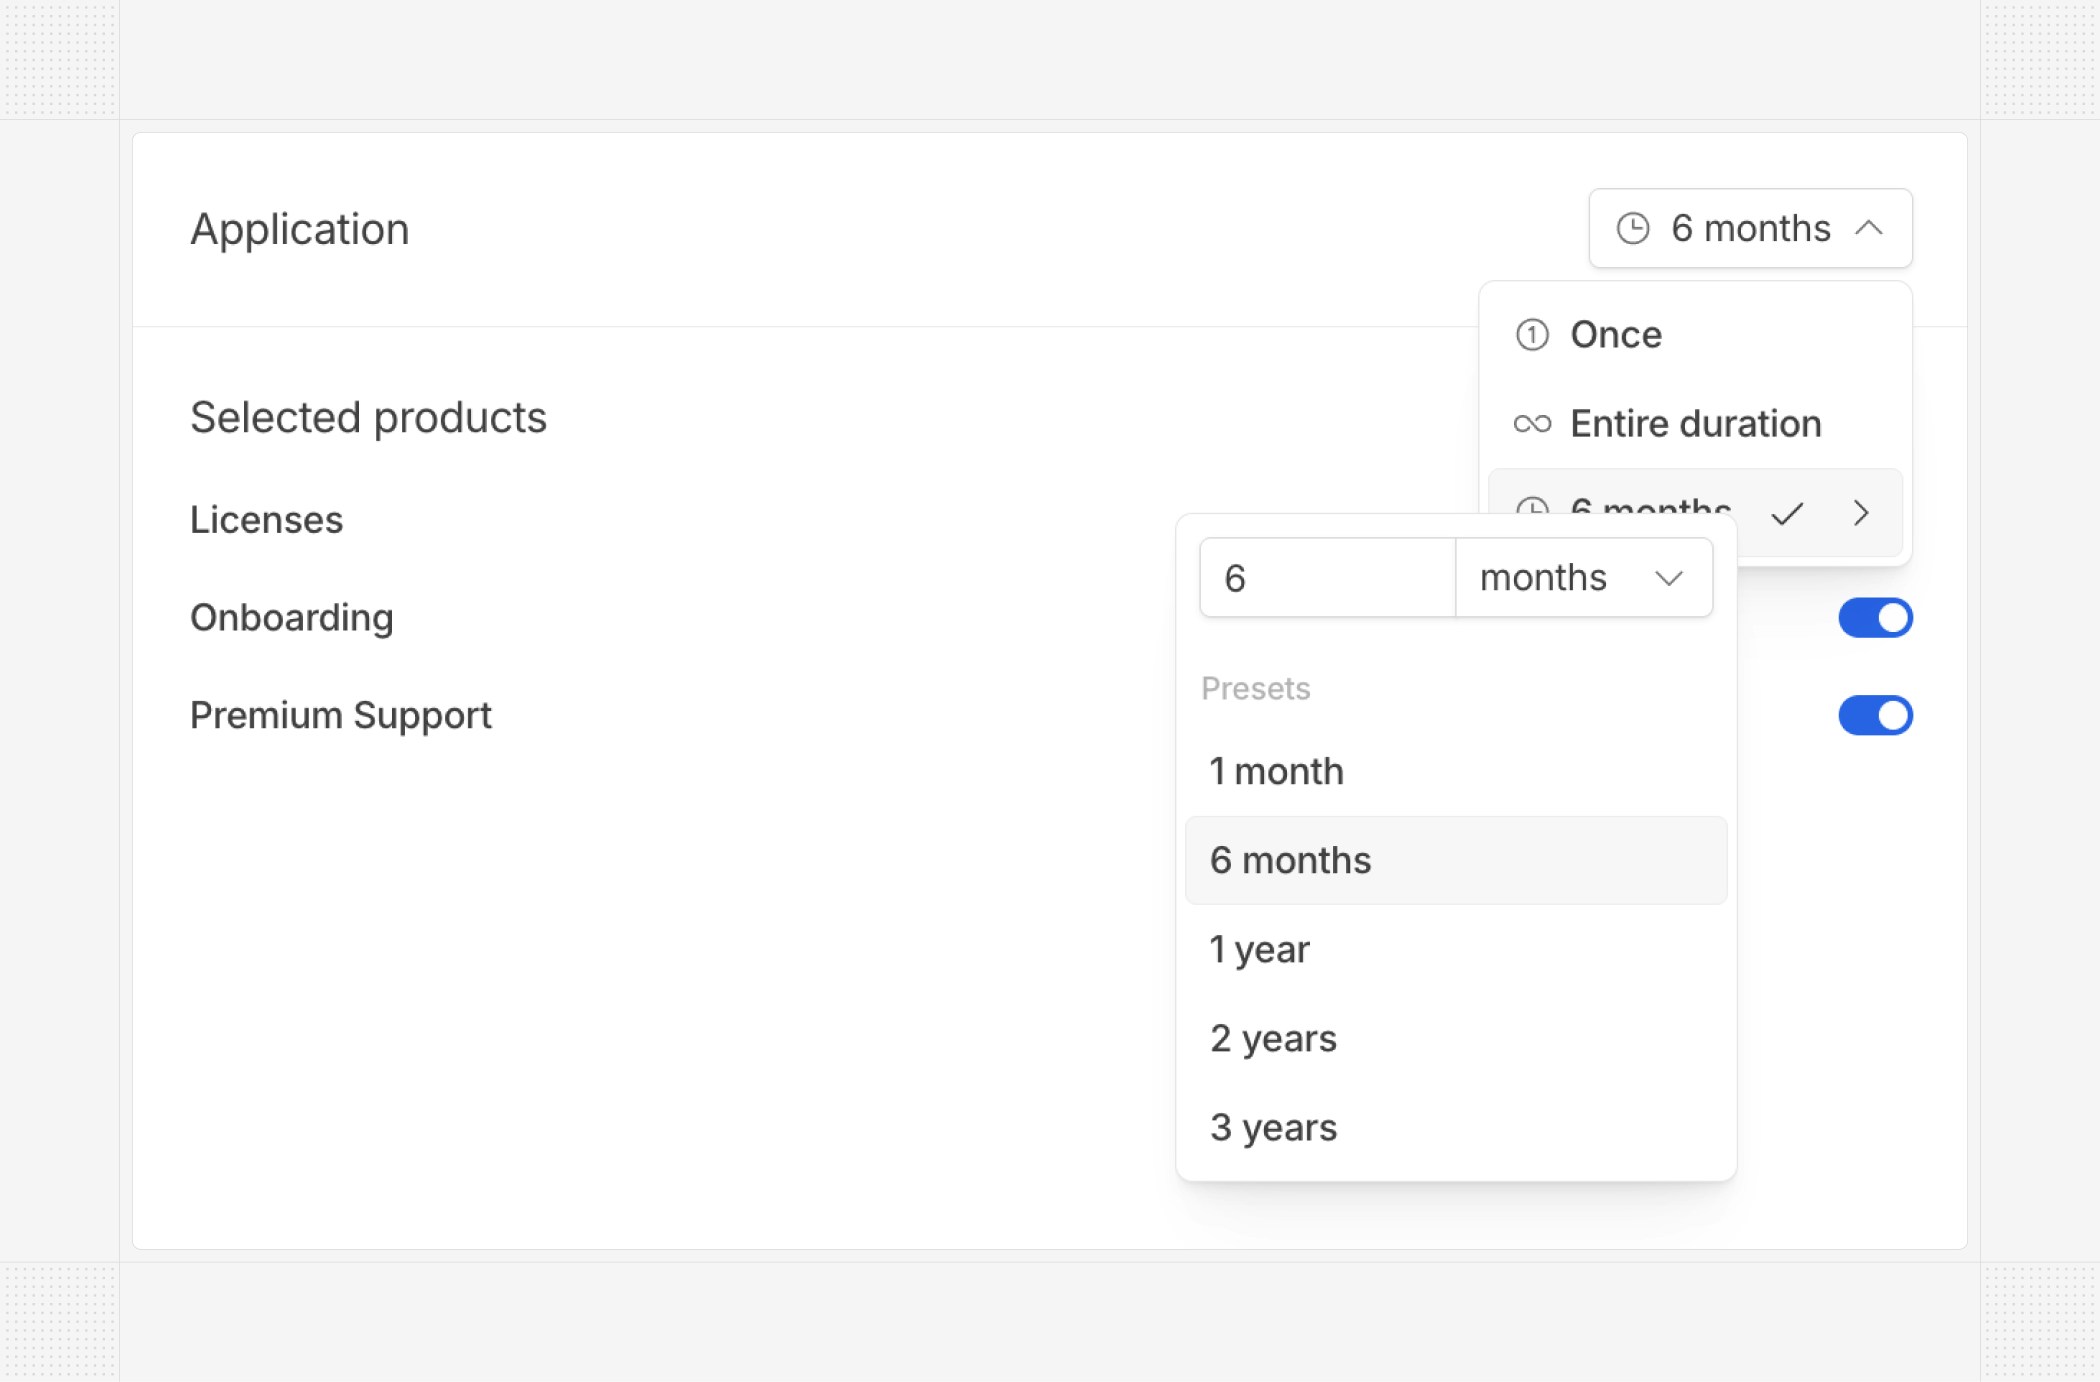 Additionally, you can now create invoices with coupons using the API.
## Bank account error
We now send an email to the “Email for technical alerts” address (configured in the email settings) when a connected bank account cannot be refreshed. This proactive notification helps you reconnect your account promptly and ensure invoice reconciliation continues to work seamlessly.
## Update on parent invoices
From now on, in the context of organization-based billing, when a parent invoice includes products from a child customer, the child customer's name will be added as a prefix to the corresponding product (e.g., ChildCustomerA - Pro Subscription).
# Product updates November, 2025
Source: https://docs.hyperline.co/changelog/2025-11
## Insights
Hyperline now offers a full Insights module that provides a comprehensive overview of your financial and revenue metrics.
The **Financial page** includes cash-flow visibility, MRR and debt evolution, aged balances, and complete breakdowns of your revenue and accounts receivable, as well as detailed MRR analytics including new, expansion, contraction, lost, and net changes.
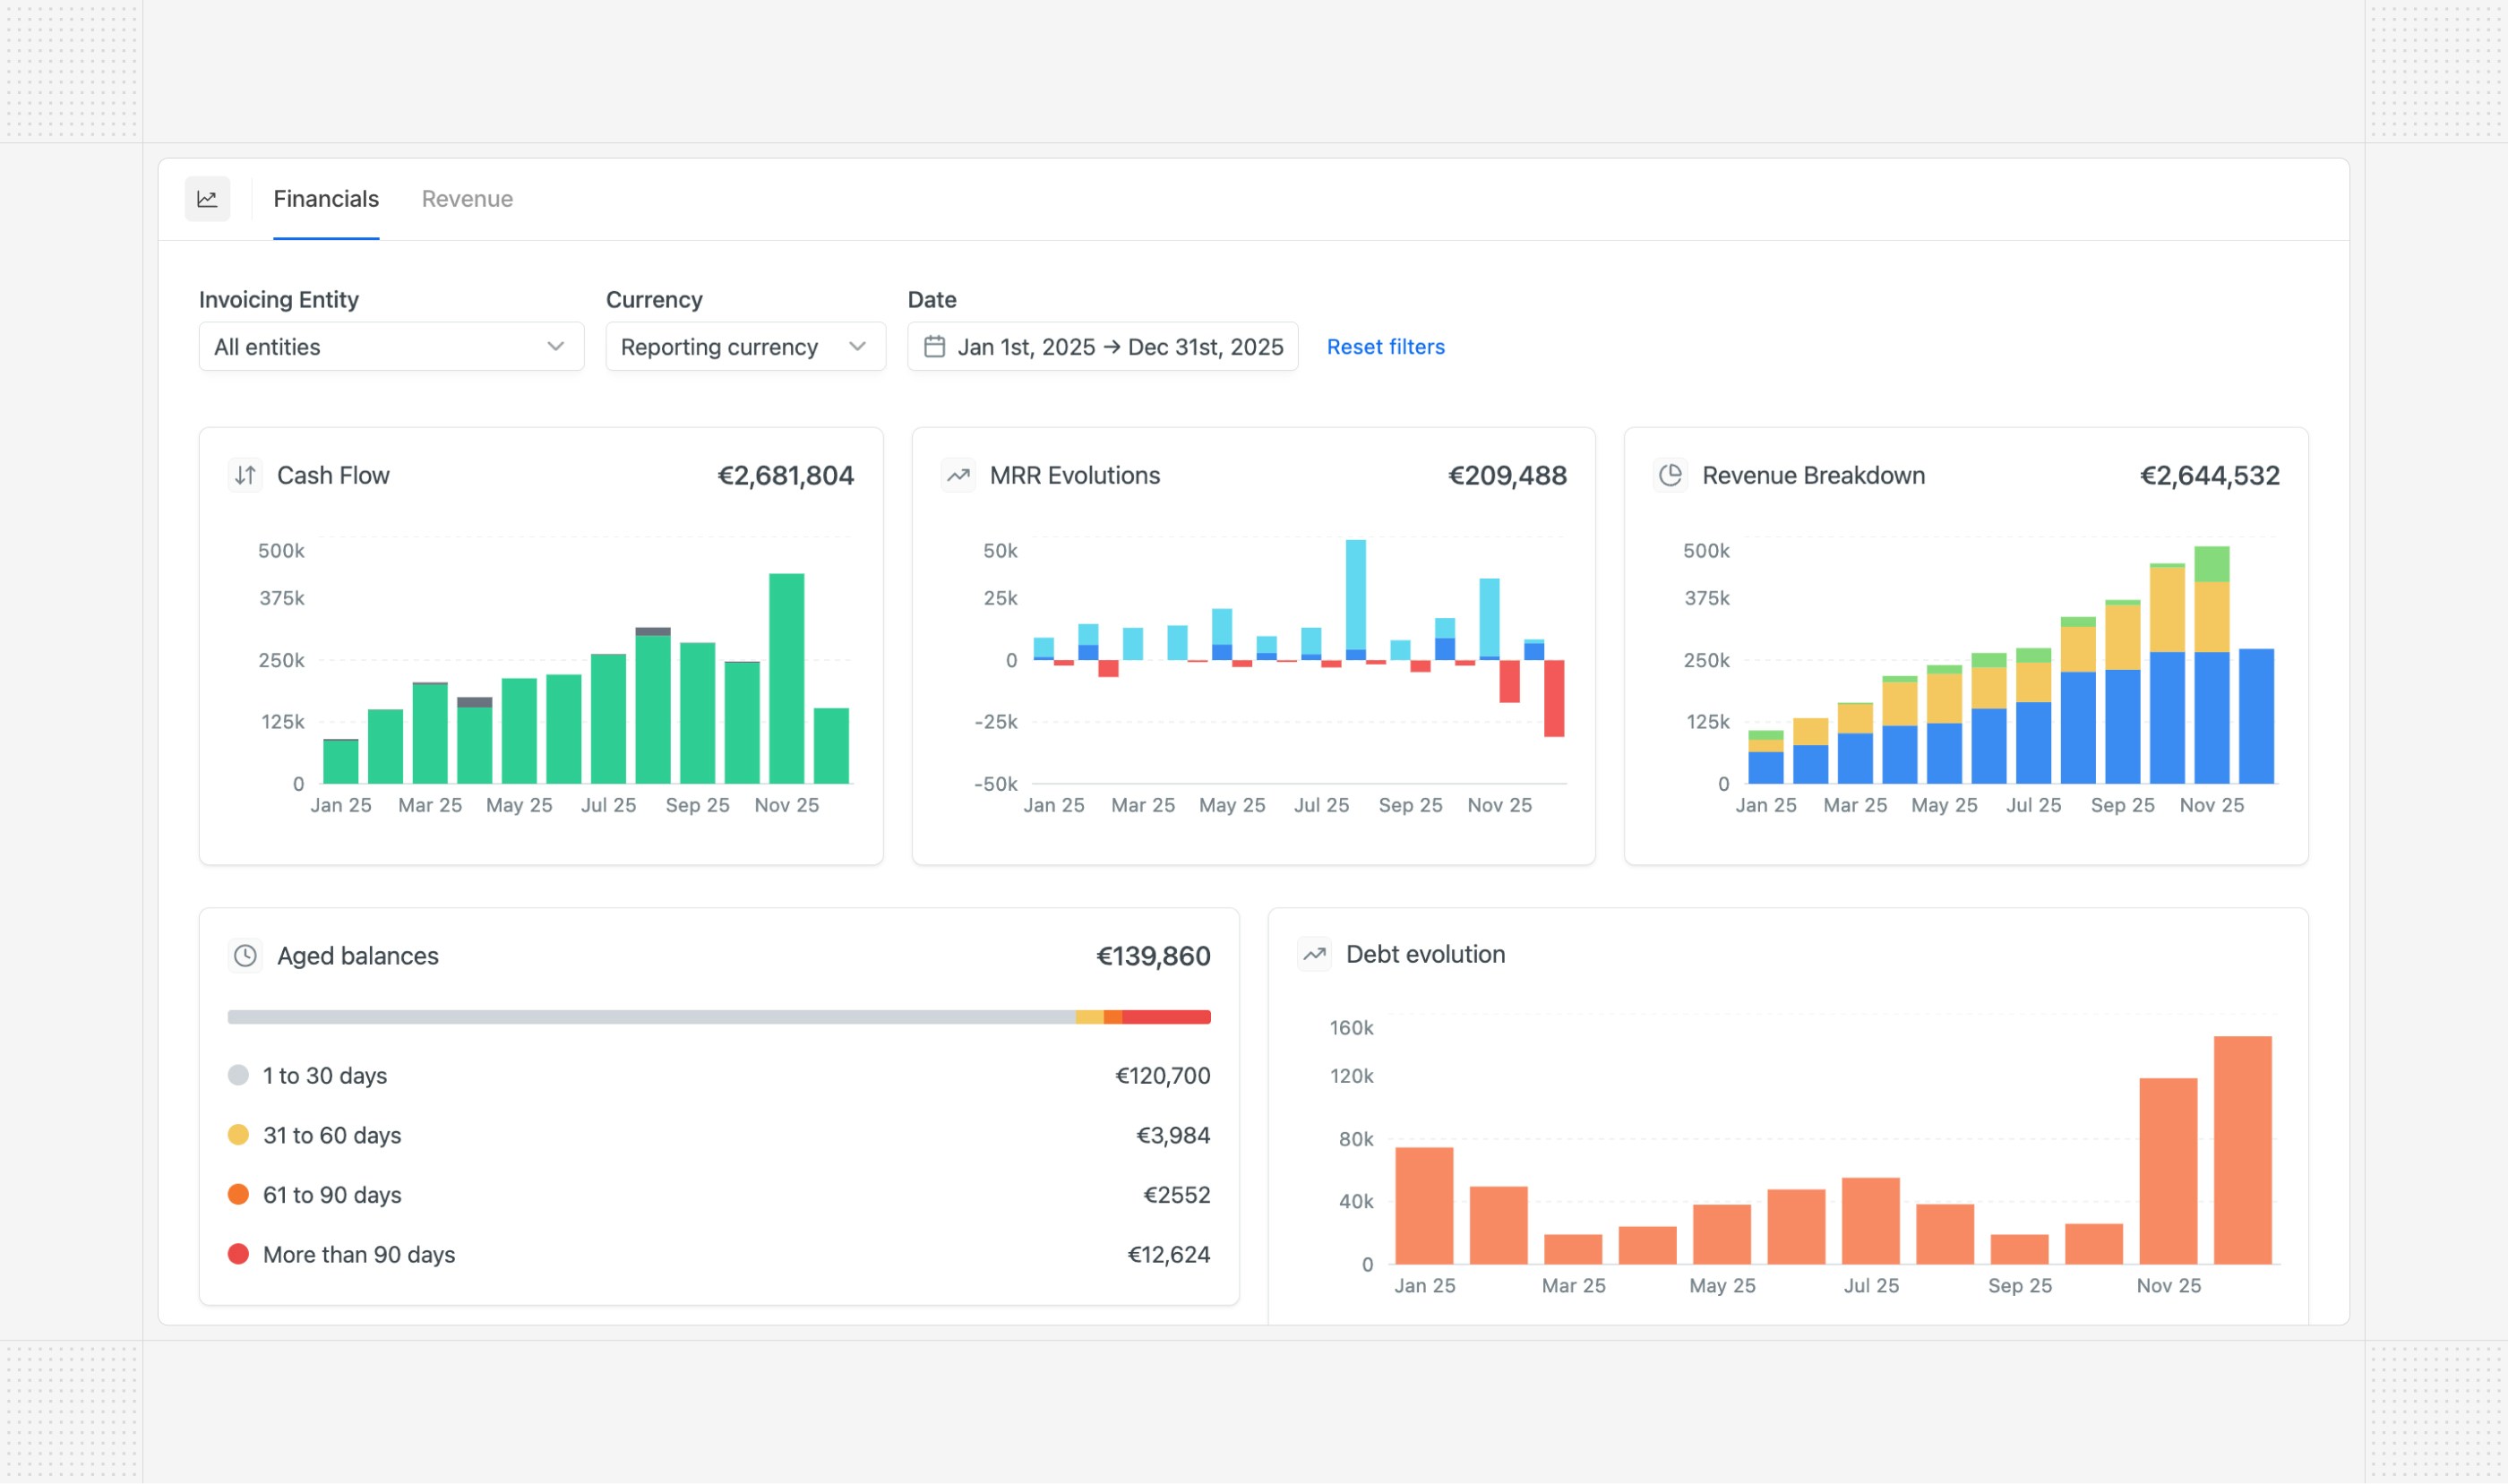 The **Revenue page** provides in-depth insights into your revenue streams, including breakdowns by product, currency, and customer.
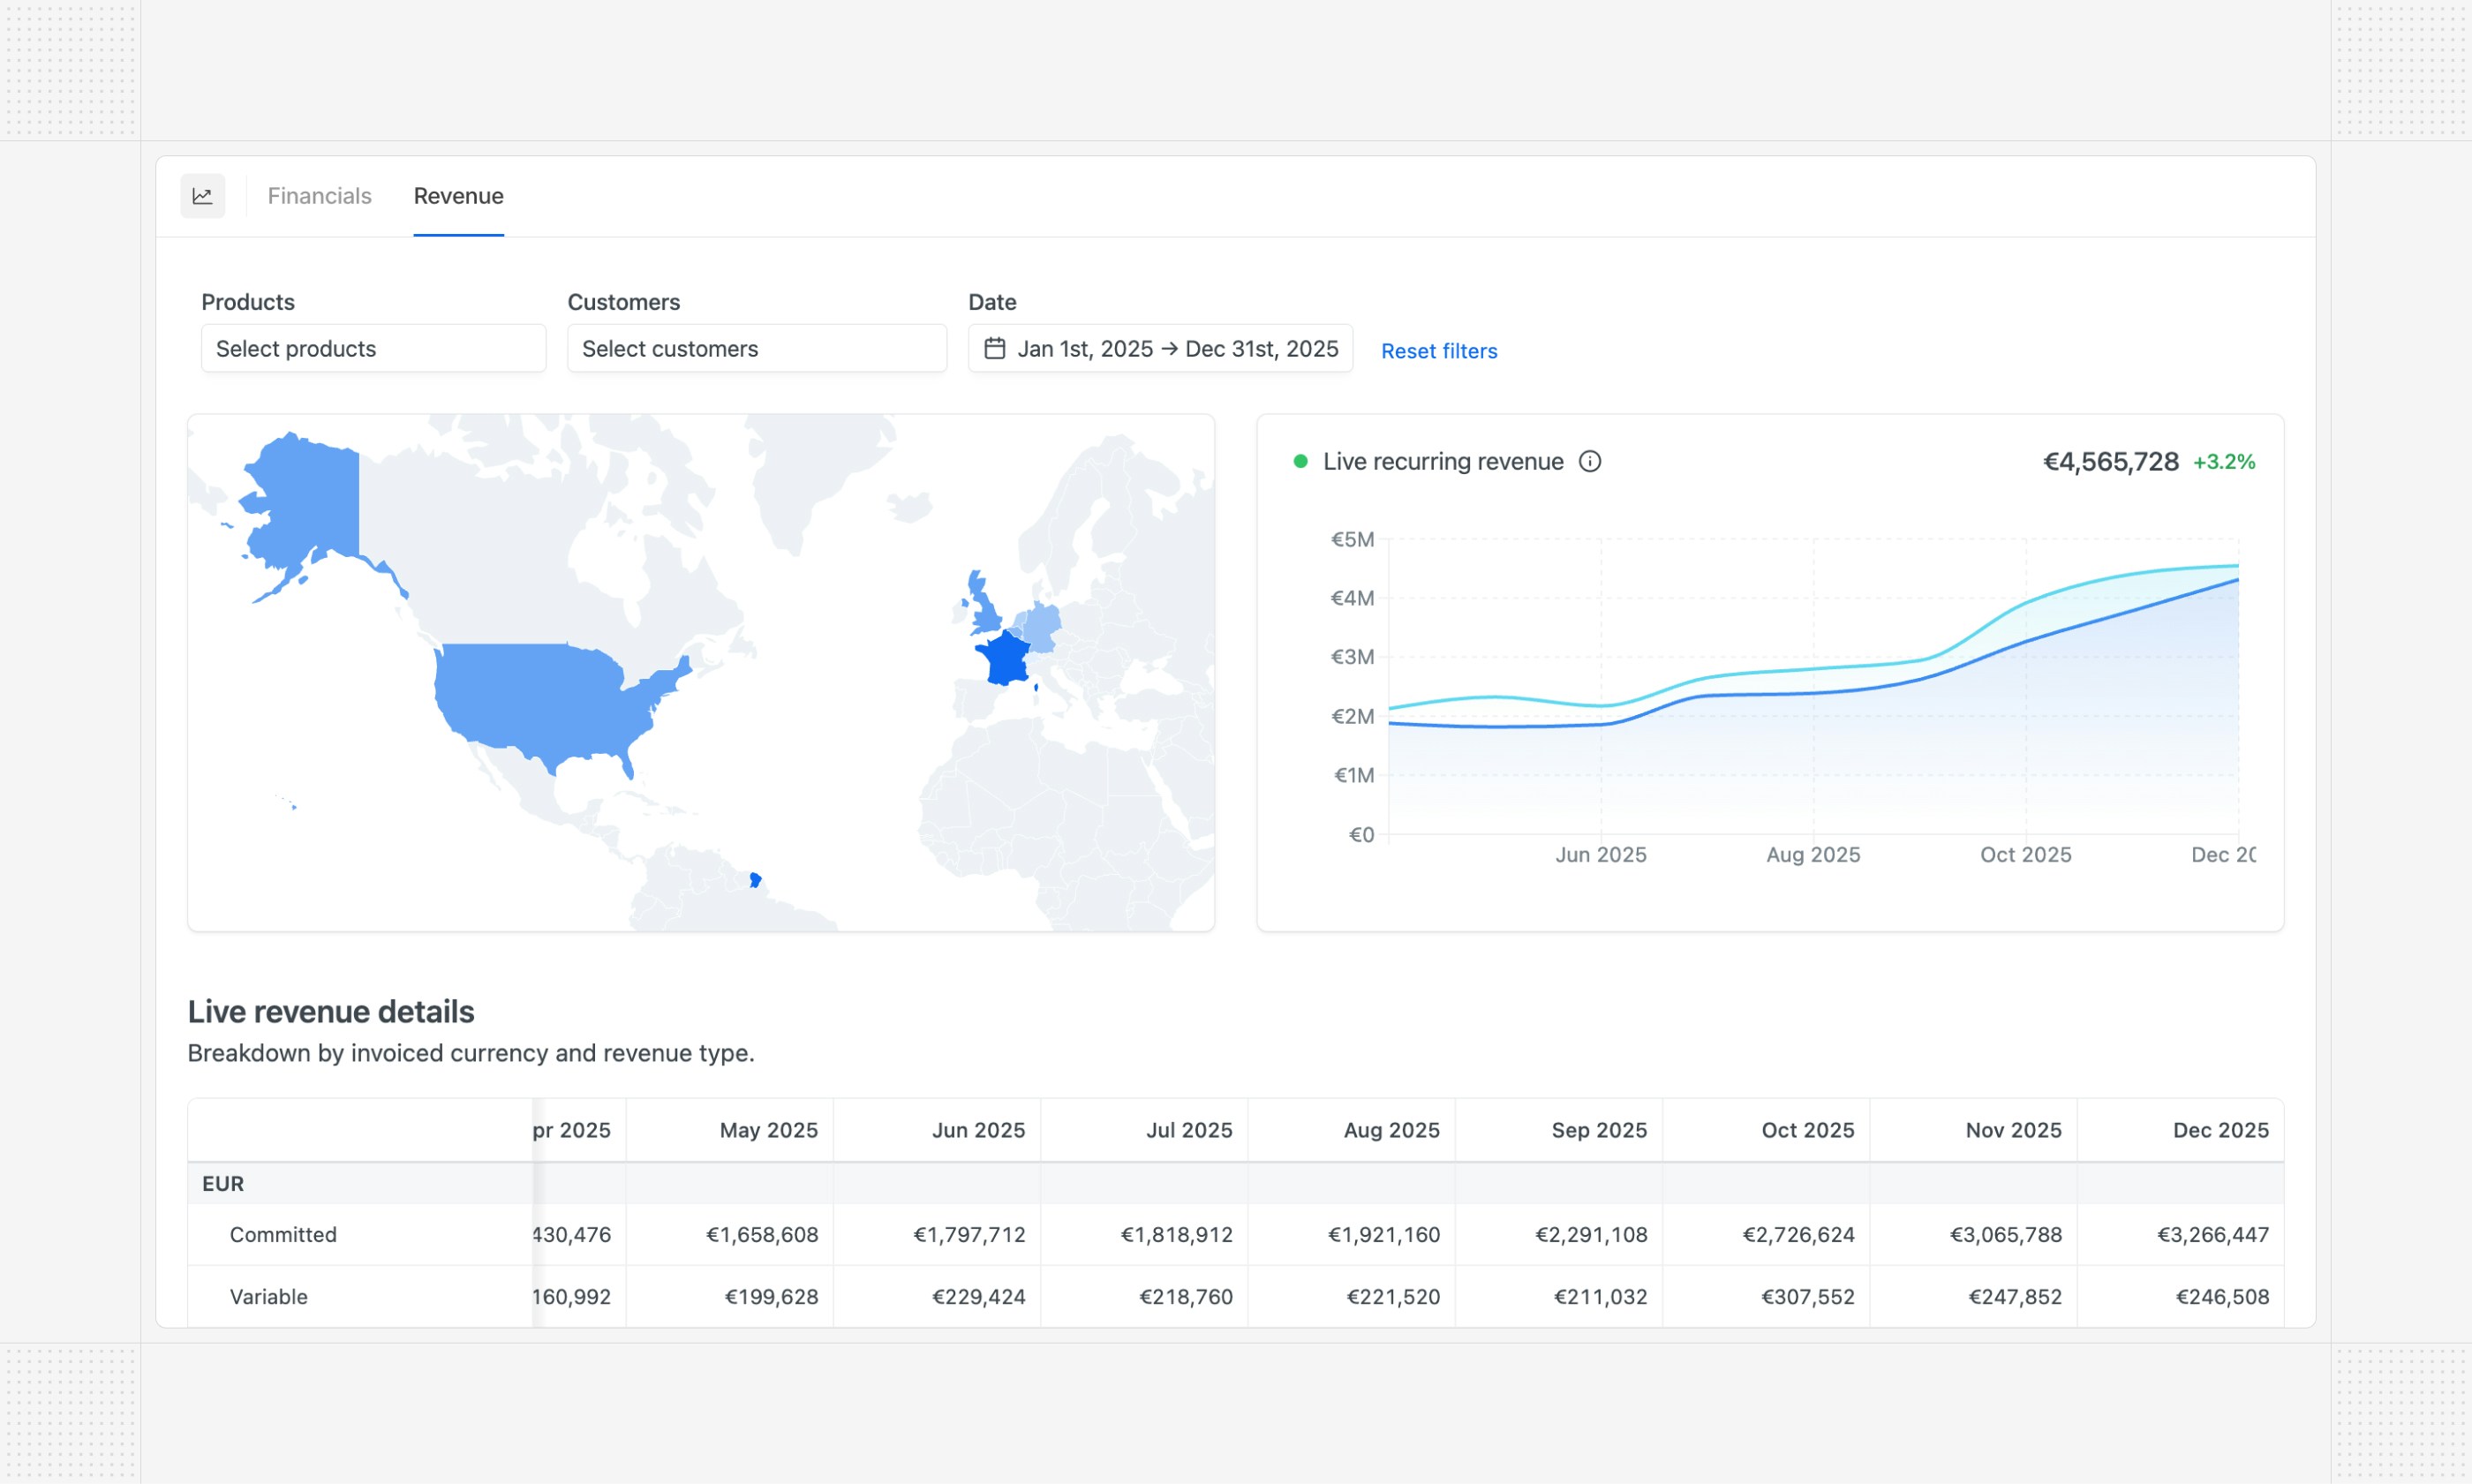 *This module is in beta. Contact our support if you are interested.*
## Attio integration
Hyperline now natively supports [Attio](https://www.attio.com?utm_source=hyperline) CRM.
 The Hyperline Attio app enables you to create custom quotes or manage subscriptions directly from your Attio deals or companies using pre-built actions. Additionally, the integration can automatically sync your Hyperline quotes, subscriptions, and invoices into Attio as custom objects.
[More details in the documentation](../integrations/attio)
## Reconcile from bank statements
Automated invoice reconciliation from bank accounts has long been available in Hyperline, including the ability to validate matches from each invoice. Hyperline now also supports reconciliation from bank statements.
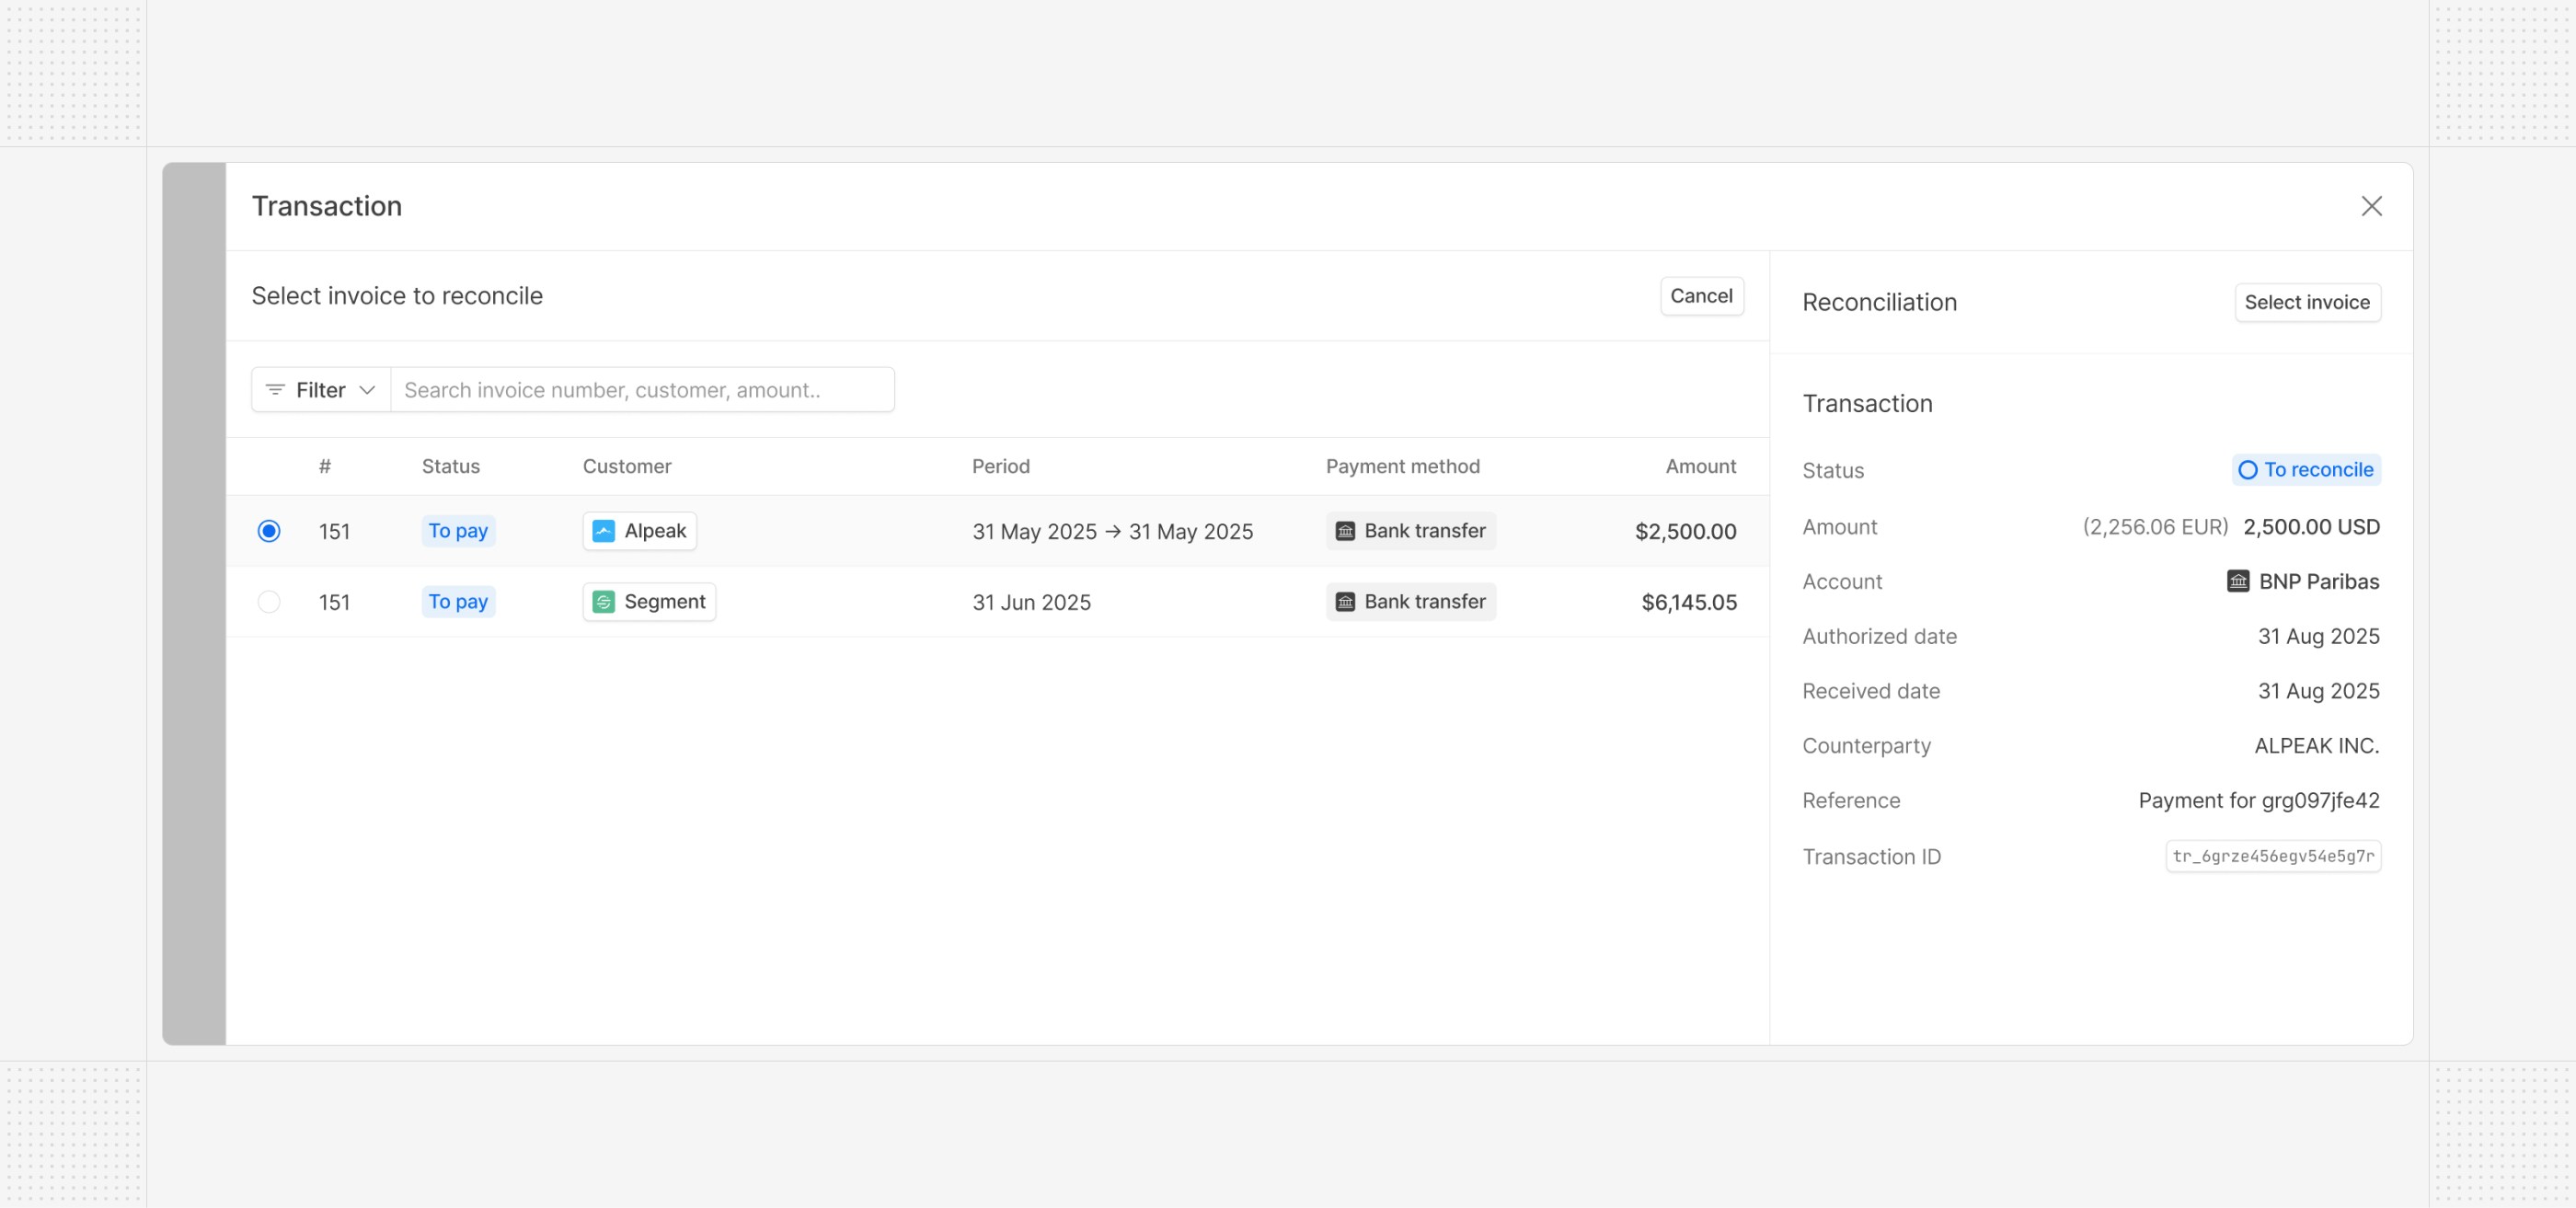 From a dedicated transactions page listing inbound transactions from your connected bank accounts, you can now reconcile invoices with granular manual control and have a overview of all your connected bank accounts balance.
## Quote countersigner
A quote countersigner can now be configured in the settings (first name, last name, and email). When a quote is signed by your customer, if a countersigner is configured, we automatically countersign the quote (i.e. apply an additional signature) before finalising the full quote signature.
 ## Exports API
You can now [trigger and download exports](../api-reference/endpoints/exports/create-export) of pre-built Hyperline reports (including aged balances, revenue per product/line item/country, line-by-line revenue, etc.) directly from the API. This enables you to automate data extraction from Hyperline for use in your own systems or for further analysis.
In addition, [customers](../api-reference/endpoints/customers/get-customers), [invoices](../api-reference/endpoints/invoices/get-invoices), [subscriptions](../api-reference/endpoints/subscriptions/get-subscriptions), and [quotes](../api-reference/endpoints/quotes/get-quotes) can also be exported via the API using the list endpoints with advanced filtering options.
## Custom subscription ARR and contract value
Hyperline provides automatic calculation of Annual Recurring Revenue (ARR) and contract value for subscriptions out of the box, based on their pricing and billing cycles. However, there are scenarios where you may want to override these automatic calculations. Hyperline now allows you to set custom values for both ARR and contract value on a per-subscription basis, in addition to displaying them in the subscription overview.
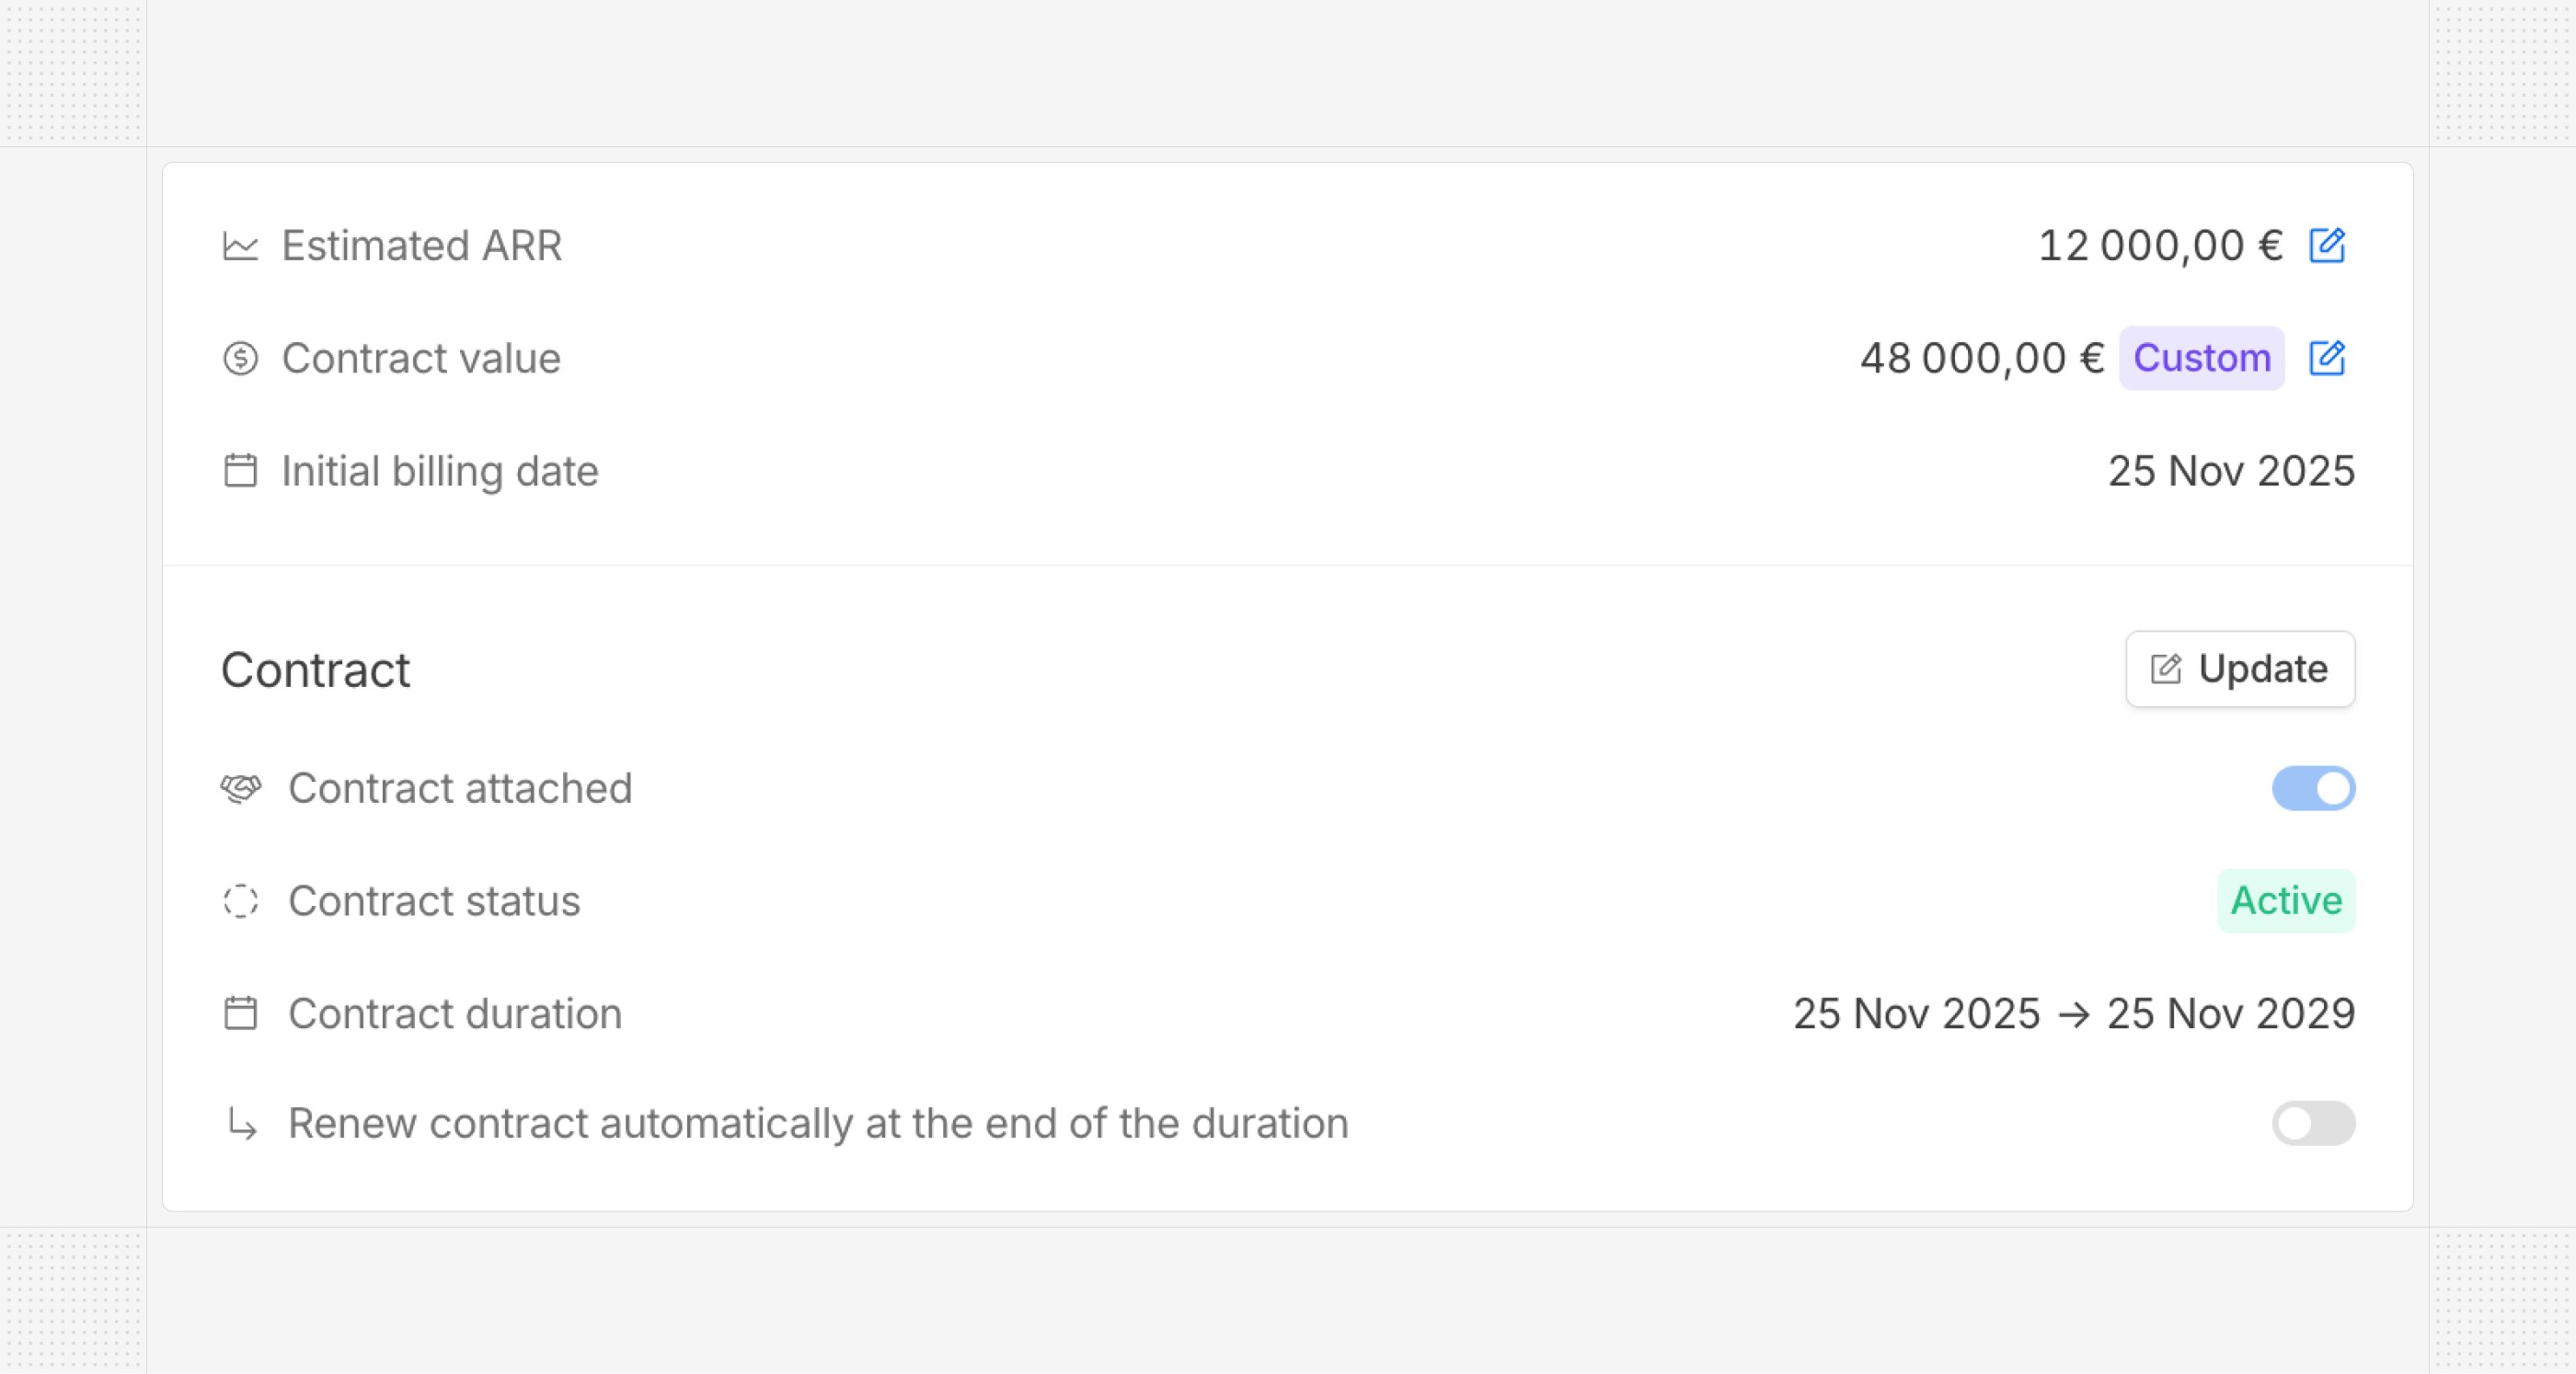 ## Update subscriptions
We've begun rolling out new flows for updating existing subscriptions, offering both simpler and more advanced options. You can now update a subscription using an existing template (or plan) or edit subscription details with enhanced versioning support.
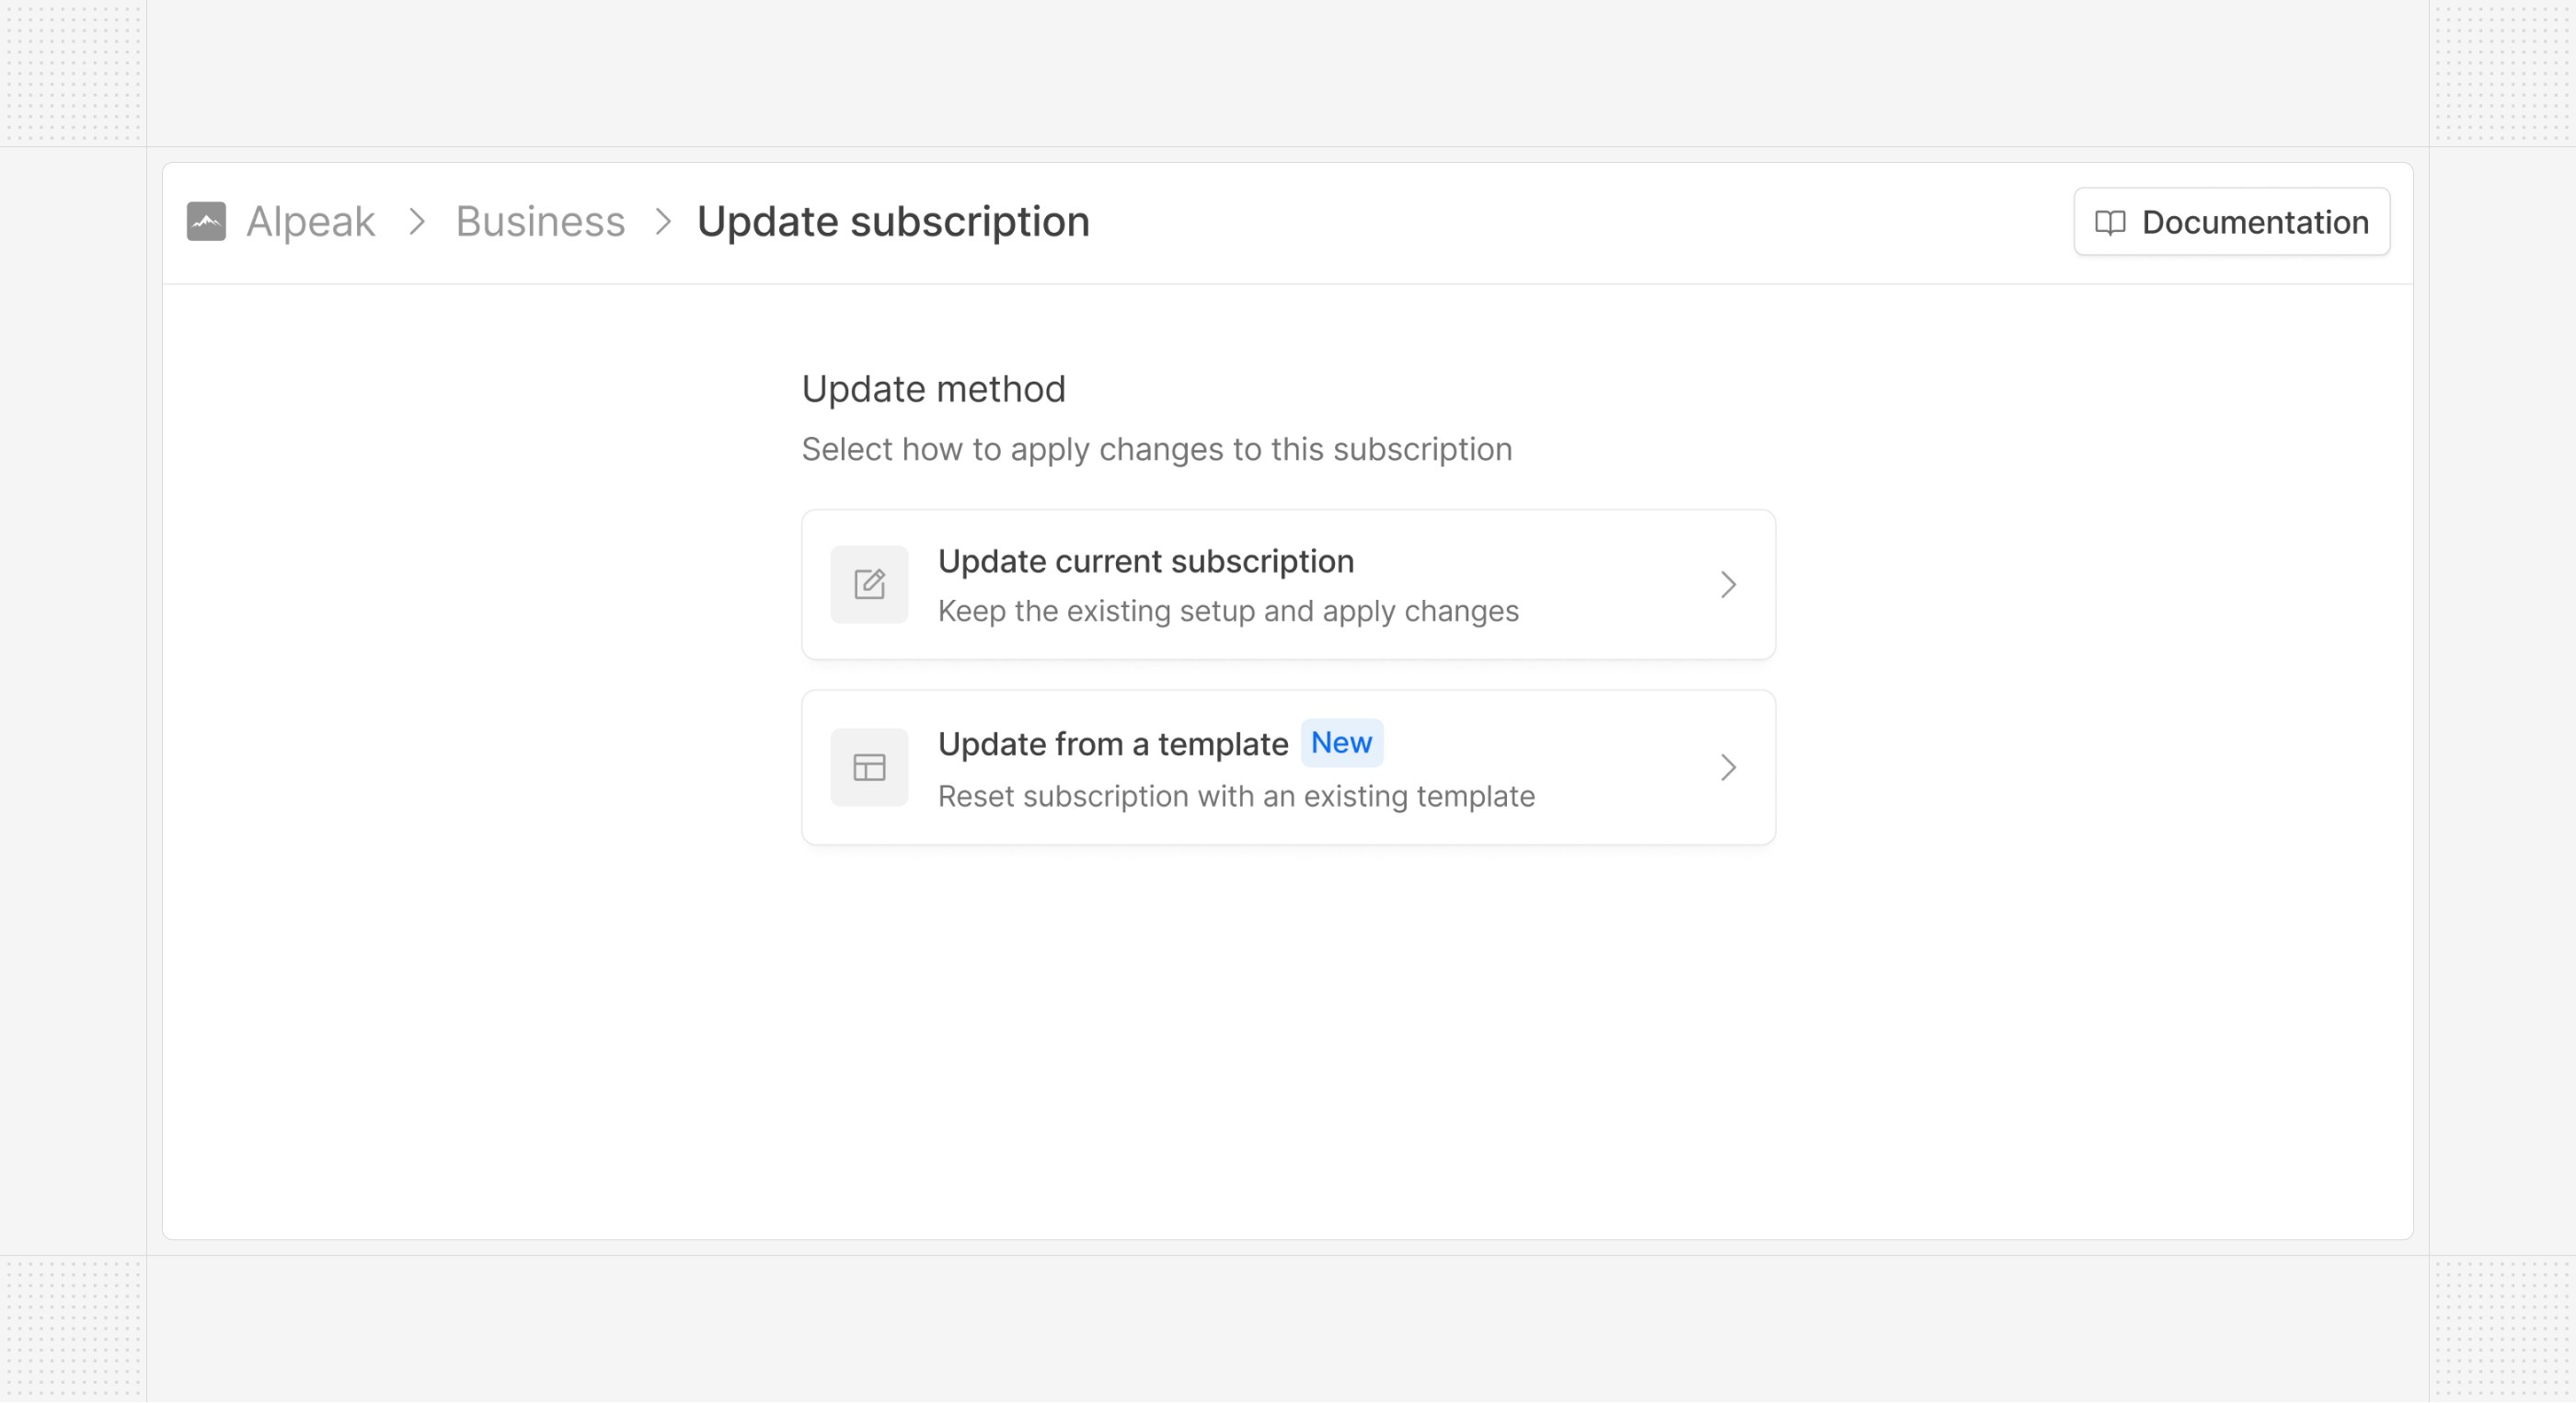 This change is the first step in a broader revamp of our subscription update flows, aimed at making them more flexible and easier to use — including the ability to schedule changes in advance and preview their impact on upcoming invoices.
## Advanced Exact Online settings
In Exact Online, a yearly invoice spanning 13 calendar months (e.g., 2025-11-19 to 2026-11-18) is recognized over 13 months instead of 12, resulting in incorrect monthly revenue recognition. Hyperline now supports an advanced setting to adjust this behavior. When this setting is enabled, the invoice period end date for yearly invoices is adjusted (e.g., to 2026-10-31 instead of 2026-11-18) so that revenue is recognized over 12 months.
# Dashboard
Source: https://docs.hyperline.co/docs/analytics/dashboard
The dashboard is the first interface you see when logging in to your Hyperline account. It will give you a quick, effective overview of your business and hints on actions needed to recover money faster. It welcomes you with the amount collected this week with the number of invoices involved.
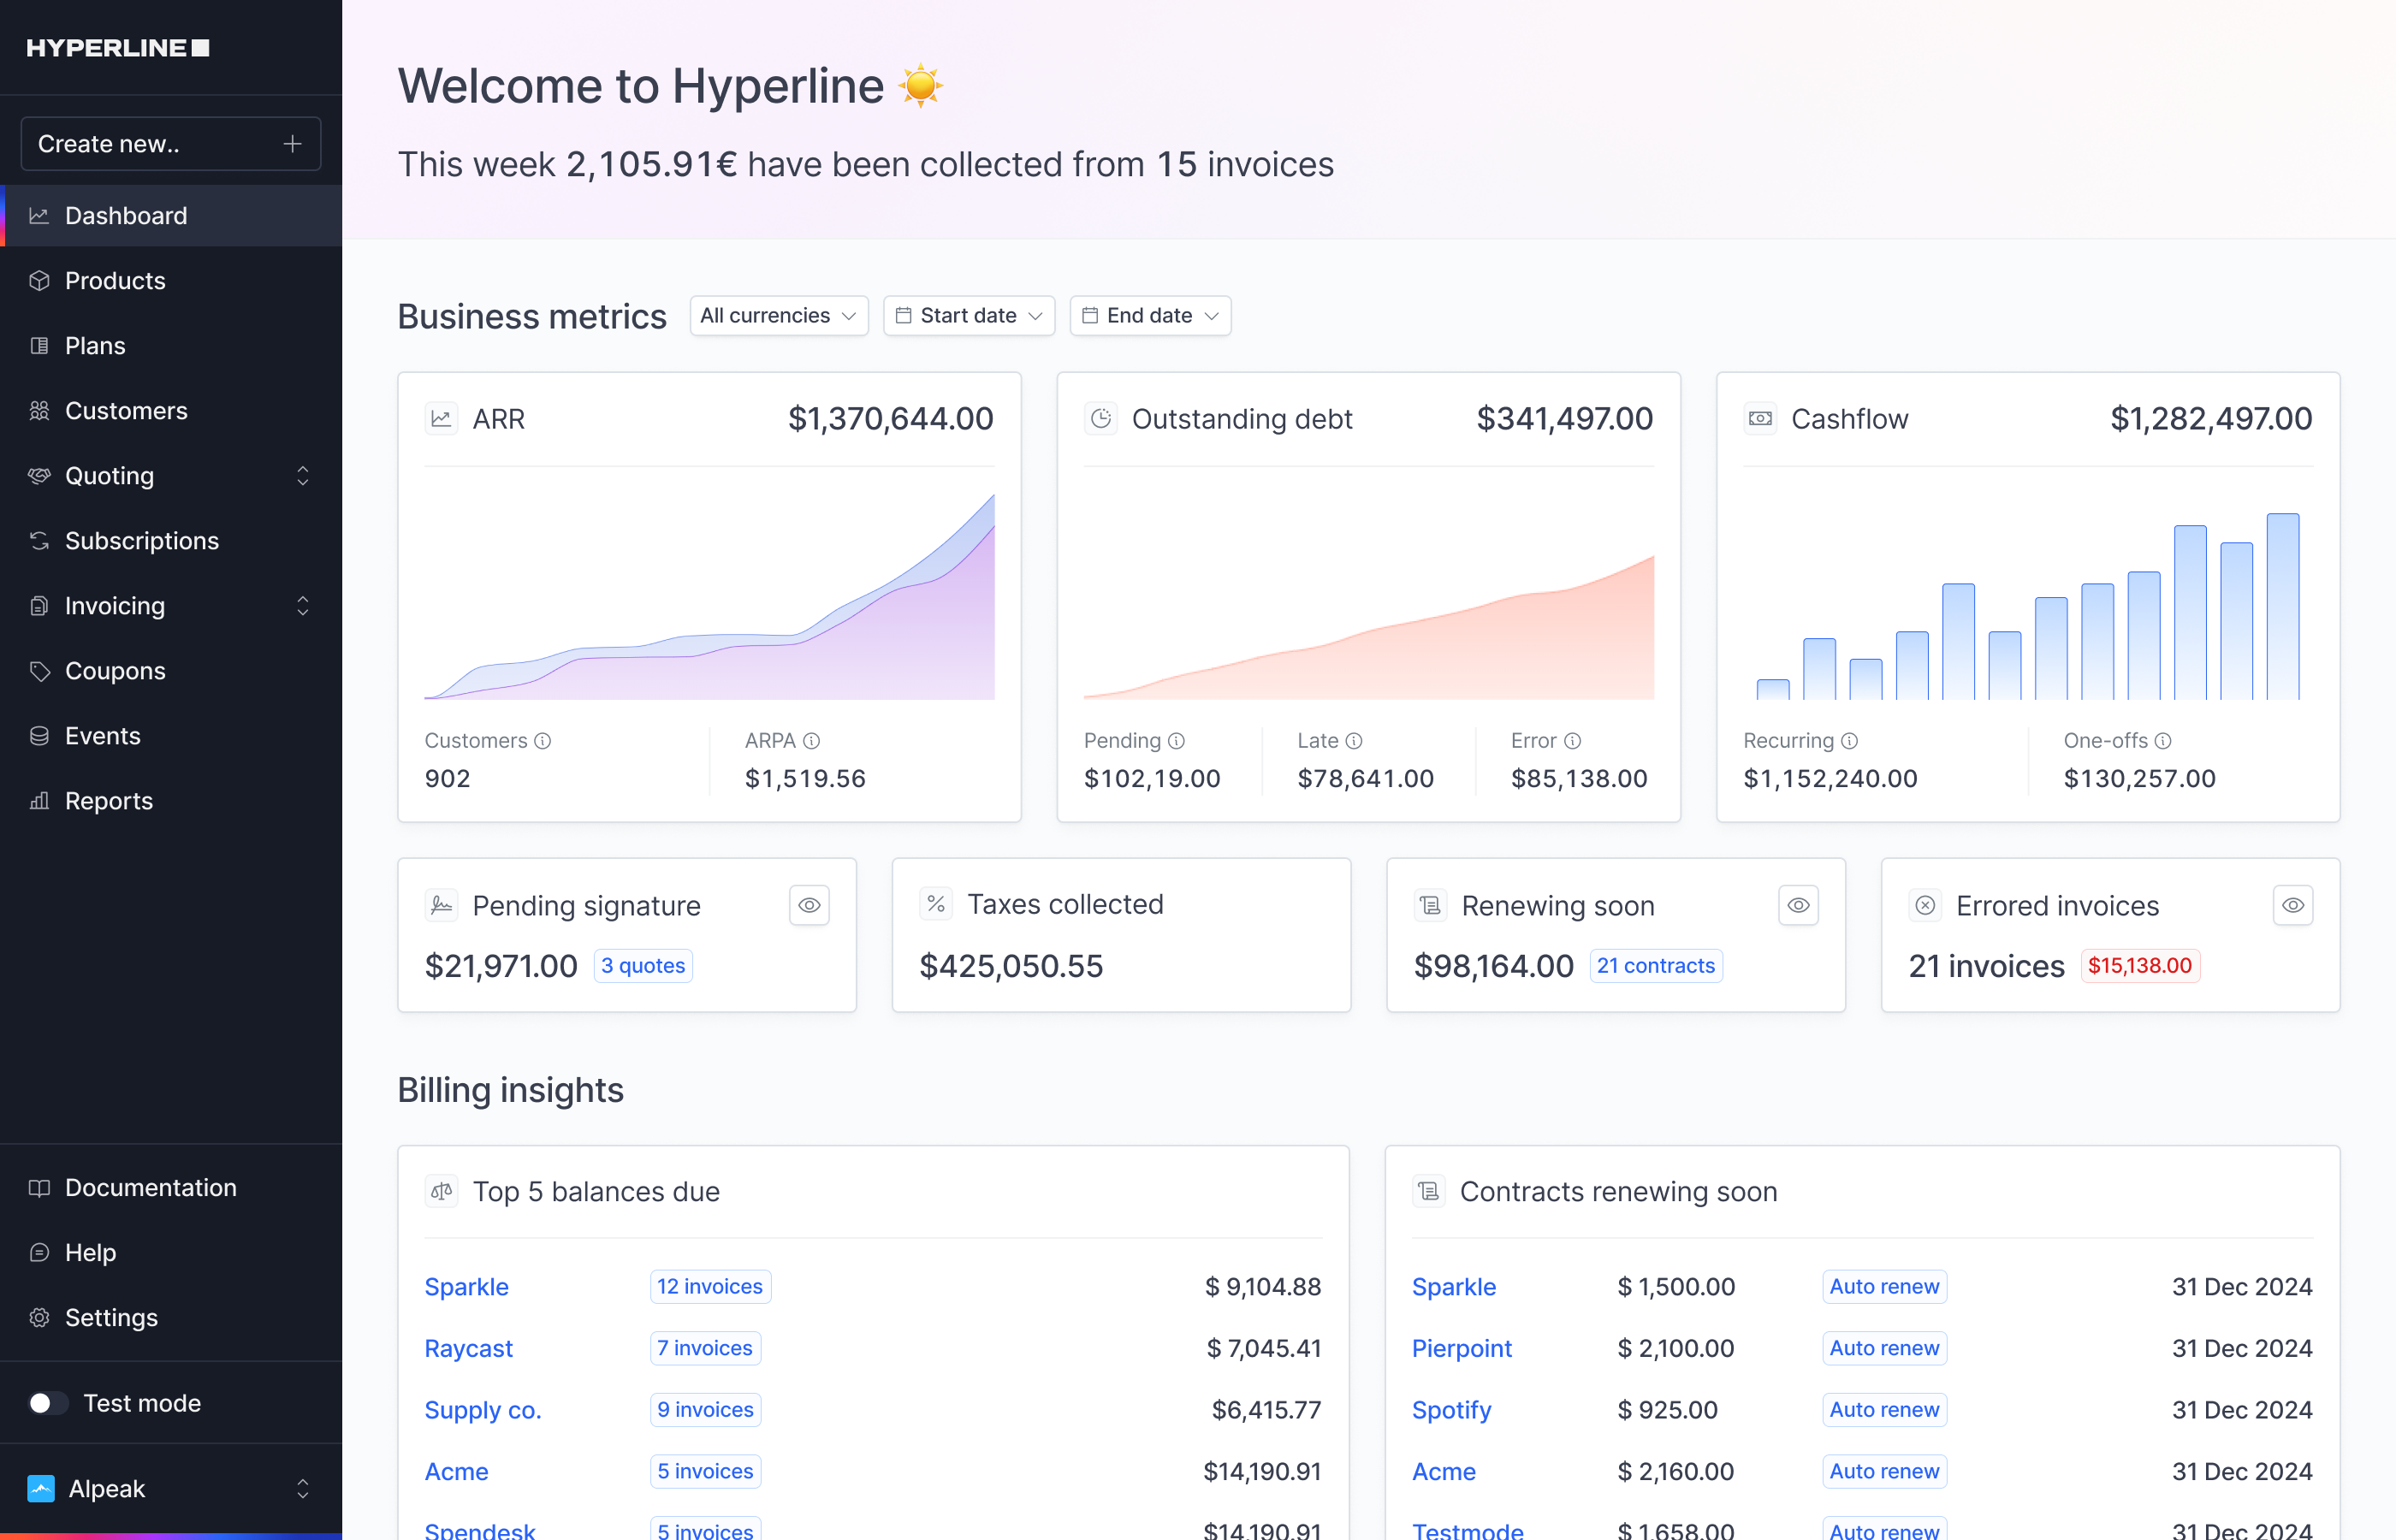 The data displayed on the dashboard is updated every day at midnight UTC.
## Business metrics
This section provides key financial insights at a glance, helping you monitor revenue performance, debt, and cash flow. This information can be filtered by currency, invoicing entity, and date range.
### ARR
Annual Recurring Revenue (ARR) represents the total annualized revenue a SaaS company expects to generate from active subscriptions over a year. It provides a long-term view of predictable revenue and helps track revenue growth trends.
* Coupons with a "once" application are excluded
* Coupons with a "forever" application schedule are included
* Coupons with a duration less than the subscription period are excluded
* Taxes (e.g., VAT) are excluded from the calculations
The number of customers reflects the total active subscribers contributing to ARR, while ARPA (Average Revenue Per Account) represents the average revenue per customer, calculated as ARR ÷ number of customers.
### Outstanding debt
Outstanding debt represents the total amount of unpaid invoices, helping businesses track overdue and pending revenue. It is categorized into three components:
* Pending: Invoices that are issued but still within the payment term.
* Late: Invoices that are past their due date.
* Error: Invoices where payment methods could not be charged after retries.
Monitoring outstanding debt allows businesses to stay on top of collections, reduce late payments, and address potential billing issues.
### Cashflow
This metric tracks the total revenue collected month over month, providing visibility into financial inflows. It helps assess liquidity, revenue trends, and payment patterns.
* Recurring revenue: Revenue collected from subscriptions, representing predictable, ongoing revenue.
* One-off revenue: Revenue collected from one-time payments and manual invoices.
### Additional metrics
These metrics provide insights into upcoming renewals, pending deals, tax collections, and billing issues. For each of these metrics, you can explore the detailed elements by clicking on the `eye` button.
* **Contracts renewing soon** represent the contracts attached to subscriptions automatically renewing in the next 30 days.
* **Quotes pending signature** indicate potential revenue that has yet to be confirmed.
* **Taxes collected** represent the total amount of tax collected from invoices, providing visibility into tax obligations.
* **Errored invoices** highlight invoices that failed due to payment errors, highlighting potential revenue at risk that may require action.
## Billing insights
Tracking unpaid balances helps businesses prioritize revenue collection, while renewal monitoring ensures revenue continuity. Together, these insights improve cash flow stability and financial management.
### Top 5 balances due
Highlights the five customers with the highest outstanding debt, allowing you to quickly identify and follow up on overdue payments. For each customer, this section displays the total unpaid balance and the number of invoices involved.
### Contracts renewing soon
This section highlights upcoming subscription renewals, helping businesses anticipate revenue retention and manage customer relationships proactively.
For each contract, it displays the customer name, the contract value, whether it renews automatically, and the renewal date.
# Reports
Source: https://docs.hyperline.co/docs/analytics/reports
Hyperline offers a complete set of pre-built report files, where you can get a clear view of company performance. This will be able to explore a comprehensive range of analysis designed to empower finance teams in making informed decisions or do deeper analysis into their preferred external tools.
The reports are accessible through the dedicated Reports page within the Hyperline platform.
 ## Available reports
Hyperline offers a curated selection of reports (as depicted in the screenshot above), important for assessing various aspects of your company's financial health, all of which are downloadable as CSV files for convenient access to the data you need at any time.
# Coupons
Source: https://docs.hyperline.co/docs/coupons/overview
Learn about creating and applying coupons in Hyperline
## Coupons definition
Coupons in Hyperline are a way to offer discounts to your customers.
Coupons can be offered as a fixed amount or a percentage of a given price.
Coupons can only be applied when [assigning a subscription](../subscriptions/create).
They are a way to offer a discount on a subscription amount and will be applied to the subscription invoice right away.
To offer discounts to your customers out of the context of a subscription (one-time payments), you can top-up their wallet for free. Learn how to [top-up a wallet](../wallets/top-up).
## How to create coupons
To create a new coupon, go to the **Coupons** section and click on **+ New coupon.**
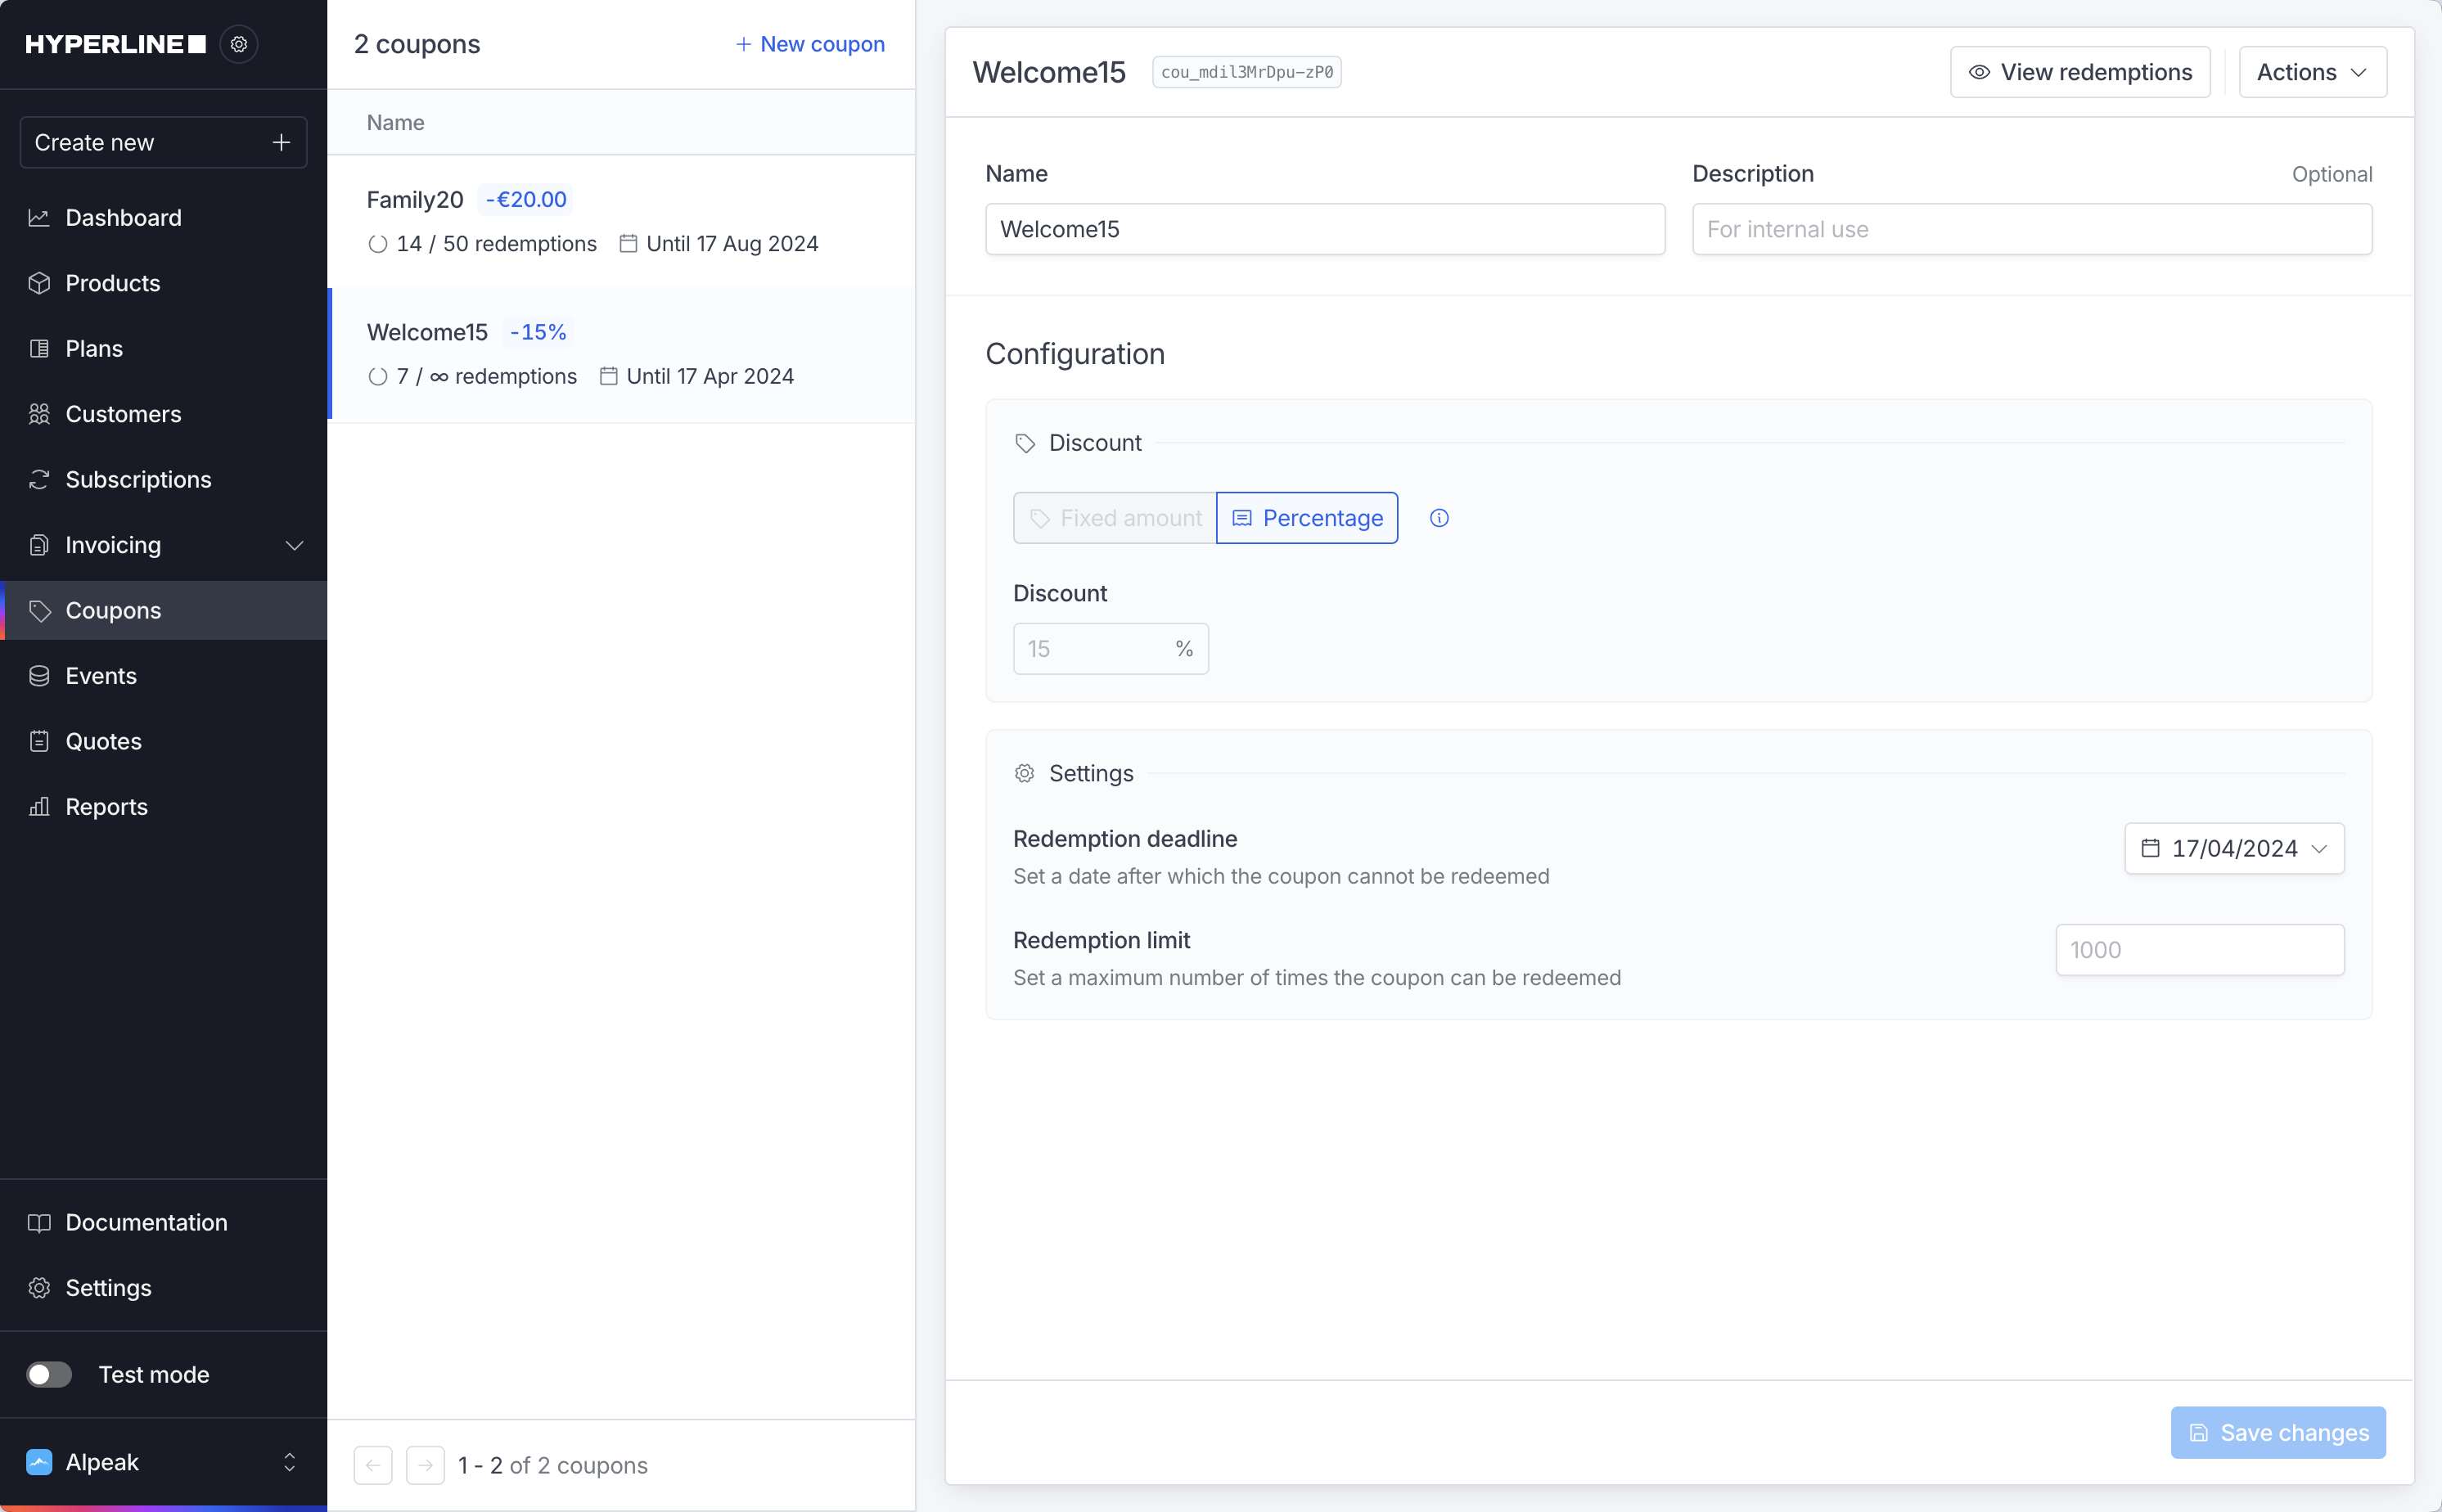 Then fill-up the following information:
* **Name**: the coupon's name (try to use simple, clear names)
* **Description**: the description is for internal use only and is not required to create a coupon
* Choose if you want to create a **fixed amount or a percentage** discount
* Choose **the amount or the value** of the coupon
* **Redemption deadline**: set up a deadline if you want your coupon to become invalid after a specific date
* **Redemption limit**: set up a limit if you want your coupon to be used only a specific amount of times
Click on **Create new coupon** once you are done.
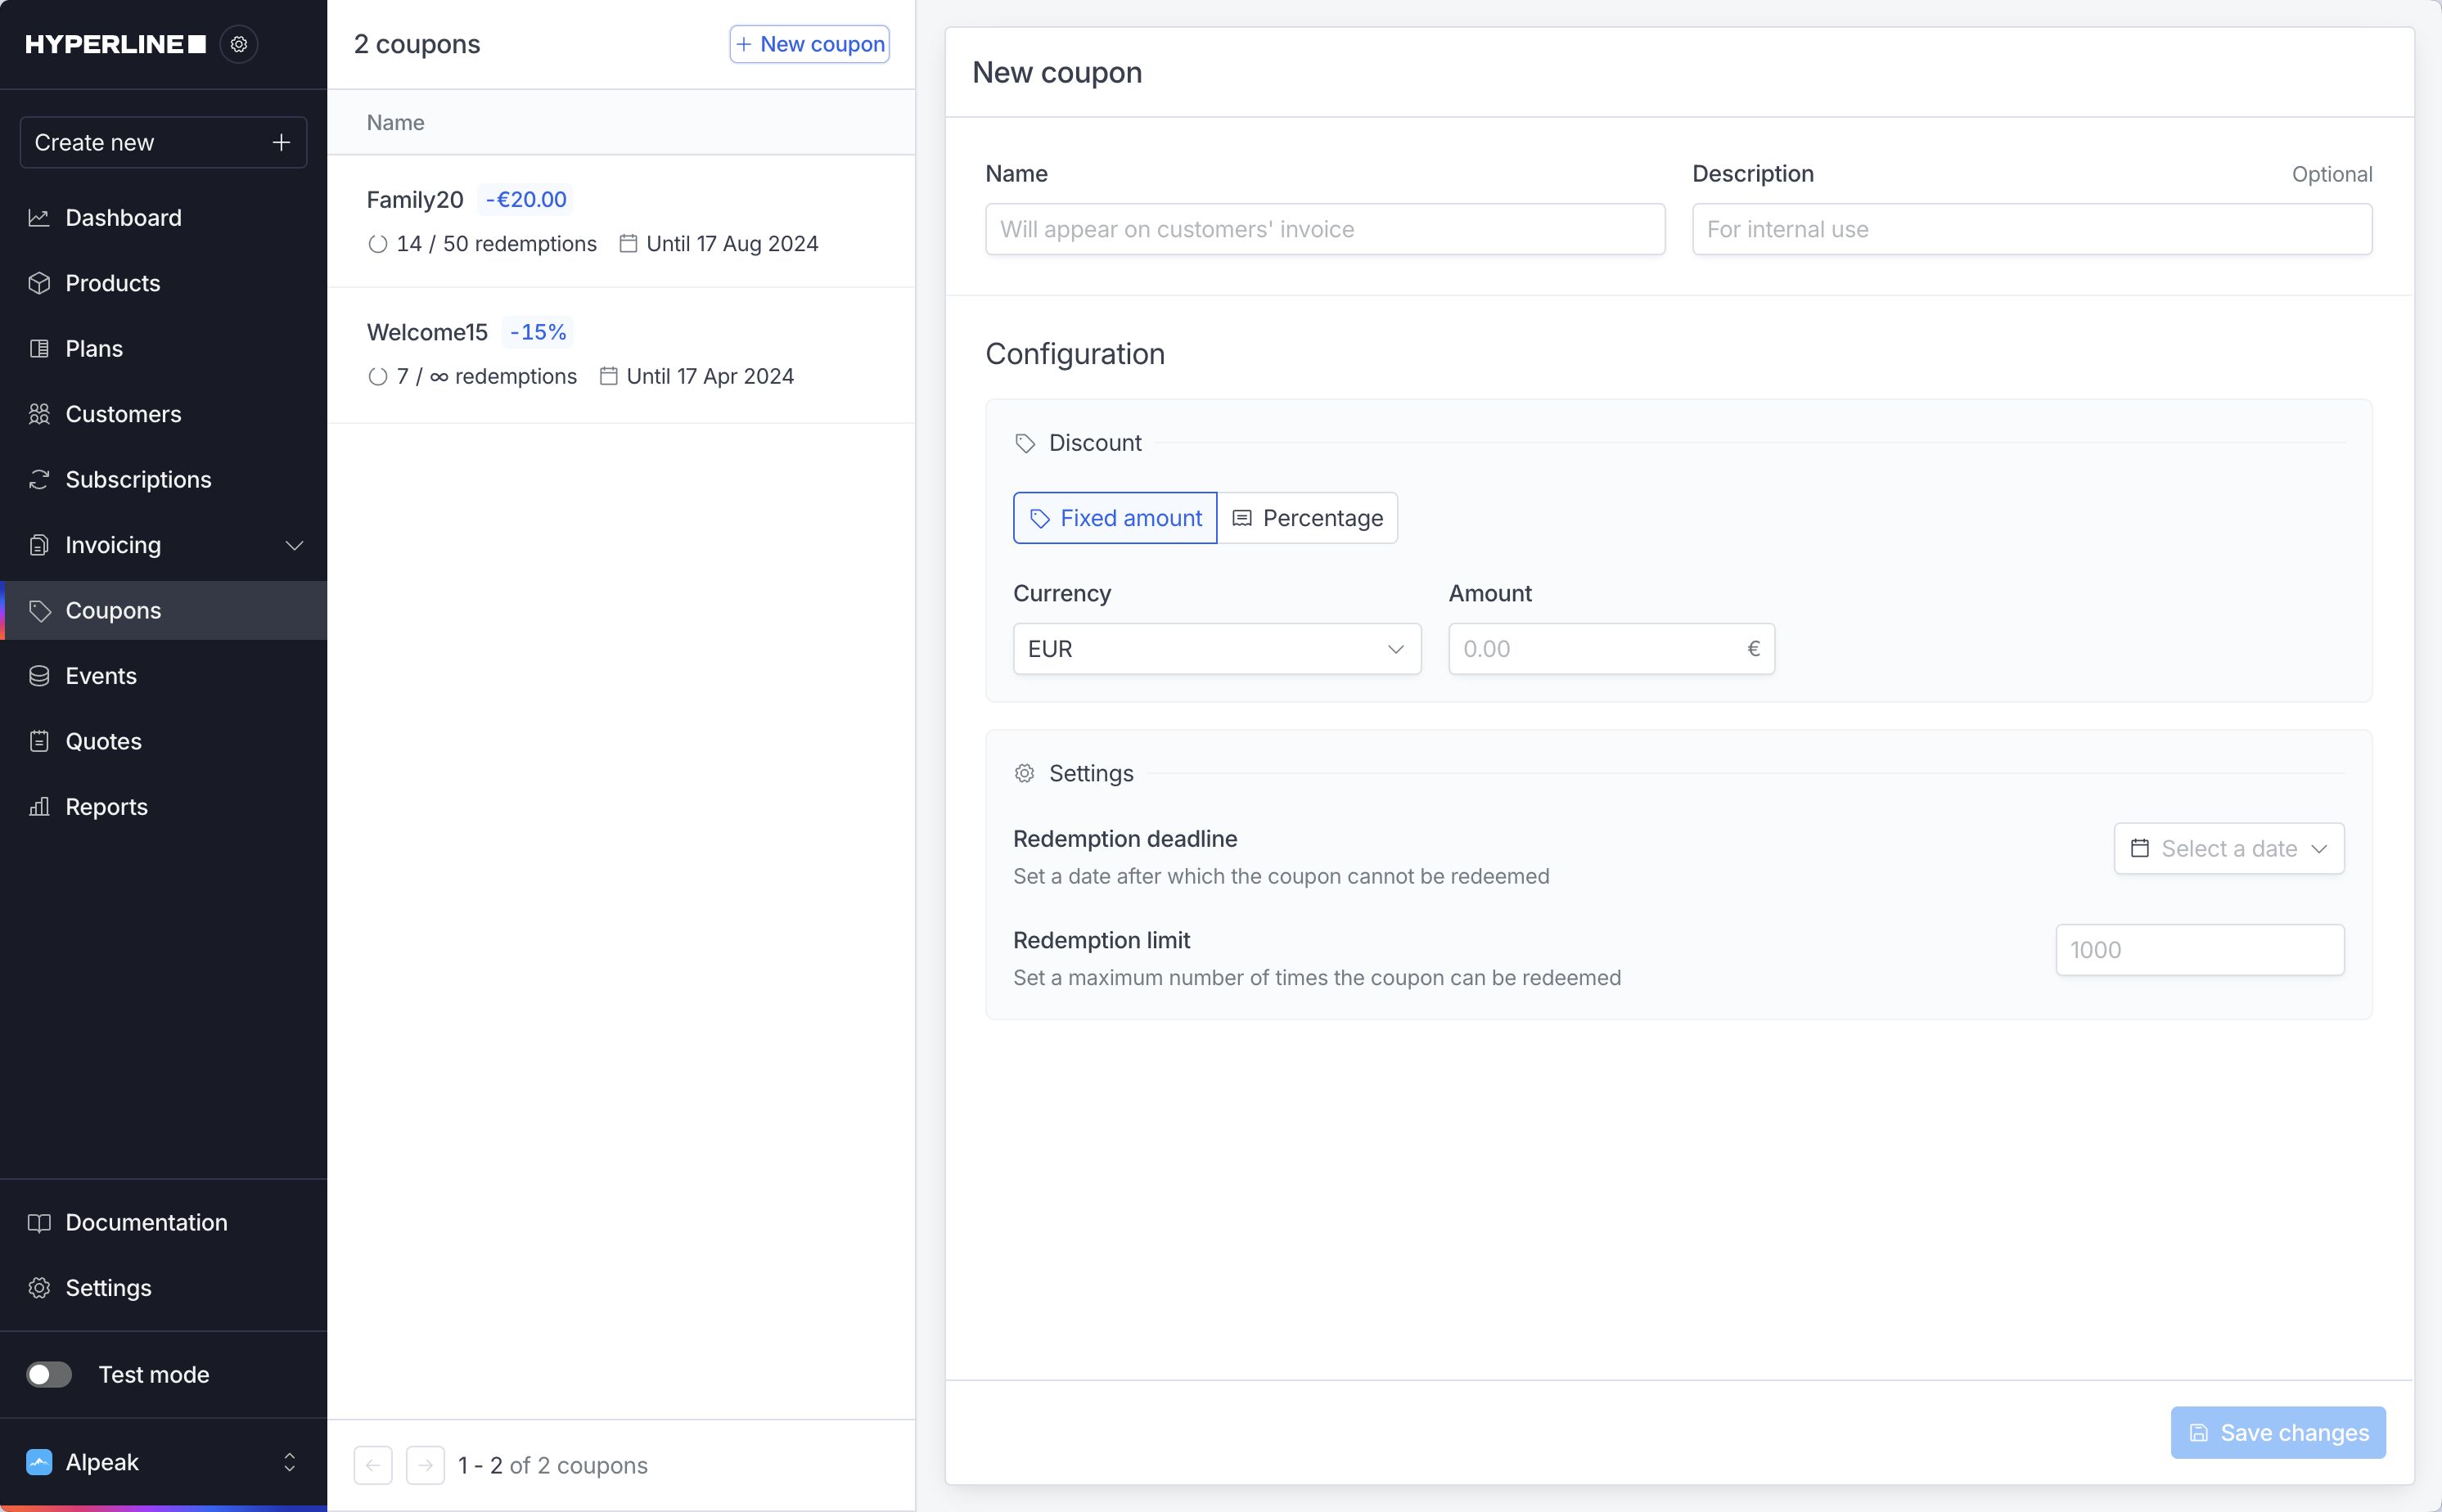 Your new coupon will appear instantly.
## Apply coupons
Once you created coupons, you can apply them to customers.
To do so, go to **Customer,** then to **Subscription**, and click on **Assign new subscription.** In the process, you can add coupons.
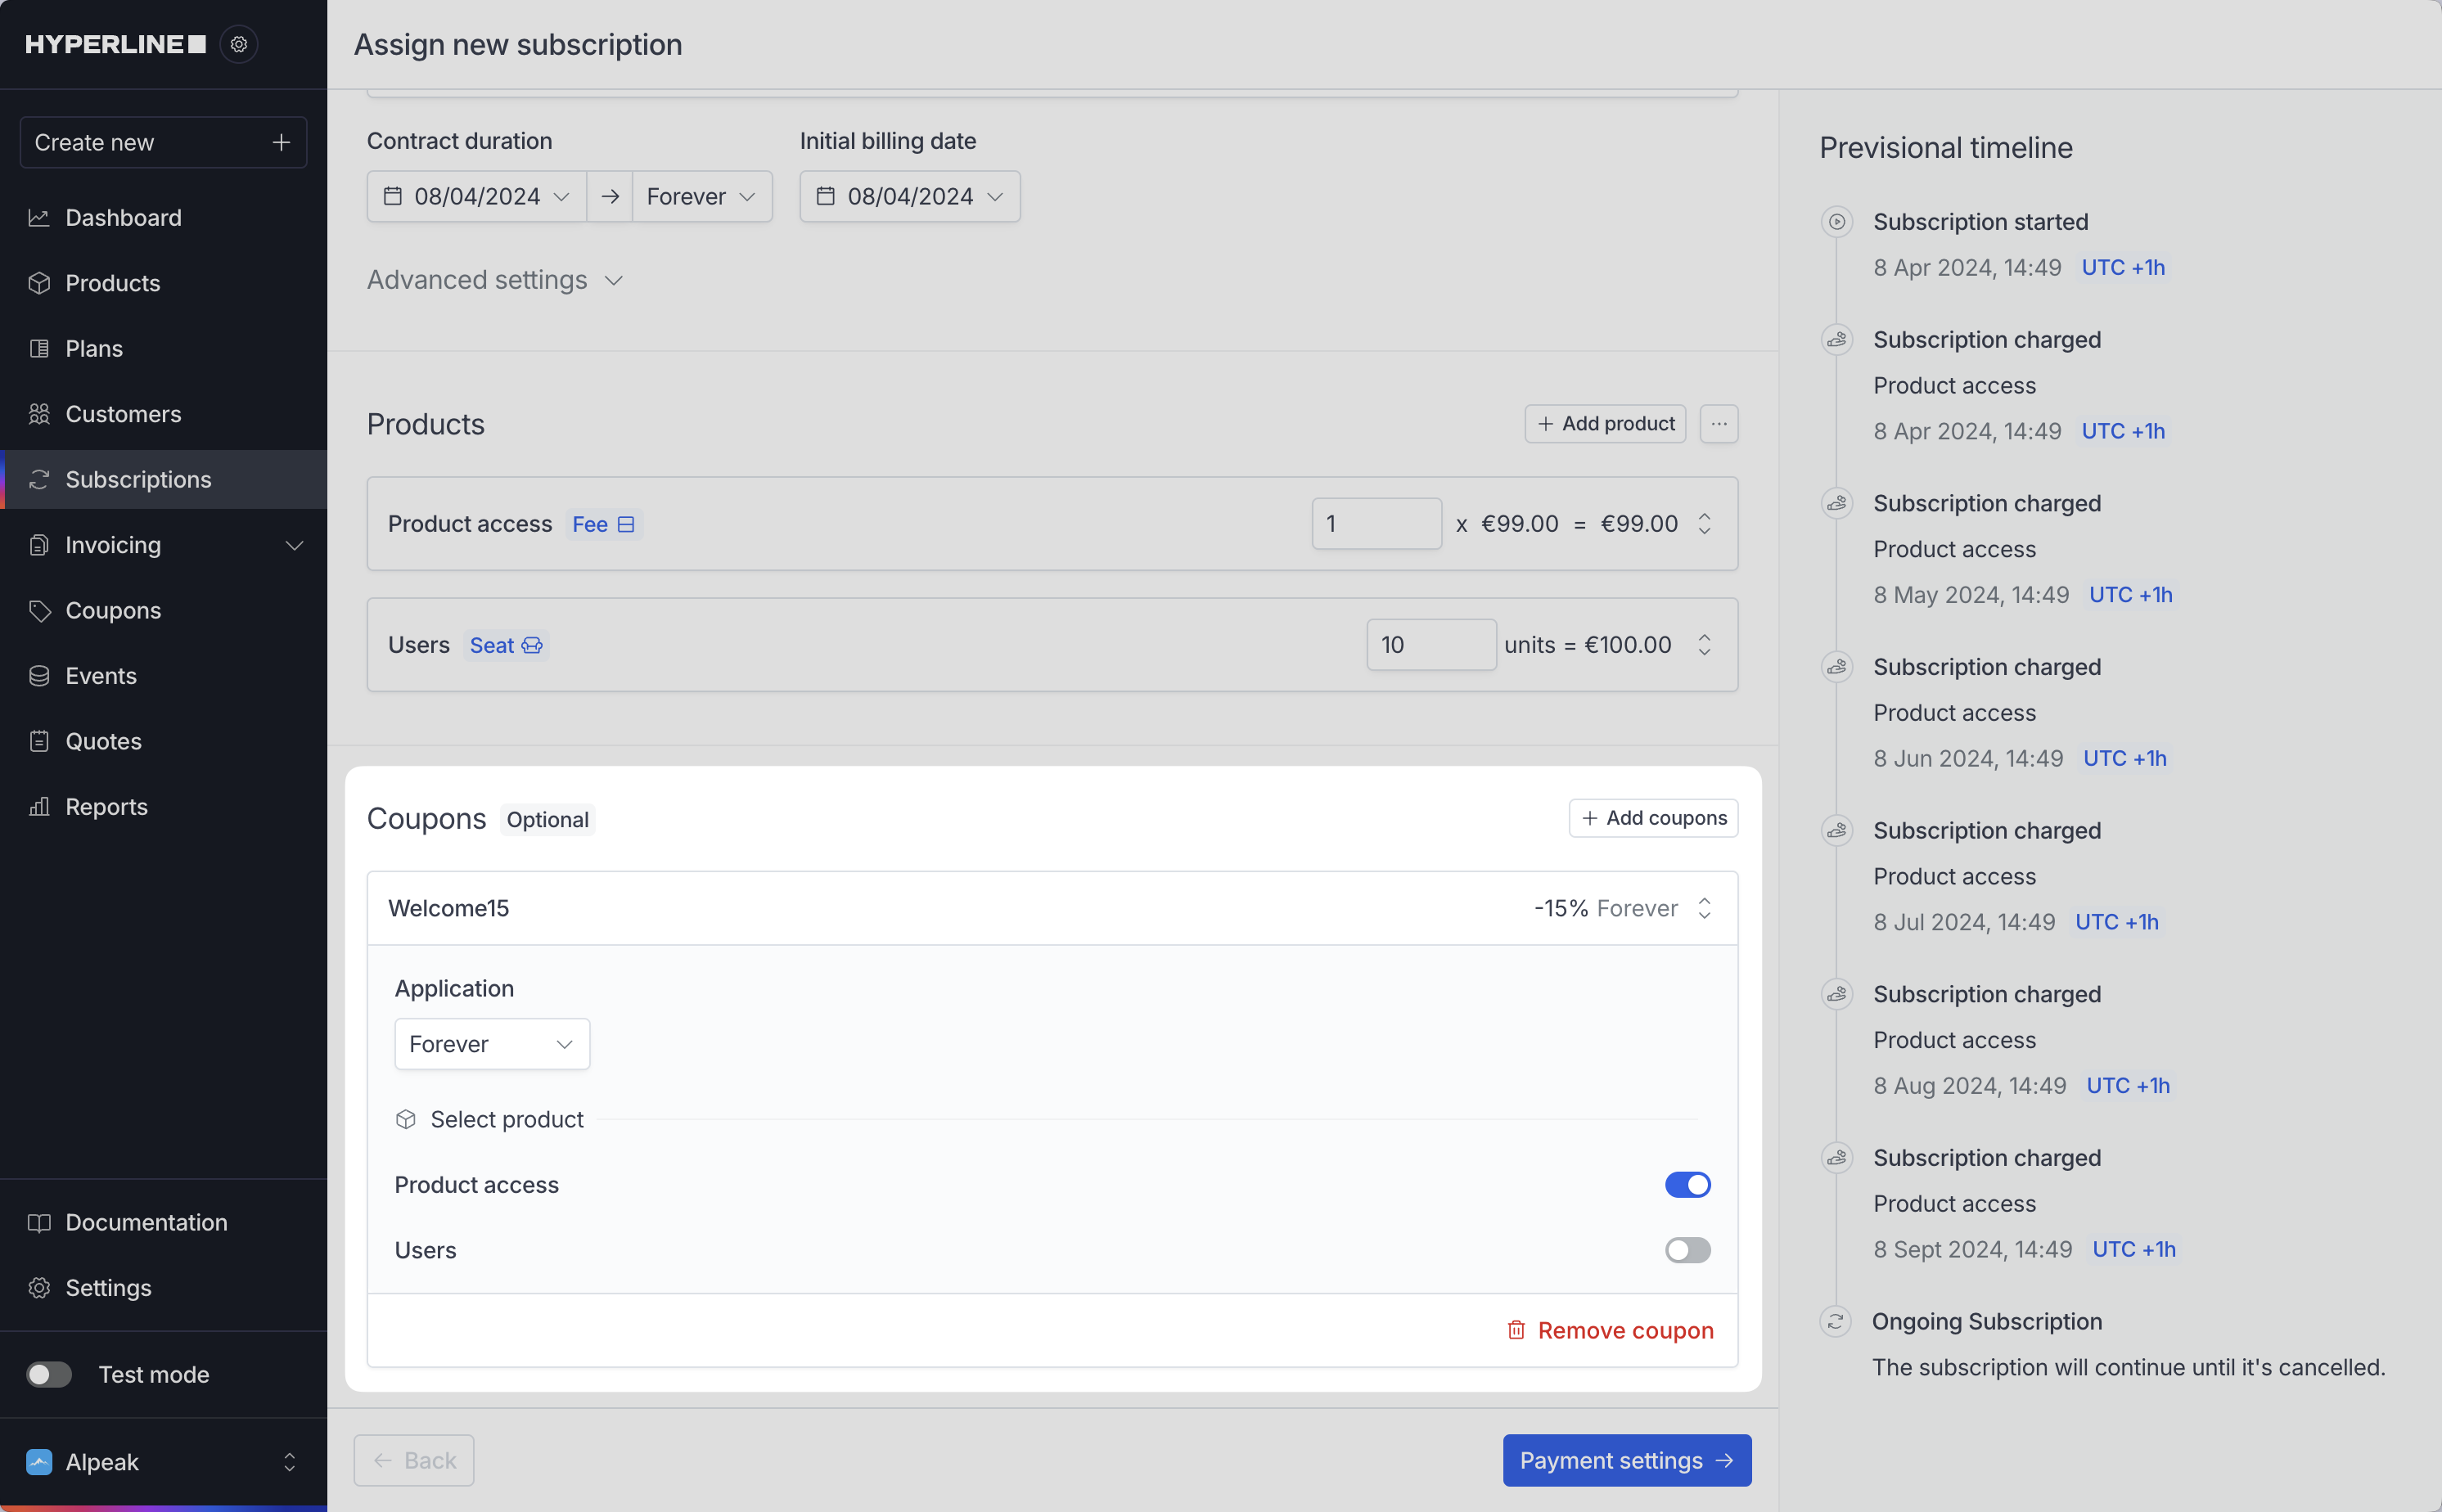 Visit our page [assign a subscription](../subscriptions/create) to learn more about this process.
# Set-up credits on your account
Source: https://docs.hyperline.co/docs/credits/overview
Learn how to set-up customer credit ledgers
Hyperline offers a way to represent credits for each of your customers and provides a dedicated credit product type for this. It can represent any granted quota relevant to your business.
This allows you to easily implement a pre-built ledger, enabling your customers to pay upfront, consume, and purchase new credits as needed.
**Prerequisite**
To configure credits, you will need to have connected events first so usage data can be detected.
## Create a credit product
To get started with credits, you should create a credit product first in your catalog, where you will specify the events that rule the consumption. Usage of credits will be deducted automatically accordingly.
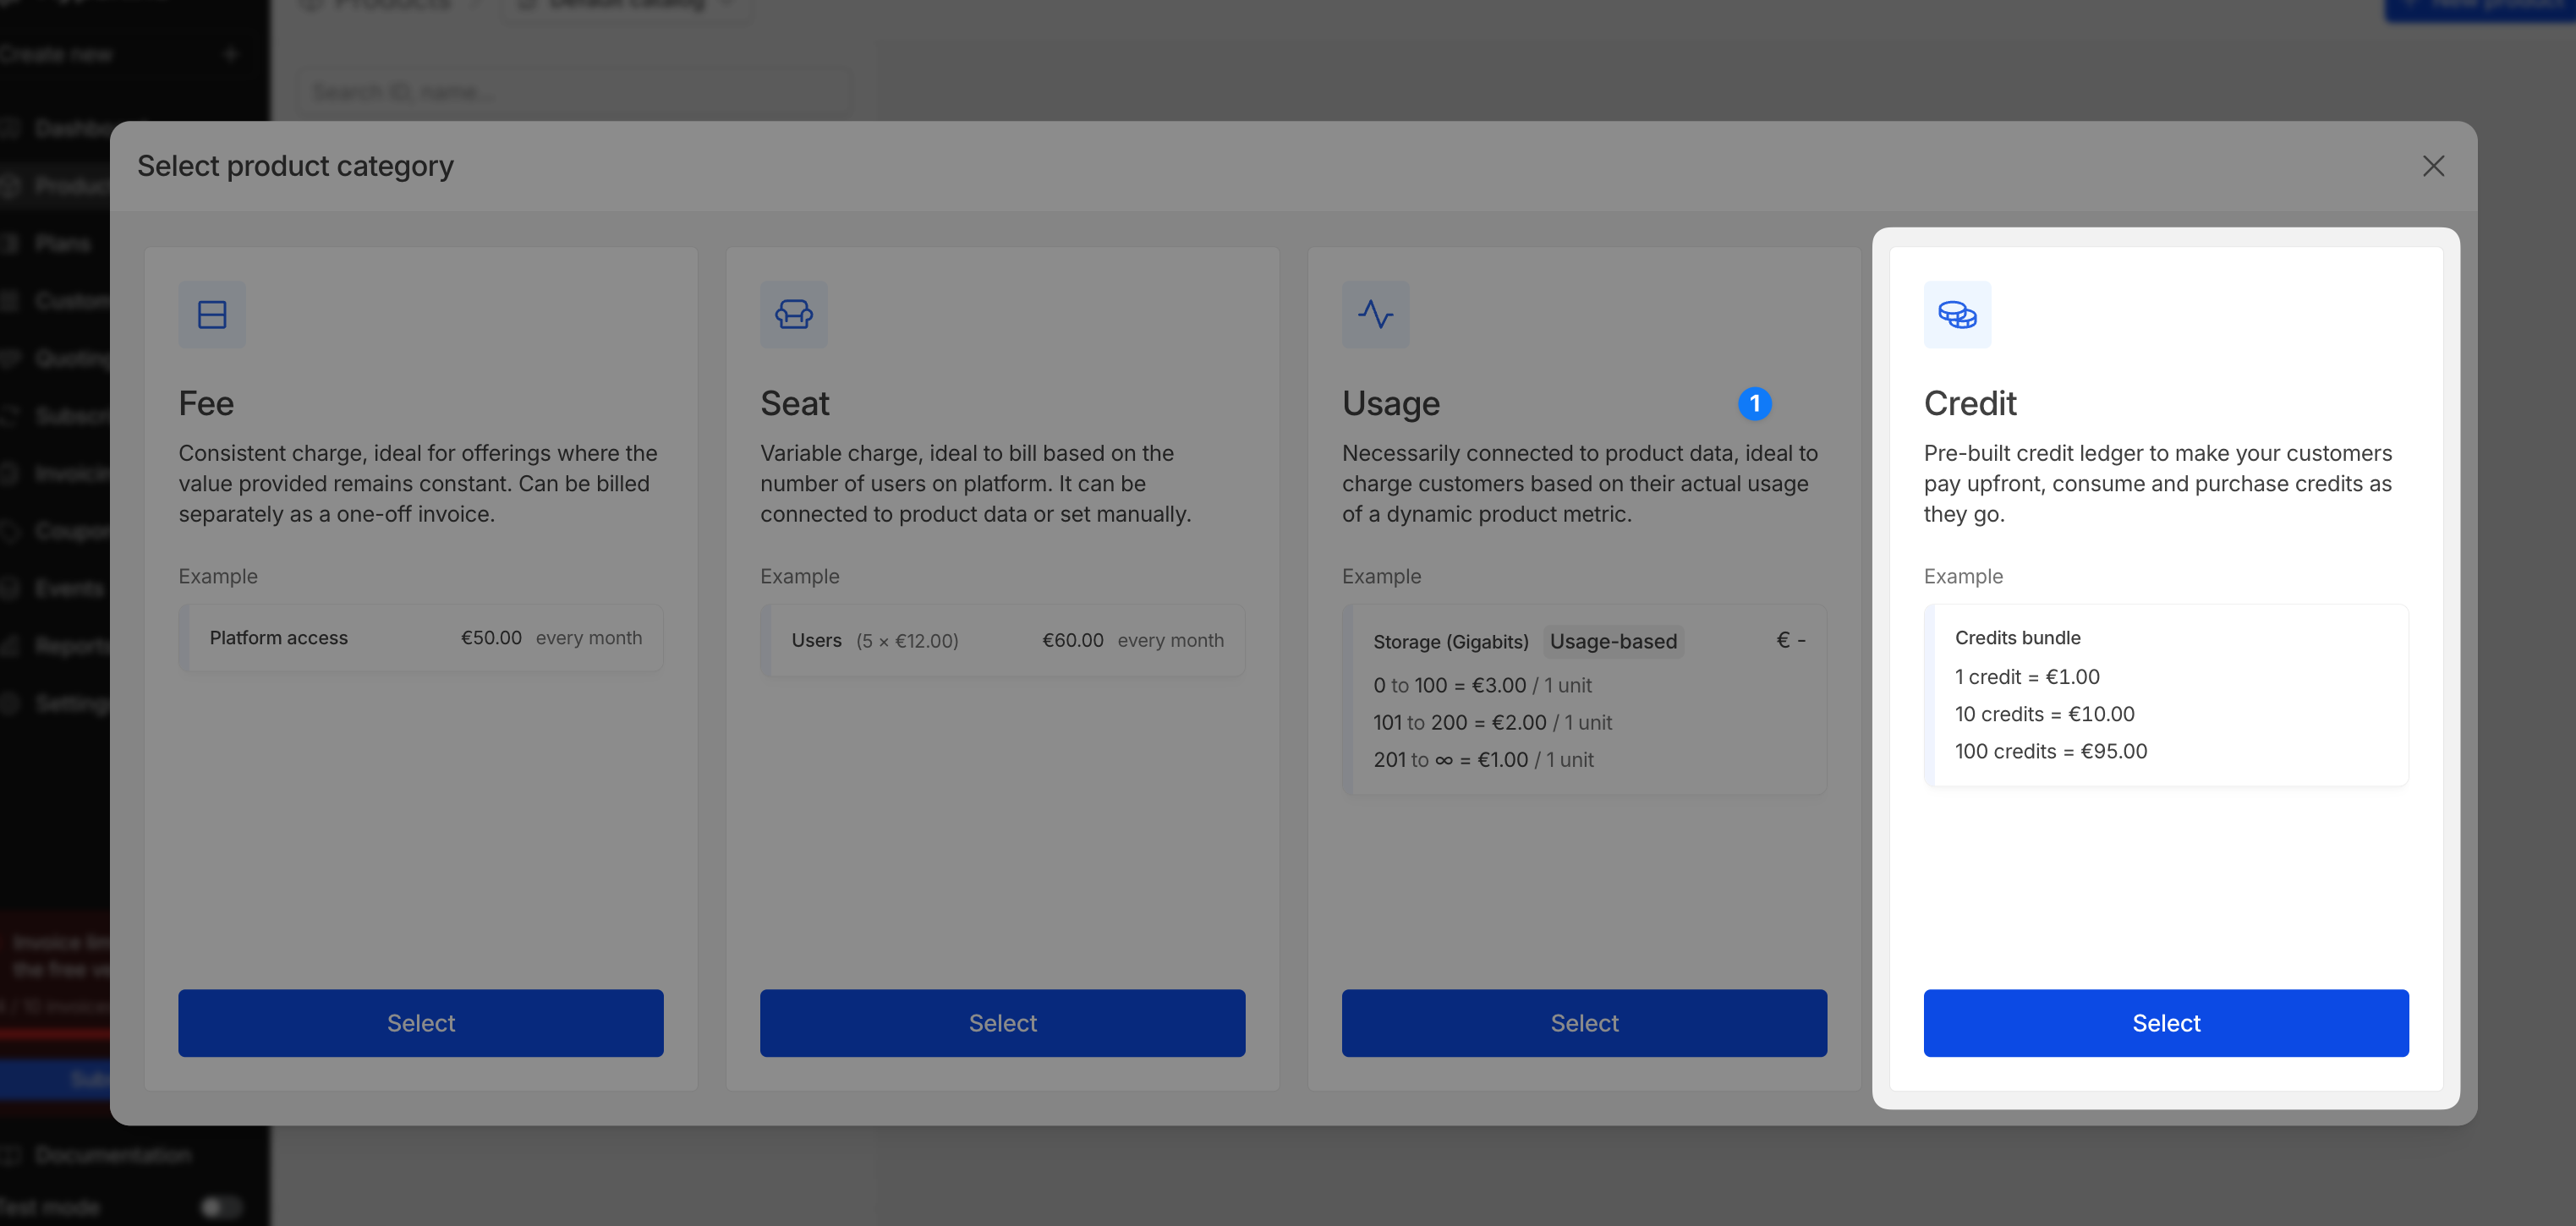 You can set a limit to warn of a low balance and set-up which event will consume credits on the customer's balance.
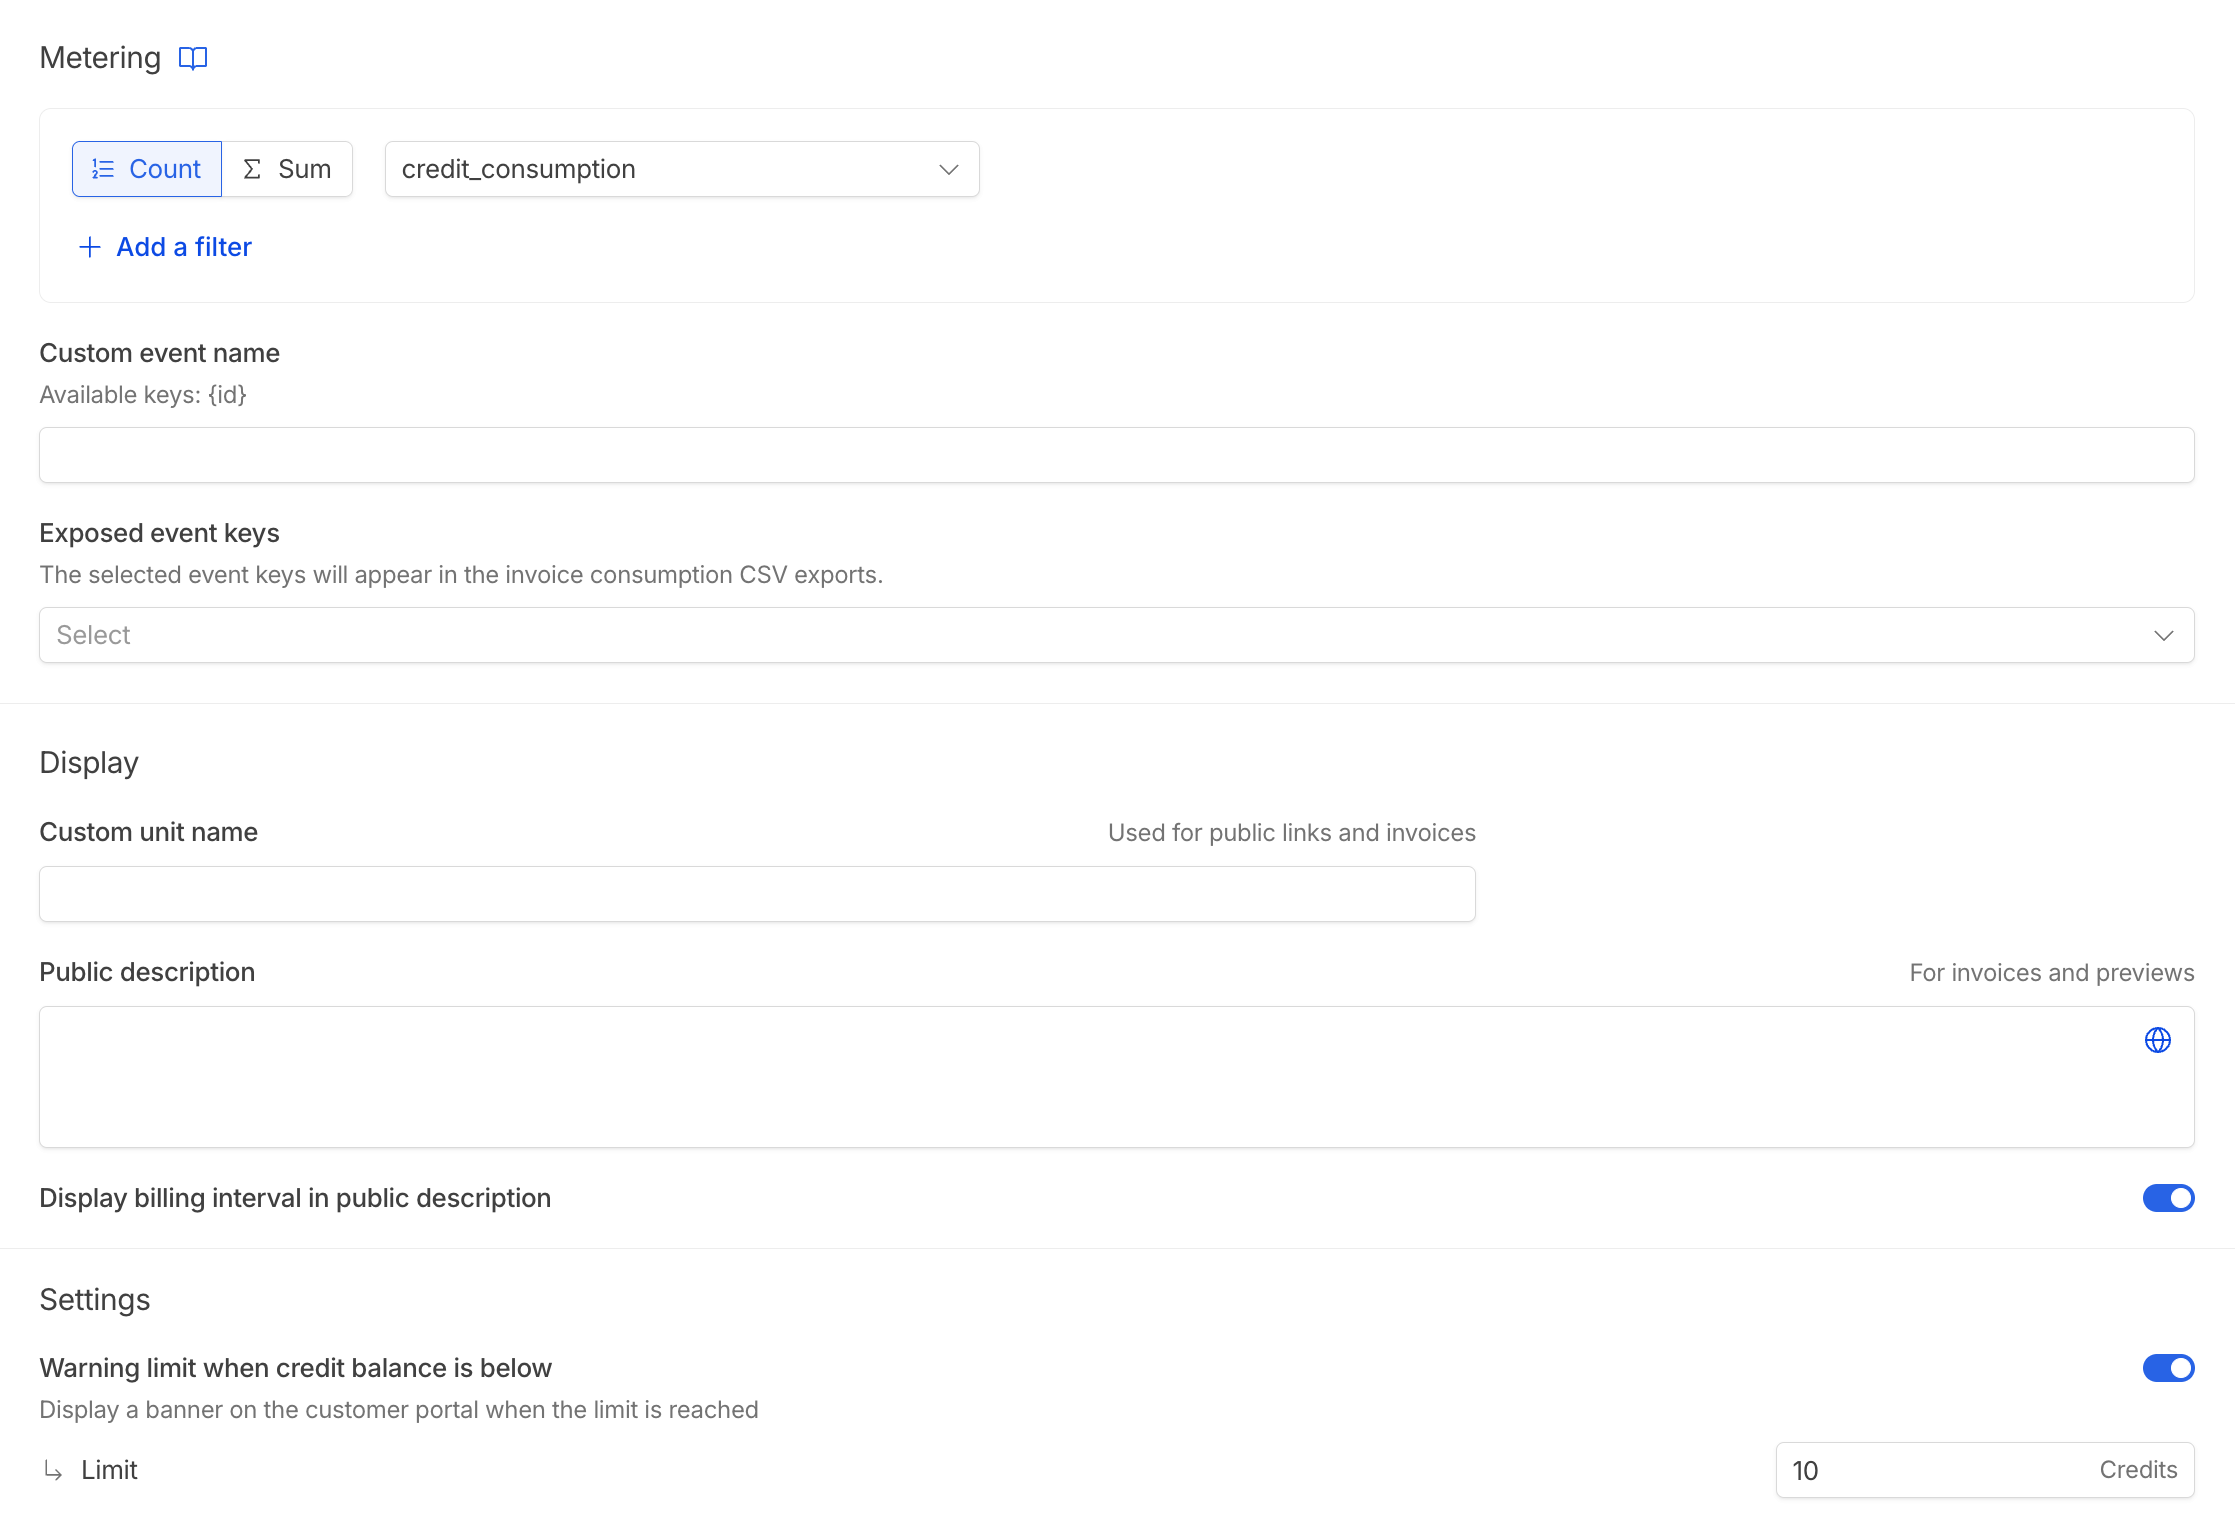 For credits, the pricing type is bundle pricing, a given price for a number of credits. You can also choose to display different purchase options on the customer's portal.
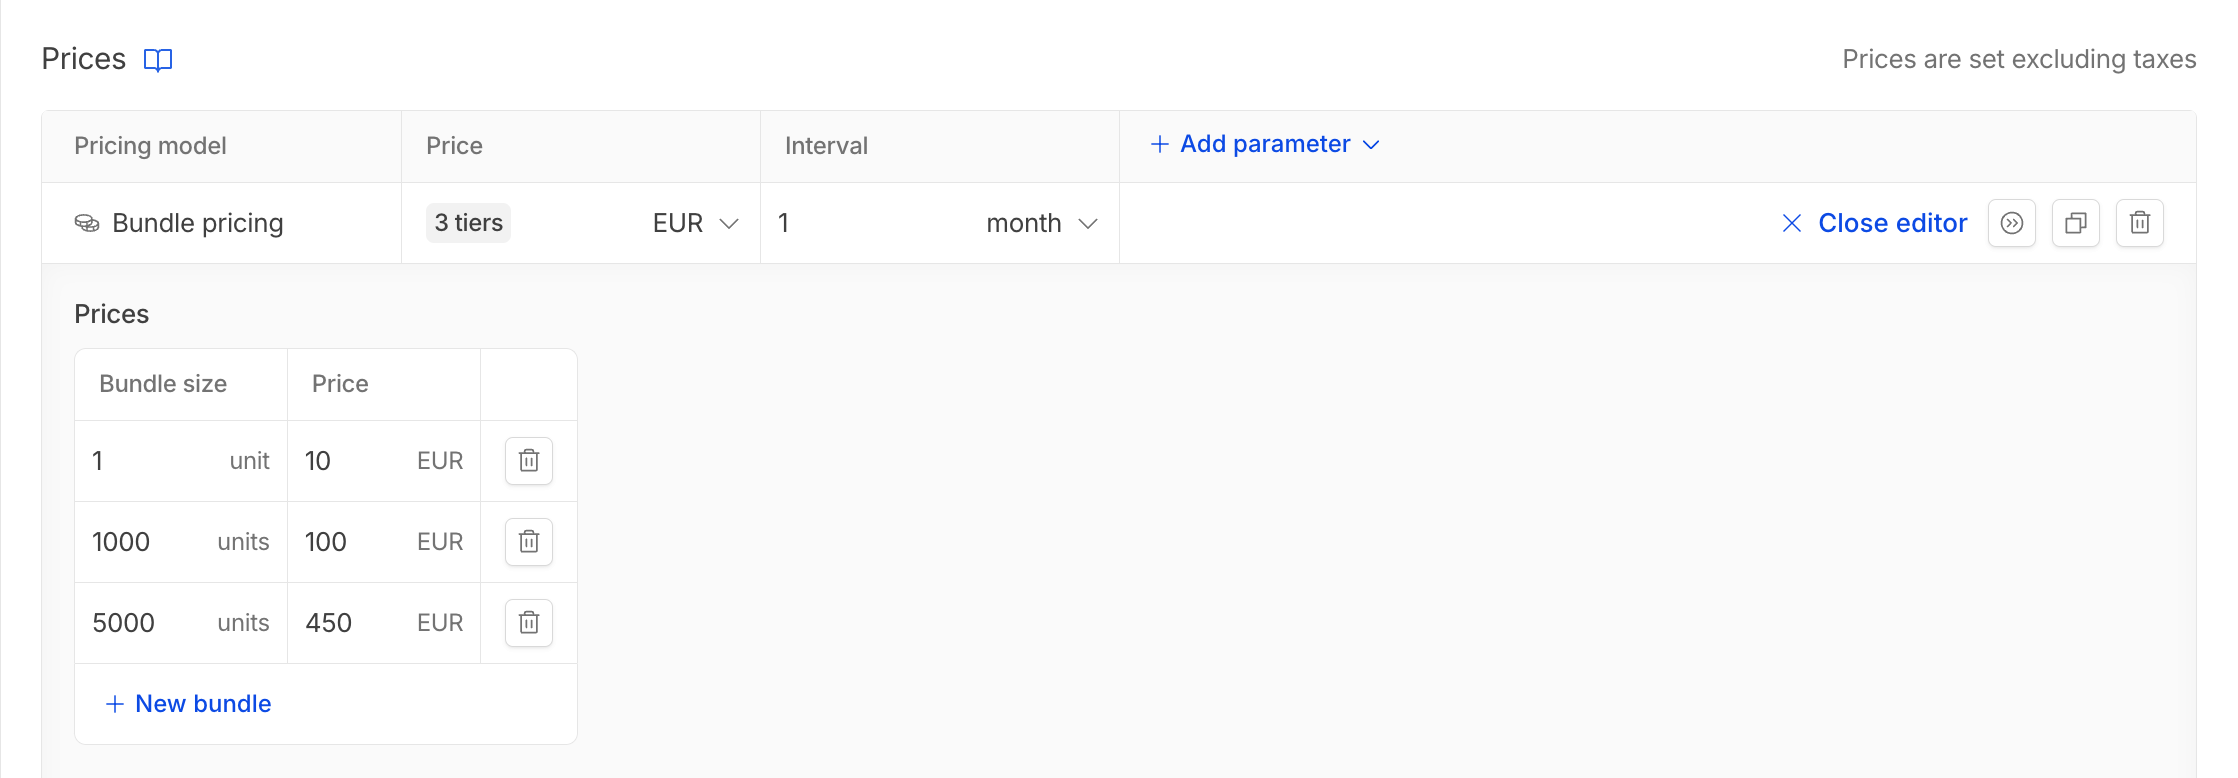 ## Set up credits on a customer
Once your credit product is set up, you can enable a credit balance on your customer and link their credit usage immediately. Note that this can also be done via the API.
 Here, you can also change the name, choose the starting balance, and set the credit warning limit. This won't override the values previously set in your product catalog, but will be specific to the customer.
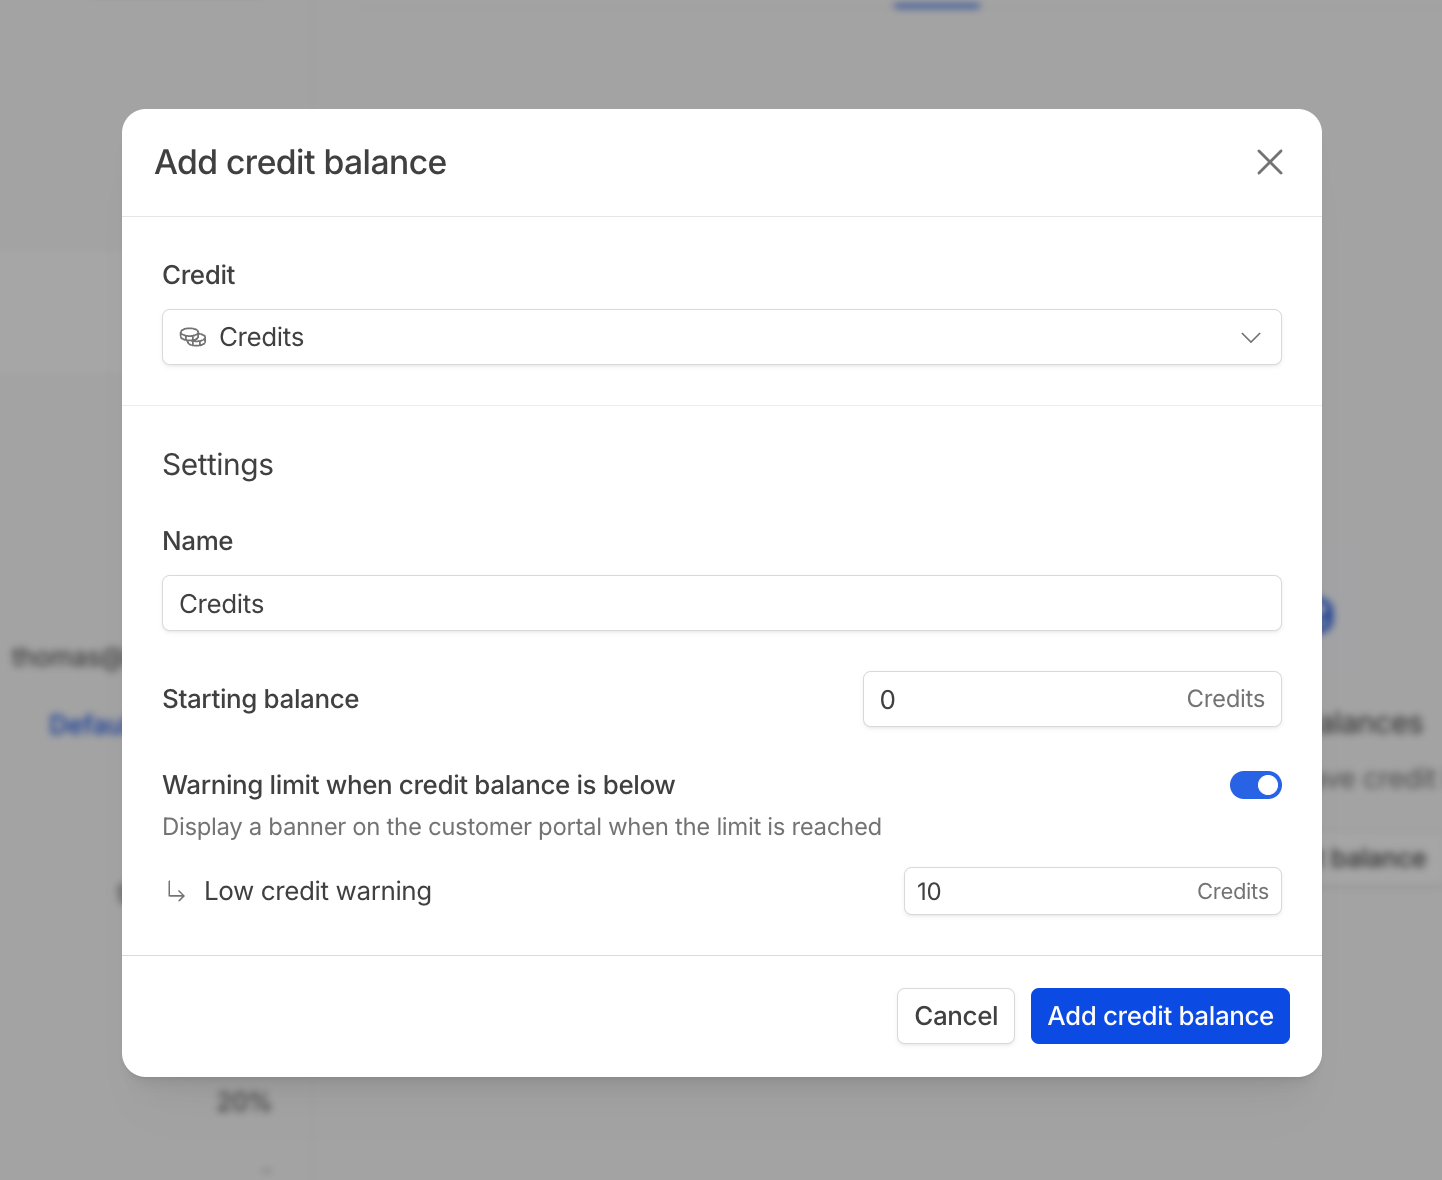 Once the balance is created, you will be able to see the most recent consumption by your customer. Additionally, you can manually top up or retain usage via the interface if desired.
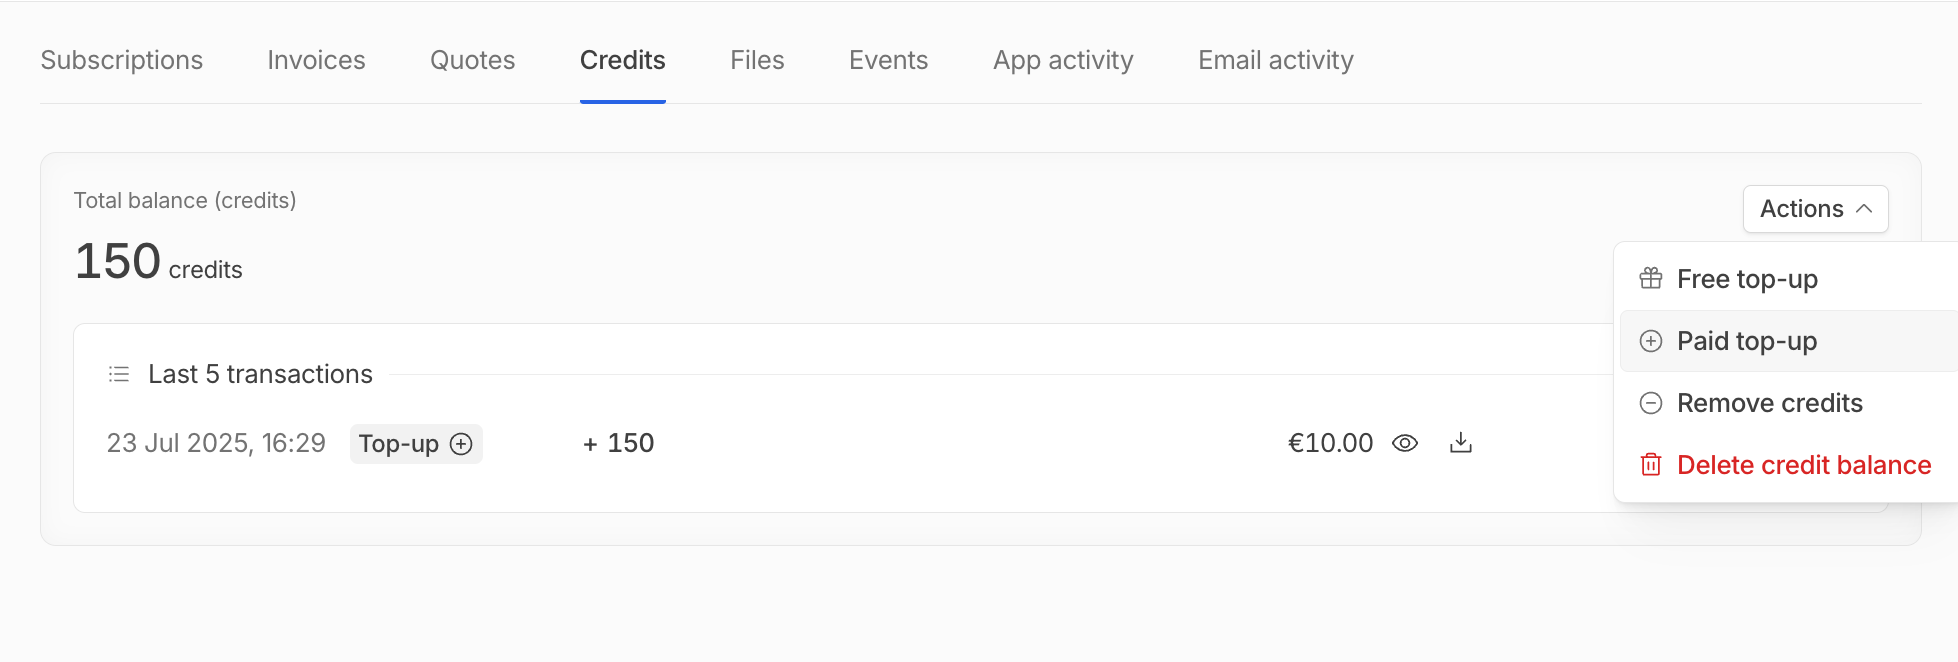 ## Add credit products in plan and subscription
Credit products created in the product catalog can be added to predefined billing plans and subscriptions like any other product.
Options for this product can also be changed at the customer/subscription level, allowing full customization without altering your catalog configuration.
# Create customer
Source: https://docs.hyperline.co/docs/customers/create
We call customers the individuals or companies buying products and/or subscribed to you. We recommend that you create a customer in Hyperline as soon as someone registers for your product.
If you have a payment provider connected, we'll make sure to automatically create the customers there for you when necessary.
Click on **New Customer**
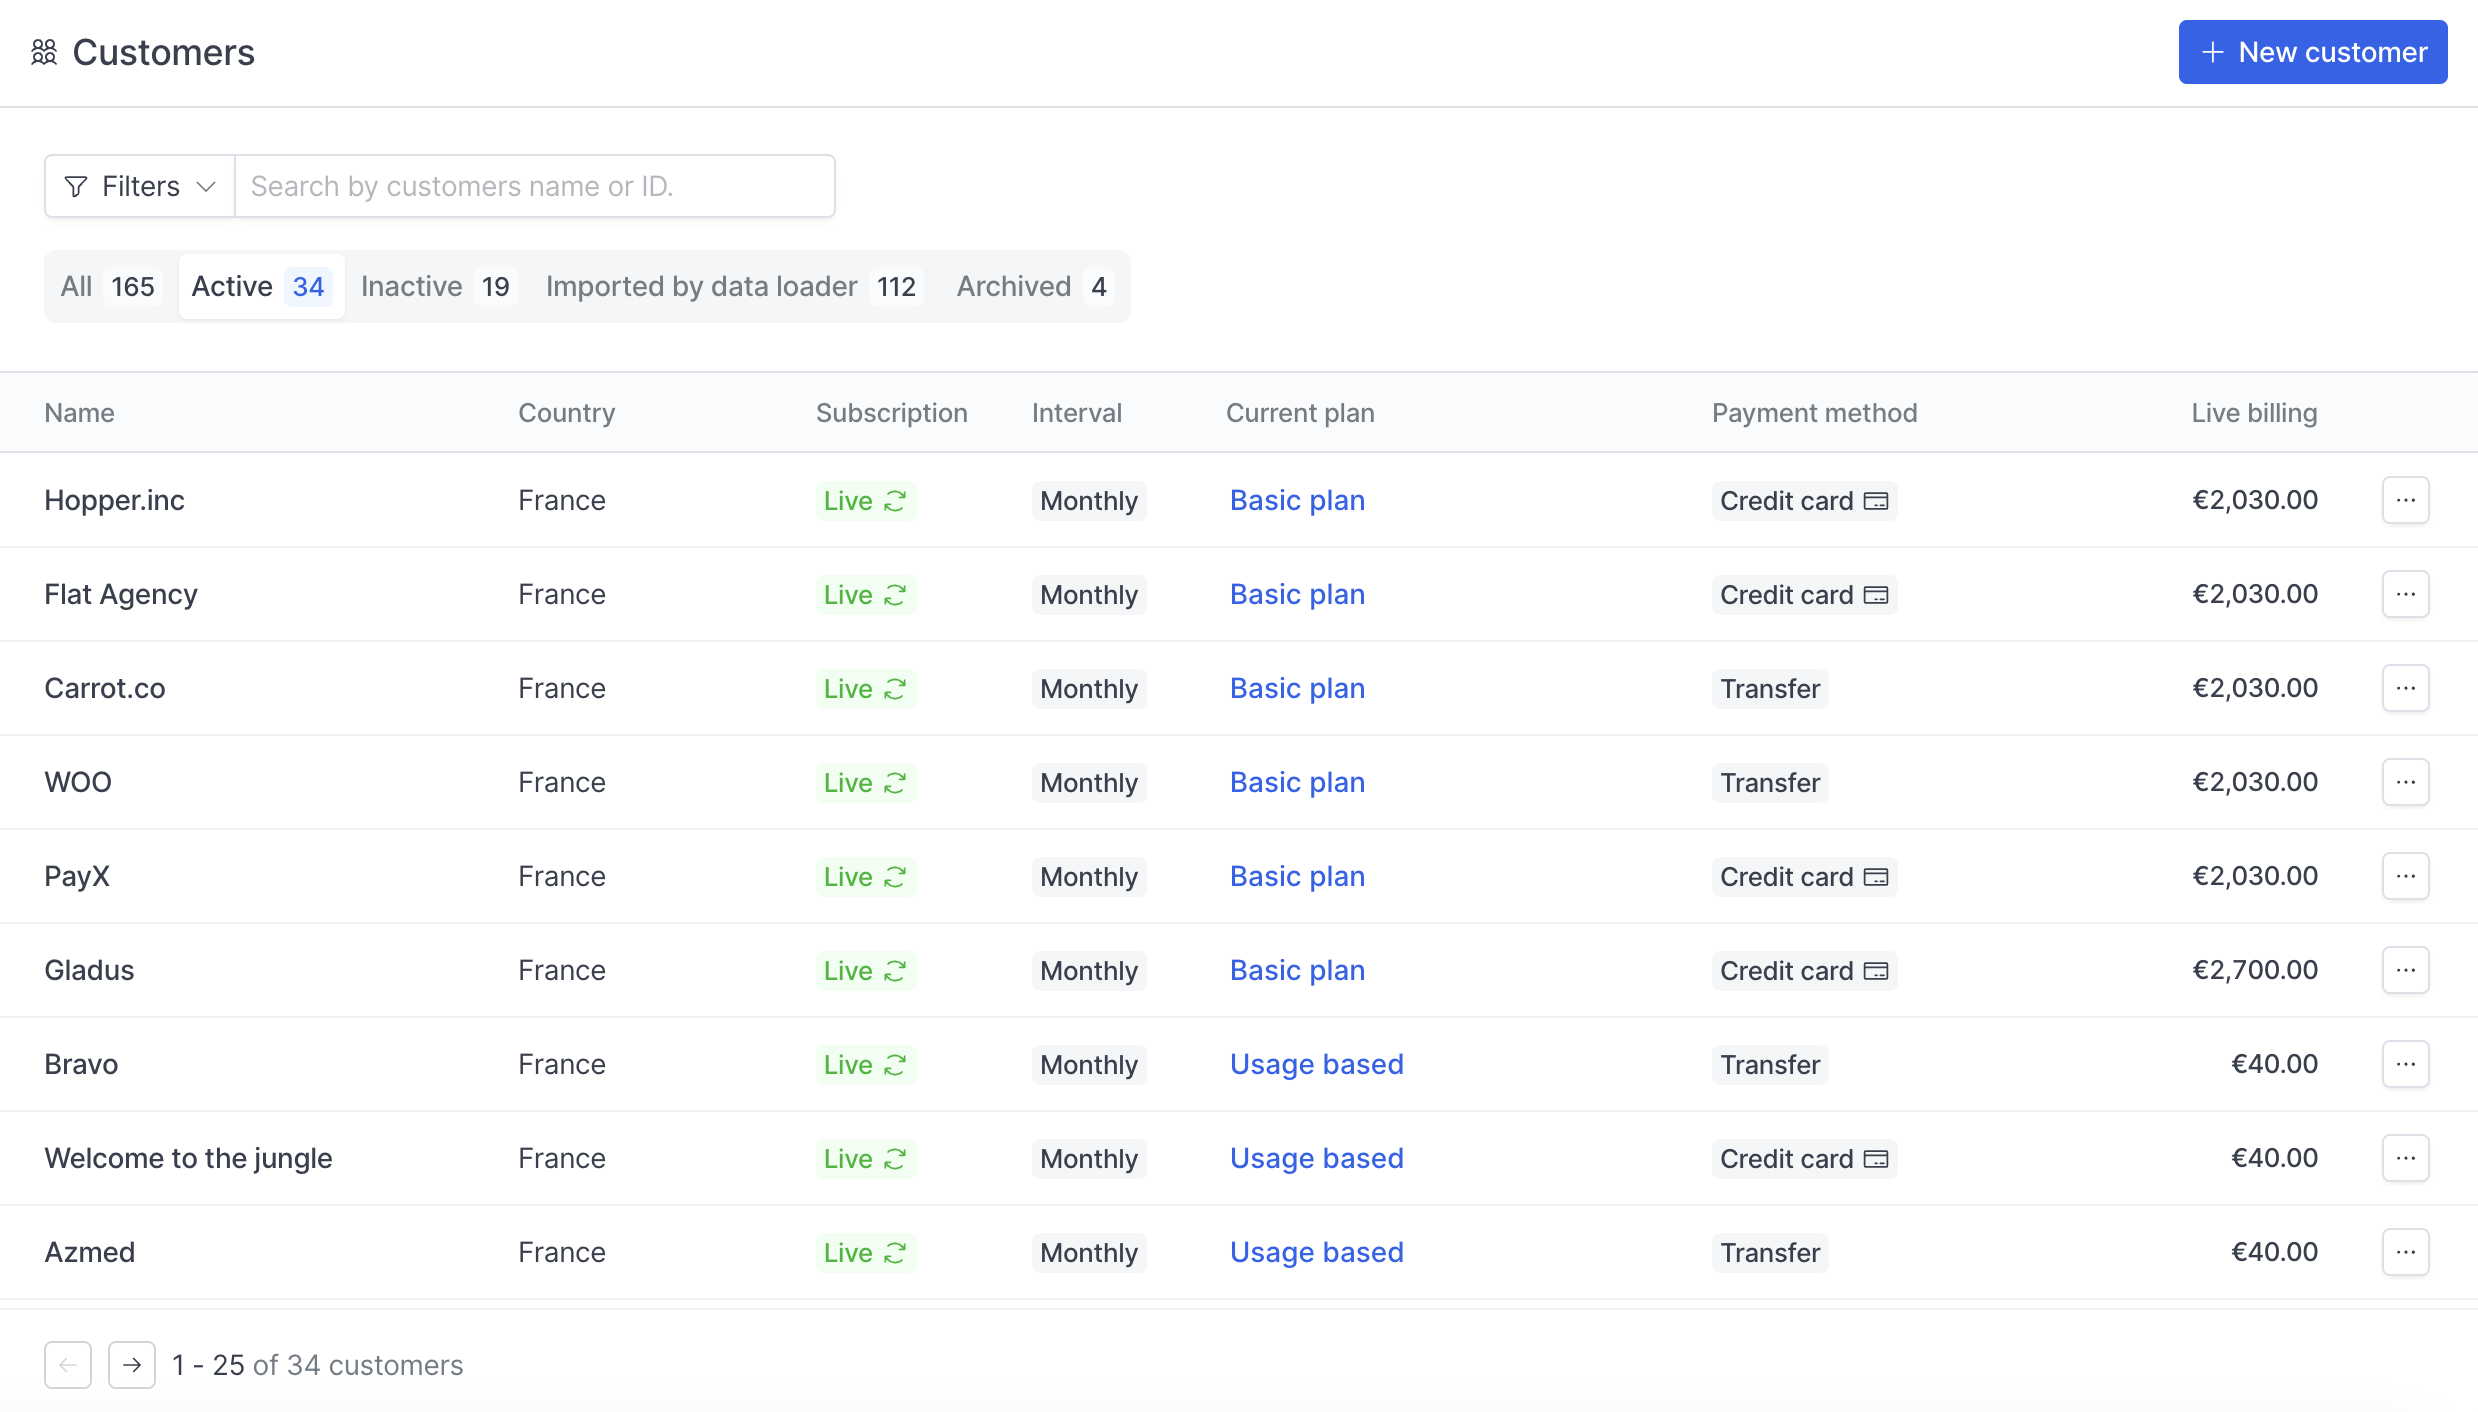 Click on **Save customer**
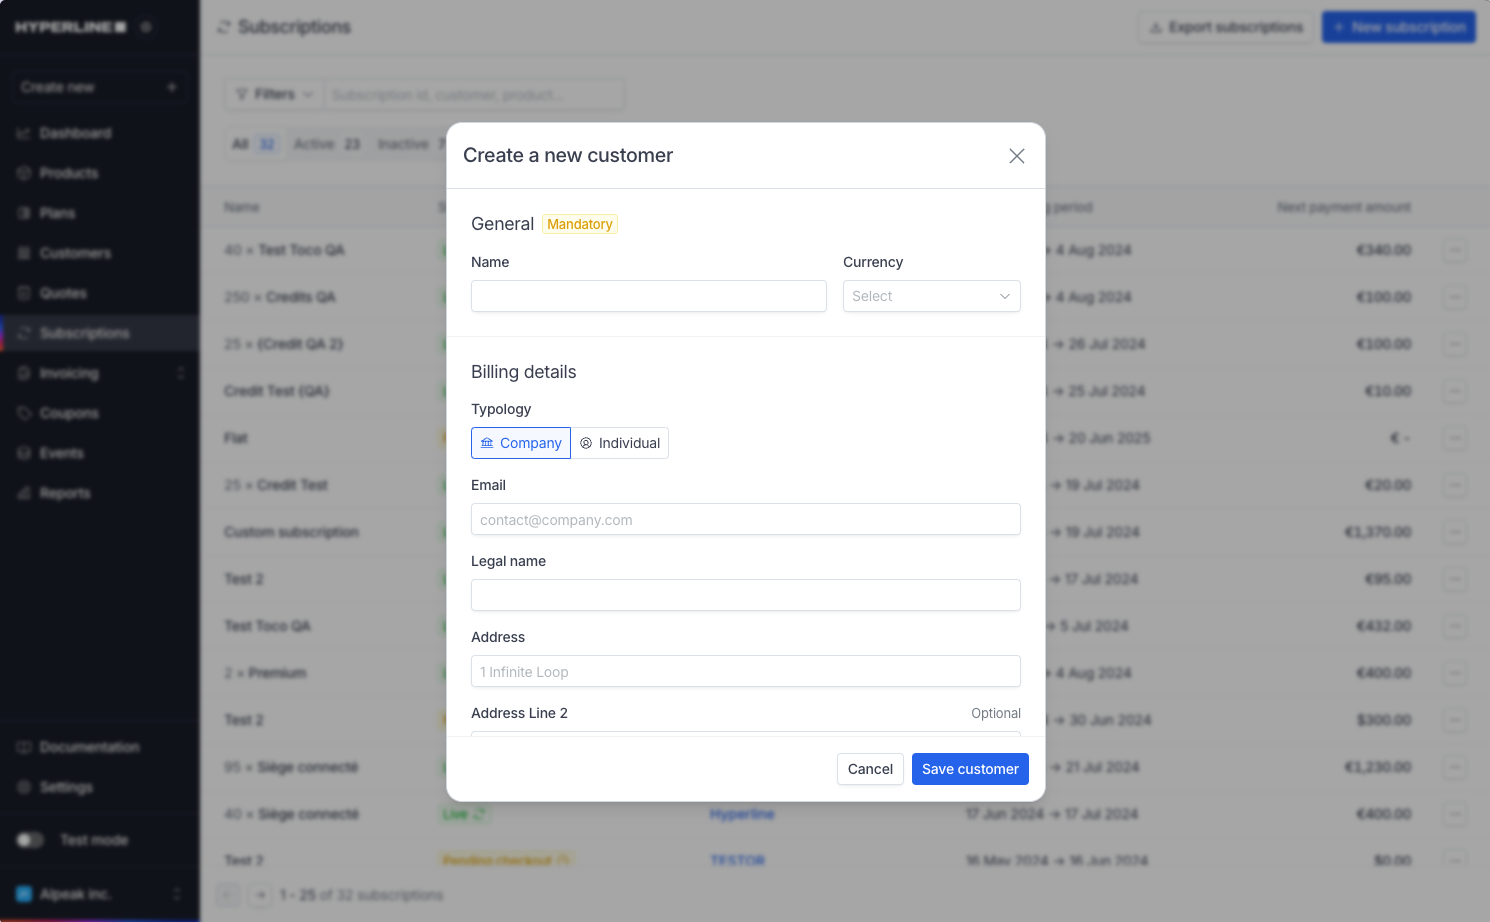 If you don't have all the information now, you can still create the customer and come back later to edit its details. Only a name is required at this step, but we recommend filling in at least the currency and country of the customer.
It will appear right away in your customer list (under the `All` filter).
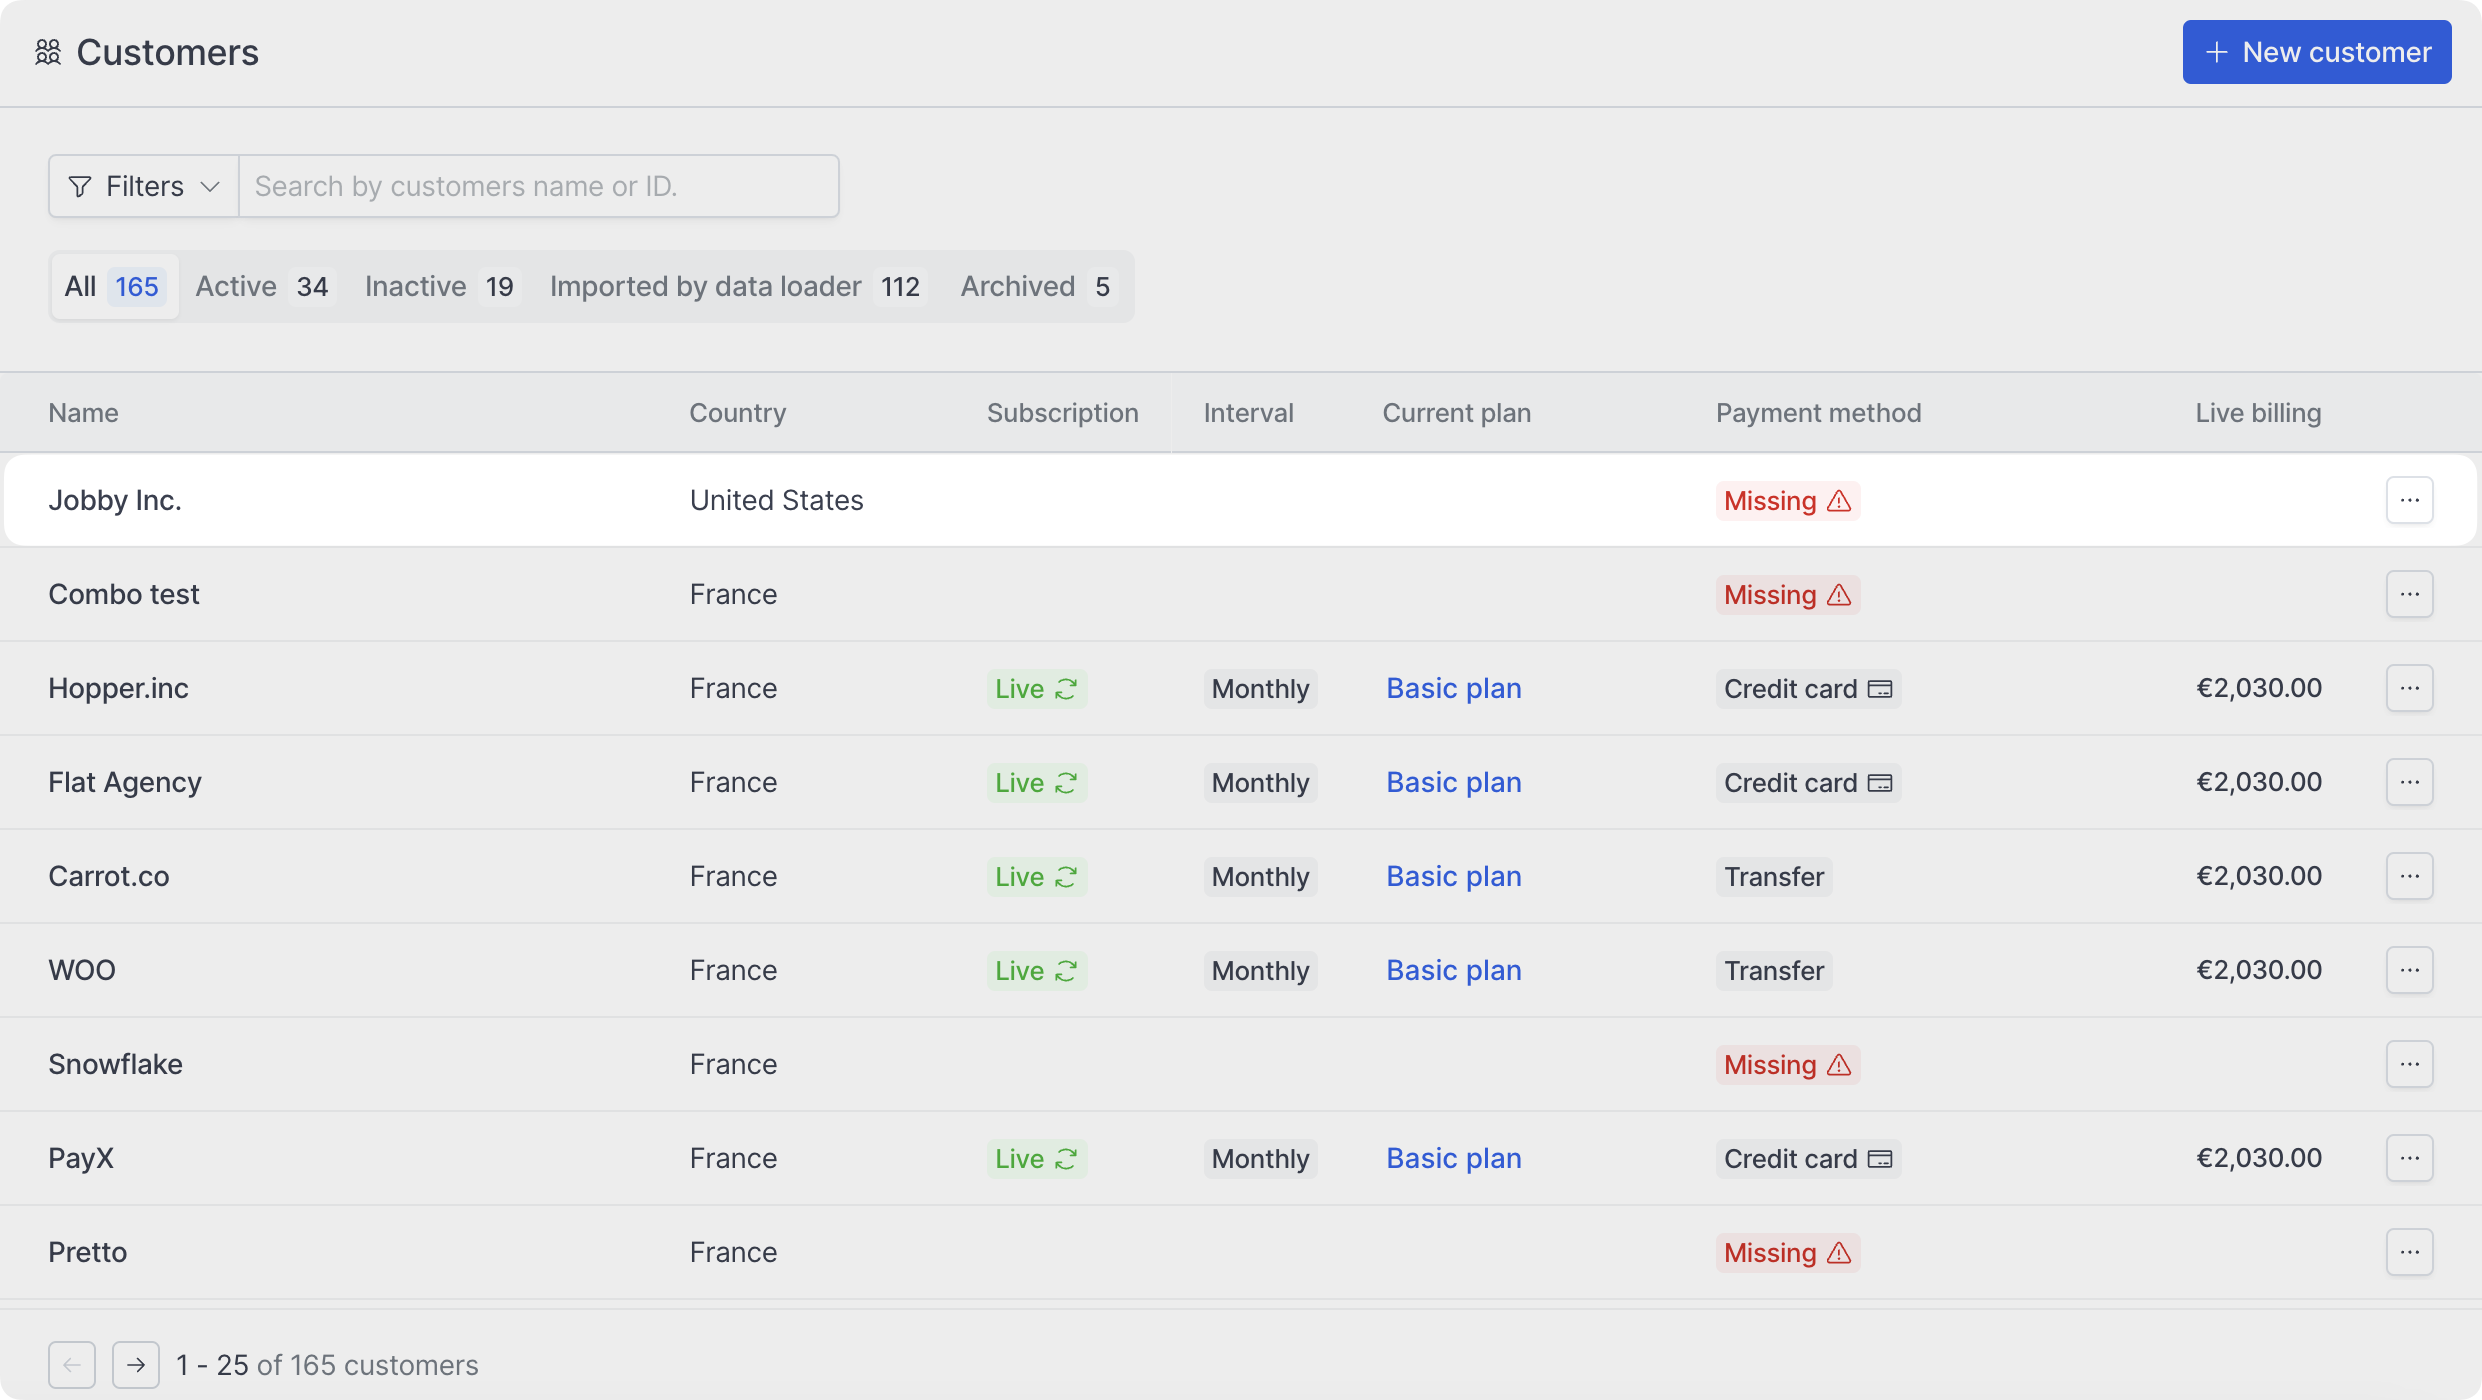 You can click on your customer's name from the previous screen to access their information.
From this page, you get an overview of your customer's information on the left of the screen, and you can navigate through their [subscriptions](../subscriptions/manage), [wallet](../wallets/overview), [invoices](../invoices/overview) and events on the right.
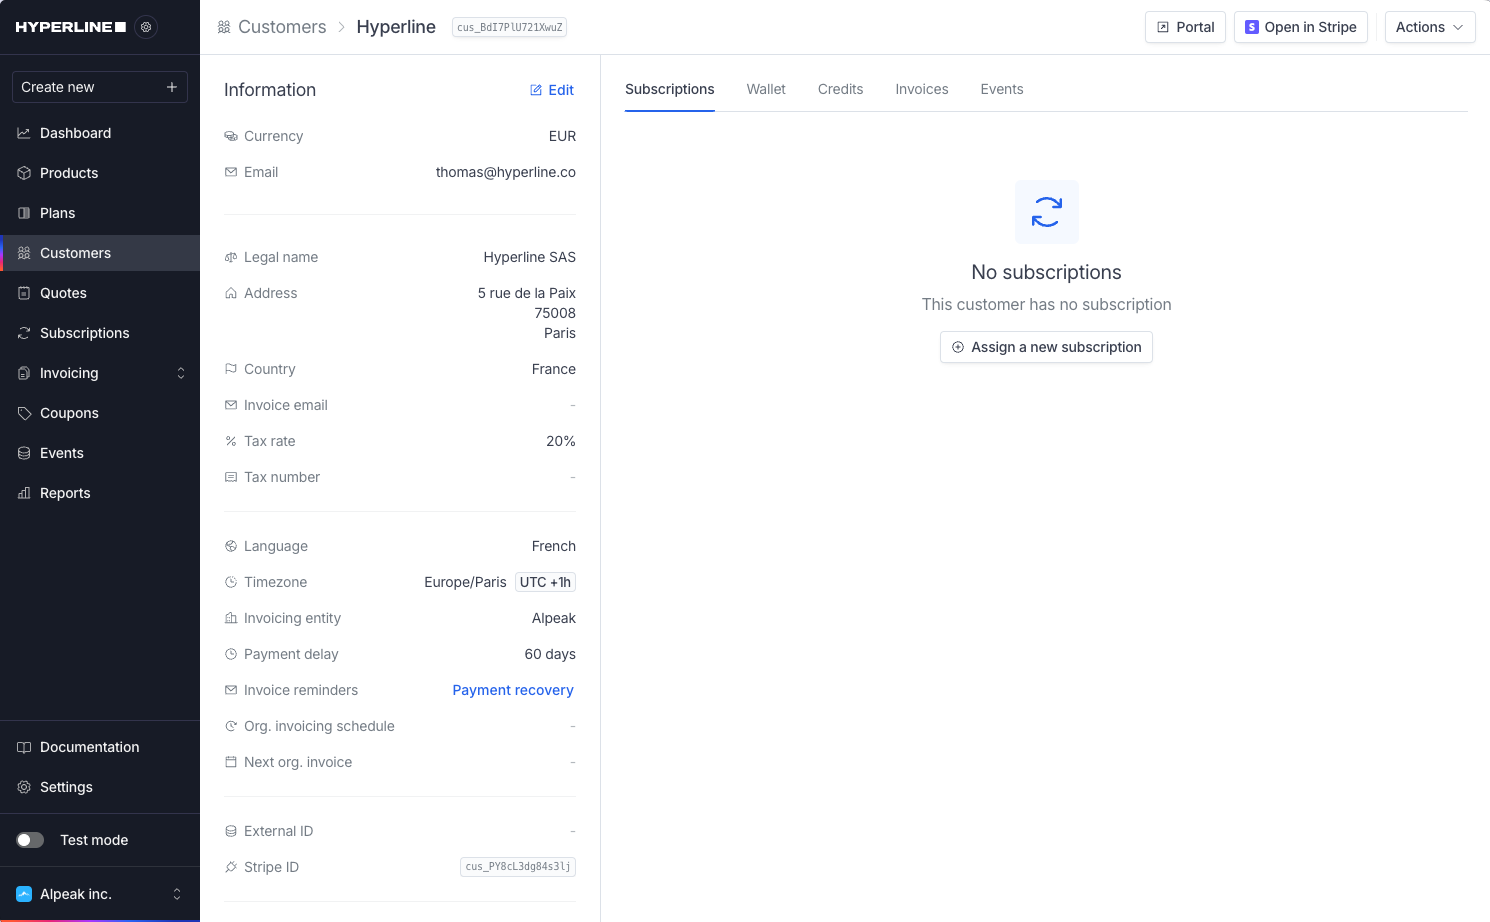 ## Edit customer information
Customer information can be updated at any time by clicking on Edit in the actions dropdown.
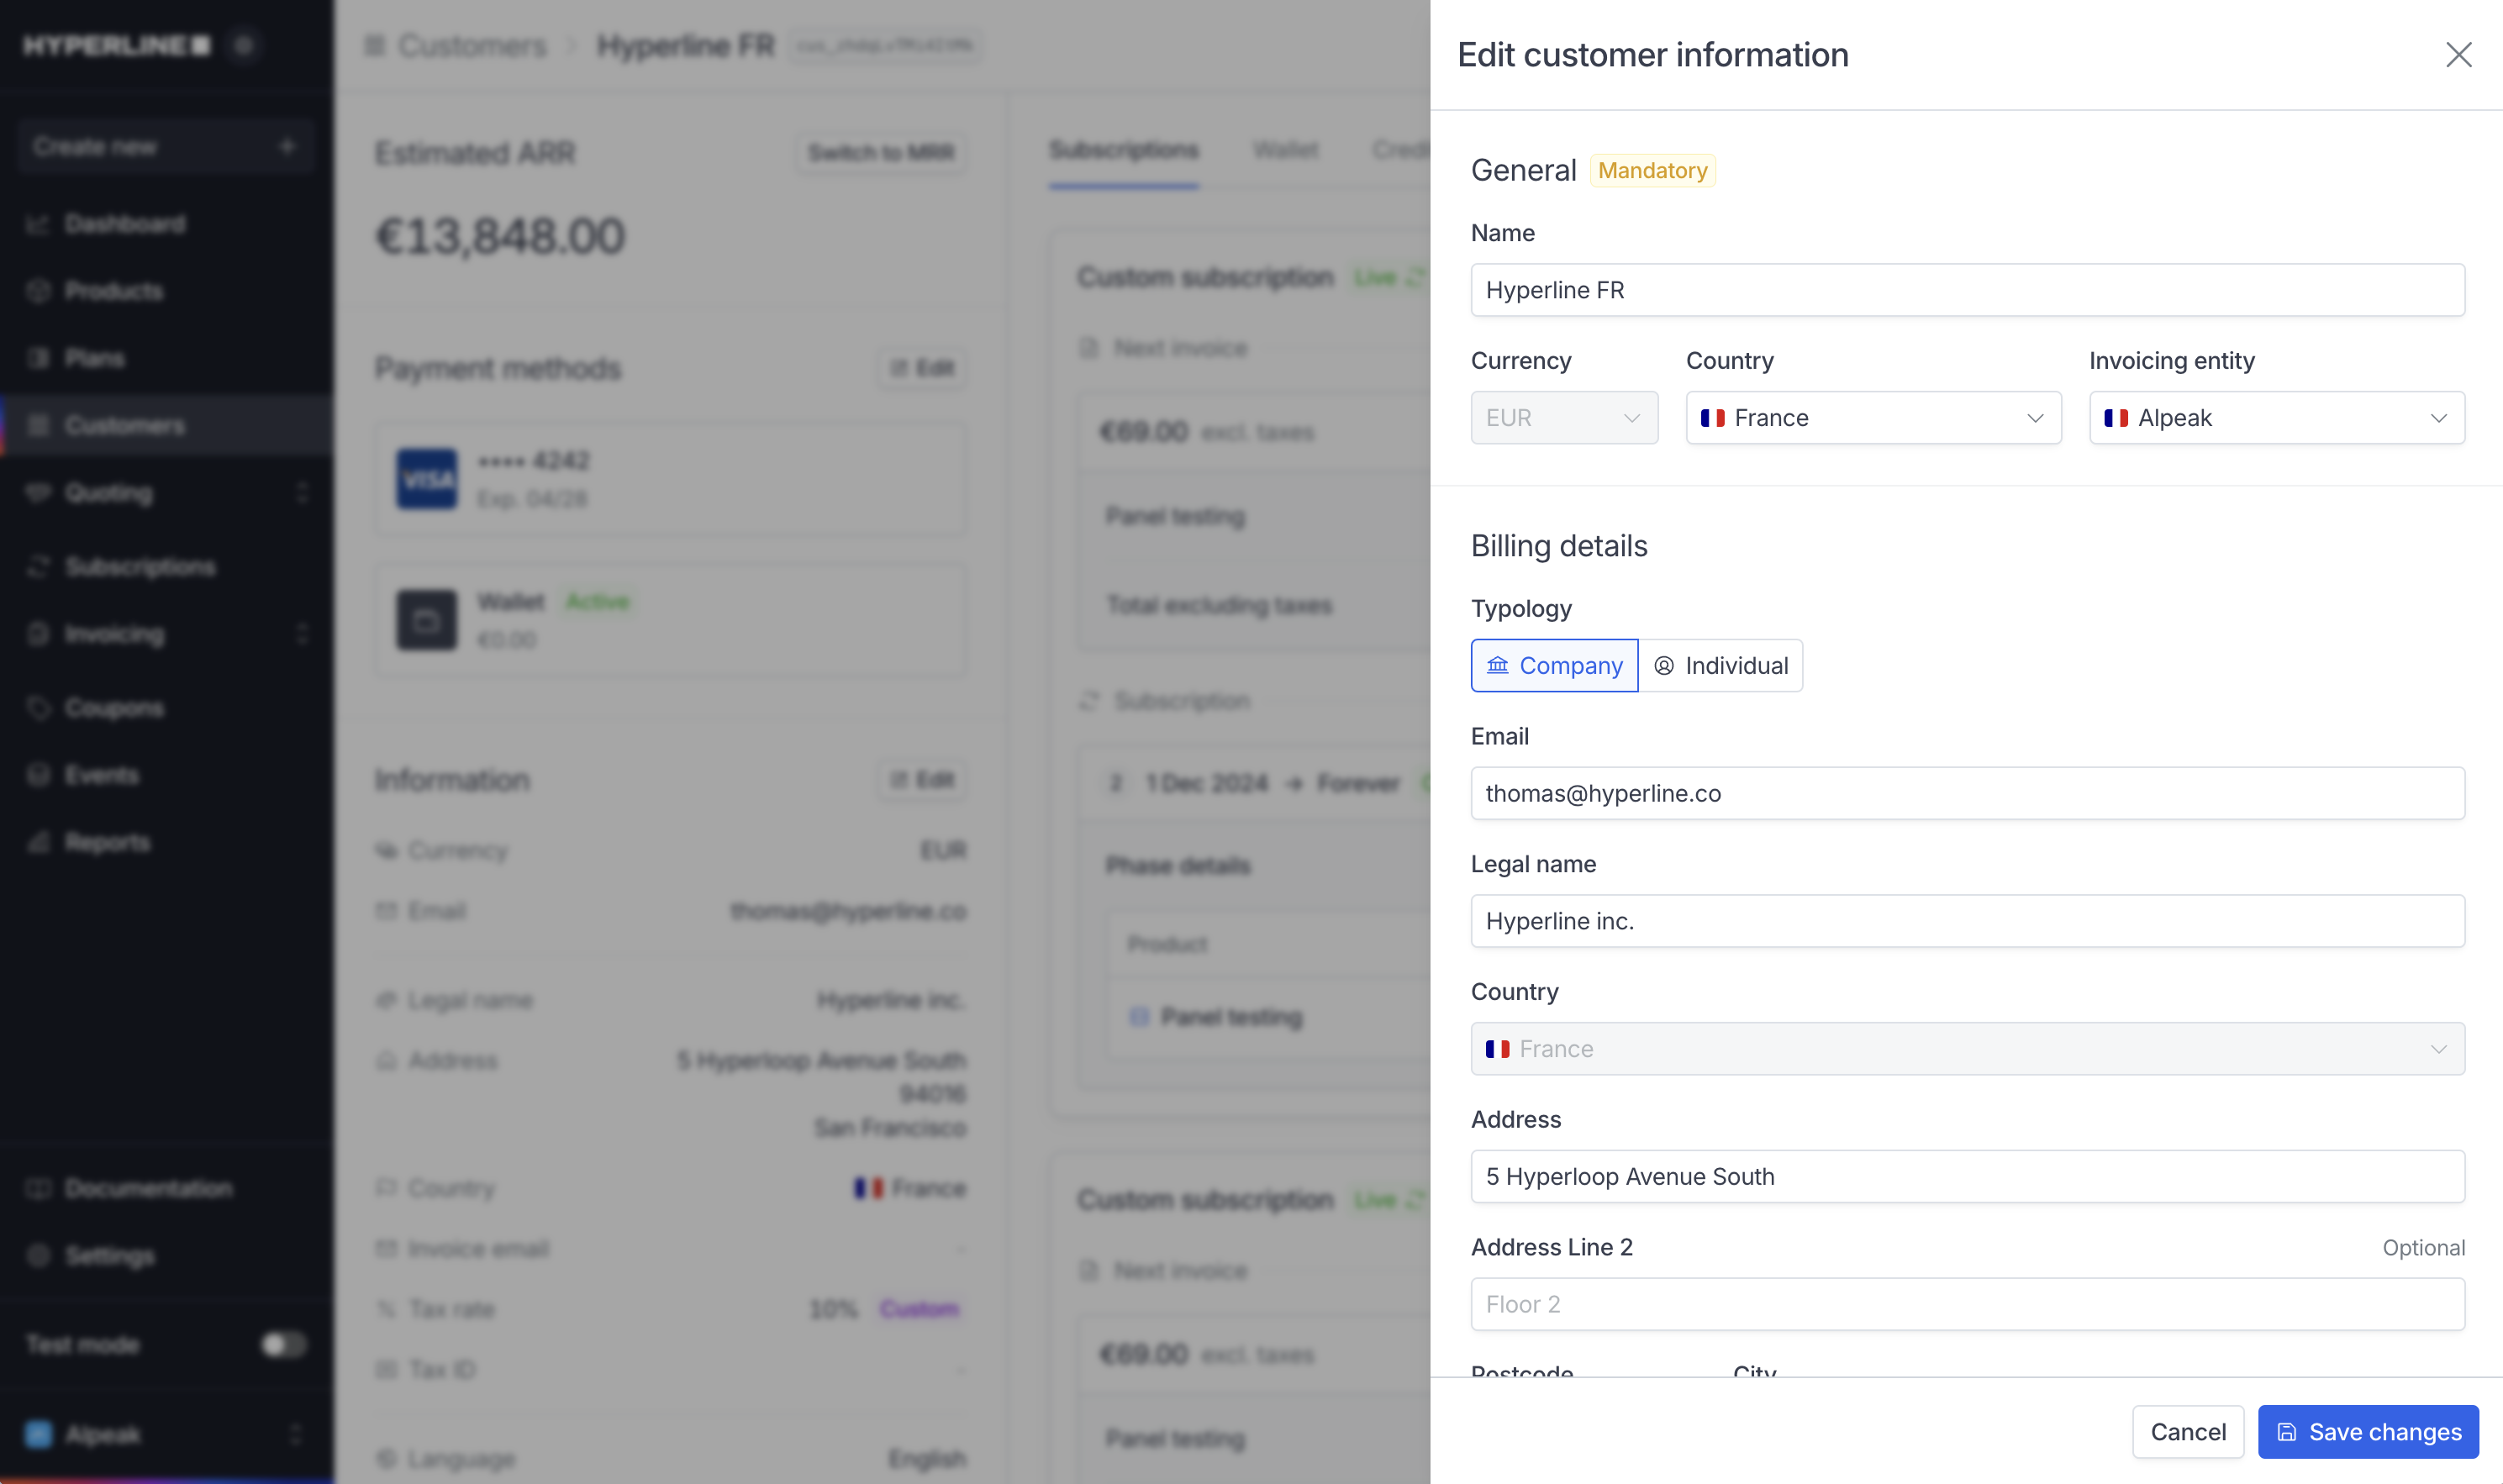 Once the customer has a wallet with funds or an active payment method, the
**currency** cannot be changed. In order to change it, you can remove the
payment method and delete the wallet. If this is not possible, contact
support.
## Addresses
You can add multiple addresses to a customer. These addresses will be available for use in quotes, invoices, and other documents.
By default, the billing address is used as the shipping address. If you need to use a different address for shipping, you can click on the **Edit** button in the customer details page.
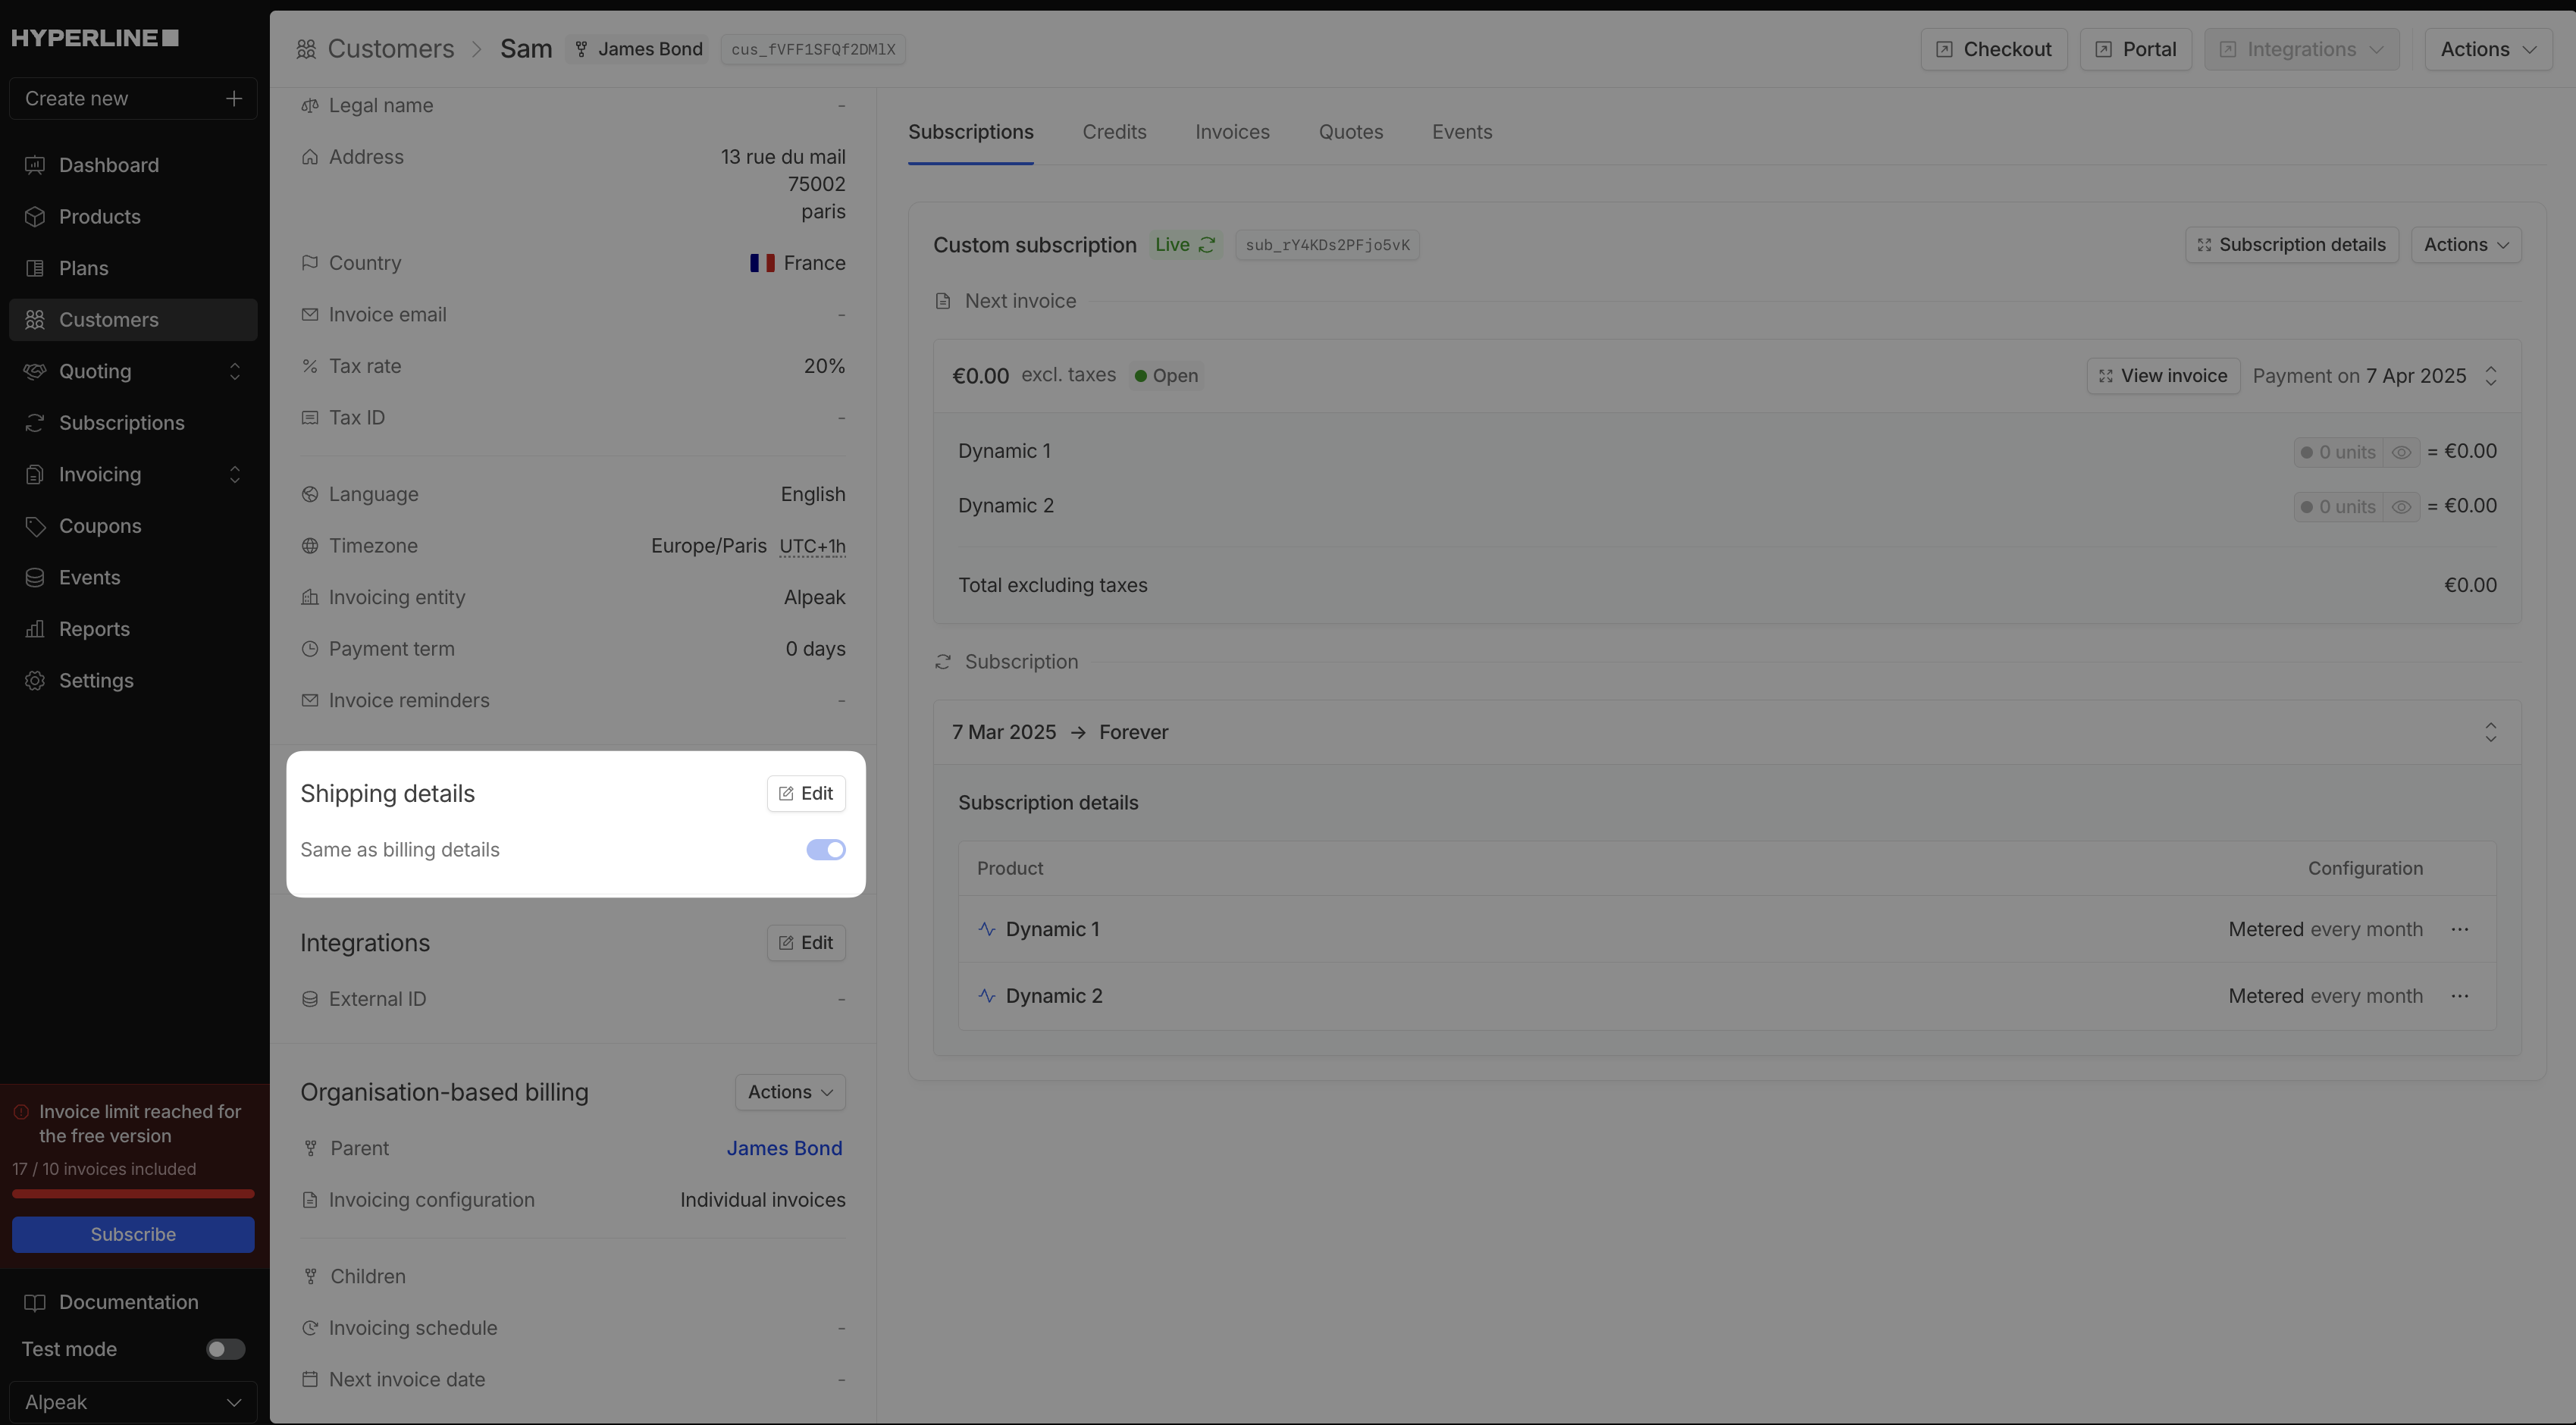
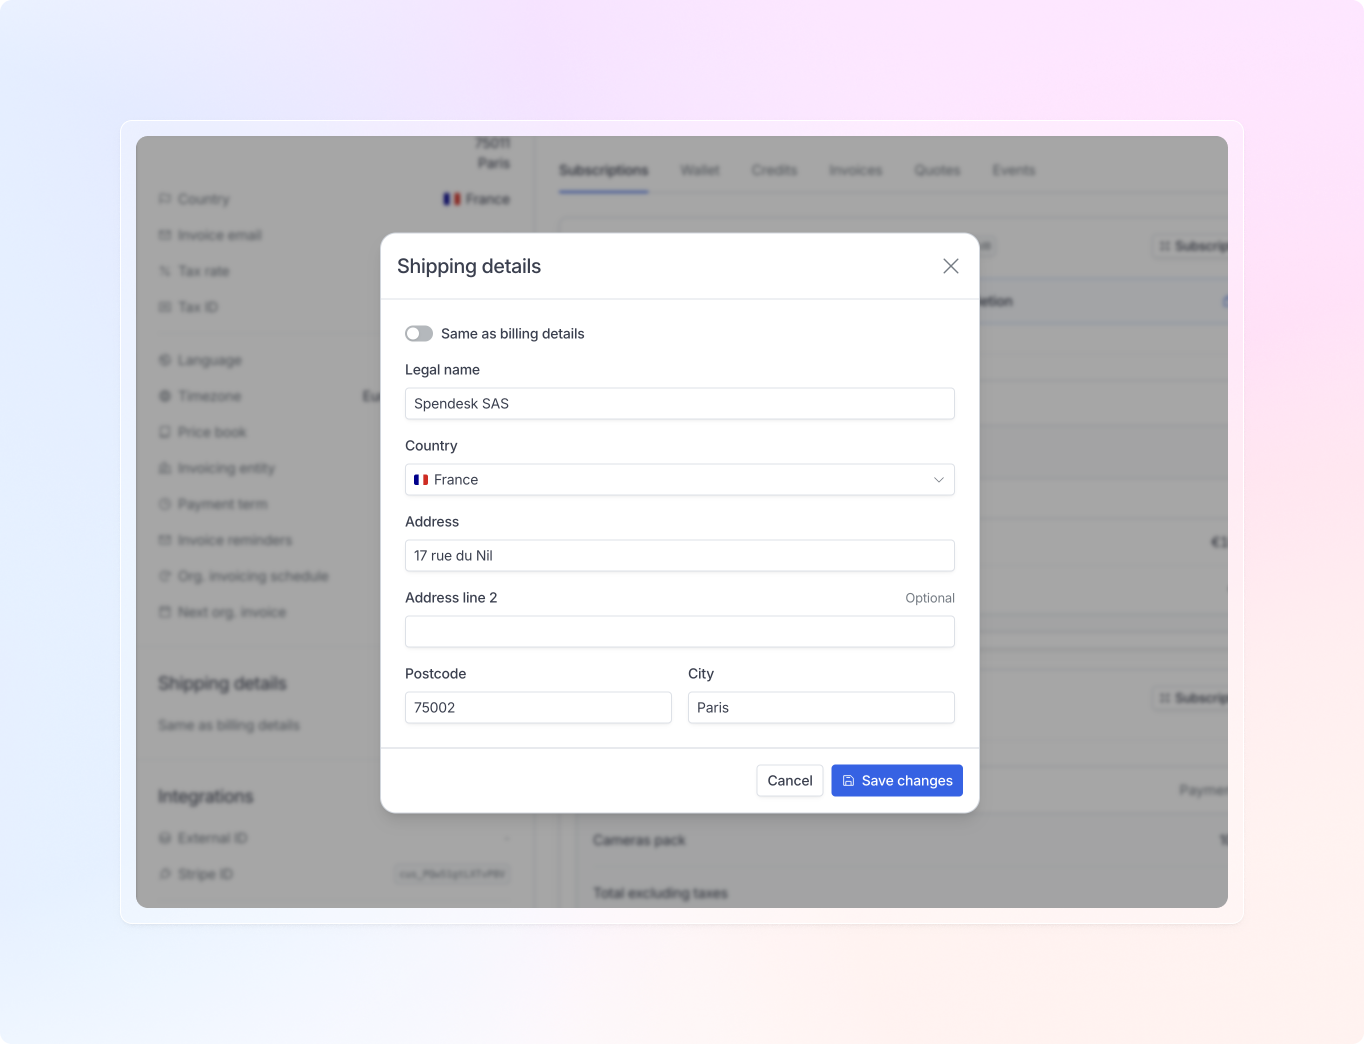 When enabled, your customer will be able to edit the shipping address on the customer portal page.
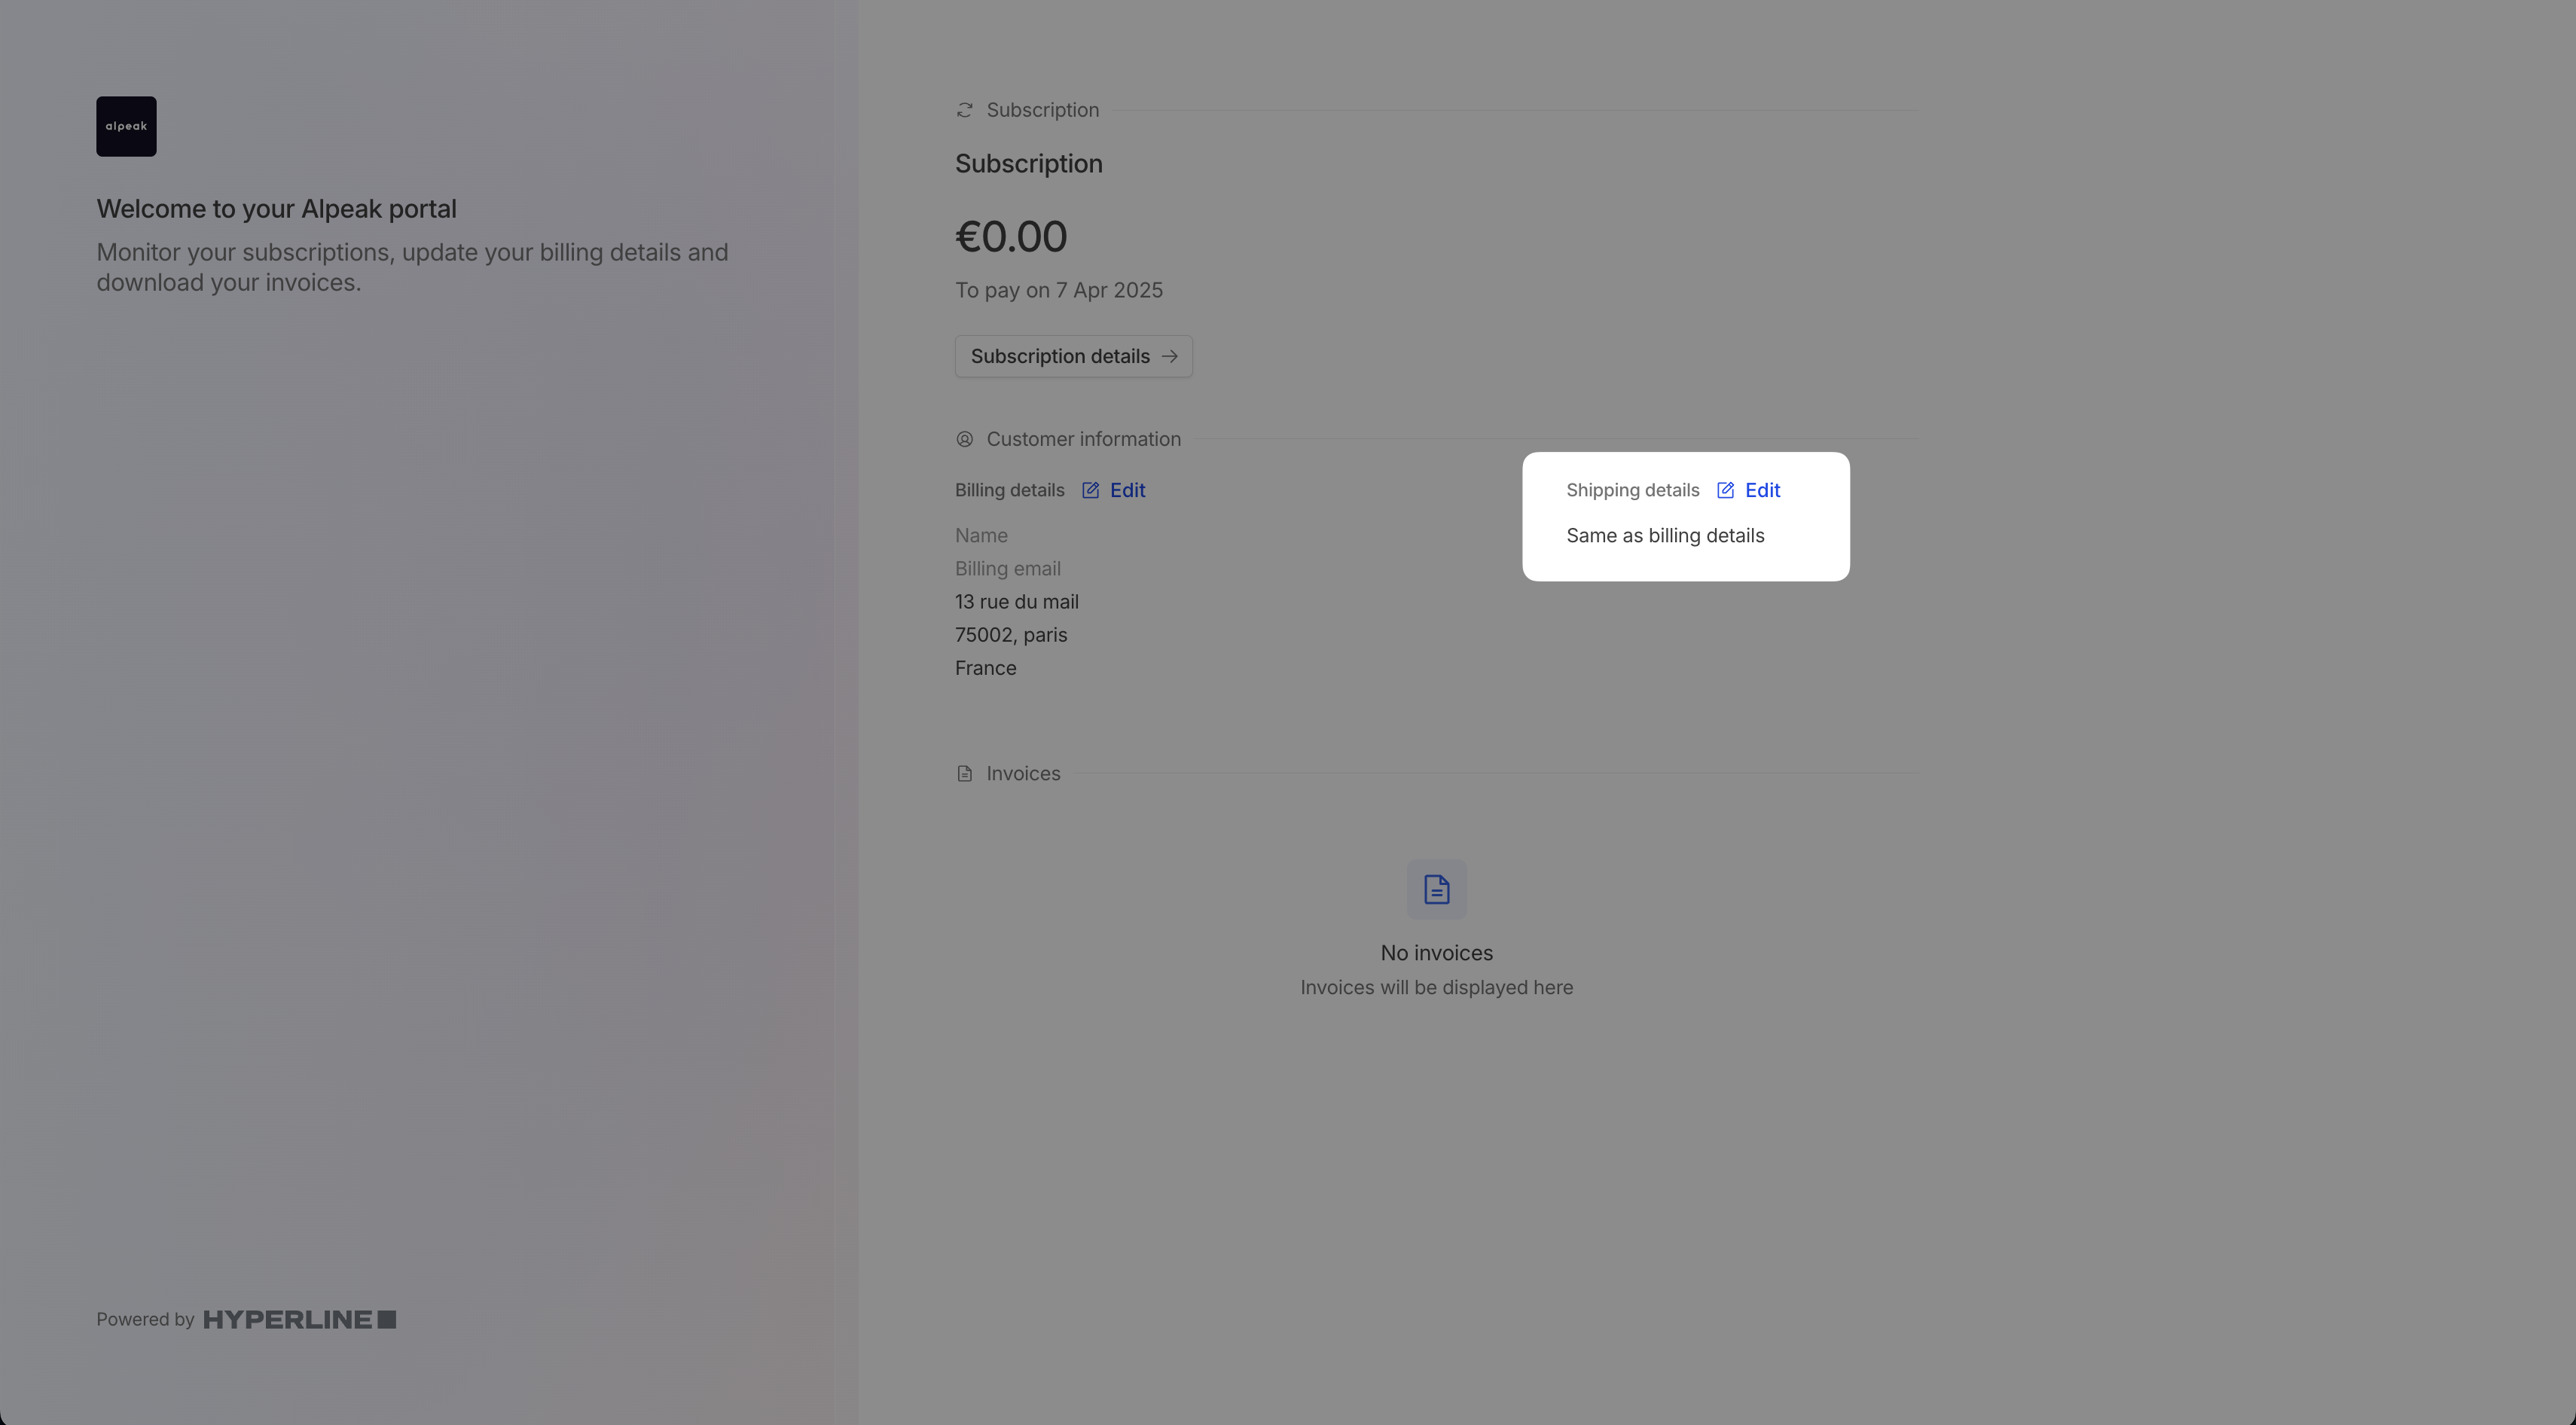 Shipping details can also be displayed in the customer's quotes and invoices.
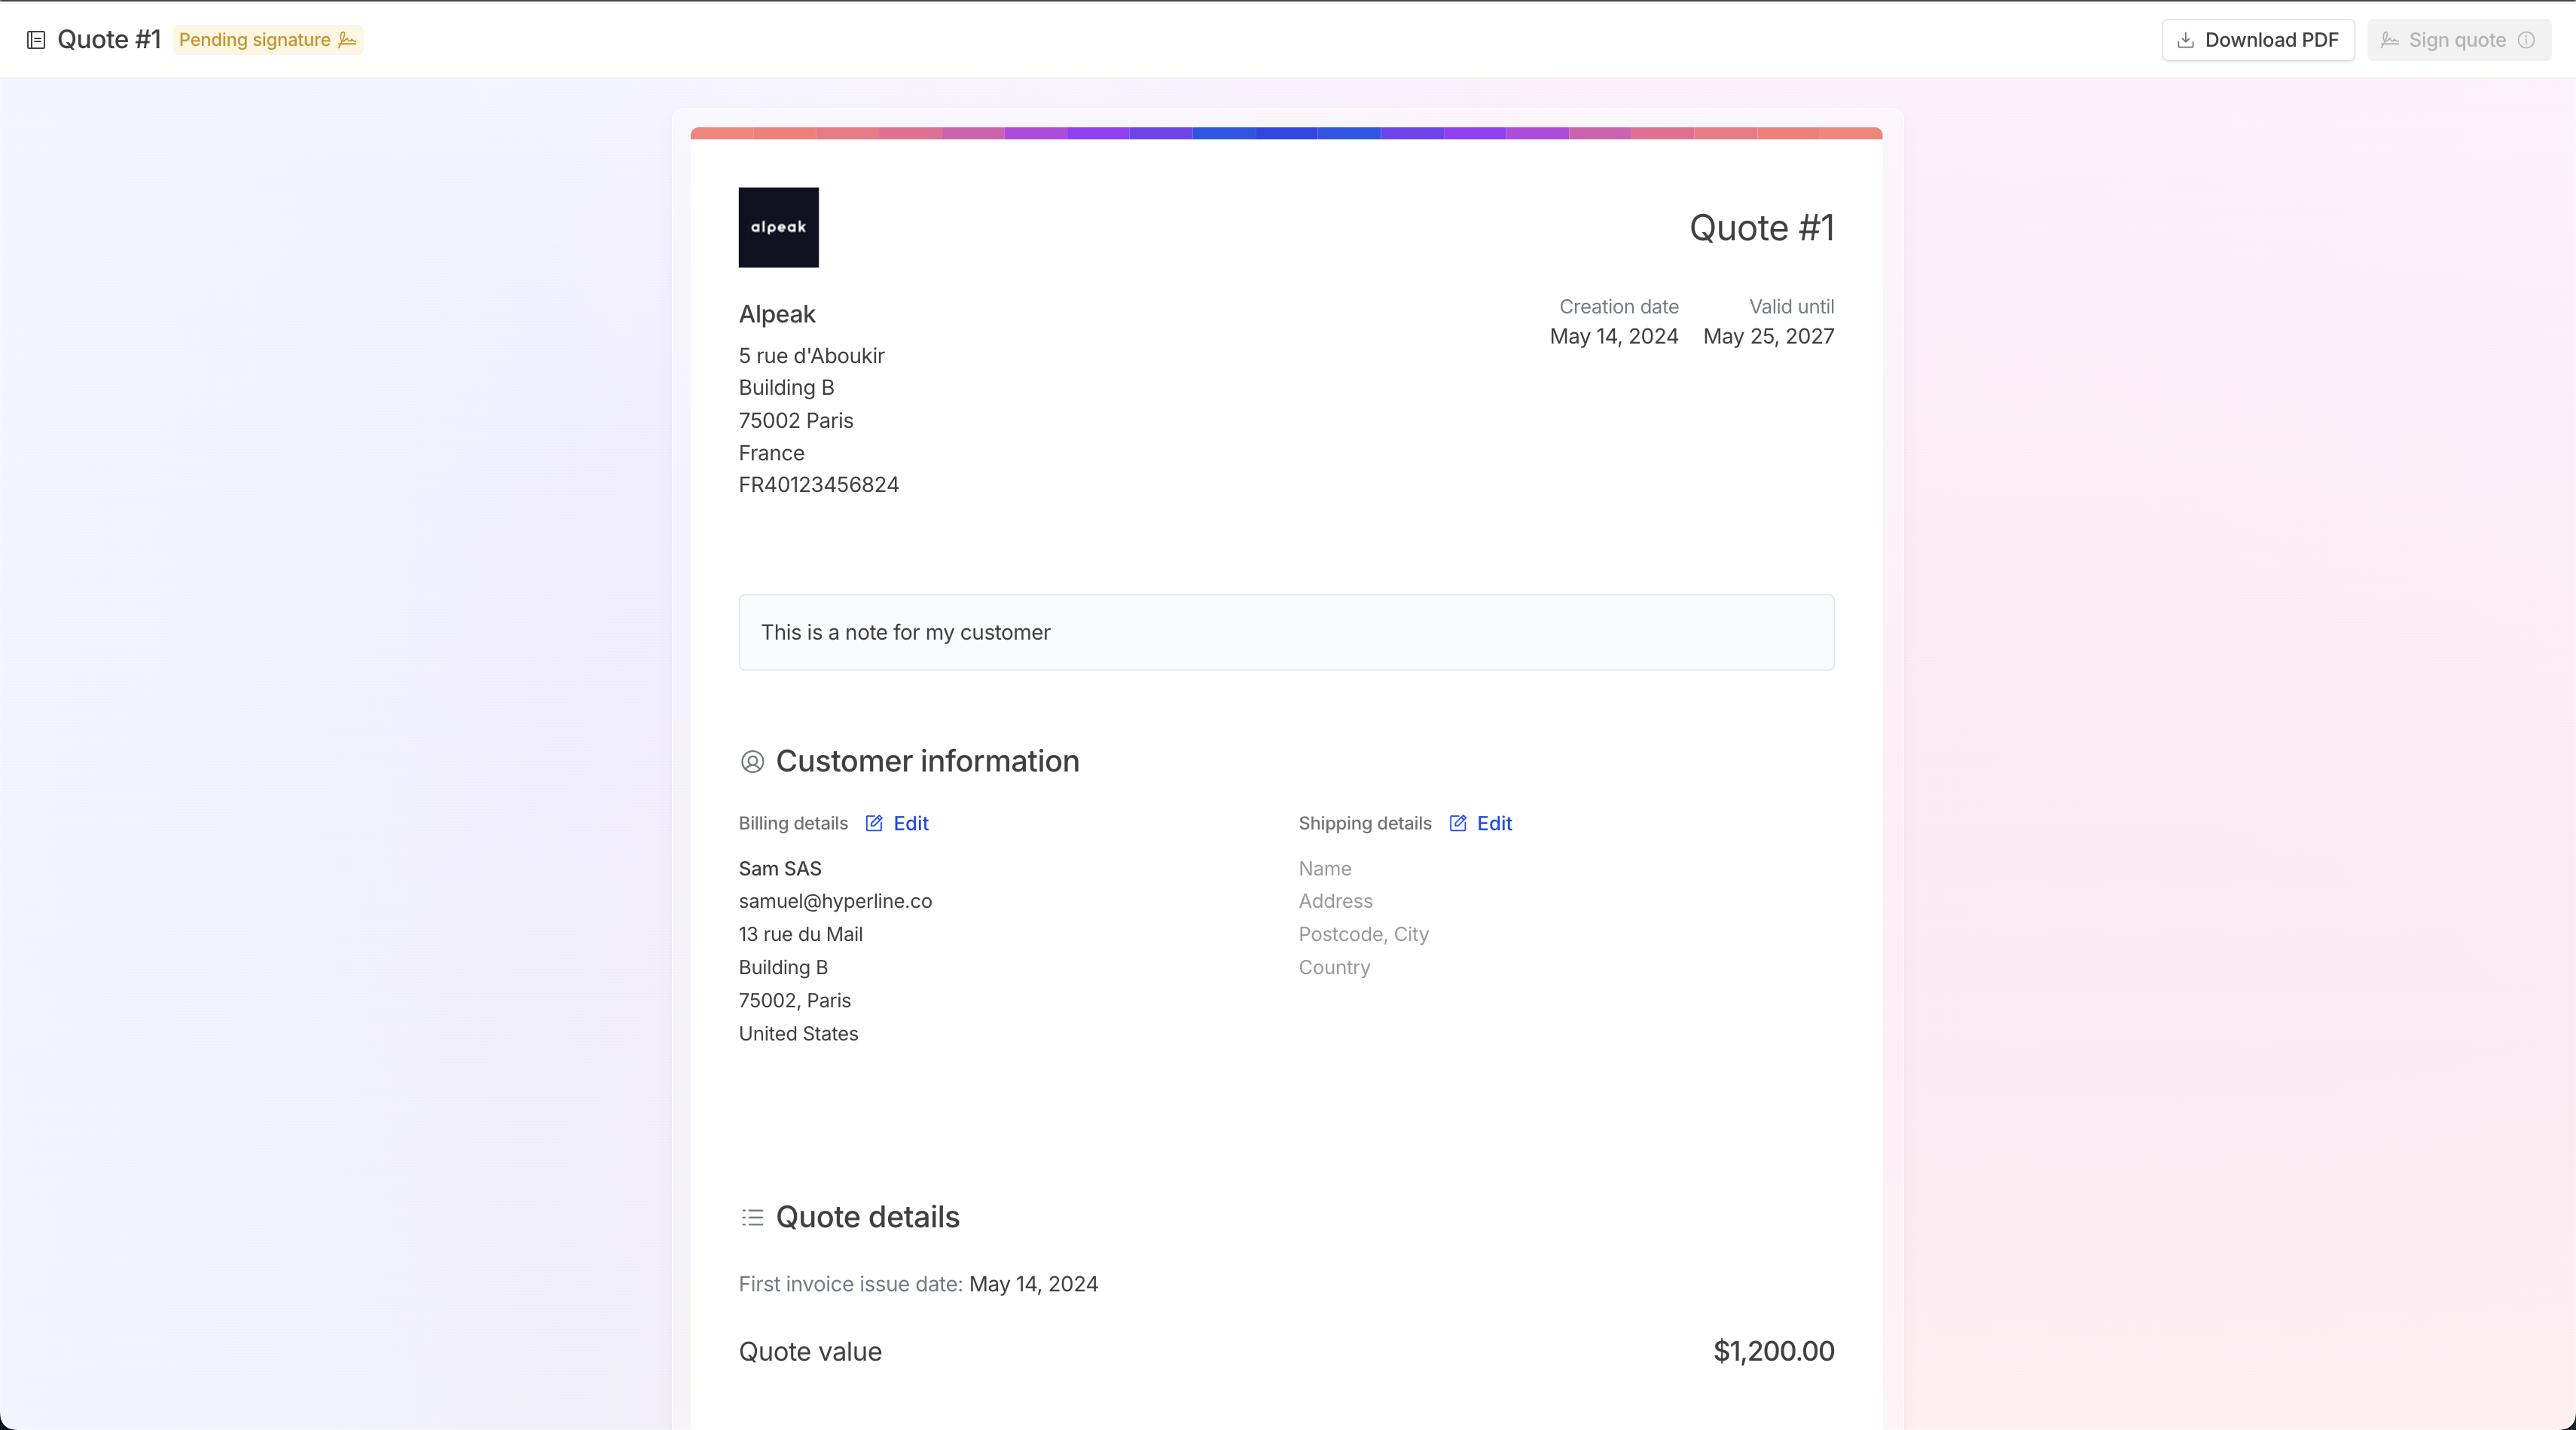
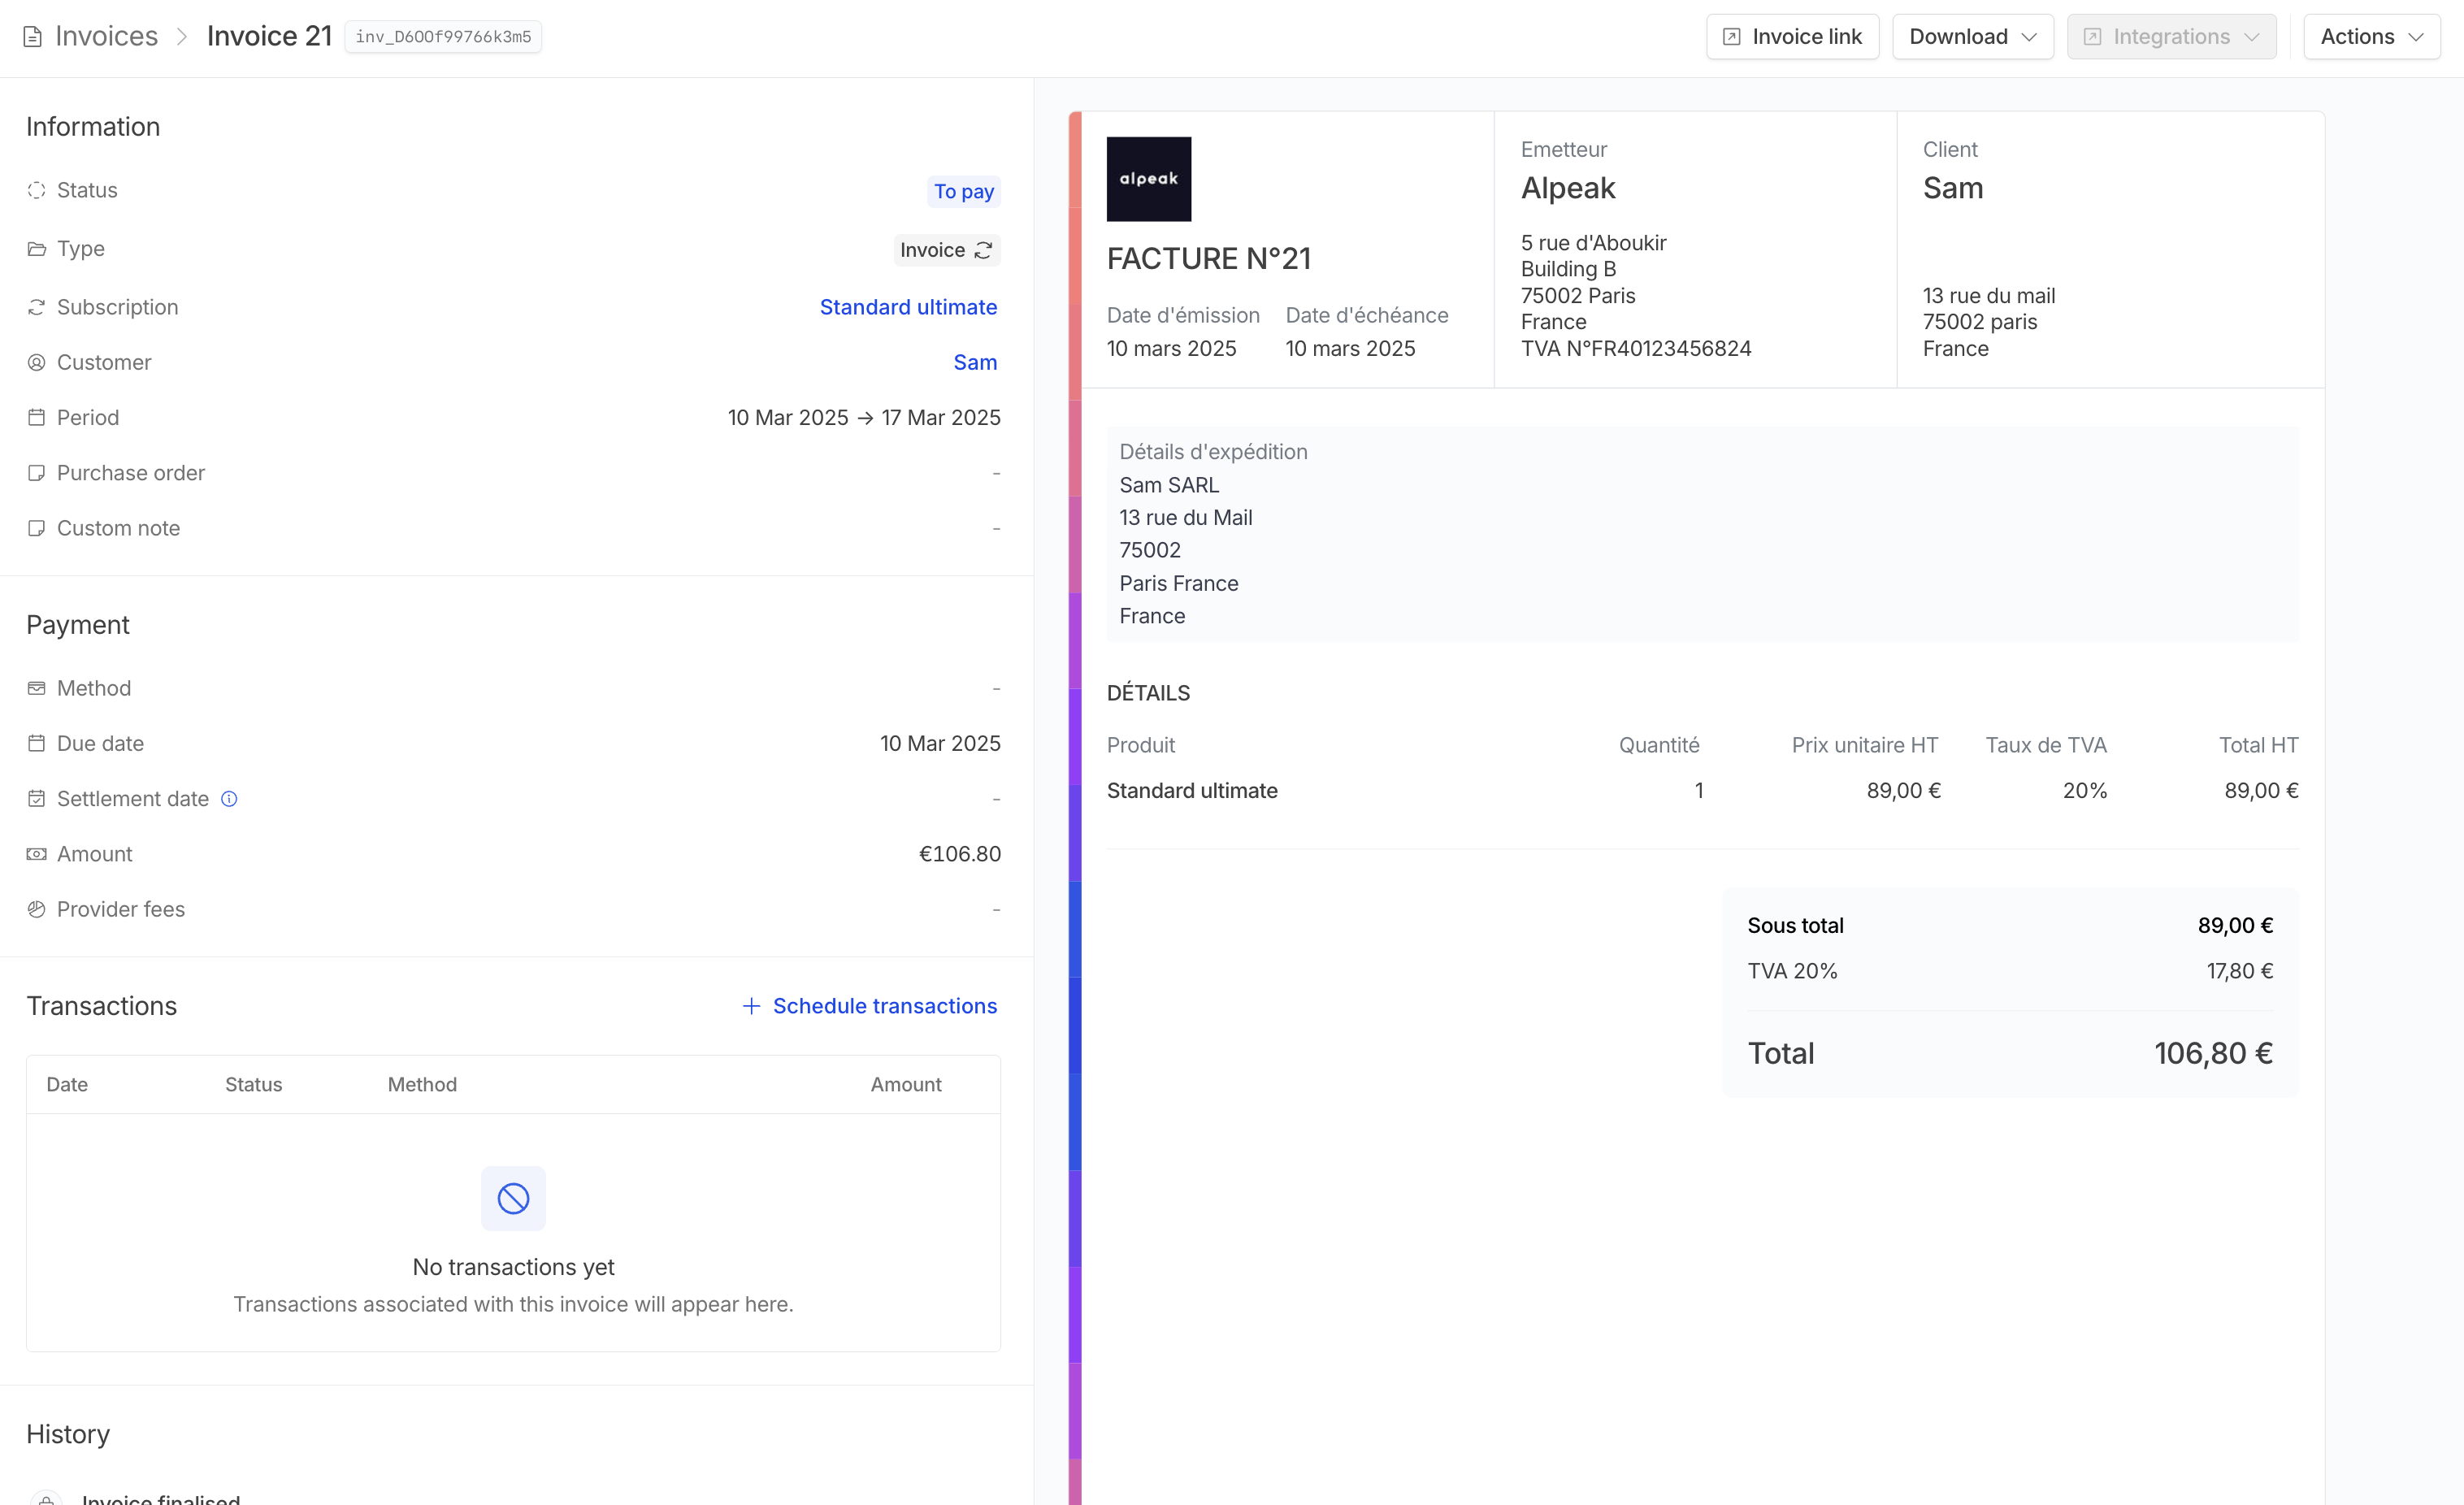 # Customer exports
Source: https://docs.hyperline.co/docs/customers/exports
Learn how to export your customers
If you wish to export your customer data for external analysis, Hyperline provides you with built-in file export within the Customers section.
## Export flow

 After clicking the export button, your customer data will be compiled into a CSV file. Download the file to access a complete export, including customer details, their number of active subscriptions, estimated ARR, and more.
# Organisation-based billing
Source: https://docs.hyperline.co/docs/customers/organisation-based
Learn how to bill customers together
Sometimes you need to bill a group of customers on a single entity without sacrificing the details of each independent account and subscription.
The organisation-based billing feature is available directly from the customer page, where you can attach a customer to another.
## Activate organisation-based billing
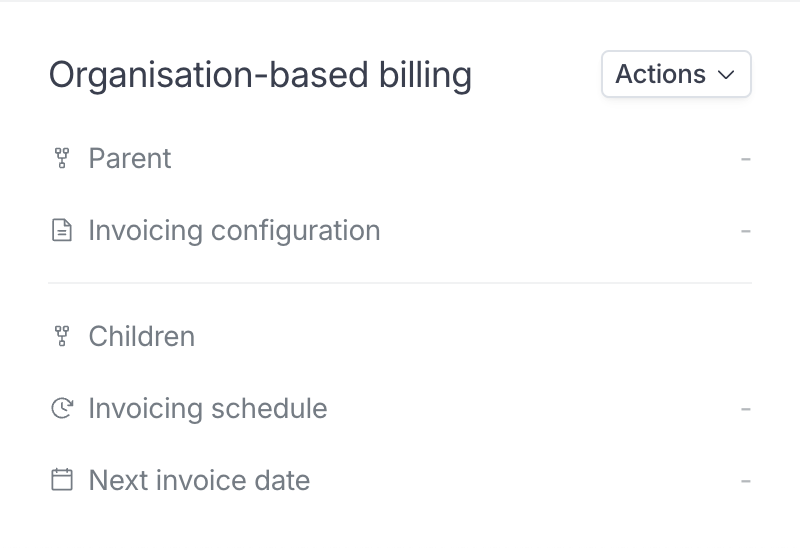 Here, you can see the parent/children relationship and the invoicing
configuration for this customer.
By clicking "Set parent organisation", you'll be able to choose a parent organisation for this customer.
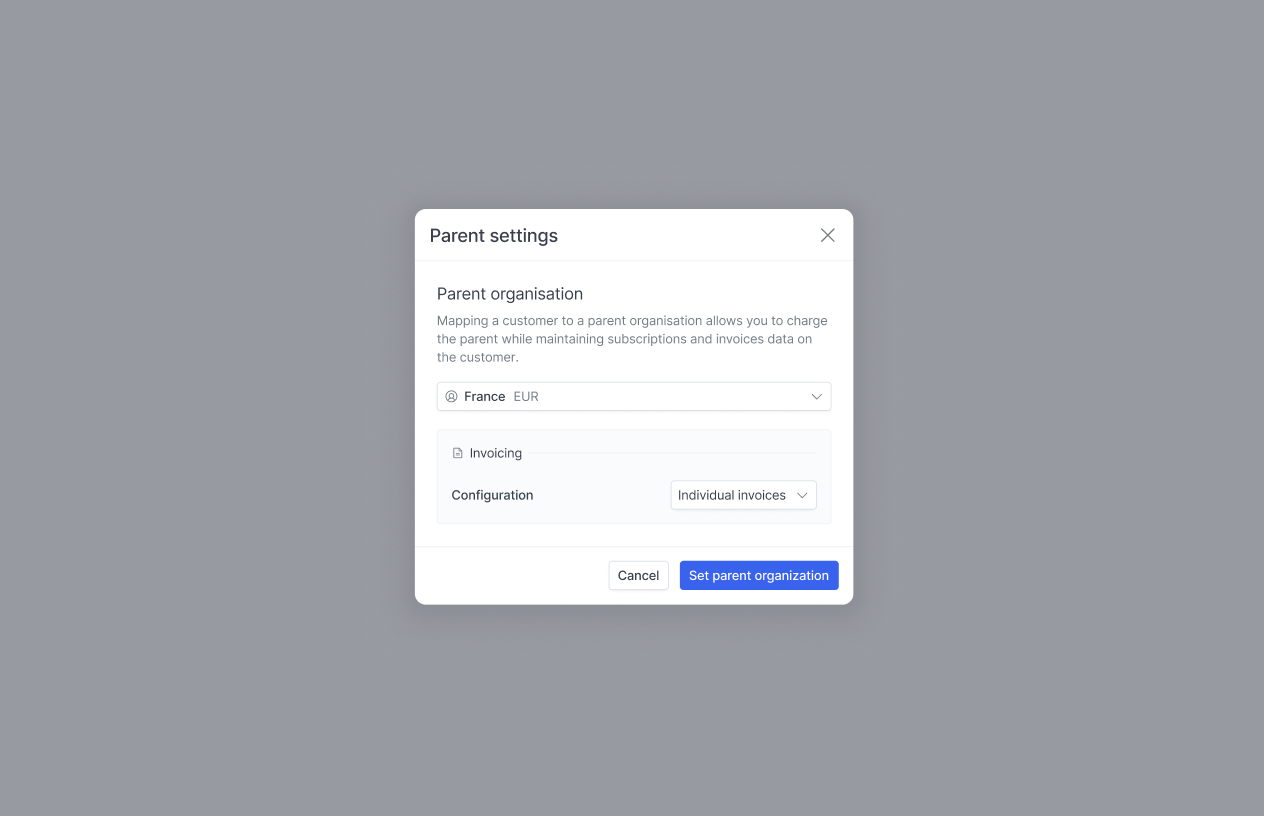 You'll be prompted to choose a parent organisation and then to select an invoicing configuration.
3 options are available at this stage.
* `Individual invoices` will move every invoice for the current customer to the parent and invoice it under the parent configuration while keeping the content identical.
* `Grouped` will set the current customers invoices as pending and concatenate them regularly with other children from the parent. Concatenated invoices will display one line item per children invoice with the original line items listed in description.
* `No change` will attach the child to the parent but will not change any invoicing parameter.
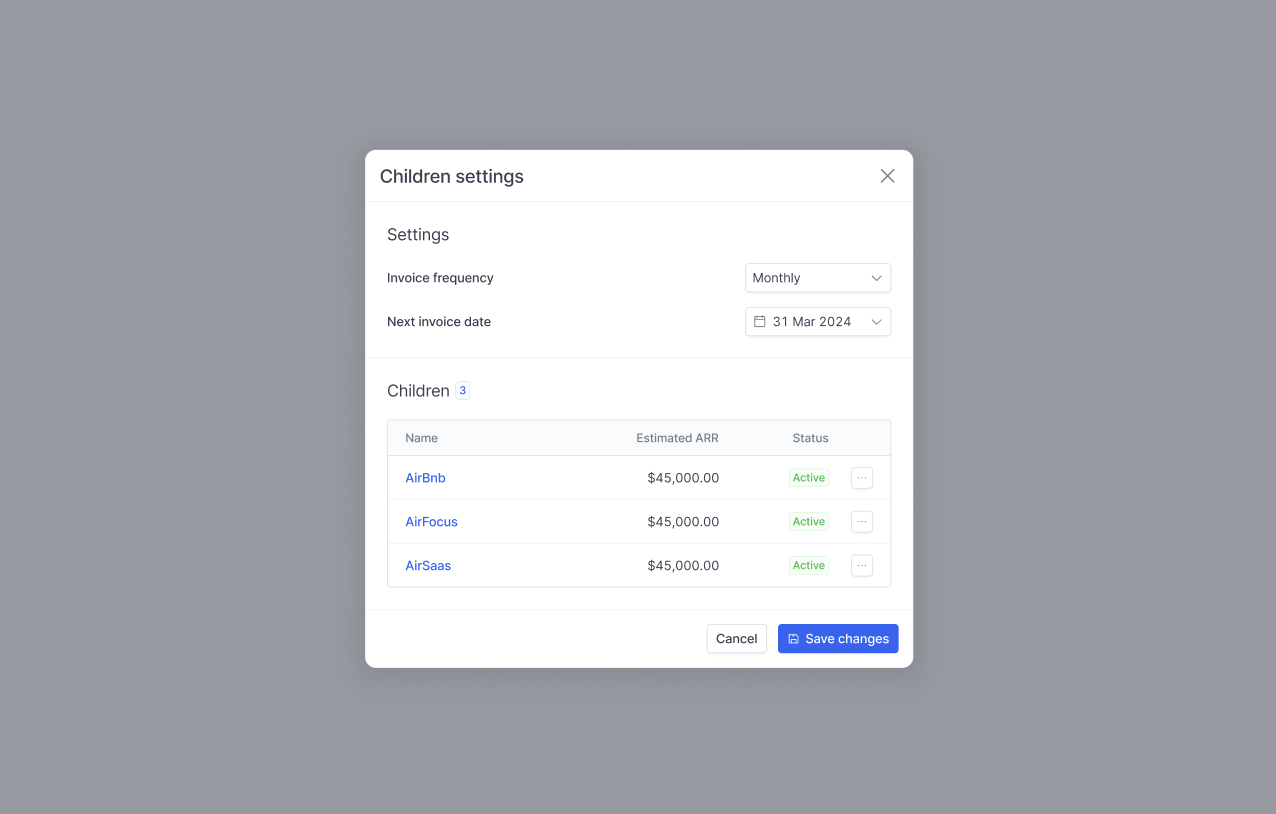 If you have chosen `Grouped` for the child invoicing configuration, you'll need to set the grouping schedule on the parent.
To do this, go to the parent customer page, click on the dots next to "Org. based billing" and select "Children settings".
You'll be able to select a schedule (monthly, quarterly or yearly) and the next invoicing date. From there everything will be automated, but you can adjust the next invoicing date at any time.
 When going to the parent, you will see all the children and the related settings.
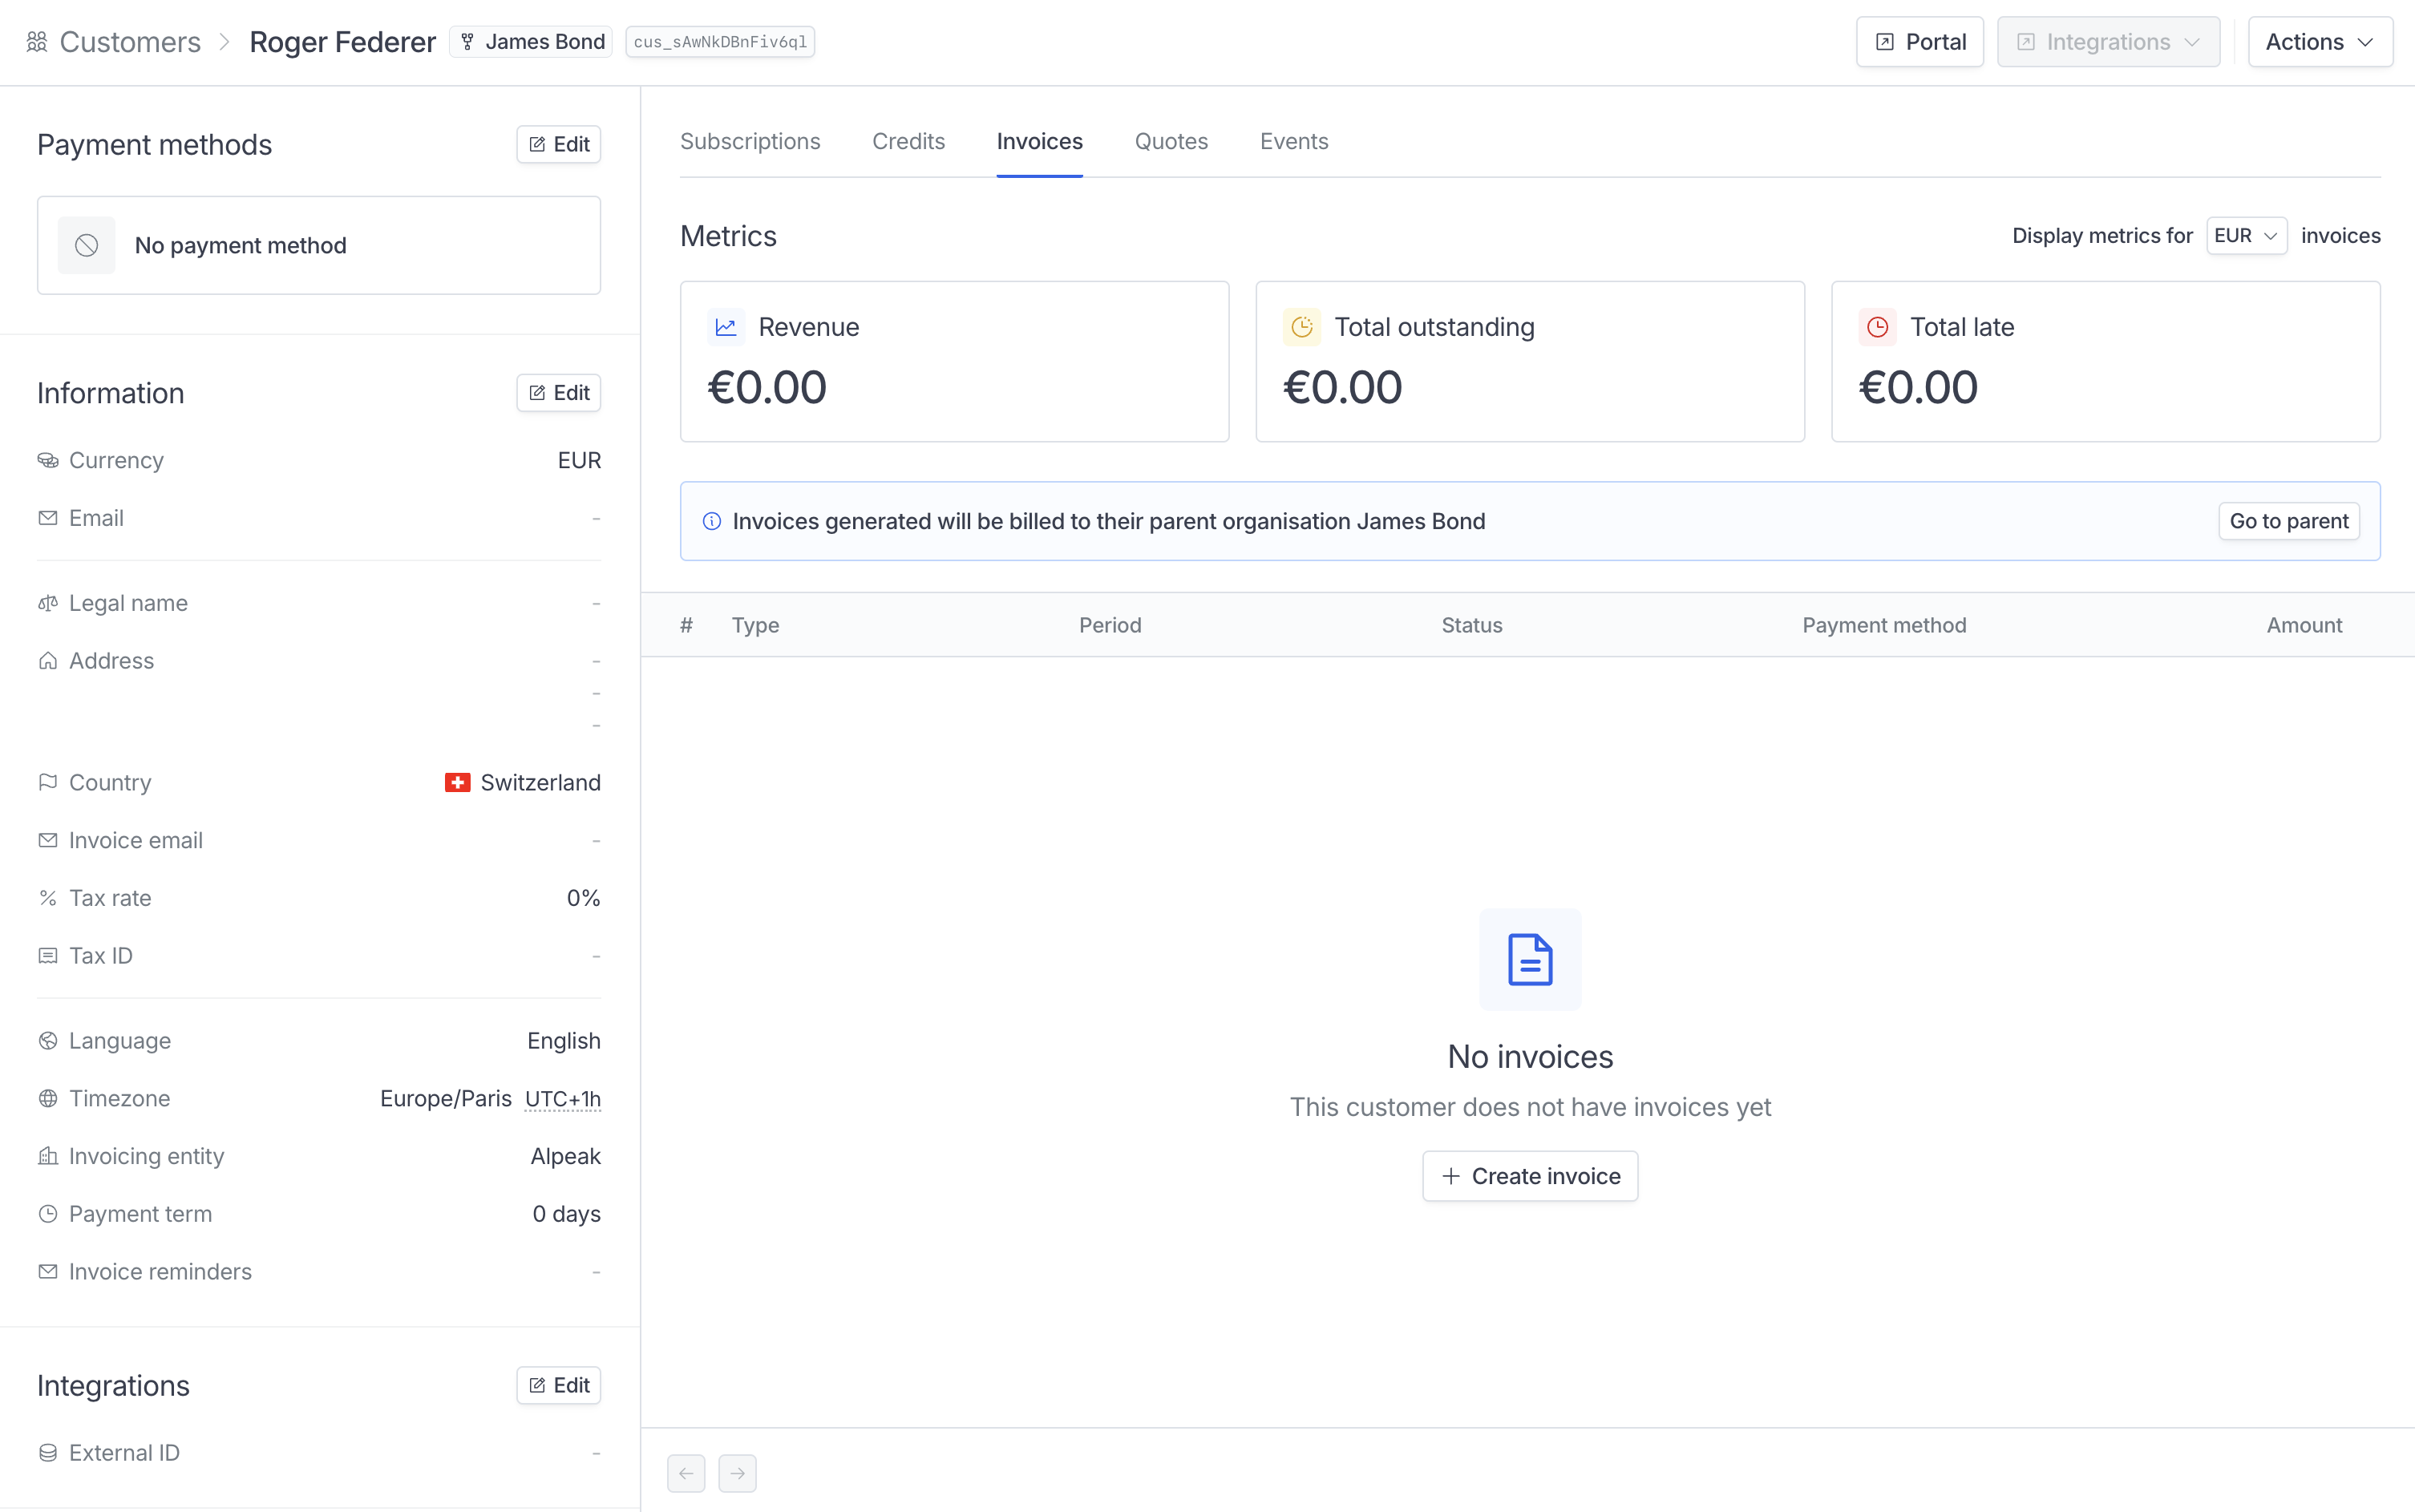 A callout will appear on the invoicing section of the children to inform you that the invoices are being billed to the parent.
## Precisions on organisation-based billing
**Payment methods**
If a customer is billed through a parent, Hyperline will use the parent payment method configuration to process the payment. So for instance if the child customer is connected to Stripe and has a credit card on file, we won't use it.
**See child invoices**
When an invoice from a child is reported to a parent, Hyperline keeps a document specific to the children to make tracking and audits easier.
These documents have the status `Charged on parent` and are kept in the child "Invoices" tab.
If a child invoice is pending a parent grouped invoicing, it will have the status `Pending parent concat`.
**Remove a child company from its parent**
In the modal where you linked the child company to its parent, a red button has appeared. If you click on this button, the child company will be removed from the parent and any future invoice will stay on the child.
Invoices with the status `Pending parent concat` will move back to the child to get processed.
# Public customer portal
Source: https://docs.hyperline.co/docs/customers/portal
Learn about the hosted customer portal page
## Overview
Hyperline offers a customer portal where your customers can get access to their live subscription, payment methods, billing information and invoices. Our objective is to ensure a transparent and well-organized billing summary to offer to your own customers.
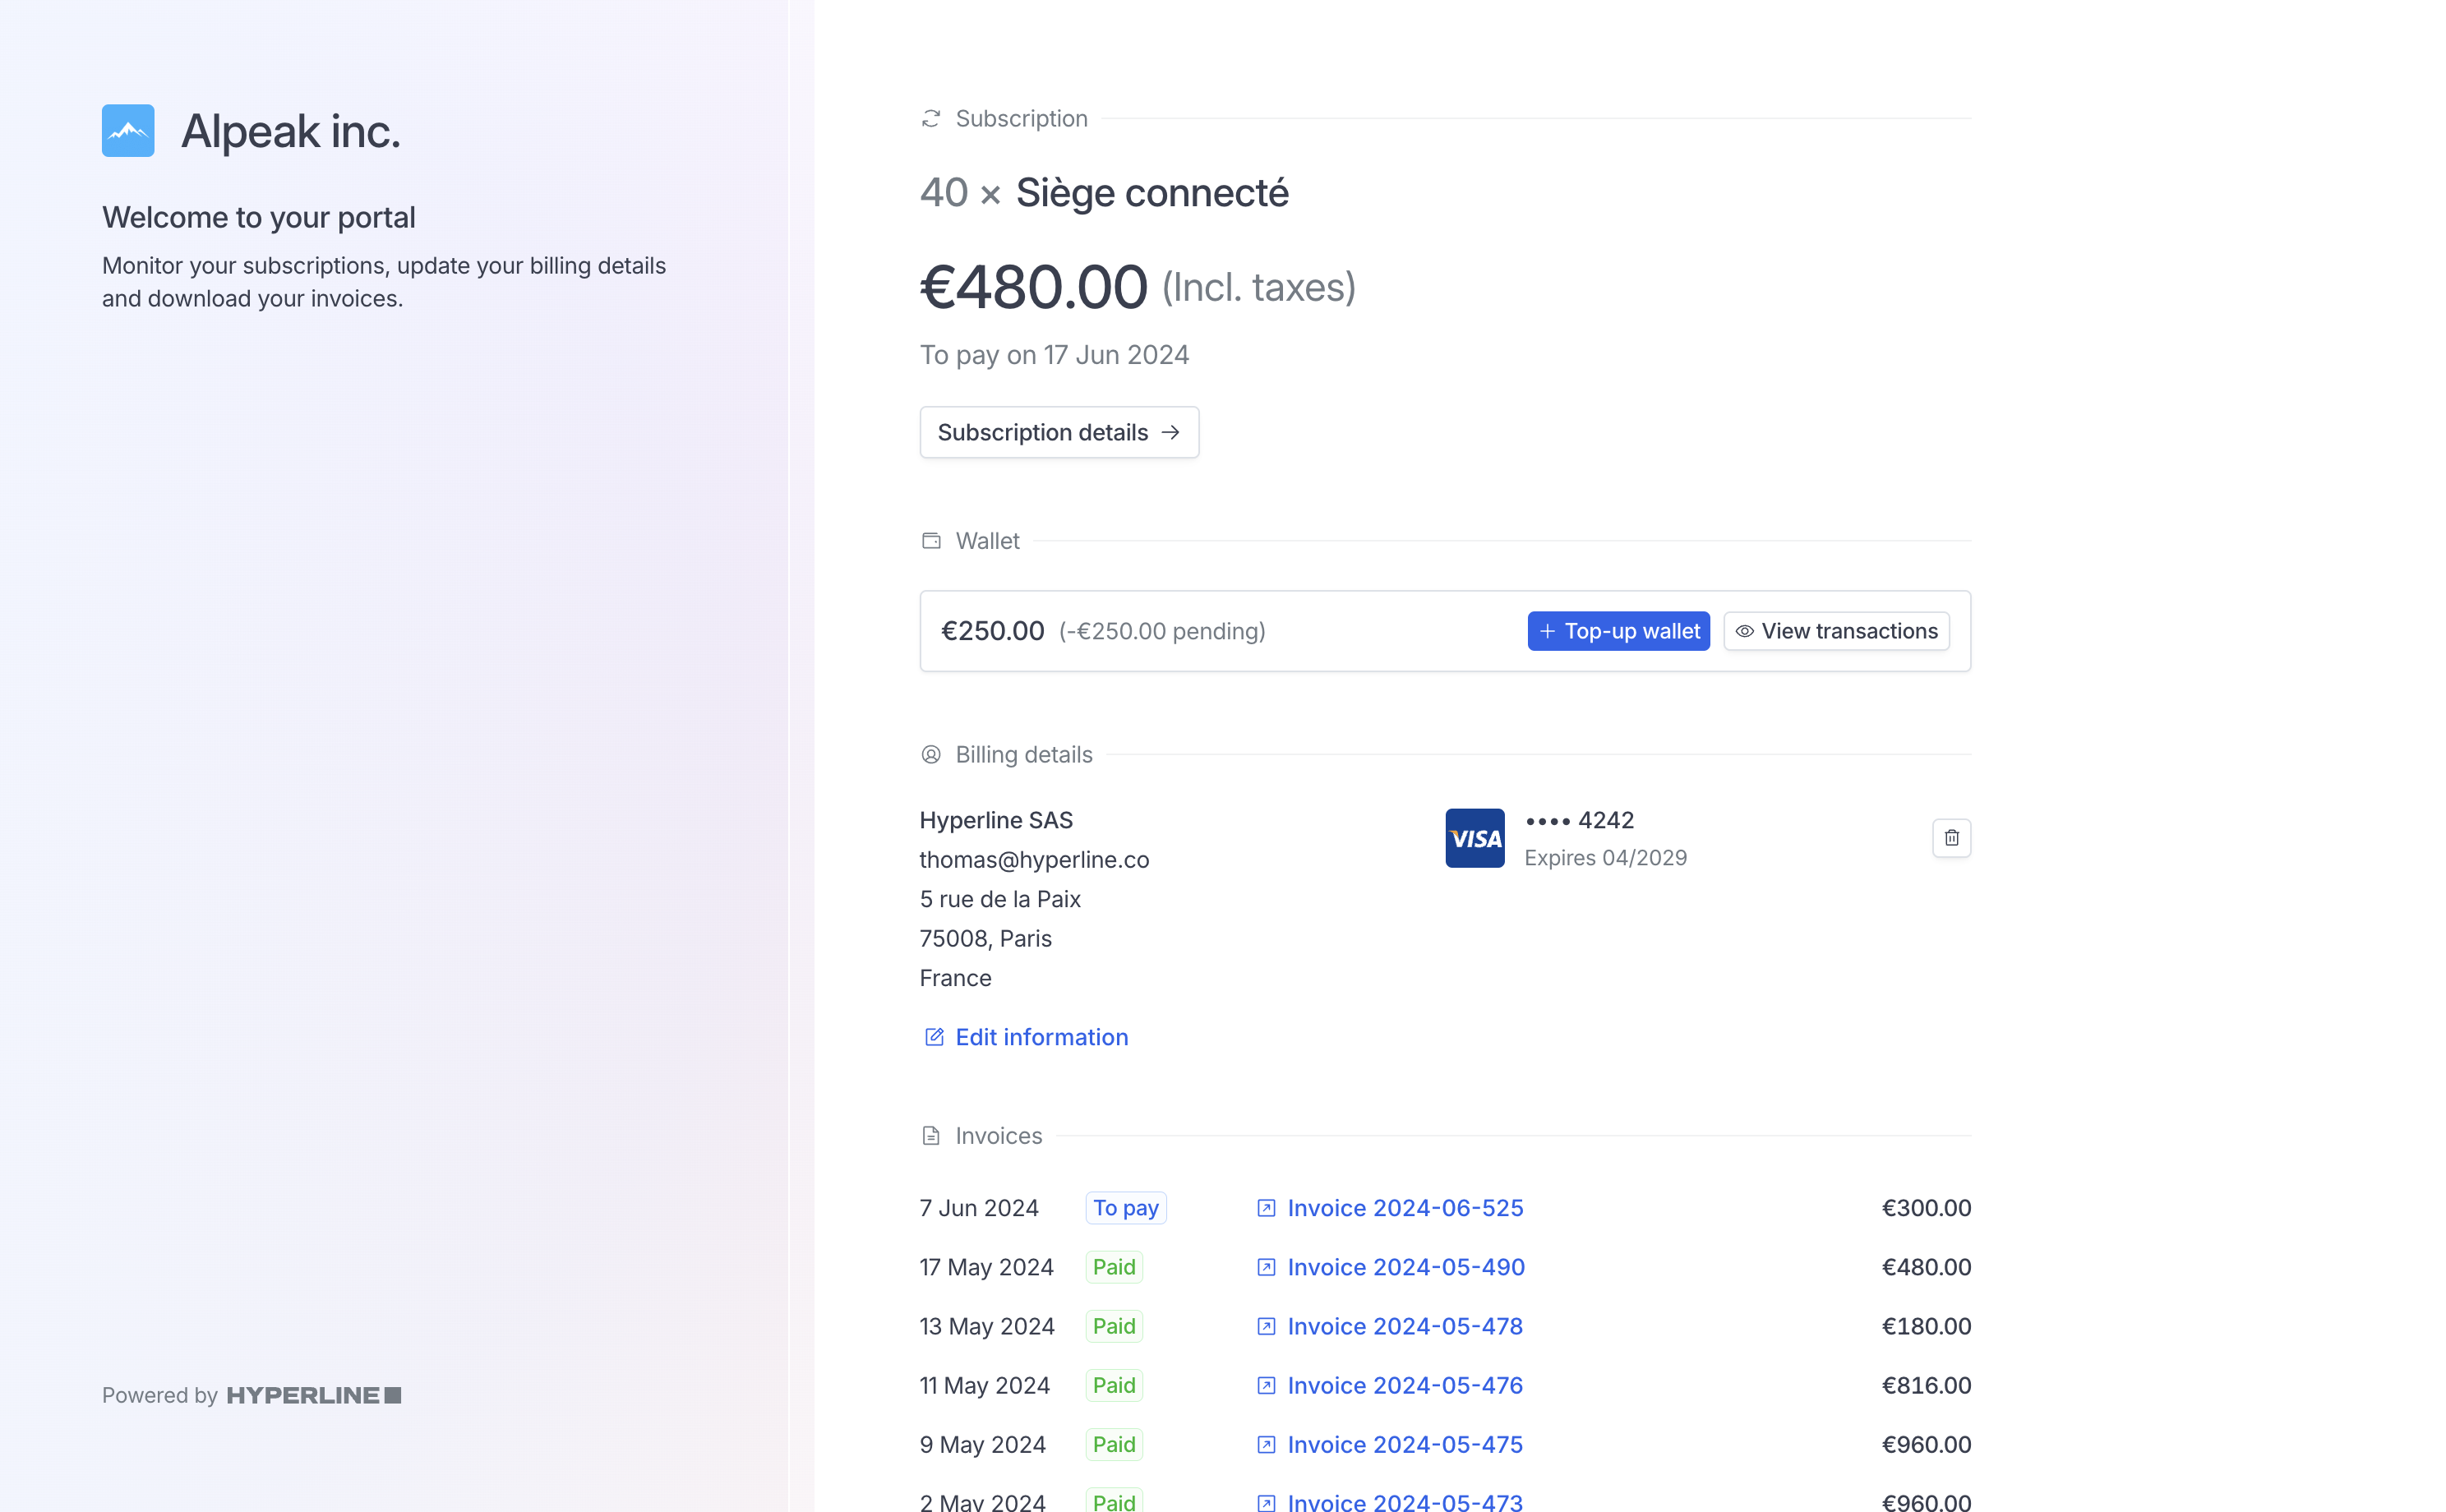 As well as displaying information correctly, this portal offers a number of action options for your customers:
#### Portal language
The language will be displayed following these rules:
* If the customer's browser language is part of our 9 supported languages (English, French, German, Italian, Spanish, Polish, Portuguese and Dutch), it will be displayed in the language.
* If it is not part of the supported languages, we will default on the customer language selected on Hyperline customer information. By default, this language is inferred based on the customer's country.
#### View subscription details
Customers can access the full details of their subscription by clicking on 'Subscription details' on the portal.
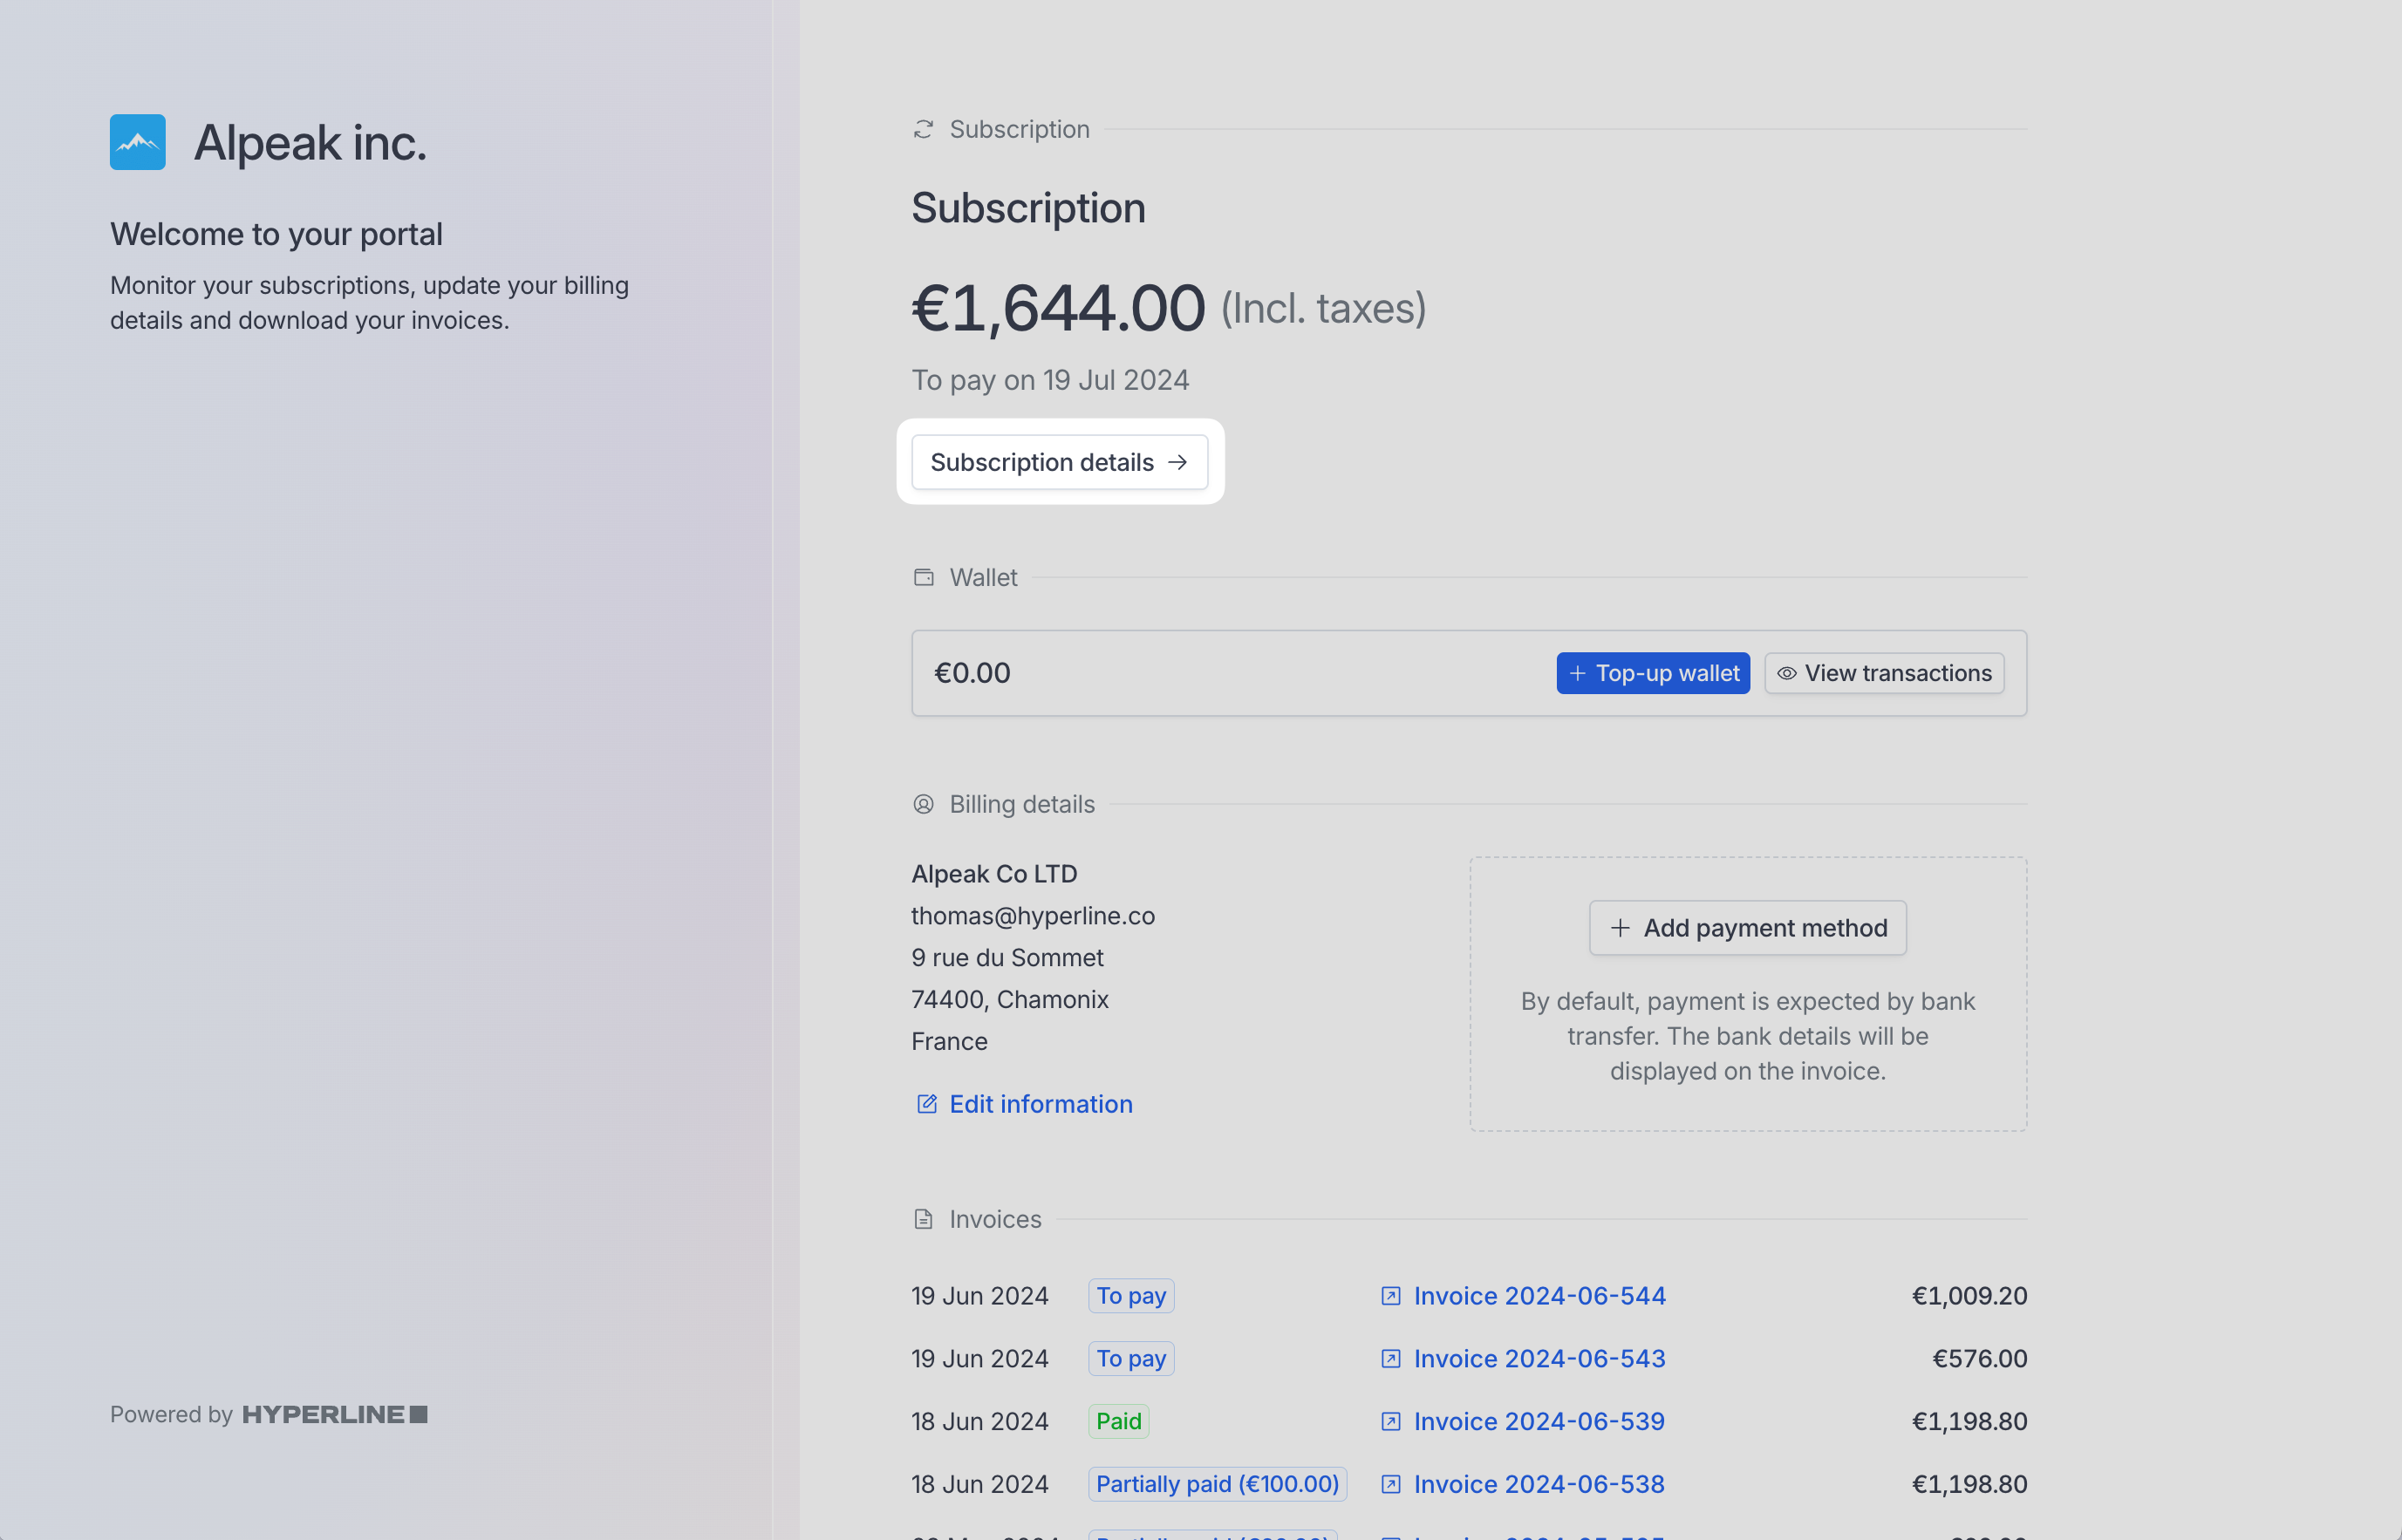 This sub-page will display the content of the next invoice that will be billed, as well as the detailed price structure of every product.
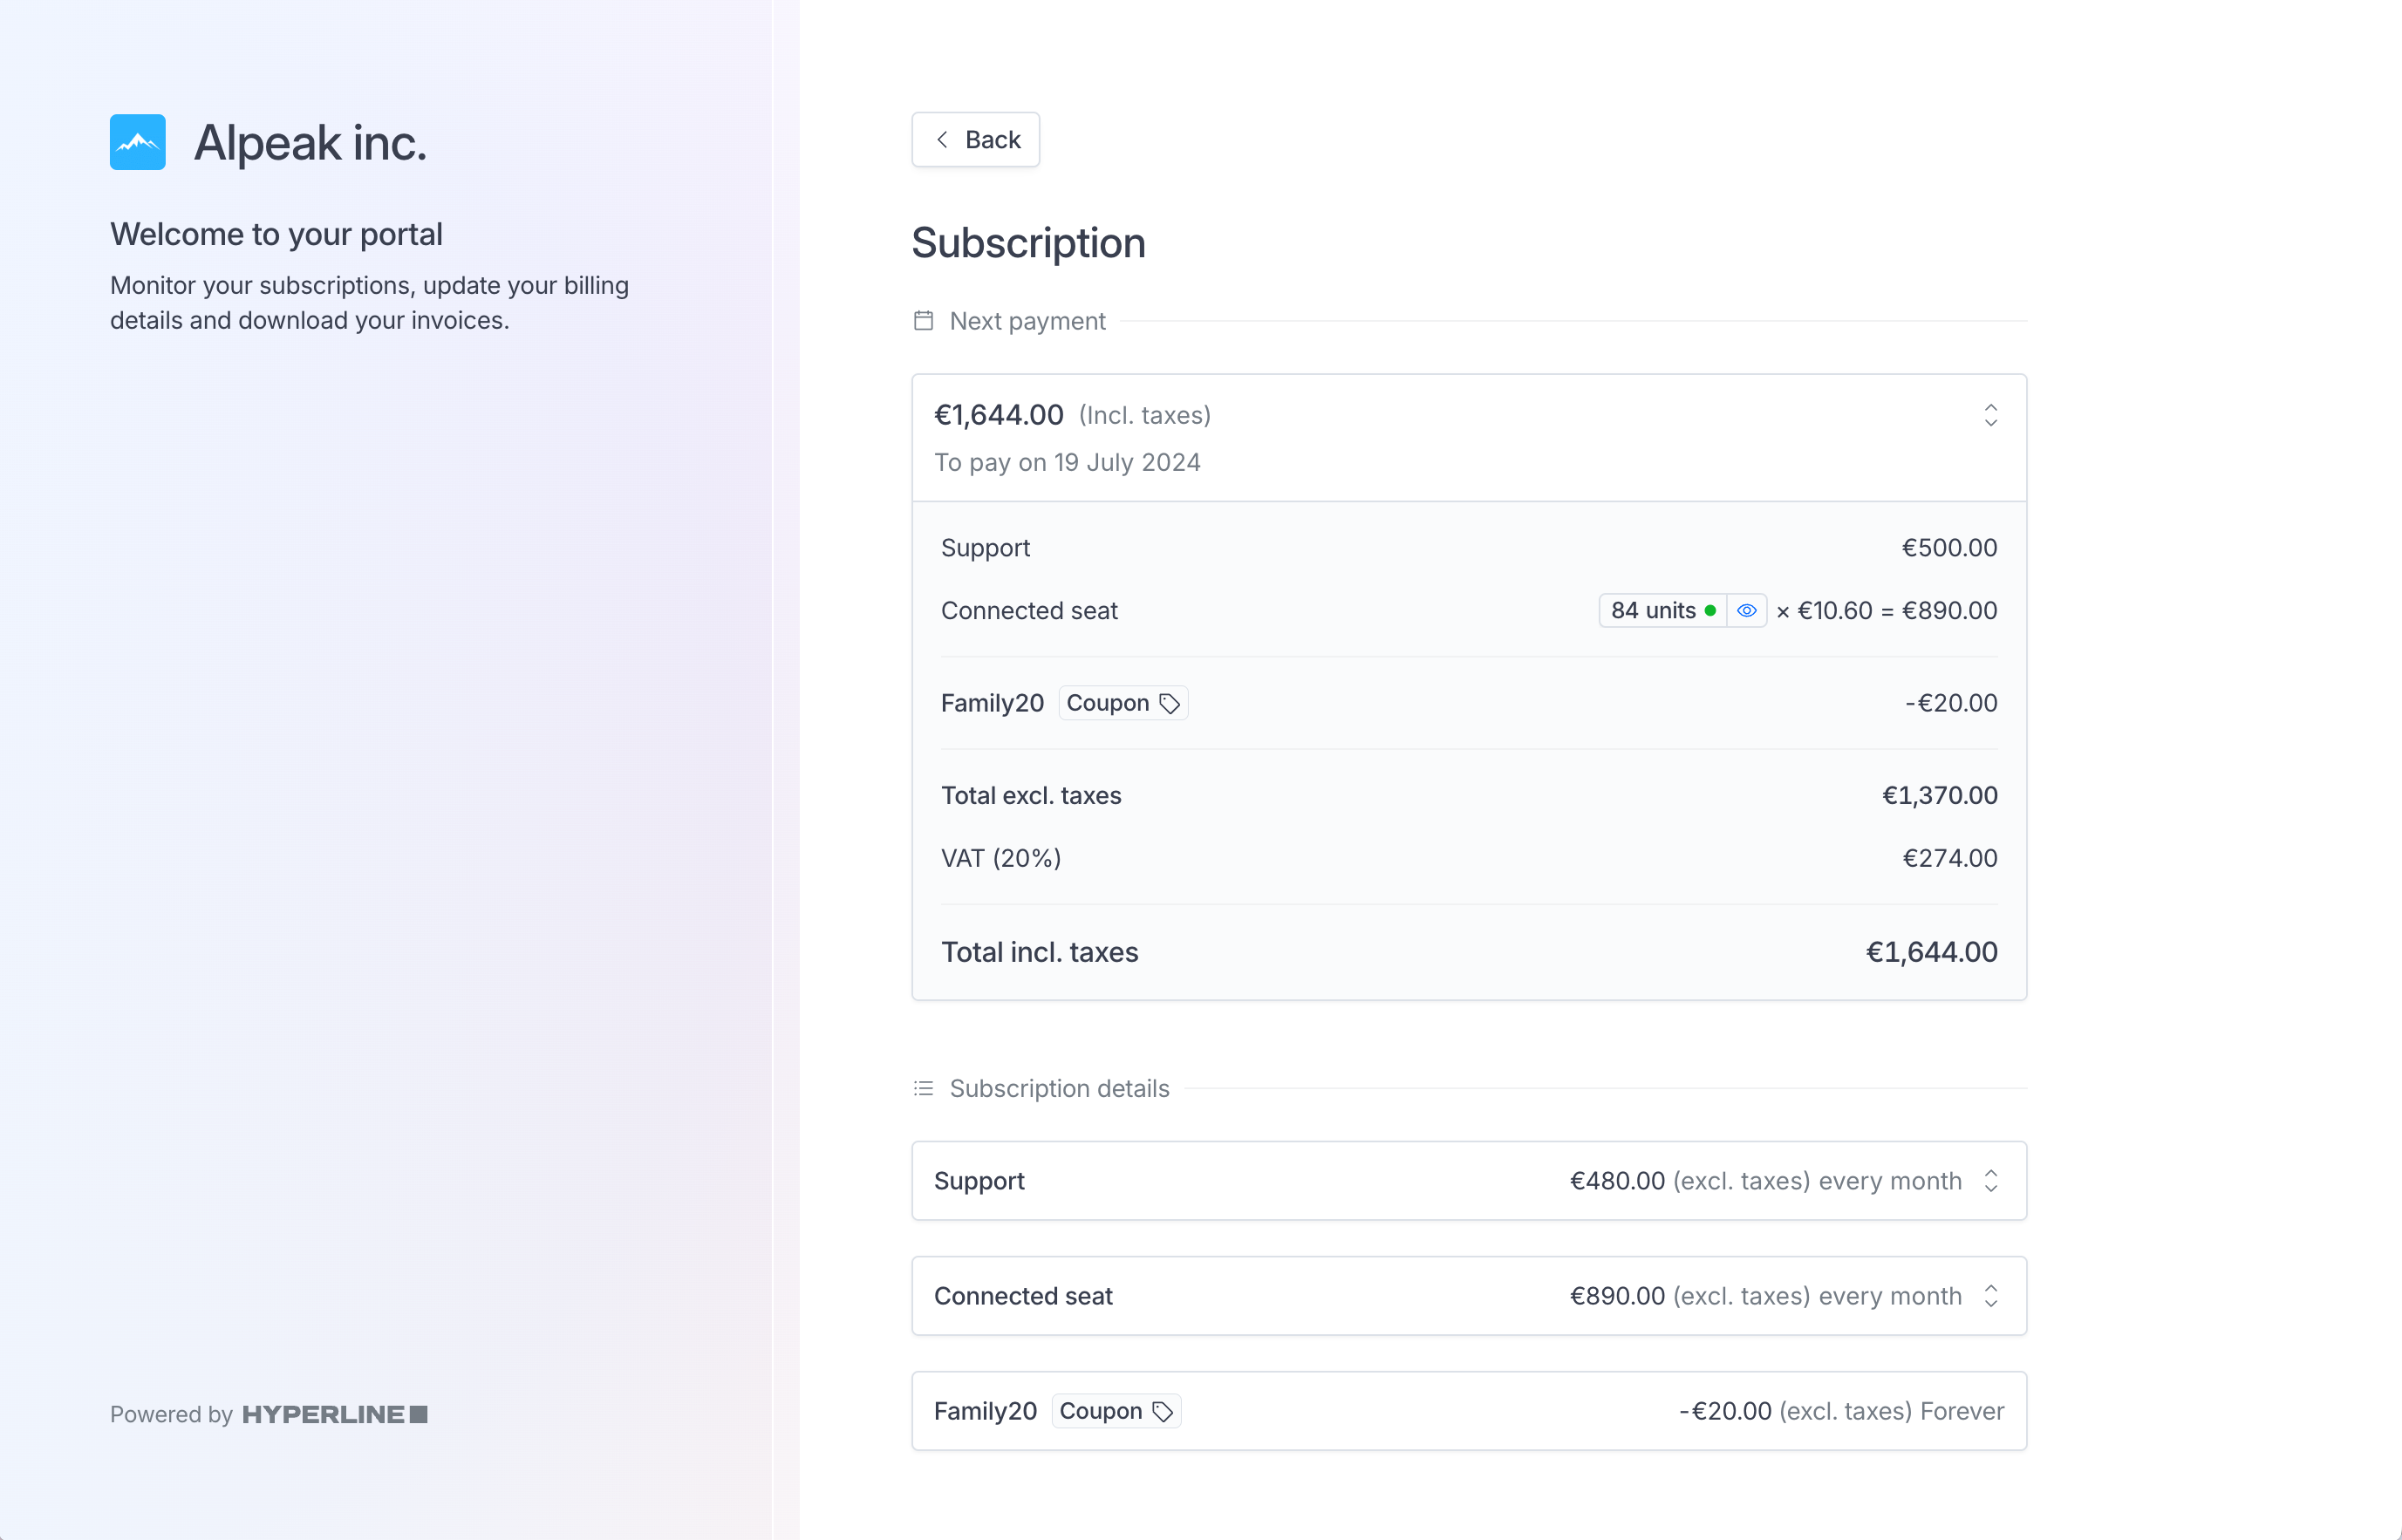 #### Change payment method
To do that, they just have to click on the trash button next to their payment and add the new payment method they want to use.
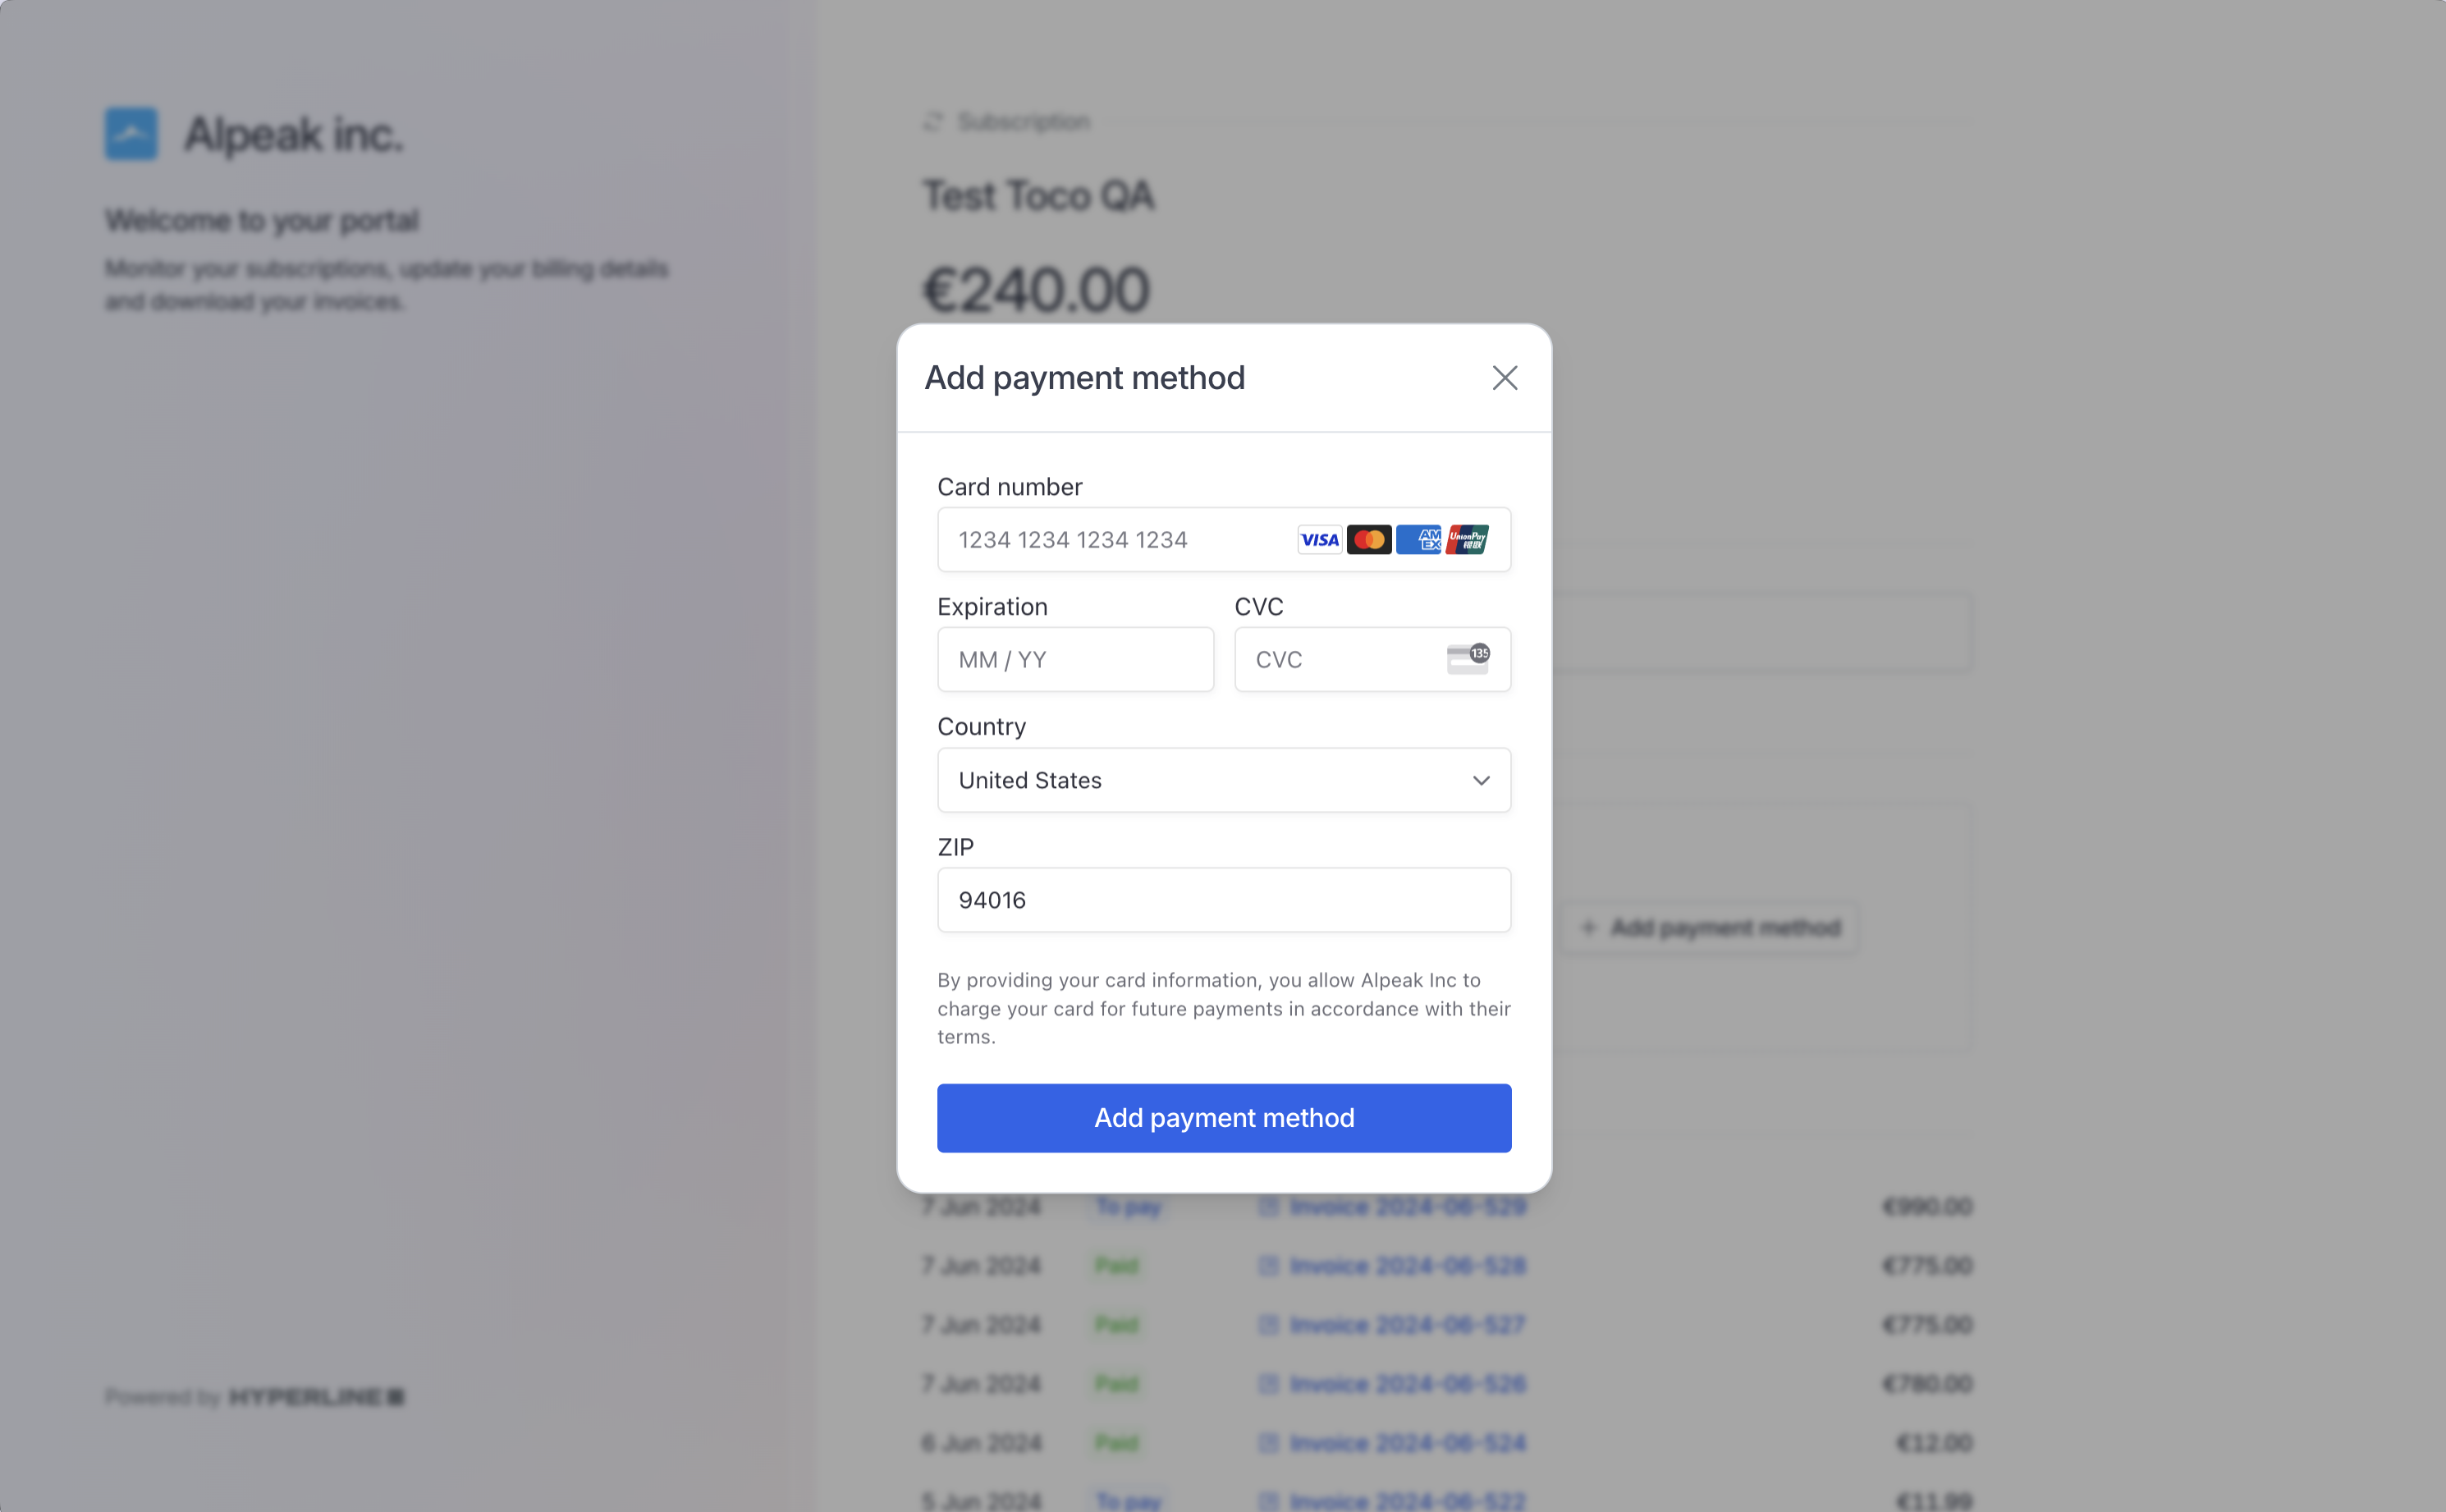 #### Top-up wallet
You can make your customers autonomous by offering them to top-up their wallet in the portal. For this, make sure you enable the option on the wallet settings first.
Clicking on Top-up wallet on this screen will trigger an immediate payment from the registered credit card and credit the wallets instantly.
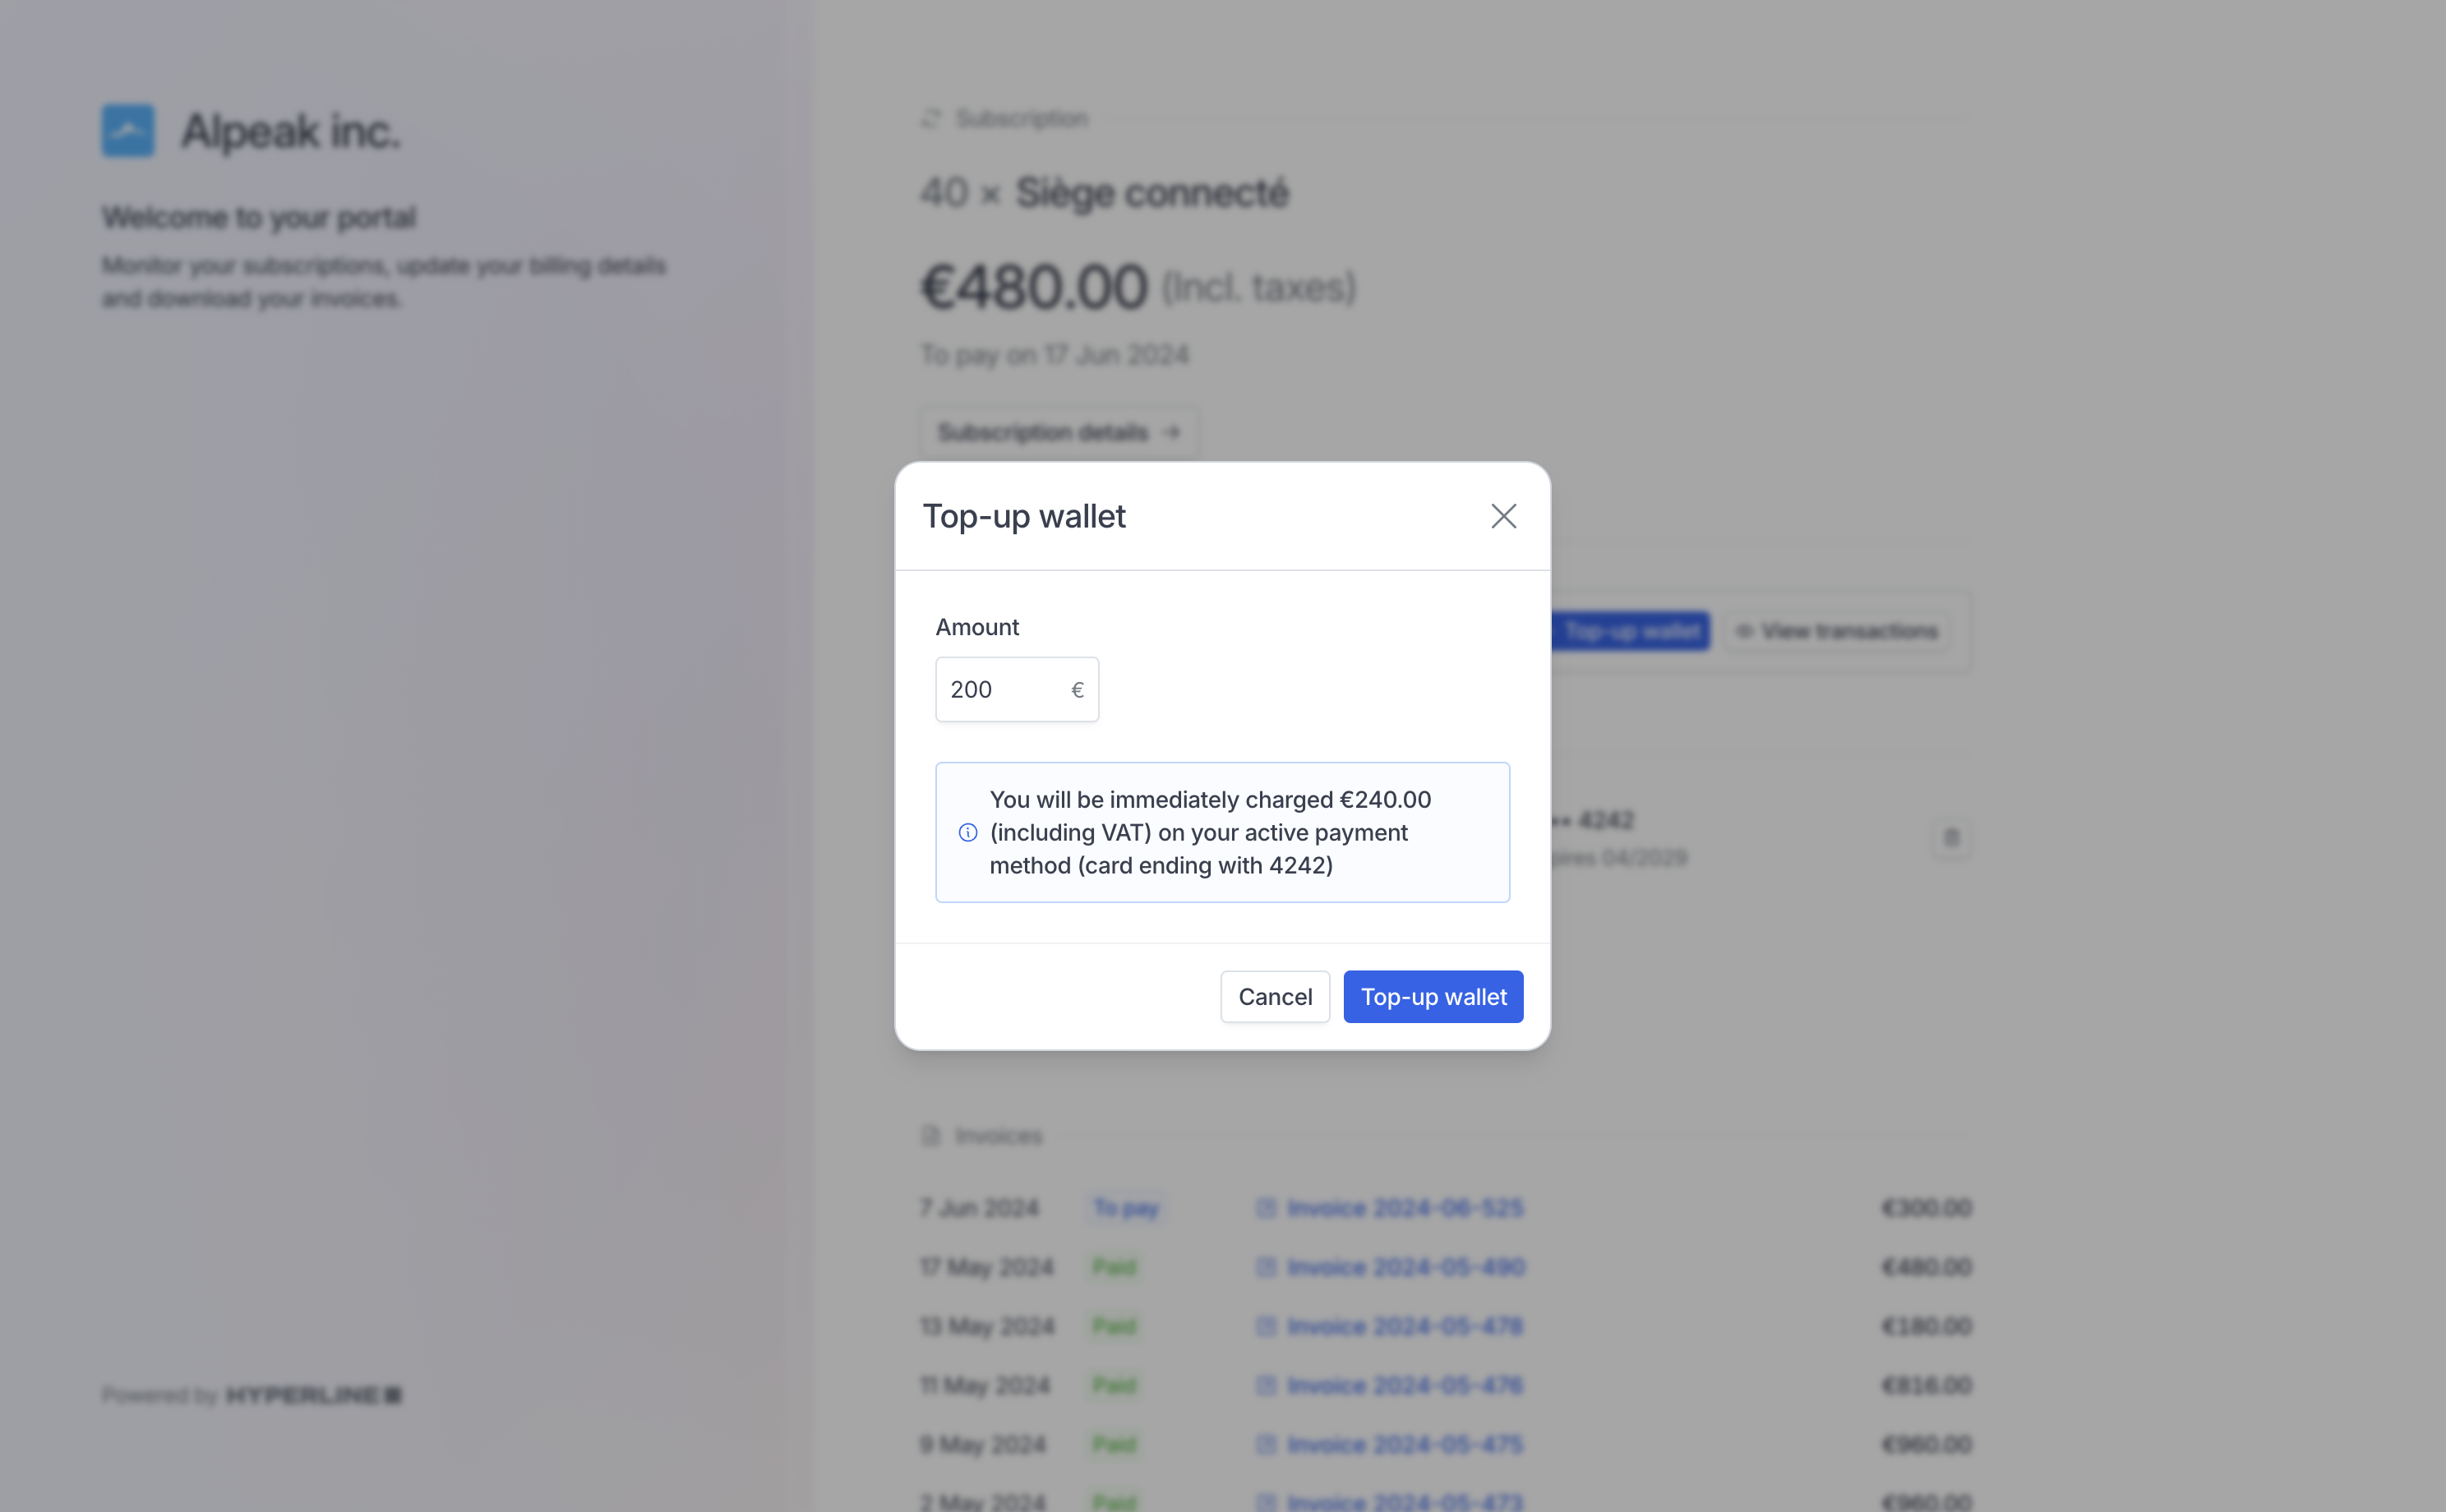 #### Edit billing information
To make changes, they simply need to click on the "Edit" option. This grants them the ability to update and modify their billing details as needed, ensuring accuracy and up-to-date information for a seamless payment process.
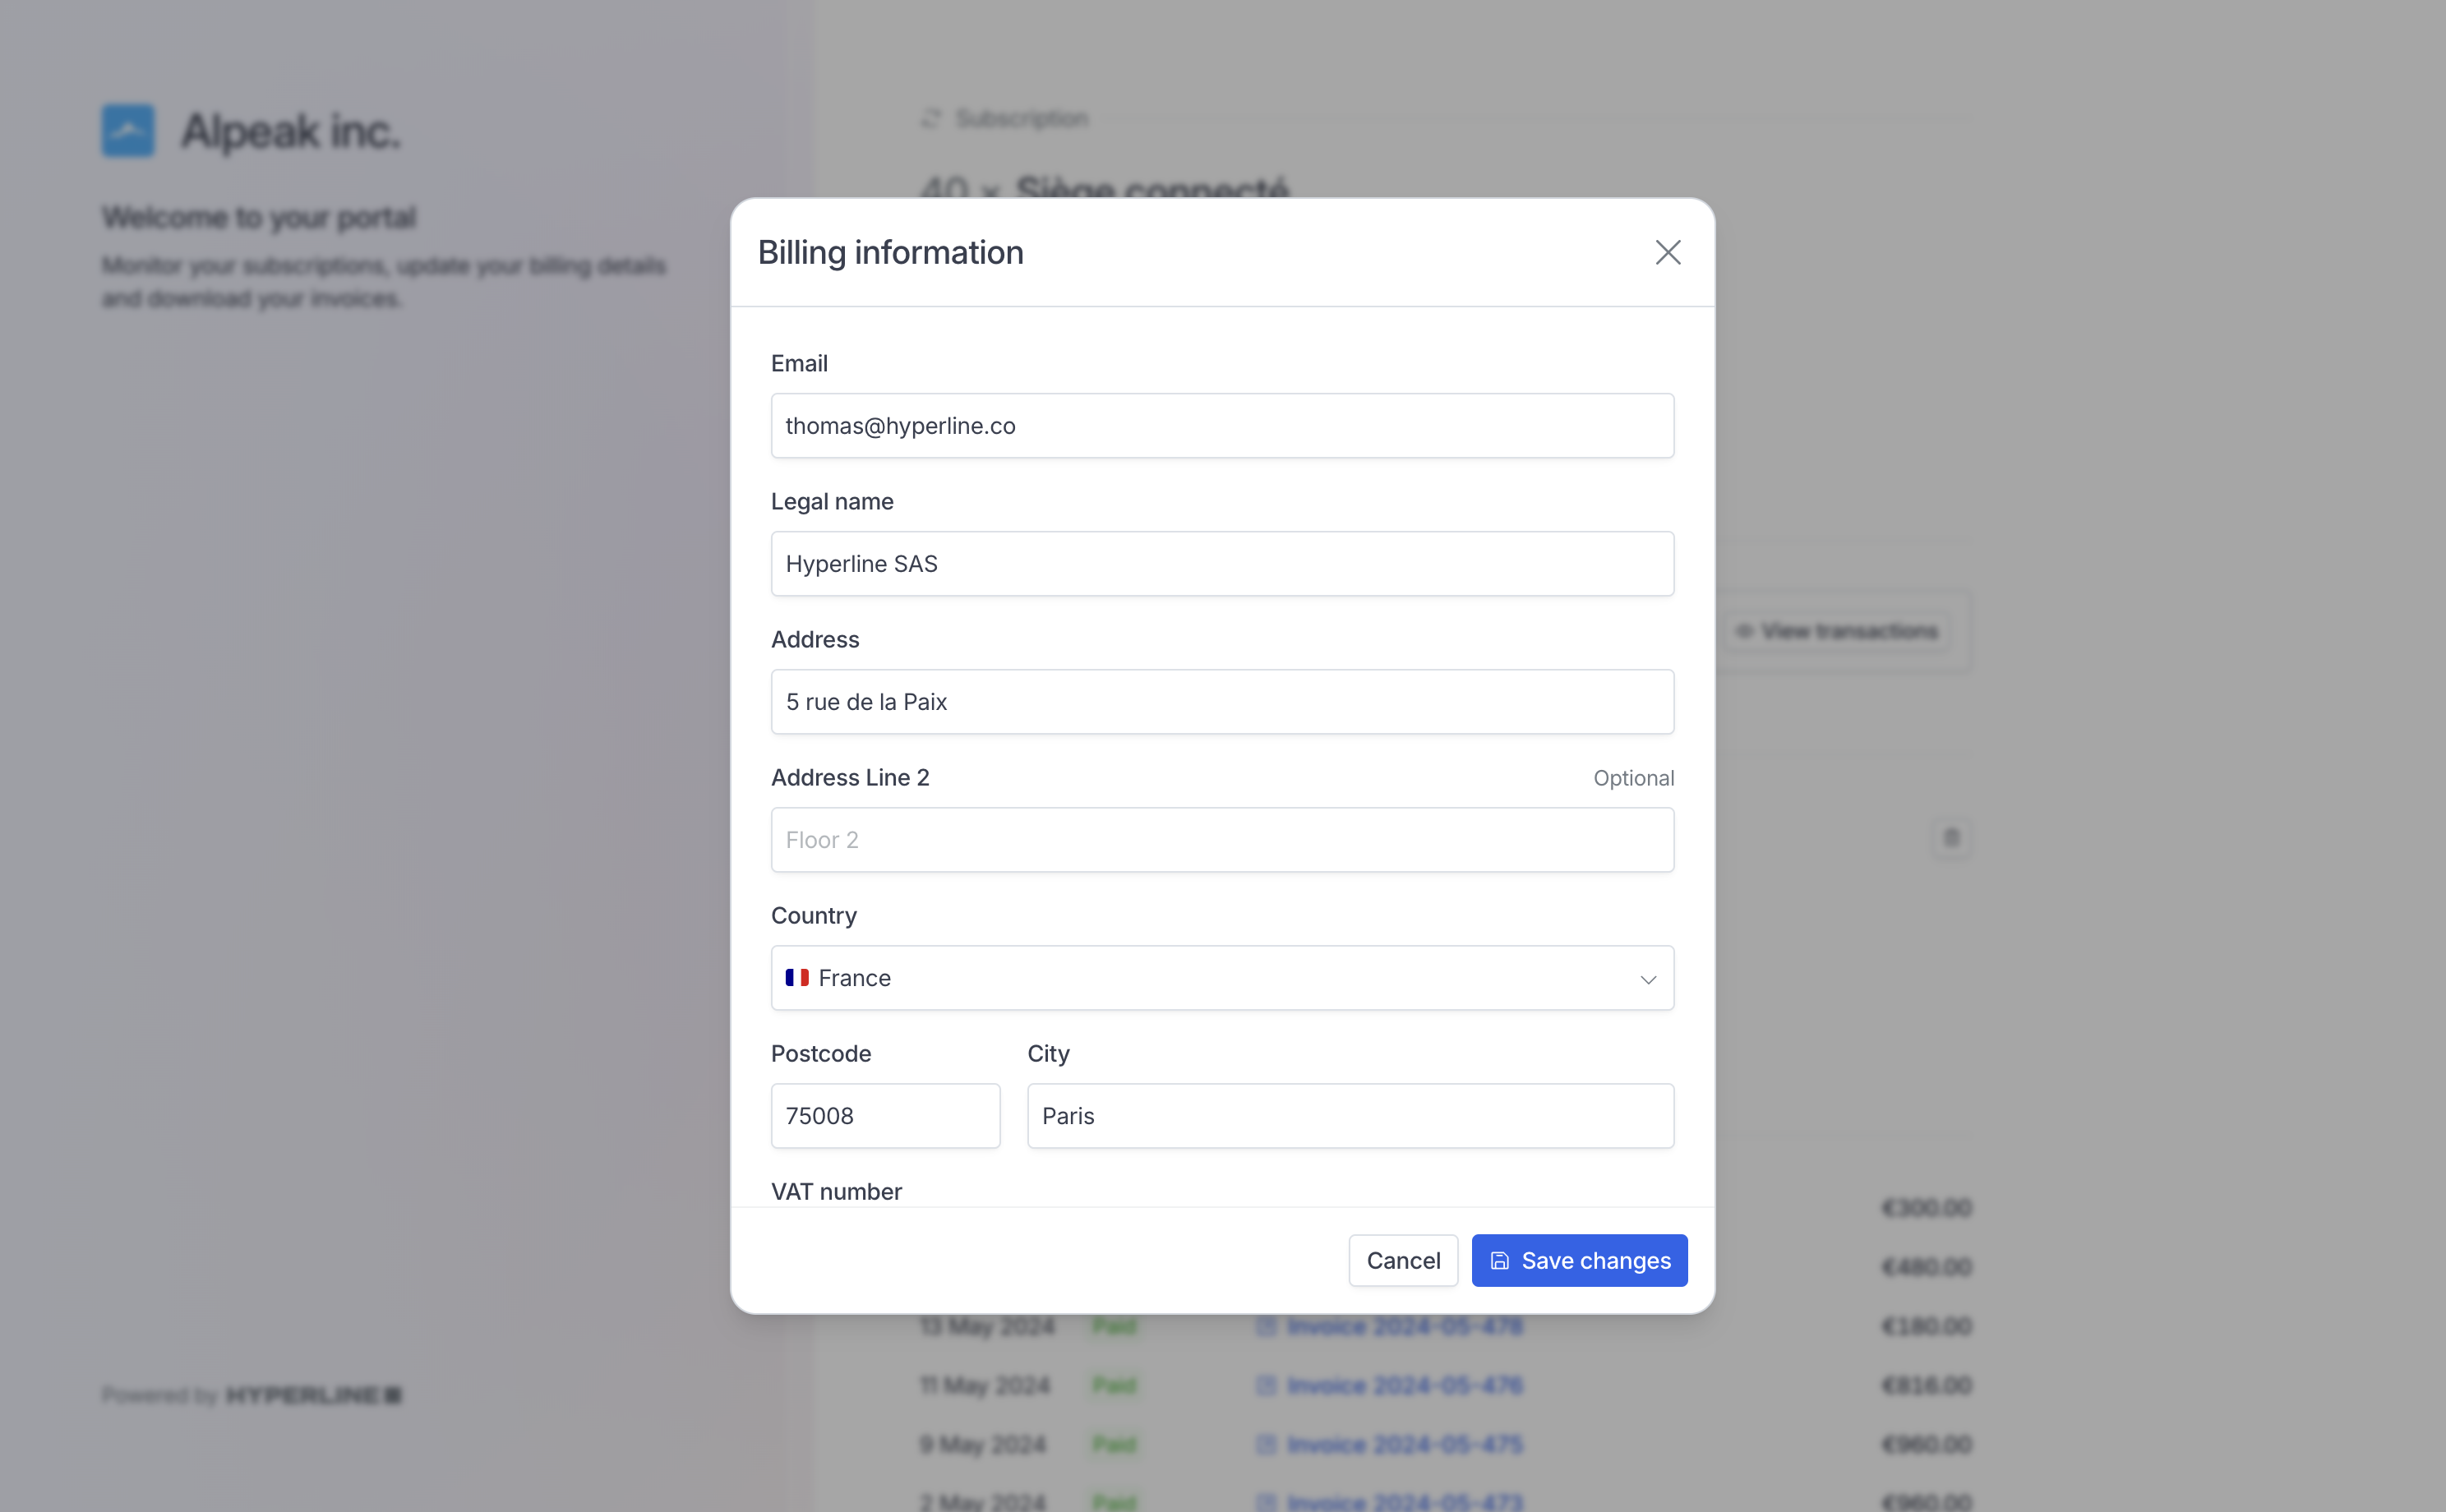 #### Download invoices
All invoices are listed and can be open to their dedicated [invoice page](../invoices/invoice-page).
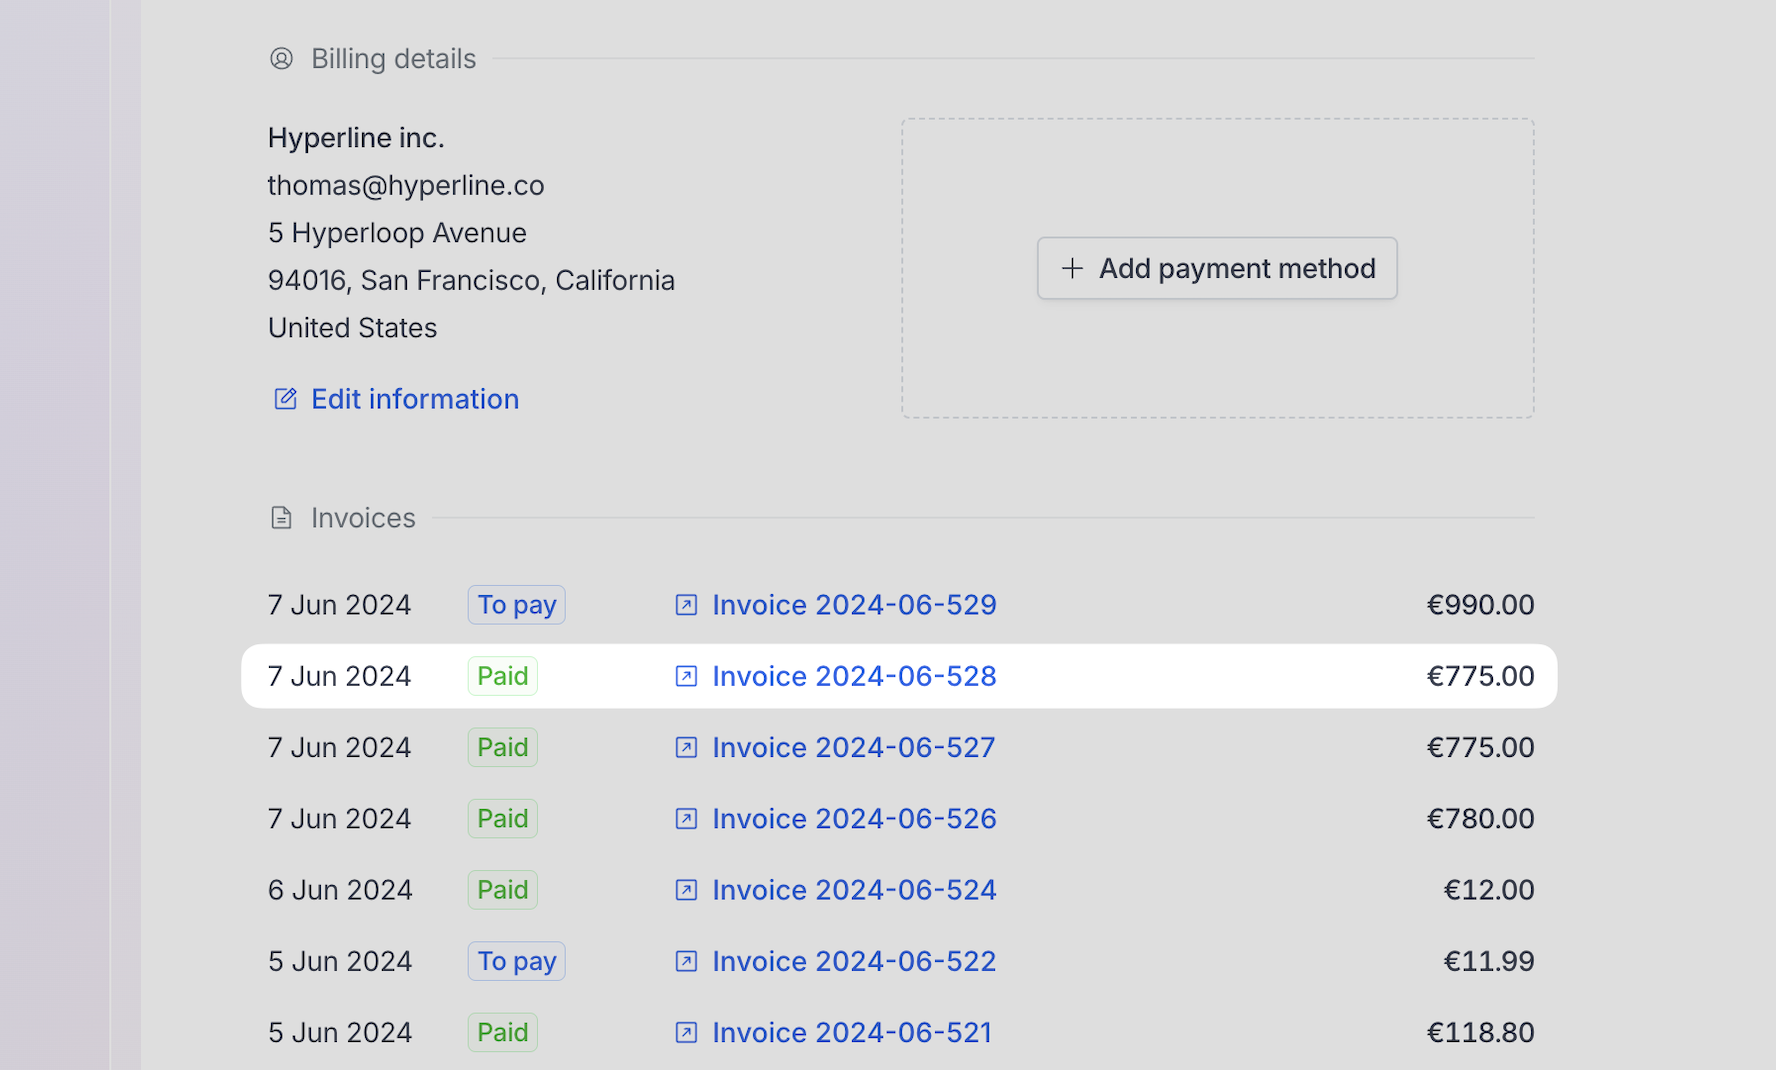 Customer can download their invoice PDF using the 'Download' button on the top-right corner.
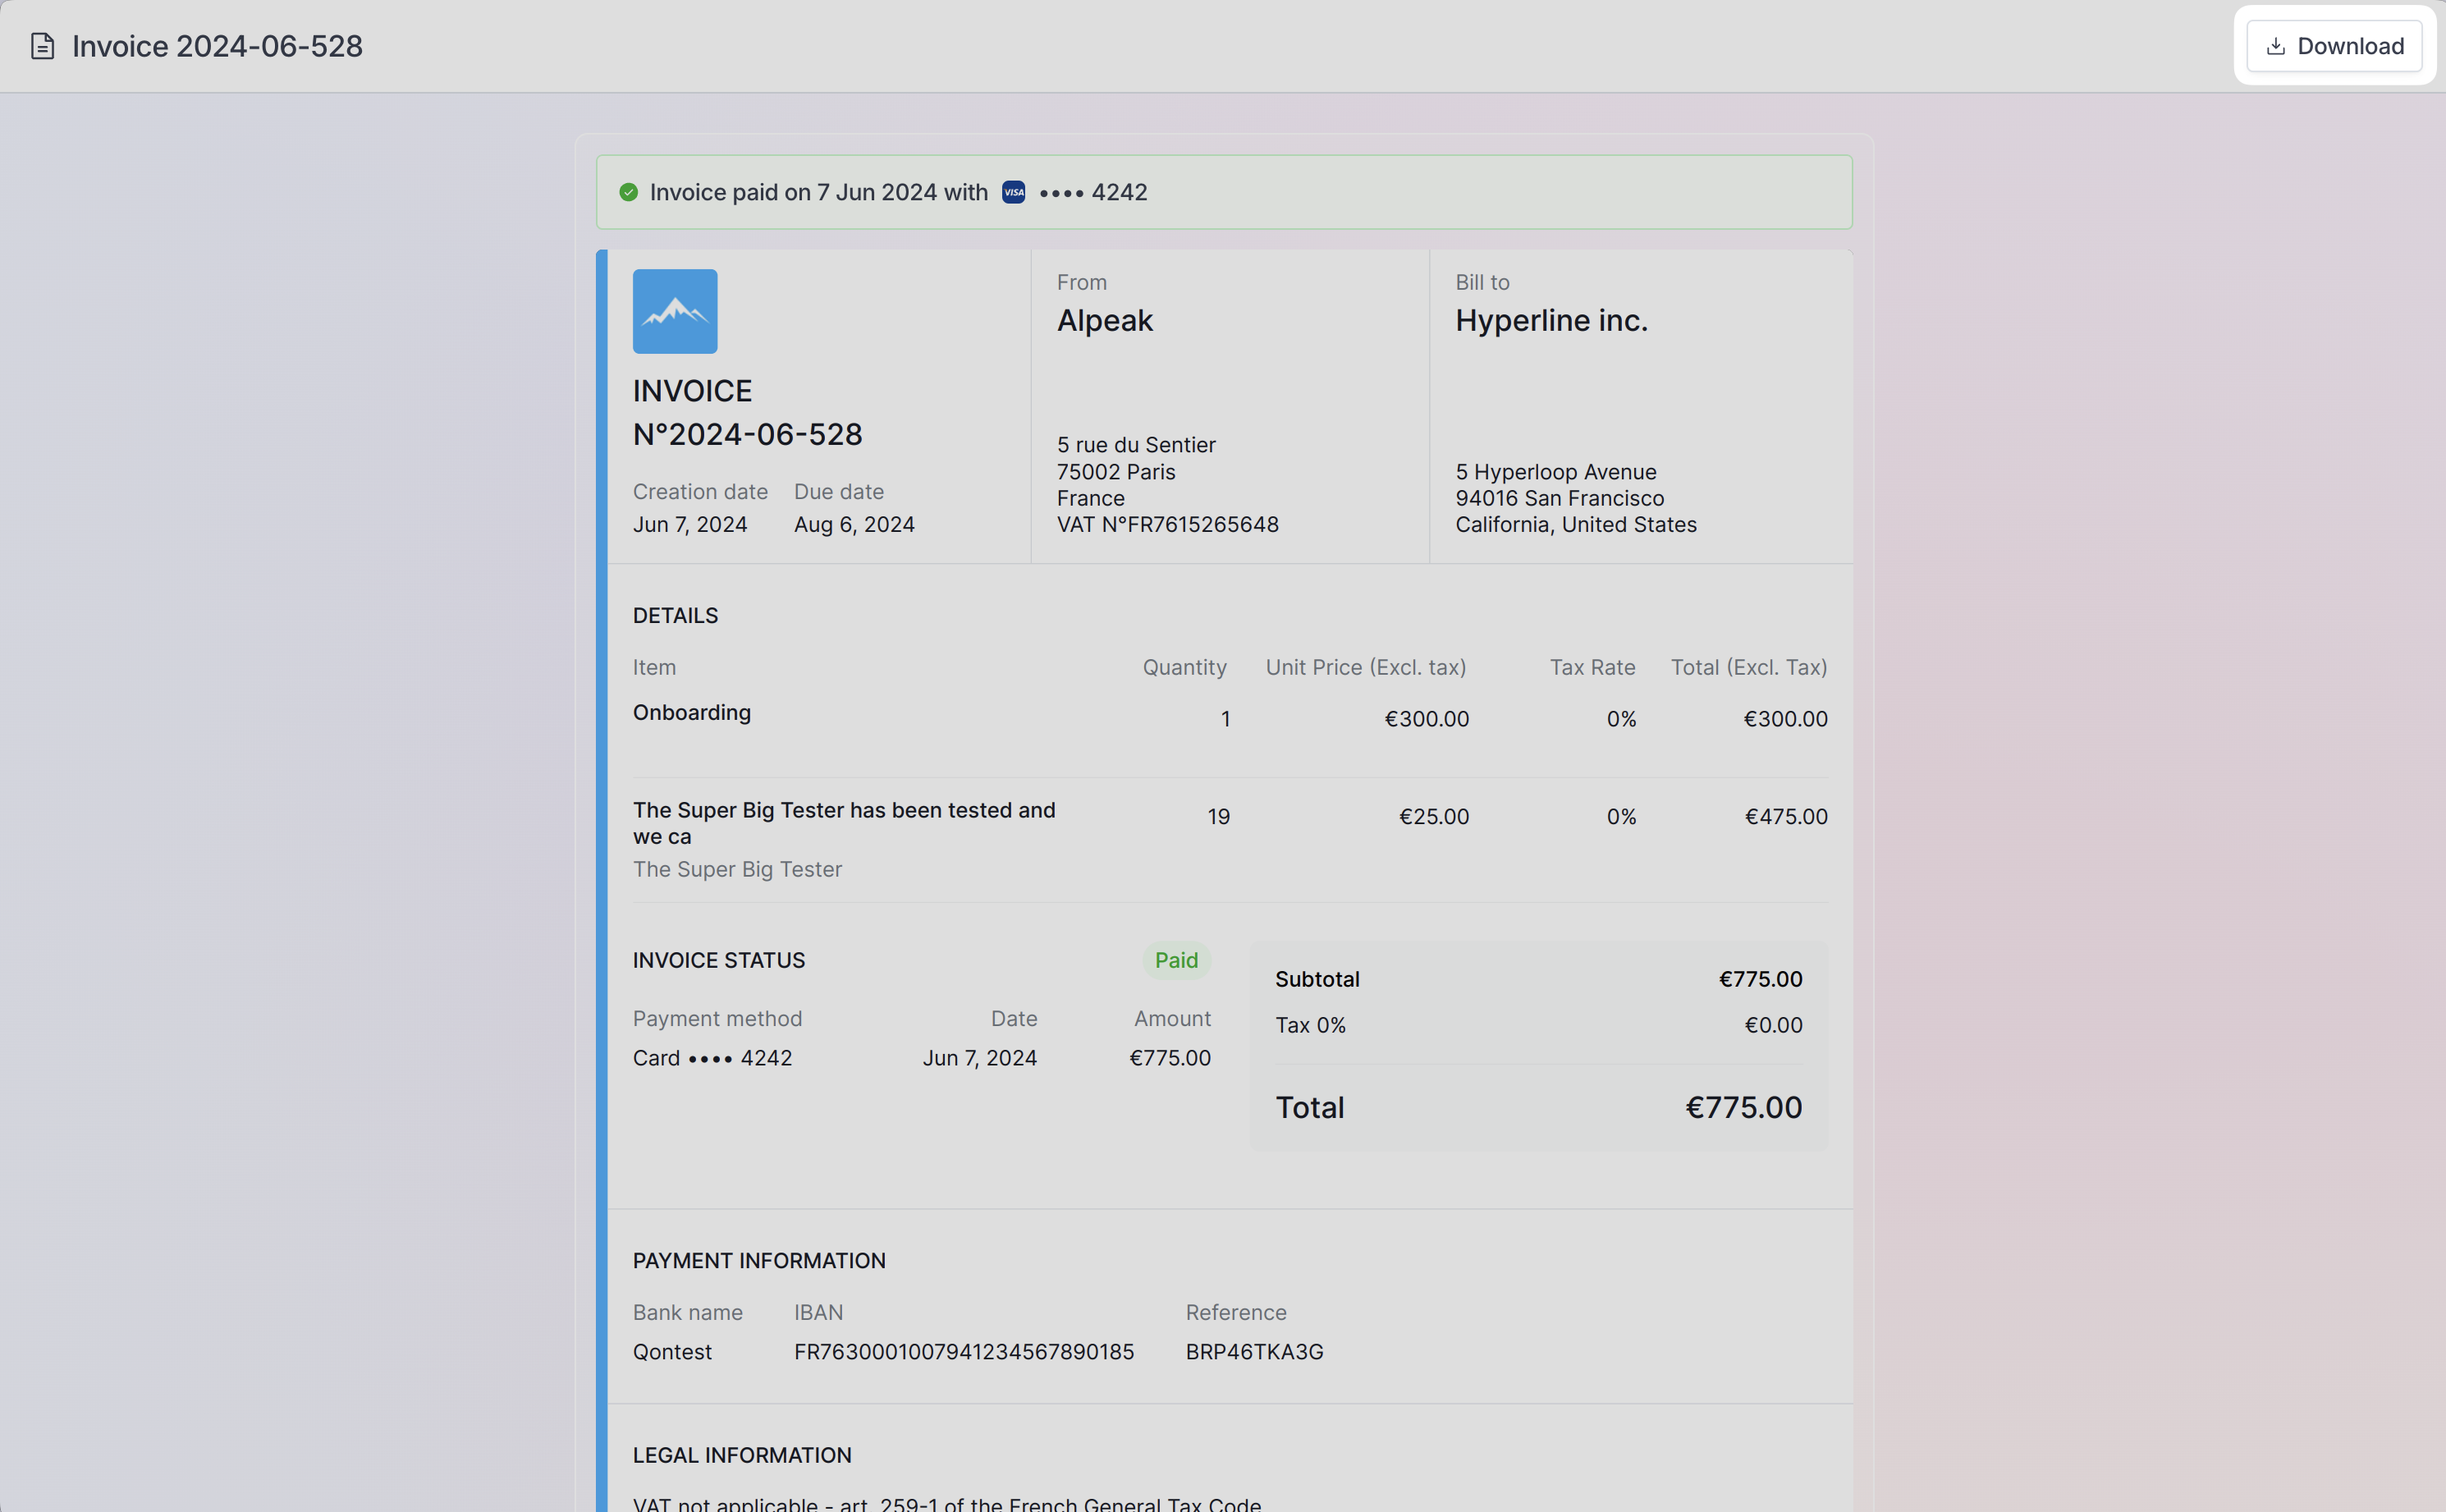 ## How to access the customer portal
To view the portal for a specific customer: go to the customer page, select the customer you want to view then click on the 'Portal' button.
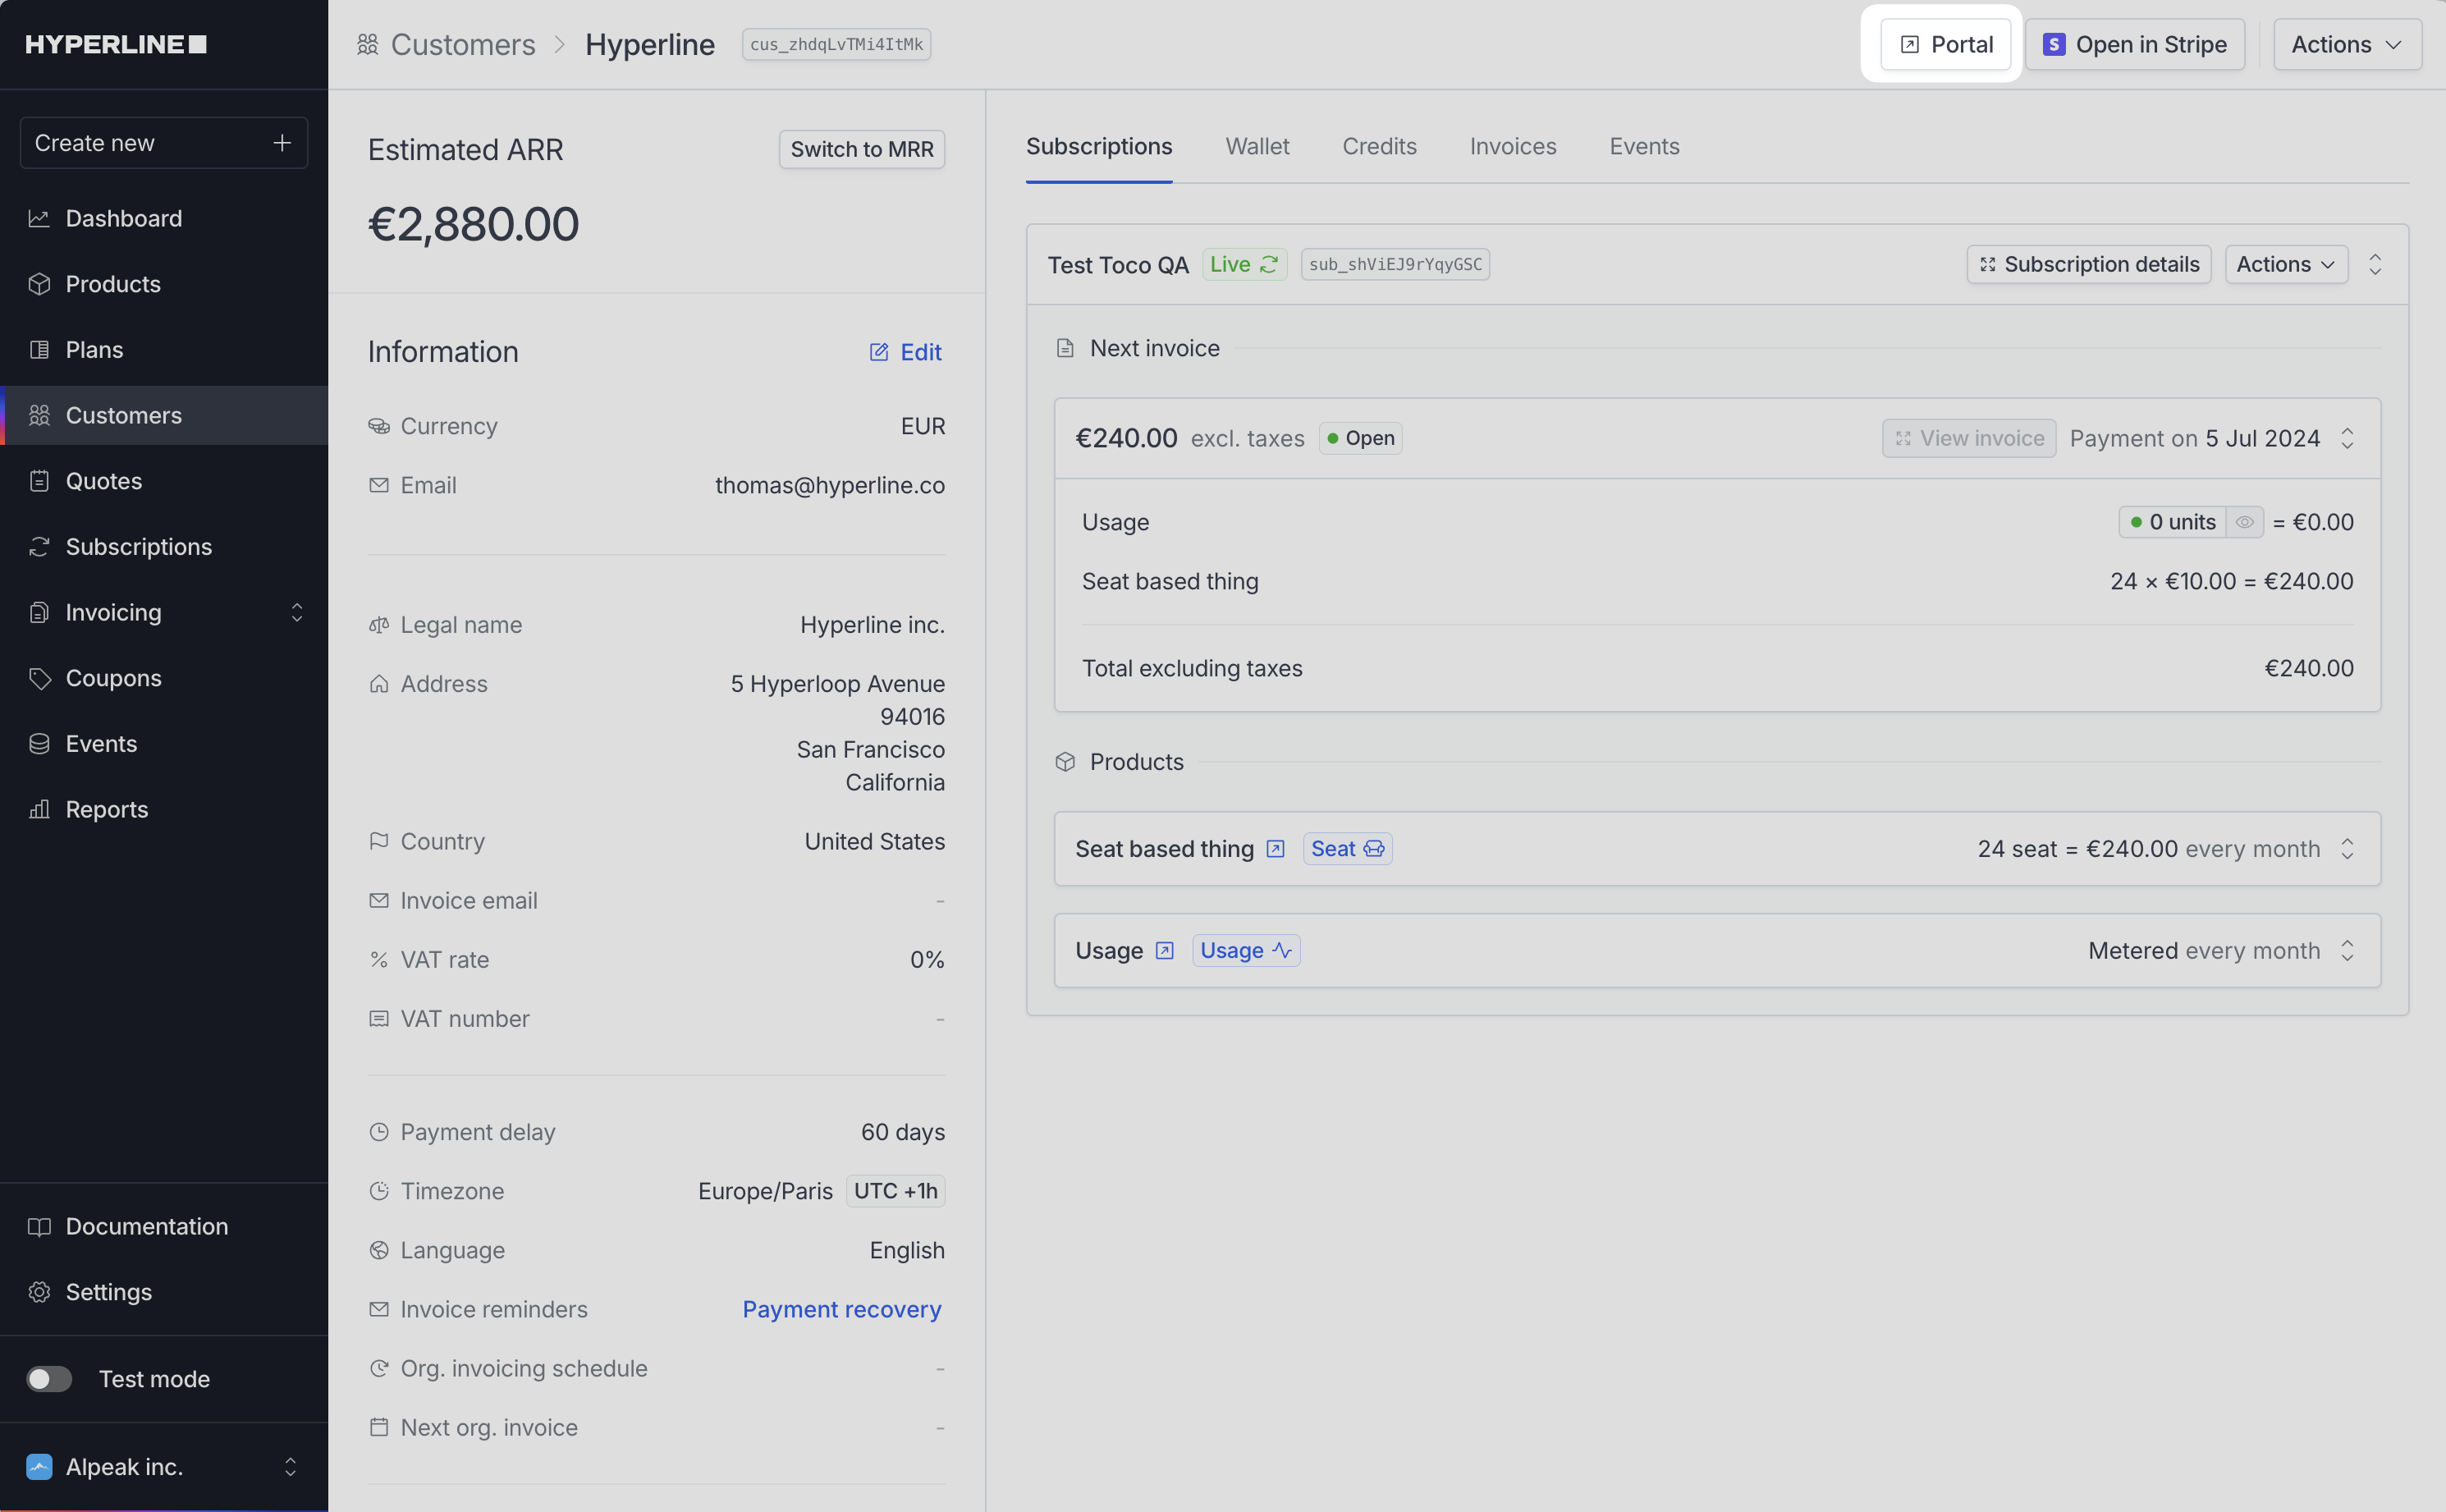 You can easily provide your customers with this unique portal link. Each customer portal link is individually generated and secured through a unique ID.
## Customize the portal
### Colors & brand identity
The portal adopts the primary brand color and icon that have been configured in the 'Settings' section under the 'General' tab of Hyperline. This uses the same codes as those displayed on the invoice sent to your customers. This feature enables you to personalize your customer portal with the distinct colors and branding of your company
### Set a custom domain
In order to personalize further the experience for your customers, you can configure a custom domain for the hosted portal and checkout pages.
You can set it in [your settings](https://app.hyperline.co/app/settings/hosted-pages), and to enable it you need to add a `CNAME` record pointing to `cname.hyperline.co` on your DNS provider.
For example: you want to set your custom domain to `billing.alpeak.com` in Hyperline, and add the related `CNAME` record on your DNS provider, we will provide you portal and checkout URLs with the form:
```
https://billing.alpeak.com/portal/:customerId
https://billing.alpeak.com/checkout/:sessionId
```
We will automatically manage the related HTTPS SSL certificate.
### Set a redirect button
You can configure a back button in the hosted pages settings.
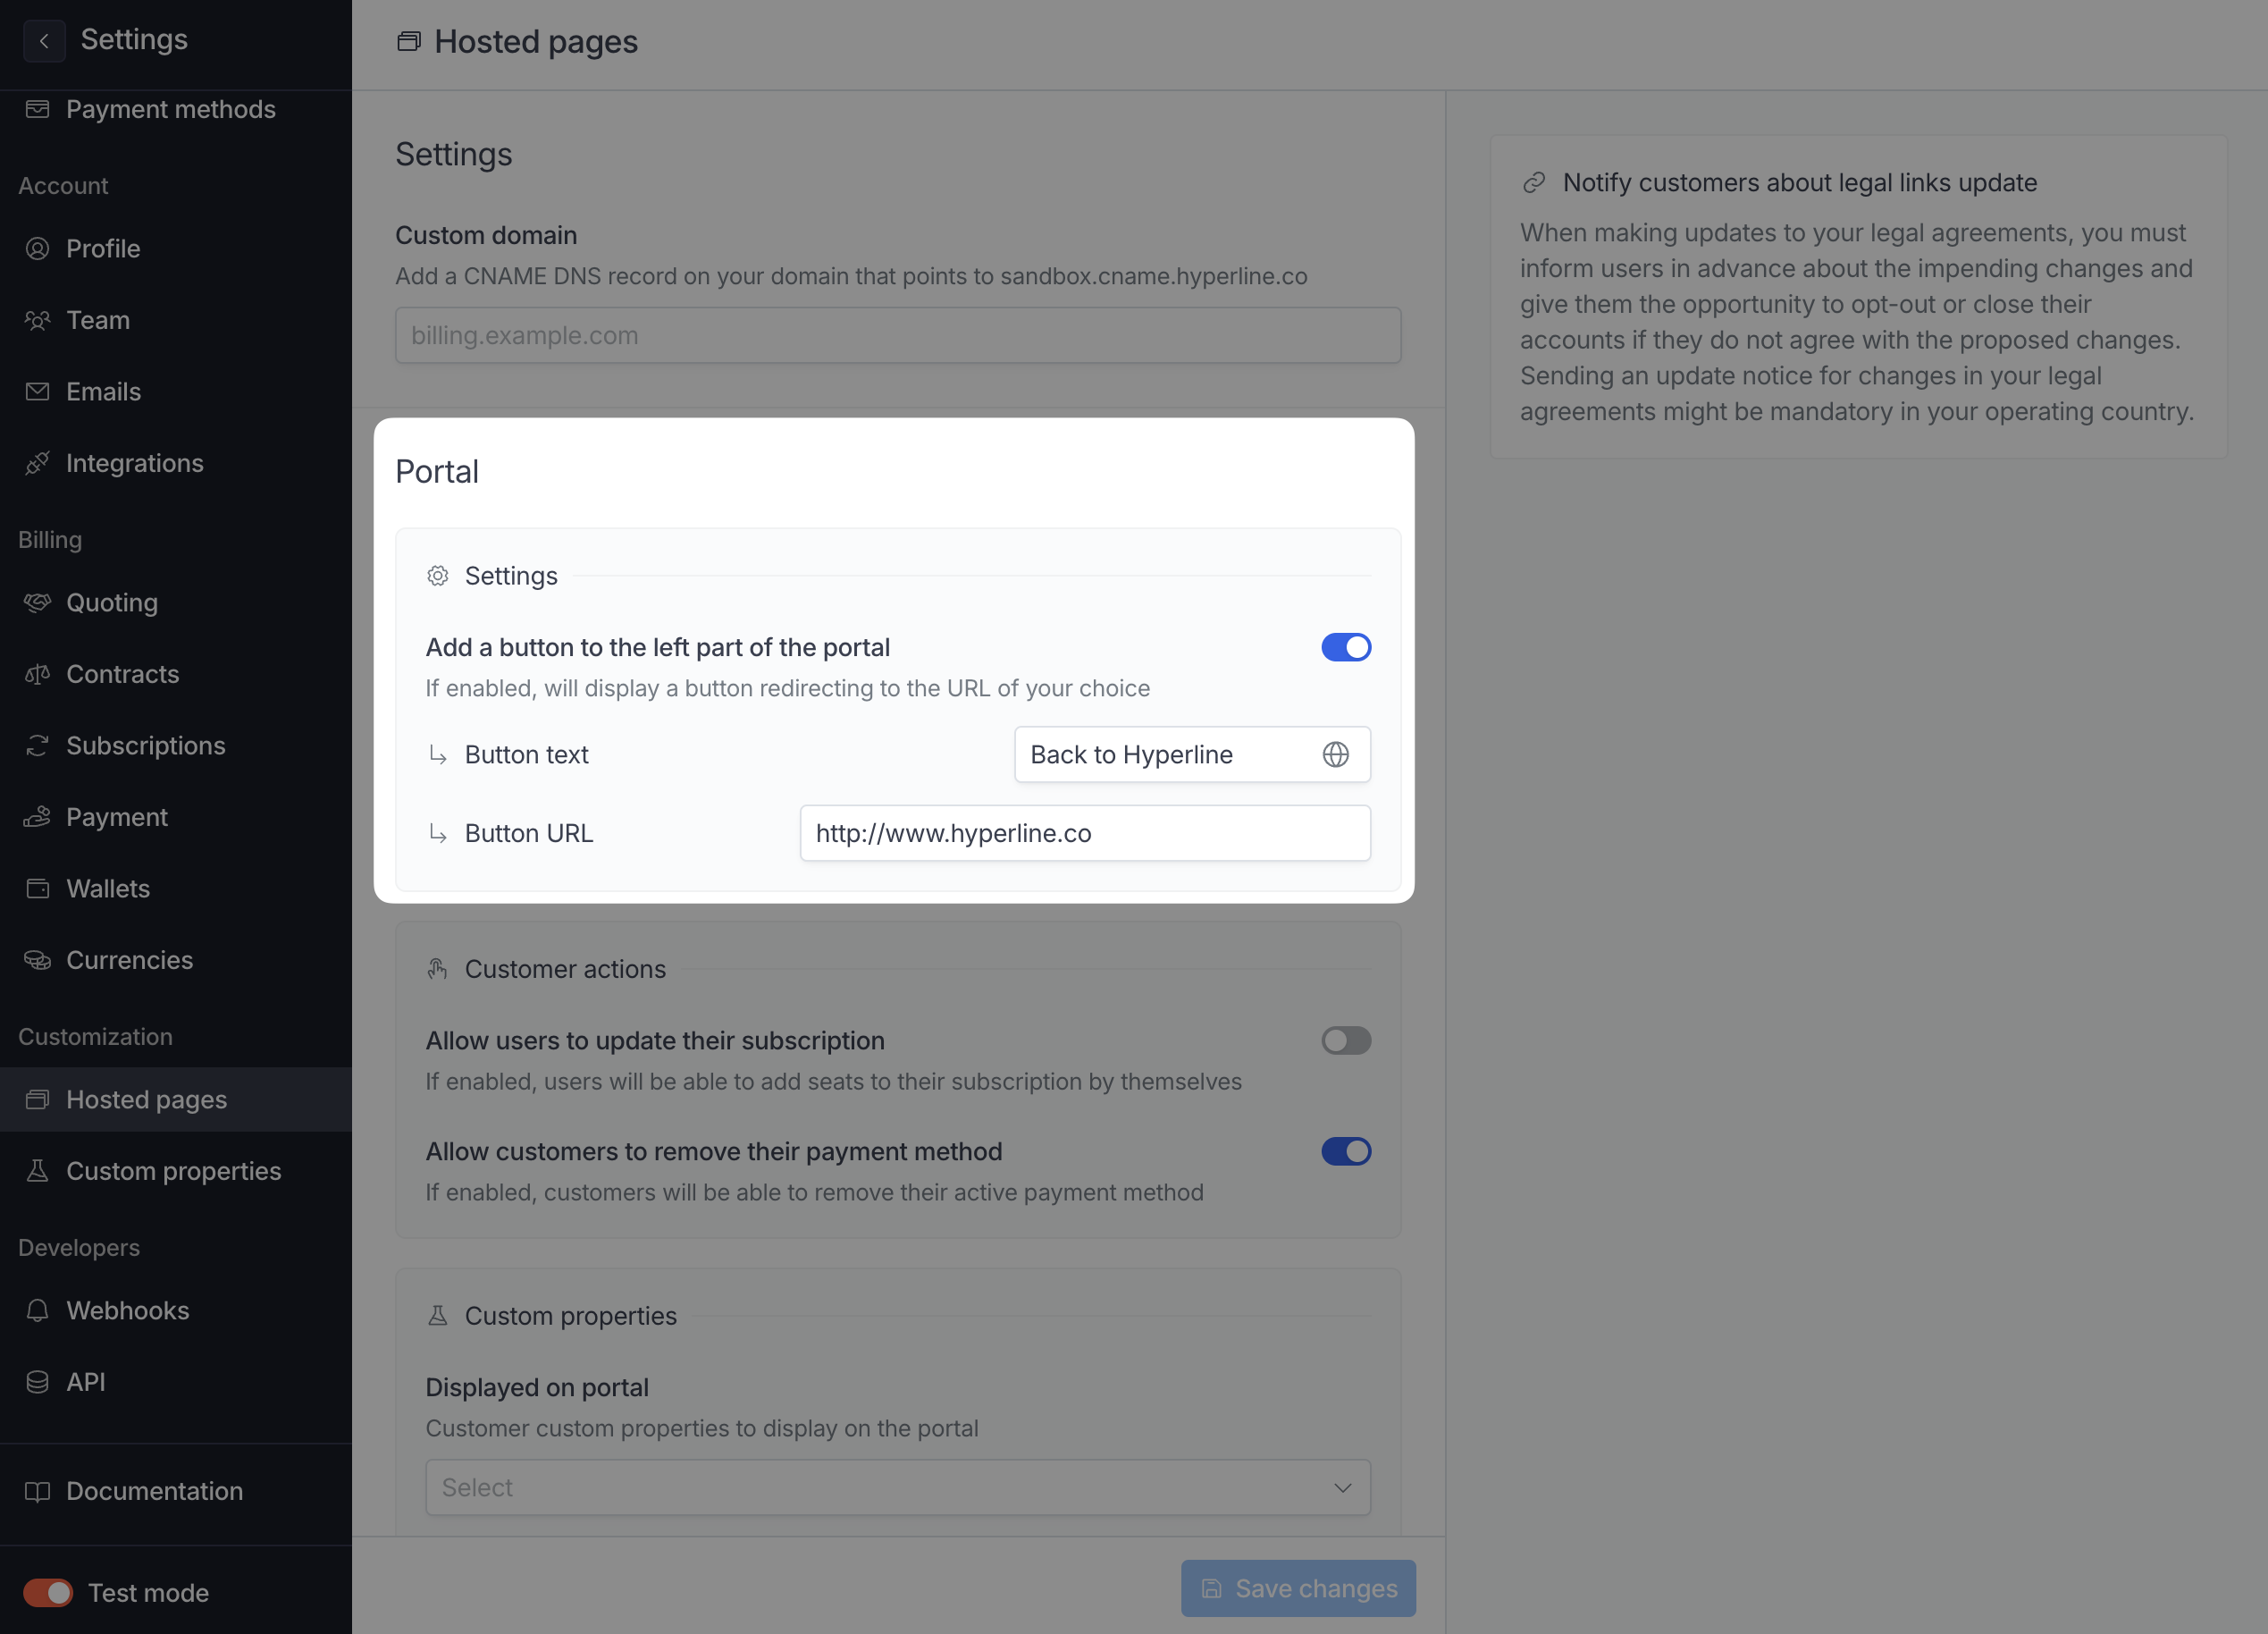 And it will looks like this in the portal
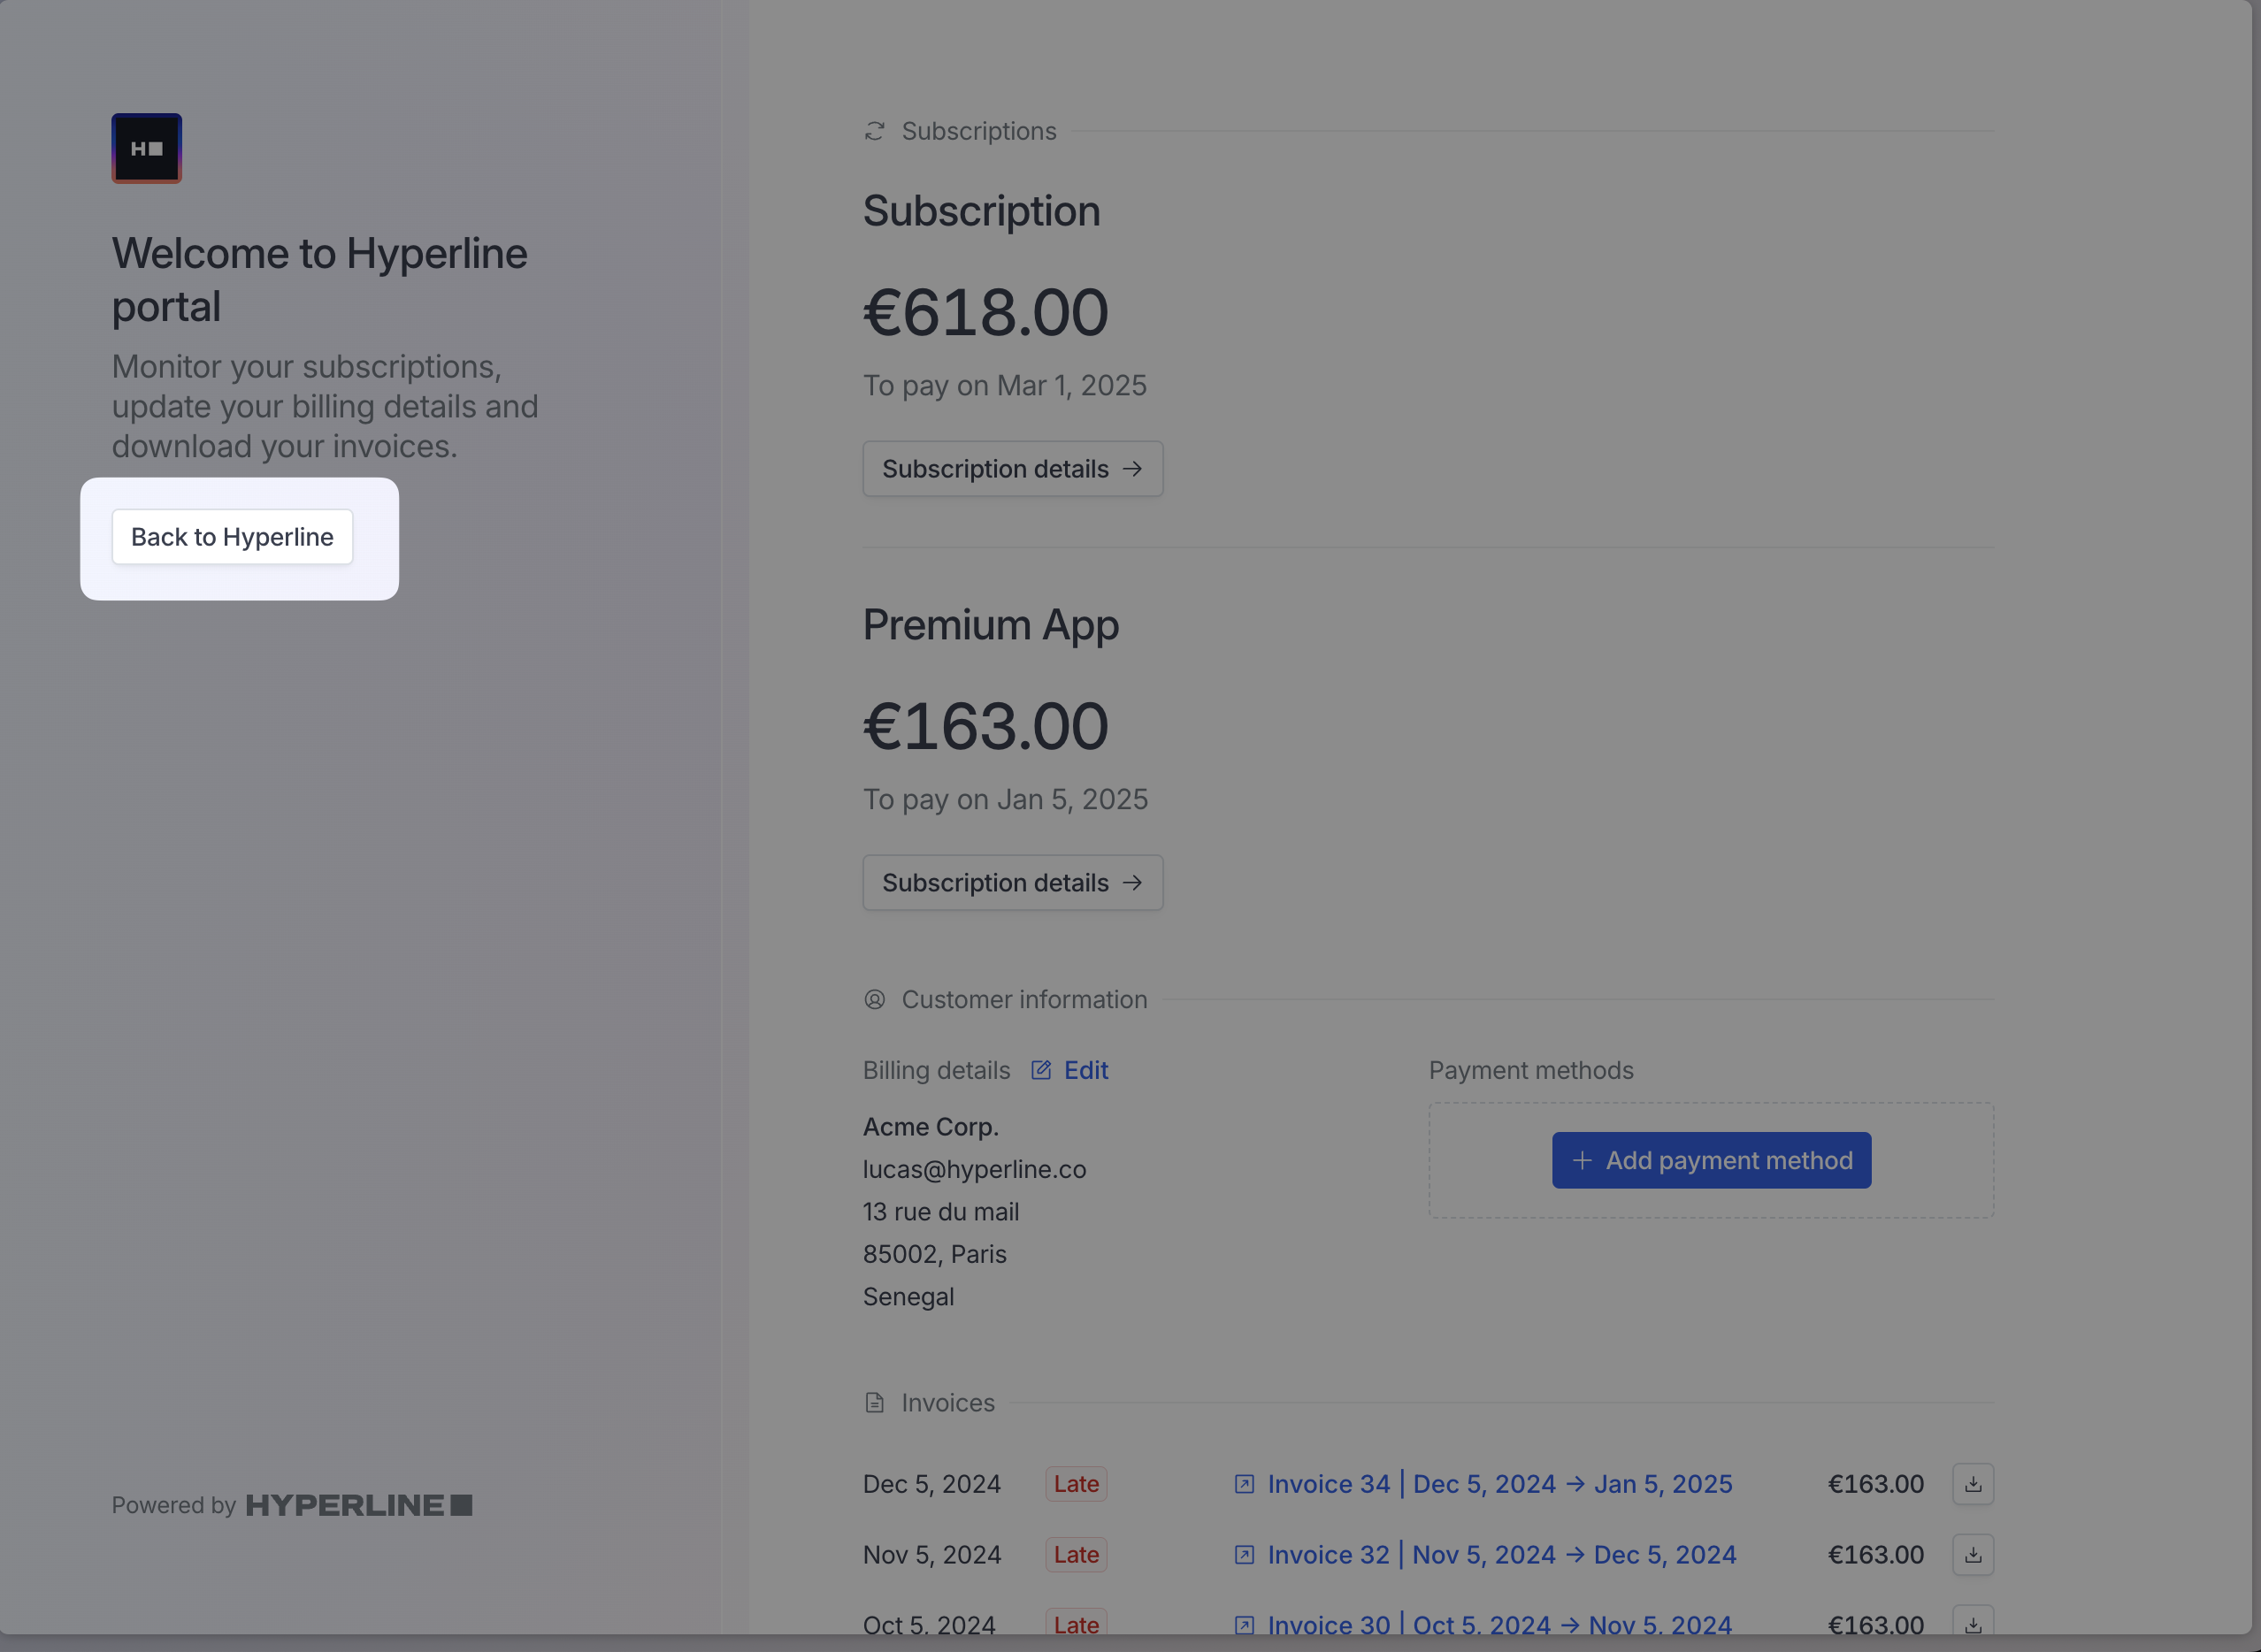 ### Display personalization
You can add this query parameters in you portal URL to hide the sidebar `&hideSidebar=true`, it will looks like:
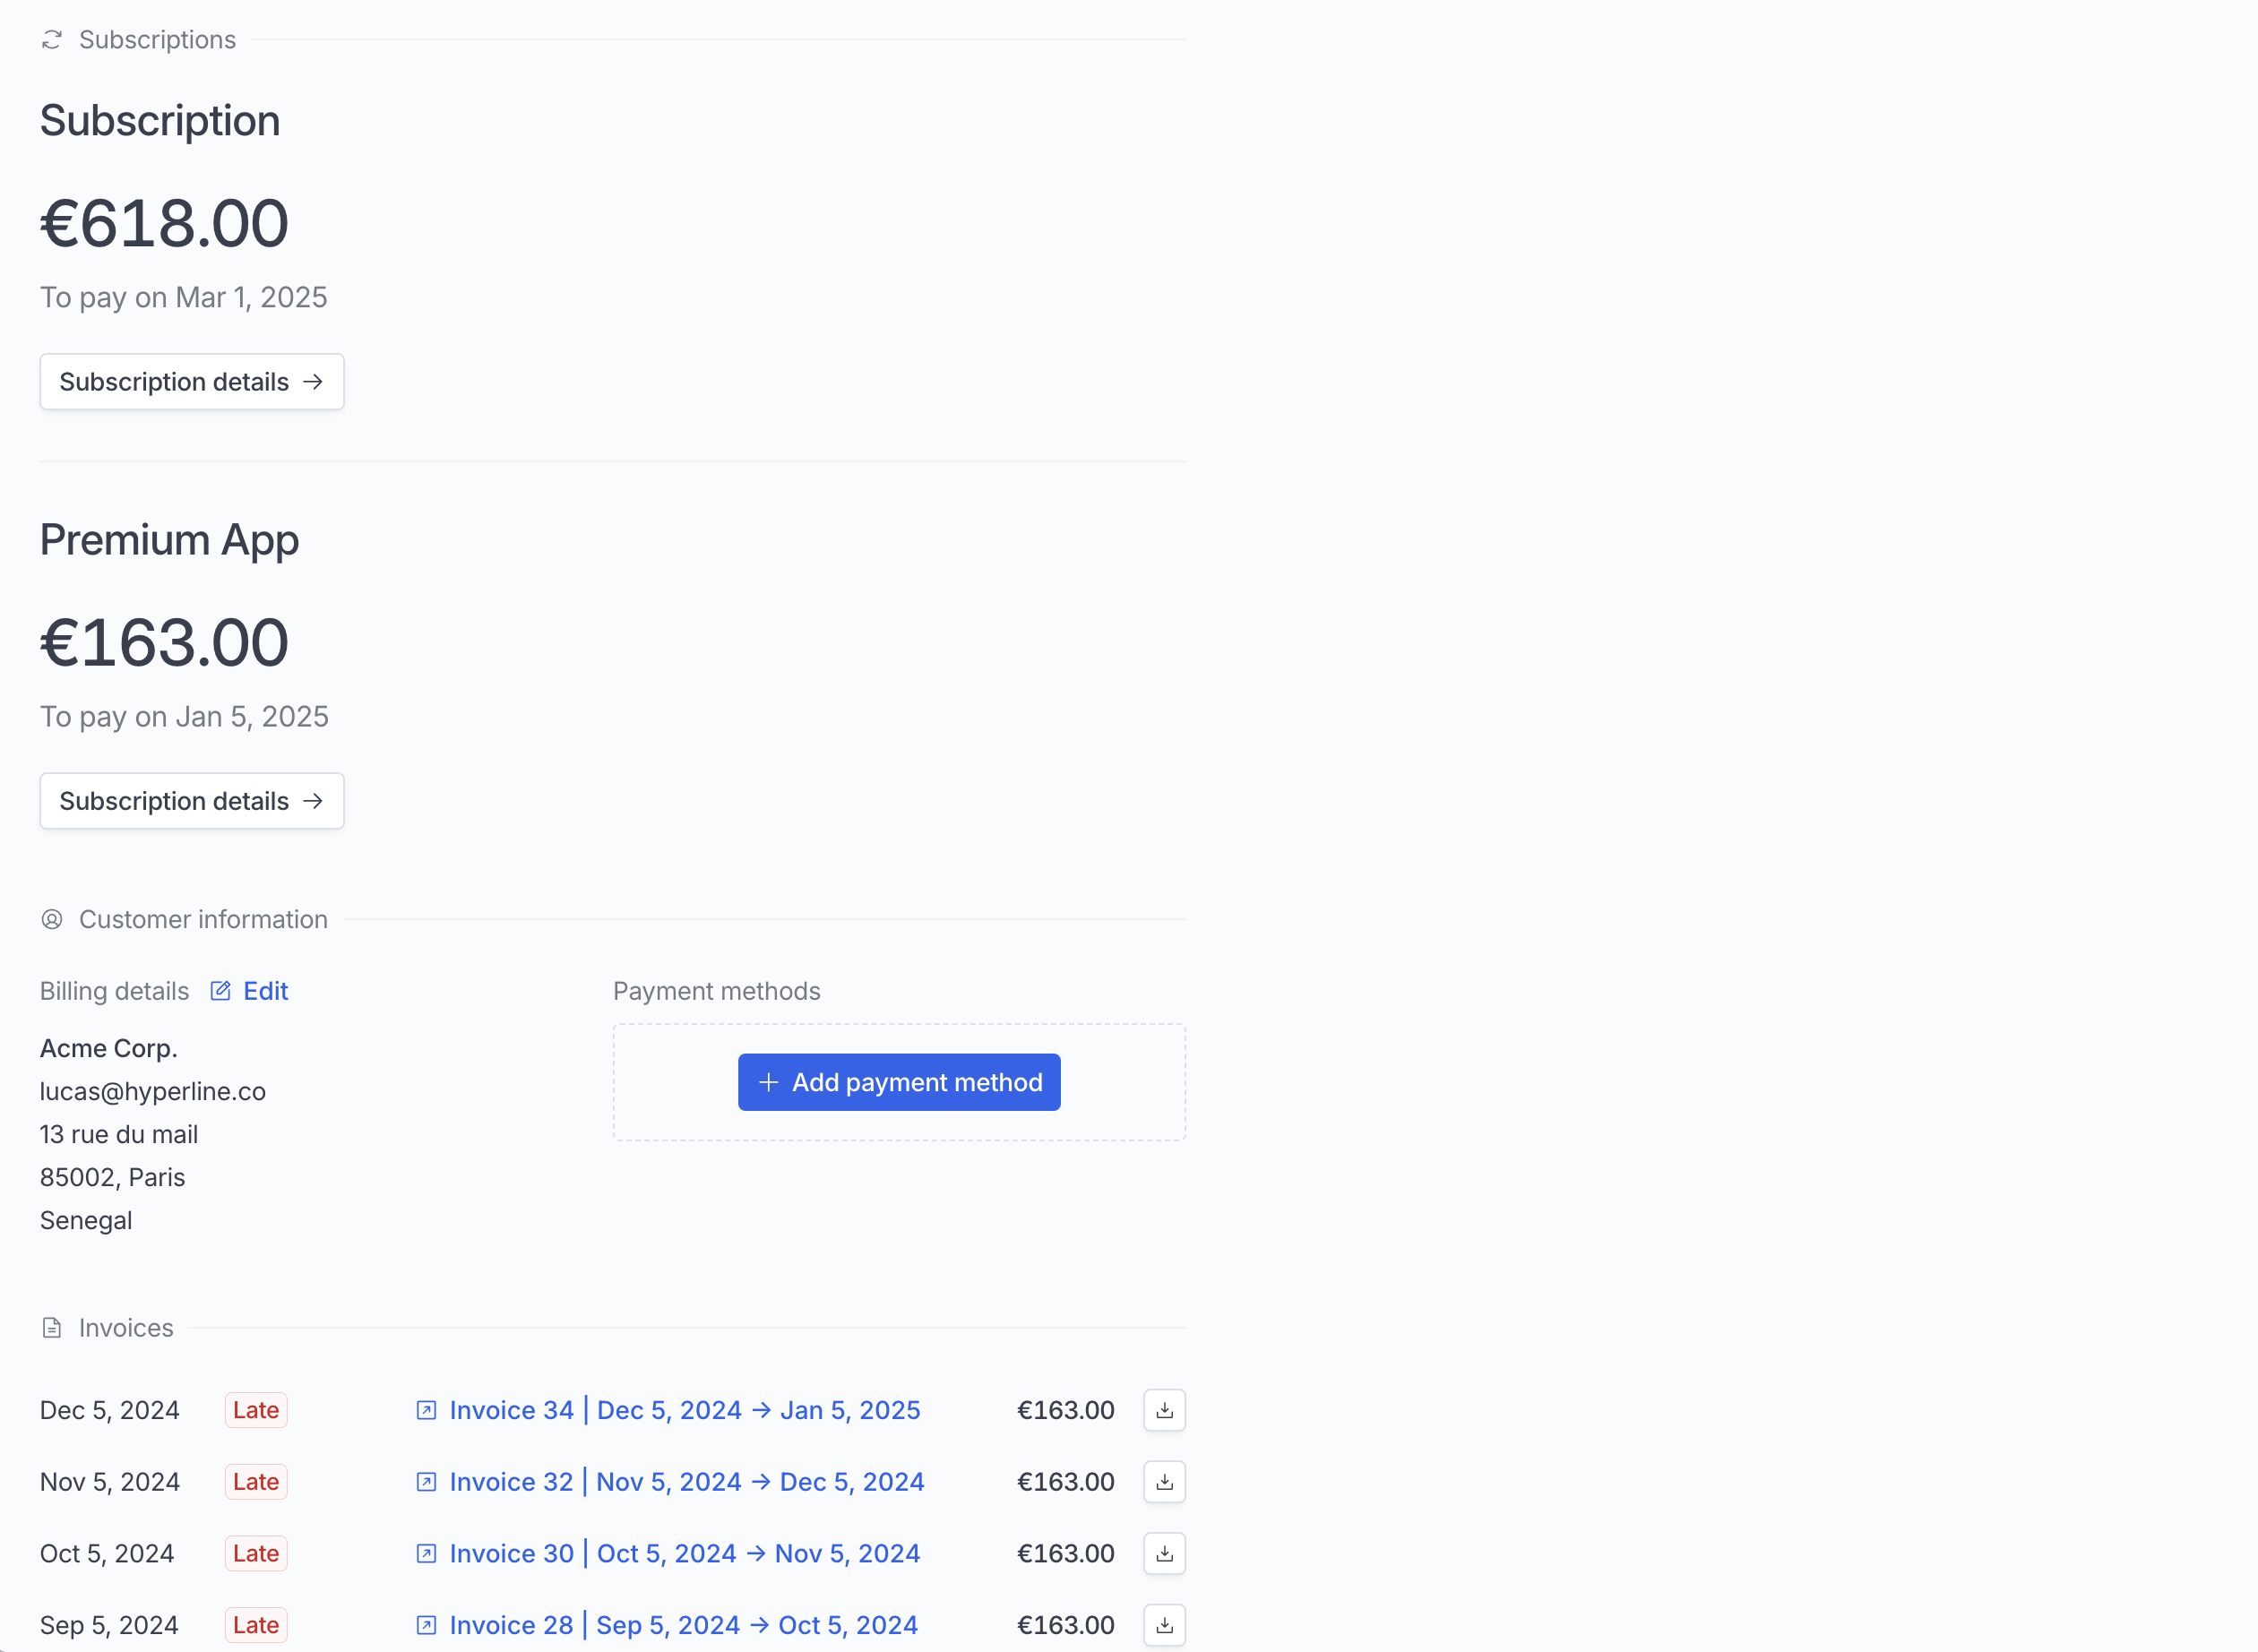 It works both for custom domain and hyperline hosted pages.
### Embed the customer portal in an iframe
You can embed the Hyperline customer portal inside your application using an `
 This doc assumes that you already have a basic working knowledge of [React](https://react.dev/) and that you have already set up a React project.
## Getting started

 ## Components
### Subscriptions
List all active subscriptions
```tsx theme={null}
 ### Variables
They are meant to customise all elements at once.
| Variable name | Description |
| ---------------------- | ------------------------------------------------------------------------------------------------------------------ |
| `borderRadius` | Change the roundness of the elements: Buttons, tables, ... |
| `colorBackground` | Most elements have a transparent background. In other cases, you can customise the background color of the element |
| `colorPrimary` | Color used for buttons and accent text |
| `colorPrimaryHover` | Hover color for buttons |
| `colorPrimaryDisabled` | Color of disabled buttons |
| `colorBorder` | The color of all our regular borders |
| `colorText` | Default text color |
| `colorTextSecondary` | Text color of secondary text |
| `fontFamily` | Font used. If you need to import a font, please read the next section |
### Fonts
Set your application's font.
* `src` Url of the font file
* `family` Name of the font - this is the name you'll use for the `fontFamily` variable
```ts theme={null}
 That's it! You will now receive webhook calls when the event occurs on the Hyperline system.
## Event types
 After sending an example event, you can click into the message to view the message payload, all of the message attempts, and whether it succeeded or failed.
Additionally, the Logs section is here to help you have a complete view of past call attempts with their date, status, and payload.
## Event delivery
### Replaying events
If you want to replay a single (or multiple) events, you can find the message from the UI, open the options menu next to any of the attempts, and click on "Resend".
It's a great help if your service had downtime or if your endpoint was misconfigured.
### Retry schedule
Each message is attempted based on the following schedule, where each period is started following the failure of the preceding attempt:
* Immediately
* 5 seconds
* 5 minutes
* 30 minutes
* 2 hours
* 5 hours
* 10 hours
* 10 hours (in addition to the previous)
If an endpoint is removed or disabled delivery attempts to the endpoint will be disabled as well.
### Event ordering
Hyperline doesn't guarantee delivery of events in the order in which they're generated. You can find more details about why guaranteeing order doesn't really work in [this article](https://www.svix.com/blog/guaranteeing-webhook-ordering).
Your endpoint shouldn't expect delivery of events in a specific order. We recommend designing your system in a way that doesn't require ordering. Additionally, you can use the API to fetch any missing objects (for example, you can fetch the subscription details using the ID provided in the `subscription.created` event payload).
### Static source IP addresses
In case your webhook receiving endpoint is behind a firewall or NAT, you may need to allow traffic from our webhook servers' static IP addresses.
In such scenarios, we recommend you to whitelist the following IP addresses:
```
52.215.16.239
54.216.8.72
63.33.109.123
2a05:d028:17:8000::/56
```
## Best practices
### Handling duplicate events
Webhook endpoints might occasionally receive the same event more than once. You can guard against duplicated event receipts by making your event processing [idempotent](https://en.wikipedia.org/wiki/Idempotence). One way of doing this is logging the events you've processed, and then not processing already-logged events.
### Prevent stale data
As webhooks can be retried, another update can occur once your server is finally able to process the event. Therefore, we advise you to query the latest version of the related entity upon receiving a webhook.
### Verify webhooks
Verifying webhooks is an important part of the consumption. Because of the way webhooks work, attackers can impersonate services by simply sending a fake webhook to an endpoint. This is a potential security hole for your application.
In order to prevent it, every webhook and its metadata is **signed** with a unique key for each endpoint. This signature can then be used to verify the webhook indeed comes from Hyperline, and only process it if it is.
Another potential security hole is what's called replay attacks. A replay attack is when an attacker intercepts a valid payload (including the signature), and re-transmits it to your endpoint. This payload will pass signature validation, and will therefore be acted upon.
To mitigate this attack, a timestamp (`webhook-timestamp` header) is included in every request for when the webhook attempt occurred. We recommend you reject webhooks with a timestamp that is more than five minutes away (past or future) from the current time.
**Verifying signatures**
Each webhook call includes three headers with additional information that are used for verification:
* `webhook-id`: the unique message identifier for the webhook message. This identifier is unique across all messages but will be the same when the same webhook is being resent (e.g. due to a previous failure).
* `webhook-timestamp`: timestamp in seconds since epoch.
* `webhook-signature`: the Base64 encoded list of signatures (space delimited).
**Constructing the signed content**
The content to sign is composed by concatenating the id, timestamp, and payload, separated by the full-stop character (`.`). In code, it will look something like:
```
signedContent = "${webhook_id}.${webhook_timestamp}.${body}"
```
Where `body` is the raw body of the request. The signature is sensitive to any changes, so even a small change in the body will cause the signature to be completely different. This means that you should not change the body in any way before verifying.
**Determining the expected signature**
`HMAC` with `SHA-256` is used to sign webhooks.
So to calculate the expected signature, you should HMAC the `signed_content` from above using the base64 portion of your signing secret (this is the part after the `whsec_` prefix) as the key. For example, given the secret `whsec_MfKQ9r8GKYqrTwjUPD8ILPZIo2LaLaSw` you will want to use `MfKQ9r8GKYqrTwjUPD8ILPZIo2LaLaSw`.
Here is an example of how you can calculate the signature in Node.js:
```js theme={null}
const crypto = require("crypto");
const signedContent = `${webhook_id}.${webhook_timestamp}.${body}`;
const secret = "whsec_MfKQ9r8GKYqrTwjUPD8ILPZIo2LaLaSw";
// Need to base64 decode the secret
const secretBytes = new Buffer(secret.split("_")[1], "base64");
const signature = crypto
.createHmac("sha256", secretBytes)
.update(signedContent)
.digest("base64");
console.log(signature);
```
This generated signature should match one of the ones sent in the `webhook-signature` header.
This header is composed of a list of space-delimited signatures and their corresponding version identifiers. The signature list is most commonly of length one. Though there could be any number of signatures. For example:
```
v1,g0hM9SsE+OTPJTGt/tmIKtSyZlE3uFJELVlNIOLJ1OE= v1,bm9ldHUjKzFob2VudXRob2VodWUzMjRvdWVvdW9ldQo= v2,MzJsNDk4MzI0K2VvdSMjMTEjQEBAQDEyMzMzMzEyMwo=
```
Make sure to remove the version prefix and delimiter (e.g. v1,) before verifying the signature.
# Get analytics
Source: https://docs.hyperline.co/api-reference/endpoints/analytics/get-analytics
get /v1/analytics
Retrieve your pre-computed account's analytics (ARR, revenues, churn, etc).
# Get bank account
Source: https://docs.hyperline.co/api-reference/endpoints/bank-accounts/get-bank-account
get /v1/bank-accounts/{id}
Retrieve a specific bank account by ID.
# Get bank accounts
Source: https://docs.hyperline.co/api-reference/endpoints/bank-accounts/get-bank-accounts
get /v1/bank-accounts
Retrieve all bank accounts.
# Create billable event
Source: https://docs.hyperline.co/api-reference/endpoints/billable-events/create-billable-event
post /v1/events
Create a new billable event.
# Create billable events
Source: https://docs.hyperline.co/api-reference/endpoints/billable-events/create-billable-events
post /v1/events/batch
Create several billable events in batch (limited to max 5000 events per request).
# Delete billable events
Source: https://docs.hyperline.co/api-reference/endpoints/billable-events/delete-billable-events
delete /v1/events
Delete existing billable events.
# Get billable event prices
Source: https://docs.hyperline.co/api-reference/endpoints/billable-events/get-billable-event-prices
get /v1/events/prices
Get previous calculation results for a billable event. You can search by either calculation_id / record_id or both.
# Ingest and calculate billable event prices
Source: https://docs.hyperline.co/api-reference/endpoints/billable-events/ingest-and-calculate-billable-event-prices
post /v1/events/prices
Ingest and calculate prices for a single billable event. After the first ingestion, events are not ingested again and the prices won't be calculated again. The initially calculated prices will be returned in subsequent calls.
# Simulate billable event prices
Source: https://docs.hyperline.co/api-reference/endpoints/billable-events/simulate-billable-event-prices
post /v1/events/simulate-prices
Simulate prices for a single billable event without ingesting it.
# Create company
Source: https://docs.hyperline.co/api-reference/endpoints/companies/create-company
post /v1/companies
Create a new company to which the authentication token will have access to.
# Get companies
Source: https://docs.hyperline.co/api-reference/endpoints/companies/get-companies
get /v1/companies
Retrieve all companies that the authentication token has access to.
# Create promotion code
Source: https://docs.hyperline.co/api-reference/endpoints/coupons->-promotion-codes/create-promotion-code
post /v1/promotion-codes
Create a new promotion code.
# Delete promotion code
Source: https://docs.hyperline.co/api-reference/endpoints/coupons->-promotion-codes/delete-promotion-code
delete /v1/promotion-codes/{id}
Delete an existing promotion code.
# Get promotion code
Source: https://docs.hyperline.co/api-reference/endpoints/coupons->-promotion-codes/get-promotion-code
get /v1/promotion-codes/{id}
Retrieve the details of an existing promotion code.
# Get promotion codes
Source: https://docs.hyperline.co/api-reference/endpoints/coupons->-promotion-codes/get-promotion-codes
get /v1/promotion-codes
Retrieve existing promotion codes.
# Update promotion code
Source: https://docs.hyperline.co/api-reference/endpoints/coupons->-promotion-codes/update-promotion-code
patch /v1/promotion-codes/{id}
Update the details of an existing promotion code.
# Create coupon
Source: https://docs.hyperline.co/api-reference/endpoints/coupons/create-coupon
post /v1/coupons
Create a new coupon.
# Delete coupon
Source: https://docs.hyperline.co/api-reference/endpoints/coupons/delete-coupon
delete /v1/coupons/{id}
Delete an existing coupon.
# Get coupon
Source: https://docs.hyperline.co/api-reference/endpoints/coupons/get-coupon
get /v1/coupons/{id}
Retrieve the details of an existing coupon.
# Get coupons
Source: https://docs.hyperline.co/api-reference/endpoints/coupons/get-coupons
get /v1/coupons
Retrieve existing coupons.
# Update coupon
Source: https://docs.hyperline.co/api-reference/endpoints/coupons/update-coupon
put /v1/coupons/{id}
Update the details of an existing coupon.
# Create custom property
Source: https://docs.hyperline.co/api-reference/endpoints/custom-properties/create-custom-property
post /v1/custom-properties
Create a new custom property.
# Delete custom property
Source: https://docs.hyperline.co/api-reference/endpoints/custom-properties/delete-custom-property
delete /v1/custom-properties/{id}
Delete an existing custom property.
# Get custom properties
Source: https://docs.hyperline.co/api-reference/endpoints/custom-properties/get-custom-properties
get /v1/custom-properties
Retrieve all custom properties previously created.
# Update custom property
Source: https://docs.hyperline.co/api-reference/endpoints/custom-properties/update-custom-property
put /v1/custom-properties/{id}
Update an existing custom property.
# Create credit product
Source: https://docs.hyperline.co/api-reference/endpoints/customers->-credits/create-credit-product
post /v1/customers/{id}/credits
Create a credit entity for a given product with an optional balance.
# Create credits usage
Source: https://docs.hyperline.co/api-reference/endpoints/customers->-credits/create-credits-usage
post /v1/customers/{id}/credits/{productId}/usage
Create a usage entry for a credit product. This will impact the balance of the customer by `usage_retained`.
# Get all credit products
Source: https://docs.hyperline.co/api-reference/endpoints/customers->-credits/get-all-credit-products
get /v1/customers/credits
Retrieve credit products for all customers.
# Get credit product
Source: https://docs.hyperline.co/api-reference/endpoints/customers->-credits/get-credit-product
get /v1/customers/{id}/credits/{productId}
Retrieve the details of an existing credit product for a customer.
# Get credit products
Source: https://docs.hyperline.co/api-reference/endpoints/customers->-credits/get-credit-products
get /v1/customers/{id}/credits
Retrieve credit products attached to a customer.
# Get credit transactions
Source: https://docs.hyperline.co/api-reference/endpoints/customers->-credits/get-credit-transactions
get /v1/customers/{id}/credits/{productId}/transactions
Retrieve all credit transactions associated with a credit product.
# Purchase credits
Source: https://docs.hyperline.co/api-reference/endpoints/customers->-credits/purchase-credits
post /v1/customers/{id}/credits/{productId}/purchase
Purchase a number of credits. This action will generate an invoice and charge the customer.
# Topup credits
Source: https://docs.hyperline.co/api-reference/endpoints/customers->-credits/topup-credits
post /v1/customers/{id}/credits/{productId}/topup
Topup a number of free credits. This action will not charge the customer.
# Update credit product
Source: https://docs.hyperline.co/api-reference/endpoints/customers->-credits/update-credit-product
put /v1/customers/{id}/credits/{productId}
Update the configuration of a customer's credit product.
# Create payment method
Source: https://docs.hyperline.co/api-reference/endpoints/customers->-payment-methods/create-payment-method
post /v1/customers/{id}/payment-methods
Import an existing customer payment method from a connected payment provider.
# Delete payment method
Source: https://docs.hyperline.co/api-reference/endpoints/customers->-payment-methods/delete-payment-method
delete /v1/customers/{id}/payment-methods/{paymentMethodId}
Delete an existing customer payment method.
# Get payment method
Source: https://docs.hyperline.co/api-reference/endpoints/customers->-payment-methods/get-payment-method
get /v1/customers/{id}/payment-methods/{paymentMethodId}
Retrieve the details of an existing customer payment method.
# Get payment methods
Source: https://docs.hyperline.co/api-reference/endpoints/customers->-payment-methods/get-payment-methods
get /v1/customers/{id}/payment-methods
Retrieve payment methods attached to a customer.
# Archive customer
Source: https://docs.hyperline.co/api-reference/endpoints/customers/archive-customer
put /v1/customers/{id}/archive
Archive an existing customer.
# Bulk update providers/customers mapping
Source: https://docs.hyperline.co/api-reference/endpoints/customers/bulk-update-providerscustomers-mapping
post /v1/customers/providers-bulk-update
Bulk update providers/customers mapping, make sure to check the query response to see if all customers were updated.
# Create customer
Source: https://docs.hyperline.co/api-reference/endpoints/customers/create-customer
post /v1/customers
Create a new customer.
# Create customers batch
Source: https://docs.hyperline.co/api-reference/endpoints/customers/create-customers-batch
post /v1/customers/batch
Create a batch of new customers.
# Delete customer
Source: https://docs.hyperline.co/api-reference/endpoints/customers/delete-customer
delete /v1/customers/{id}
Delete an existing customer. The customer must be archived prior to the deletion.
# Get customer
Source: https://docs.hyperline.co/api-reference/endpoints/customers/get-customer
get /v1/customers/{id}
Retrieve the details of an existing customer.
# Get customer portal
Source: https://docs.hyperline.co/api-reference/endpoints/customers/get-customer-portal
get /v1/customers/{id}/portal
Retrieve the URL of the customer portal.
# Get customer tax rates
Source: https://docs.hyperline.co/api-reference/endpoints/customers/get-customer-tax-rates
get /v1/customers/{id}/taxes/rates
Retrieve the eligible tax rates for a customer.
# Get customers
Source: https://docs.hyperline.co/api-reference/endpoints/customers/get-customers
get /v1/customers
Retrieve existing customers.
# Unarchive customer
Source: https://docs.hyperline.co/api-reference/endpoints/customers/unarchive-customer
put /v1/customers/{id}/unarchive
Unarchive an archived customer.
# Update customer
Source: https://docs.hyperline.co/api-reference/endpoints/customers/update-customer
put /v1/customers/{id}
Update the details of an existing customer.
# Create export
Source: https://docs.hyperline.co/api-reference/endpoints/exports/create-export
post /v1/exports
Prepare an export of a given type for download. You can check the export readiness status using the GET endpoint. Once the export is ready, download the export using the download endpoint.
# Download export
Source: https://docs.hyperline.co/api-reference/endpoints/exports/download-export
get /v1/exports/{exportId}/download
Download the file associated with a specific export.
# Get export
Source: https://docs.hyperline.co/api-reference/endpoints/exports/get-export
get /v1/exports/{exportId}
Retrieve the details of an existing export.
# Create file
Source: https://docs.hyperline.co/api-reference/endpoints/files/create-file
post /v1/files
Create a new file.
# Delete file
Source: https://docs.hyperline.co/api-reference/endpoints/files/delete-file
delete /v1/files/{id}
Delete an existing file.
# Download file
Source: https://docs.hyperline.co/api-reference/endpoints/files/download-file
get /v1/files/{id}/download
Download an existing file content.
# Get files
Source: https://docs.hyperline.co/api-reference/endpoints/files/get-files
get /v1/files
Retrieve existing files.
# Create component token
Source: https://docs.hyperline.co/api-reference/endpoints/integrations/create-component-token
post /v1/integrations/components/token
Create a new token for embedded components.
# Create transaction
Source: https://docs.hyperline.co/api-reference/endpoints/invoices->-transactions/create-transaction
post /v1/invoices/{id}/transactions
Create a transaction linked to an existing invoice. This may update the invoice status to paid/partially paid.
# Delete transaction
Source: https://docs.hyperline.co/api-reference/endpoints/invoices->-transactions/delete-transaction
delete /v1/invoices/{id}/transactions/{transactionId}
Delete a transaction linked to an existing invoice. Only applies to scheduled transaction.
# Charge invoice
Source: https://docs.hyperline.co/api-reference/endpoints/invoices/charge-invoice
post /v1/invoices/{id}/charge
Manually trigger the payment of the invoice.
# Create credit note
Source: https://docs.hyperline.co/api-reference/endpoints/invoices/create-credit-note
post /v1/invoices/{id}/credit-notes
Create a credit note for an existing invoice.
# Create invoice
Source: https://docs.hyperline.co/api-reference/endpoints/invoices/create-invoice
post /v1/invoices
Create a new invoice.
# Create invoices
Source: https://docs.hyperline.co/api-reference/endpoints/invoices/create-invoices
post /v1/invoices/batch
Create new invoices in batch (max 50 items).
# Delete invoice
Source: https://docs.hyperline.co/api-reference/endpoints/invoices/delete-invoice
delete /v1/invoices/{id}
Delete an invoice in `draft` status or imported from an external source. For other statuses, the `POST /v1/invoices/{id}/void` endpoint must be used.
# Download invoice
Source: https://docs.hyperline.co/api-reference/endpoints/invoices/download-invoice
get /v1/invoices/{id}/download
Download the PDF of an existing invoice.
# Get invoice
Source: https://docs.hyperline.co/api-reference/endpoints/invoices/get-invoice
get /v1/invoices/{id}
Retrieve the details of an existing invoice.
# Get invoices
Source: https://docs.hyperline.co/api-reference/endpoints/invoices/get-invoices
get /v1/invoices
Retrieve existing invoices. By default, invoices with status `open` are not included.
# Mark as uncollectible
Source: https://docs.hyperline.co/api-reference/endpoints/invoices/mark-as-uncollectible
post /v1/invoices/{id}/uncollectible
Mark an invoice as uncollectible, useful for keeping track of bad debts that can be written off for accounting purposes.
# Update invoice
Source: https://docs.hyperline.co/api-reference/endpoints/invoices/update-invoice
patch /v1/invoices/{id}
Update an invoice in draft or grace_period status.
# Upload PDF to invoice
Source: https://docs.hyperline.co/api-reference/endpoints/invoices/upload-pdf-to-invoice
post /v1/invoices/{id}/upload
Upload a PDF file to an existing invoice.
# Validate draft invoice
Source: https://docs.hyperline.co/api-reference/endpoints/invoices/validate-draft-invoice
post /v1/invoices/{id}/validate
Send a draft invoice for payment, set the status to `to_pay` and its number. This is not reversible.
# Void invoice
Source: https://docs.hyperline.co/api-reference/endpoints/invoices/void-invoice
post /v1/invoices/{id}/void
Void an invoice in a `to_pay` status. This action generates a corresponding credit note.
# Create invoicing entity
Source: https://docs.hyperline.co/api-reference/endpoints/invoicing-entities/create-invoicing-entity
post /v1/invoicing-entities
Create a new invoicing entity to send invoices from.
# Delete invoicing entity
Source: https://docs.hyperline.co/api-reference/endpoints/invoicing-entities/delete-invoicing-entity
delete /v1/invoicing-entities/{id}
Soft deletes an invoicing entity. This action won't delete the associated invoices.
# Get invoicing entities
Source: https://docs.hyperline.co/api-reference/endpoints/invoicing-entities/get-invoicing-entities
get /v1/invoicing-entities
Retrieve all invoicing entities for your current client.
# Get invoicing entity
Source: https://docs.hyperline.co/api-reference/endpoints/invoicing-entities/get-invoicing-entity
get /v1/invoicing-entities/{id}
Retrieve a specific invoicing entity.
# Update invoicing entity
Source: https://docs.hyperline.co/api-reference/endpoints/invoicing-entities/update-invoicing-entity
put /v1/invoicing-entities/{id}
Update an existing invoicing entity.
# Authorize
Source: https://docs.hyperline.co/api-reference/endpoints/oauth2/authorize
get /v1/oauth/authorize
Redirects the user to the Hyperline's login page, and grants authorization to your integration.
# Generate tokens
Source: https://docs.hyperline.co/api-reference/endpoints/oauth2/generate-tokens
post /v1/oauth/tokens
Exchange an auth code received at the authorize endpoint for an actual access token, or refresh it.
# Get user info
Source: https://docs.hyperline.co/api-reference/endpoints/oauth2/get-user-info
get /v1/oauth/userinfo
Returns the user information associated with an access token.
# Revoke token
Source: https://docs.hyperline.co/api-reference/endpoints/oauth2/revoke-token
post /v1/oauth/revoke
Revoke a refresh token. Once revoked the token can not be used anymore.
# Get organisation
Source: https://docs.hyperline.co/api-reference/endpoints/organisations/get-organisation
get /v1/organisations/{id}
Retrieve the details of an existing organisation.
# Patch organisation
Source: https://docs.hyperline.co/api-reference/endpoints/organisations/patch-organisation
patch /v1/organisations/{id}
Update the details of an existing organisation.
# Create payment
Source: https://docs.hyperline.co/api-reference/endpoints/payments/create-payment
post /v1/payments
Initiate a new payment (limited to one-time): generate an invoice and charge it directly or with a checkout session
# Get plan
Source: https://docs.hyperline.co/api-reference/endpoints/plans/get-plan
get /v1/plans/{id}
Plans are discontinued and progressively replaced by subscription templates.
# Get plans
Source: https://docs.hyperline.co/api-reference/endpoints/plans/get-plans
get /v1/plans
Plans are discontinued and progressively replaced by subscription templates.
# Delete price configuration
Source: https://docs.hyperline.co/api-reference/endpoints/price-configurations/delete-price-configuration
delete /v1/price-configurations/{id}
Delete an existing price configuration.
# Get price configurations
Source: https://docs.hyperline.co/api-reference/endpoints/price-configurations/get-price-configurations
get /v1/price-configurations
Retrieve existing price configurations.
# Update prices
Source: https://docs.hyperline.co/api-reference/endpoints/price-configurations/update-prices
put /v1/price-configurations/{id}/prices
Update prices of an existing price configuration.
# Archive product
Source: https://docs.hyperline.co/api-reference/endpoints/products/archive-product
put /v1/products/{id}/archive
Archive an existing product.
# Create product
Source: https://docs.hyperline.co/api-reference/endpoints/products/create-product
post /v1/products
Create a new product.
# Get product
Source: https://docs.hyperline.co/api-reference/endpoints/products/get-product
get /v1/products/{id}
Retrieve the details of an existing product. Only the first 50 price configurations are returned, to retrieve all of them use `GET /v1/price-configurations`.
# Get products
Source: https://docs.hyperline.co/api-reference/endpoints/products/get-products
get /v1/products
Retrieve existing products.
# Unarchive product
Source: https://docs.hyperline.co/api-reference/endpoints/products/unarchive-product
put /v1/products/{id}/unarchive
Unarchive an archived product.
# Update product
Source: https://docs.hyperline.co/api-reference/endpoints/products/update-product
put /v1/products/{id}
Update the details of an existing product.
# Approve quote
Source: https://docs.hyperline.co/api-reference/endpoints/quotes/approve-quote
post /v1/quotes/{id}/approve
Approve an existing quote (acting as the account owner).
# Create quote
Source: https://docs.hyperline.co/api-reference/endpoints/quotes/create-quote
post /v1/quotes
Create a new quote.
# Download quote
Source: https://docs.hyperline.co/api-reference/endpoints/quotes/download-quote
get /v1/quotes/{id}/download
Download an existing quote.
# Download quote file
Source: https://docs.hyperline.co/api-reference/endpoints/quotes/download-quote-file
get /v1/quotes/{quoteId}/files/{id}/download
Download a file (attachment or manually signed file) attached to an existing quote.
# Get quote
Source: https://docs.hyperline.co/api-reference/endpoints/quotes/get-quote
get /v1/quotes/{id}
Retrieve the details of an existing quote.
# Get quotes
Source: https://docs.hyperline.co/api-reference/endpoints/quotes/get-quotes
get /v1/quotes
Retrieve existing quotes.
# Send quote
Source: https://docs.hyperline.co/api-reference/endpoints/quotes/send-quote
post /v1/quotes/{id}/send
Send an existing quote by email for signature.
# Sign quote
Source: https://docs.hyperline.co/api-reference/endpoints/quotes/sign-quote
post /v1/quotes/{id}/sign
Manually mark the quote as signed externally. Built-in Hyperline signature flow won't be used.
# Void quote
Source: https://docs.hyperline.co/api-reference/endpoints/quotes/void-quote
post /v1/quotes/{id}/void
Void an existing quote.
# Get subscription template
Source: https://docs.hyperline.co/api-reference/endpoints/subscriptions->-templates/get-subscription-template
get /v1/subscriptions/templates/{id}
Retrieve an existing subscription template with its configurations details.
# Get subscription templates
Source: https://docs.hyperline.co/api-reference/endpoints/subscriptions->-templates/get-subscription-templates
get /v1/subscriptions/templates
Retrieve existing subscription templates.
# Activate subscription
Source: https://docs.hyperline.co/api-reference/endpoints/subscriptions/activate-subscription
post /v1/subscriptions/{id}/activate
Manually start a subscription for the first time.
# Cancel subscription
Source: https://docs.hyperline.co/api-reference/endpoints/subscriptions/cancel-subscription
post /v1/subscriptions/{id}/cancel
Cancel an existing subscription.
# Create subscription
Source: https://docs.hyperline.co/api-reference/endpoints/subscriptions/create-subscription
post /v2/subscriptions
Create a new subscription from a plan or manually with products.
# Create subscription update
Source: https://docs.hyperline.co/api-reference/endpoints/subscriptions/create-subscription-update
post /v1/subscriptions/{id}/update
Create an update to apply on an existing subscription.
# Create subscription updates
Source: https://docs.hyperline.co/api-reference/endpoints/subscriptions/create-subscription-updates
post /v1/subscriptions/{id}/update-many
Create multiple updates to apply at once to an existing subscription.
# Get subscription
Source: https://docs.hyperline.co/api-reference/endpoints/subscriptions/get-subscription
get /v2/subscriptions/{id}
Retrieve the details of an existing subscription.
# Get subscription phase
Source: https://docs.hyperline.co/api-reference/endpoints/subscriptions/get-subscription-phase
get /v2/subscriptions/{id}/phases/{phaseId}
Retrieve the details of a phase for an existing subscription.
# Get subscription phases
Source: https://docs.hyperline.co/api-reference/endpoints/subscriptions/get-subscription-phases
get /v2/subscriptions/{id}/phases
Retrieve the details of the phases for an existing subscription.
# Get subscriptions
Source: https://docs.hyperline.co/api-reference/endpoints/subscriptions/get-subscriptions
get /v2/subscriptions
Retrieve existing subscriptions. By default, draft, voided, and cancelled subscriptions are not included.
# Pause subscription
Source: https://docs.hyperline.co/api-reference/endpoints/subscriptions/pause-subscription
post /v1/subscriptions/{id}/pause
Pause a subscription.
# Reactivate subscription
Source: https://docs.hyperline.co/api-reference/endpoints/subscriptions/reactivate-subscription
post /v1/subscriptions/{id}/reactivate
Reactivate a paused subscription.
# Refresh seat products
Source: https://docs.hyperline.co/api-reference/endpoints/subscriptions/refresh-seat-products
post /v2/subscriptions/{id}/refresh-seat-products
Triggers 'count' updates on connected seat products within the subscription. This action will use the dataloader query to retrieve and update the number of units for each seat product.
# Refresh subscriptions
Source: https://docs.hyperline.co/api-reference/endpoints/subscriptions/refresh-subscriptions
post /v1/subscriptions/refresh
Triggers refresh of subscriptions usage data and related open invoices. This action is used when the automatic billing update upon ingestion option is disabled for the account.
# Reinstate subscription
Source: https://docs.hyperline.co/api-reference/endpoints/subscriptions/reinstate-subscription
post /v1/subscriptions/{id}/reinstate
Reinstate an existing subscription scheduled for cancellation.
# Renew subscription
Source: https://docs.hyperline.co/api-reference/endpoints/subscriptions/renew-subscription
post /v1/subscriptions/{id}/renew
This action will move the subscription into the future up to a specific date (exclusive), as if the renewals had occurred. As a result, the corresponding future invoices will be generated.
If the subscription is currently pending, this action will activate it. A limit of 36 renewals applies.
# Simulate subscription updates
Source: https://docs.hyperline.co/api-reference/endpoints/subscriptions/simulate-subscription-updates
post /v1/subscriptions/{id}/simulate-updates
Simulate the effect of updates on a subscription without actually applying them.
# Transition subscription to next phase
Source: https://docs.hyperline.co/api-reference/endpoints/subscriptions/transition-subscription-to-next-phase
post /v2/subscriptions/{id}/next-phase
Update a subscription and transition it to the next available phase.
# Update subscription
Source: https://docs.hyperline.co/api-reference/endpoints/subscriptions/update-subscription
put /v2/subscriptions/{id}
Update configuration of a subscription including phases and products.
# Get tax rate
Source: https://docs.hyperline.co/api-reference/endpoints/taxes/get-tax-rate
get /v1/taxes/rates/{id}
Retrieve the details of an existing custom tax rate.
# Get tax rates
Source: https://docs.hyperline.co/api-reference/endpoints/taxes/get-tax-rates
get /v1/taxes/rates
Retrieve existing custom tax rates.
# Create app
Source: https://docs.hyperline.co/api-reference/endpoints/third-party-apps/create-app
post /v1/apps
Create a new third-party app.
# Delete app
Source: https://docs.hyperline.co/api-reference/endpoints/third-party-apps/delete-app
delete /v1/apps/{id}
Delete an existing third-party app.
# Get apps
Source: https://docs.hyperline.co/api-reference/endpoints/third-party-apps/get-apps
get /v1/apps
Retrieve existing third-party apps.
# Update app
Source: https://docs.hyperline.co/api-reference/endpoints/third-party-apps/update-app
put /v1/apps/{id}
Update an existing third-party app.
# Create wallet
Source: https://docs.hyperline.co/api-reference/endpoints/wallets/create-wallet
post /v1/wallets
Create a new wallet.
# Get wallet
Source: https://docs.hyperline.co/api-reference/endpoints/wallets/get-wallet
get /v1/wallets/{id}
Retrieve the details of an existing wallet.
# Get wallet settings
Source: https://docs.hyperline.co/api-reference/endpoints/wallets/get-wallet-settings
get /v1/wallets/settings
Retrieve the global settings of the wallets.
# Get wallet transactions
Source: https://docs.hyperline.co/api-reference/endpoints/wallets/get-wallet-transactions
get /v1/wallets/{id}/transactions
Retrieve all transactions of an existing wallet.
# Get wallets
Source: https://docs.hyperline.co/api-reference/endpoints/wallets/get-wallets
get /v1/wallets
Retrieve existing wallets.
# Load wallet
Source: https://docs.hyperline.co/api-reference/endpoints/wallets/load-wallet
post /v1/wallets/{id}/load
Load credits on an existing wallet. The related customer must have an active payment method.
# Update wallet
Source: https://docs.hyperline.co/api-reference/endpoints/wallets/update-wallet
put /v1/wallets/{id}
Update the details of an existing wallet.
# Update wallet settings
Source: https://docs.hyperline.co/api-reference/endpoints/wallets/update-wallet-settings
patch /v1/wallets/settings
Update the global settings of the wallets.
# Create webhook endpoint
Source: https://docs.hyperline.co/api-reference/endpoints/webhooks/create-webhook-endpoint
post /v1/webhooks/endpoints
Create a new webhook endpoint.
# Delete webhook endpoint
Source: https://docs.hyperline.co/api-reference/endpoints/webhooks/delete-webhook-endpoint
delete /v1/webhooks/endpoints/{id}
Delete an existing webhook endpoint.
# Get webhook endpoint
Source: https://docs.hyperline.co/api-reference/endpoints/webhooks/get-webhook-endpoint
get /v1/webhooks/endpoints/{id}
Retrieve an existing webhook endpoint.
# Get webhook endpoints
Source: https://docs.hyperline.co/api-reference/endpoints/webhooks/get-webhook-endpoints
get /v1/webhooks/endpoints
Retrieve all webhook endpoints.
# Get webhook messages
Source: https://docs.hyperline.co/api-reference/endpoints/webhooks/get-webhook-messages
get /v1/webhooks/messages
Retrieve all webhook messages sent.
Please note that, by default, this endpoint is limited to retrieving 90 days' worth of data relative to now. Messages that date back more than 90 days are still accessible, but their payloads are expunged.
If an iterator is provided, the endpoint retrieves data spanning 90 days before/after the time indicated by the iterator ID. If you require data beyond those time ranges, you will need to explicitly set the before or after parameter as appropriate.
# Update webhook endpoint
Source: https://docs.hyperline.co/api-reference/endpoints/webhooks/update-webhook-endpoint
put /v1/webhooks/endpoints/{id}
Update an existing webhook endpoint.
# Product updates June, 2025
Source: https://docs.hyperline.co/changelog/2025-06
## Multi-Factor Authentication (MFA)
Hyperline now supports advanced authentication via Multi-Factor Authentication (MFA or 2FA) for our enterprise clients. Supported methods include one-time passwords (OTP), one-time codes via email, and biometric authentication (e.g., Touch ID or passkeys).
 Once MFA is activated, it will be enforced for all account members at their next login. If a user belongs to multiple accounts, MFA will be required for each.
## Update subscription phases
Subscription future phases can now be updated. Additionally, you can add new phases or remove existing ones. This allows you to plan contract changes in advance, such as pricing updates or multi-year configurations.
 ## Record cancellation reason
You can now record the reason for cancelling a subscription. This will be displayed in the subscription details page and accessible from the API.
 ## New bundle pricing model
The bundle pricing model is now available for seat-based products. This allows you to configure predefined bundles with specific quantity/price combinations, making only those options available when creating new quotes and subscriptions.
 ## Edit footer invoice
In addition to the global invoice legal/additional information global settings, you can now edit these footer sections of each invoice directly in the invoice editor. This allows for advanced invoice customization to meet ad-hoc needs.
 ## Switch between B2C or B2B on public pages
Public pages (customer portal, checkout, and quote pages) now allow your customers to select between B2C (person) and B2B (corporate) typologies. This selection will determine the required form fields during these flows, and categorize more accurately the customers in Hyperline.
 ## ChorusPro auto-transmission
As part of e-invoicing regulations, Hyperline now supports the automatic transmission of invoices to ChorusPro for Business-to-Government (B2G) customers. Until now, only PDF/XML file generation was available — this new capability removes the need for any manual action on the ChorusPro side by finance teams.
# Product updates July, 2025
Source: https://docs.hyperline.co/changelog/2025-07
## Apple Pay / Google Pay
Hyperline now supports Apple Pay and Google Pay, enabling frictionless payments and removing the need to manually enter card details. With these methods, customers can also save their card for future use. The payment flow works the same as with credit or debit cards.
 ## More filters
We've added new filters on list pages:
* Customers can now be filtered by integration.
* Invoices can now be filtered by plan and integration.
* Subscriptions can now be filtered by product and coupon.
 ## Manage customer files via the API
You can now list, create, delete, and download customer files through the API. This allows you to programmatically manage files and build advanced use cases for your product on top of Hyperline.
 ## Custom quote file names
The name of a downloaded quote file can now be customized for your account.
 ## Import external payment methods
Payment methods collected outside of Hyperline (for example, via an embedded PSP form in your product) can now be imported into Hyperline using the API.
# Product updates August, 2025
Source: https://docs.hyperline.co/changelog/2025-08
## Edit subscription phases
You can now add, edit, and delete subscription phases for active subscriptions directly from the subscription update page. This makes it easier to customize phases to better align with each customer or contract's future needs.
 ## Prefill quantity from plan
Plans with seat-based products can now include a preconfigured quantity. When the plan is used to create a subscription, the quantity will be automatically prefilled—no manual input required.
 ## Preview invoices and quotes
We improved the PDF preview of invoices and quotes by clearly highlighting the displayed language. You can now easily switch between the account language (legal) and the customer's language with a single click when both are different.
 ## Product order in subscriptions
The order of products in a subscription can now be adjusted during creation. Simply move products up or down to control the display order, which will be reflected in related quotes and invoices.
 ## ChartMogul integration
[ChartMogul](https://www.chartmogul.com?utm_source=hyperline) now natively supports Hyperline. Benefit from all ChartMogul capabilities to analyze your subscription revenue from your Hyperline data.
 ## Schedule subscription changes
It's now possible to schedule subscription changes for a specific date using the API. This allows you to programmatically plan updates in advance and build more advanced subscription flows.
## Support for Stripe Link
Hyperline now supports Stripe Link, a Stripe-specific payment method that can be automatically imported and used to process invoice charges in Hyperline.
# Product updates September, 2025
Source: https://docs.hyperline.co/changelog/2025-09
## Subscription templates
We are progressively rolling out a subscription templates module, introducing a new way to preconfigure subscriptions with their full set of options and capabilities. Similar to plans, they allow subscriptions to be assigned in a single click and can be used in quote templates.
The key difference from plans is that all subscription options available in the subscription assignment flow are included in these templates (phases, contracts, advanced options, etc.), removing existing limitations and moving toward a broader concept of templates. Plans will be gradually discontinued.
 *Contact our support if you are interested.*
## Auto top-up on credits
Customer credit balances can now be automatically topped up, either from an existing catalog price or a custom one. These options are available both in the UI and via the API.
 ## Relative duration on coupons
Coupons within subscriptions can now be configured with a relative duration (e.g., 6 months). You can now set them to apply once, for a fixed duration, or for the entire phase or subscription period.
 ## Custom quote name
Clients can now customize the quote name on the document — for example, renaming “Quote” to “Contract” or removing the quote number displayed.
 The configuration of this name is available in all supported languages.
 ## Uncollectible invoice
Invoices can now be marked as uncollectible, allowing you to track bad debts that may be written off for accounting purposes. An uncollectible invoice can still be paid by the customer (it remains “to pay”).
 ## Non-recurring subscriptions
Hyperline subscriptions can now contain one-time products only, allowing you to represent customer contracts and terms, or include only credit-based products — all without recurring usage.
 ## Transition options on quote update
When configuring a quote for a subscription update, you now have different options to transition from the current configuration to the new one:
* Direct: a new billing cycle starts when the quote is signed, with no transition invoice (no refund from the previous phase and no prorated charge for the new phase).
* Pro-rata: the default behavior until now — billing cycles are preserved when possible, and a transition invoice with prorations is issued at quote signature. This remains the default behavior.
## Transaction synchronization with accounting software
When using an integration with accounting software, you now have the flexibility to configure the synchronization direction between Hyperline and your accounting system.
 ## UI updates
We've rolled out several UI improvements:
* Added a secondary navigation bar for each product category
* Moved audit pages to the main navigation
* Added filters to the products page
* Updated status iconography for quotes, invoices, and transactions
# Product updates October, 2025
Source: https://docs.hyperline.co/changelog/2025-10
## Transactions page
We added a brand-new page in Hyperline to track transactions at the account level. This page lists all transactions that occurred in your account, including payments and refunds, providing a clear overview of your cash activity. Filters and export options are also available.
 ## Subscription versions
We introduced subscription versions to help you track changes to your subscriptions over time. Each time a subscription is updated, a new version is created, allowing you to view the full history of changes made to that subscription.
 ## Accounting integrations observability
We improved the observability of our accounting integrations by adding detailed logs in case of issues. This helps you clearly monitor syncs and quickly identify and resolve any problems that may arise.
 ## Edit current subscription phase
Just like with future phases, you can now edit the current phase of a subscription.
 ## E-invoicing Spain and Belgium
Automated e-invoicing transmission is now available for Spain and Belgium. We now send your invoices directly to the tax authorities in these countries, ensuring compliance with local regulations.
 ## Coupons improvements
We made several improvements to the coupons feature. Coupons can now be applied with a relative duration (e.g., for 3 months), and you can choose which line items the coupon applies to when creating or editing an invoice in the visual editor.
 Additionally, you can now create invoices with coupons using the API.
## Bank account error
We now send an email to the “Email for technical alerts” address (configured in the email settings) when a connected bank account cannot be refreshed. This proactive notification helps you reconnect your account promptly and ensure invoice reconciliation continues to work seamlessly.
## Update on parent invoices
From now on, in the context of organization-based billing, when a parent invoice includes products from a child customer, the child customer's name will be added as a prefix to the corresponding product (e.g., ChildCustomerA - Pro Subscription).
# Product updates November, 2025
Source: https://docs.hyperline.co/changelog/2025-11
## Insights
Hyperline now offers a full Insights module that provides a comprehensive overview of your financial and revenue metrics.
The **Financial page** includes cash-flow visibility, MRR and debt evolution, aged balances, and complete breakdowns of your revenue and accounts receivable, as well as detailed MRR analytics including new, expansion, contraction, lost, and net changes.
 The **Revenue page** provides in-depth insights into your revenue streams, including breakdowns by product, currency, and customer.
 *This module is in beta. Contact our support if you are interested.*
## Attio integration
Hyperline now natively supports [Attio](https://www.attio.com?utm_source=hyperline) CRM.
 The Hyperline Attio app enables you to create custom quotes or manage subscriptions directly from your Attio deals or companies using pre-built actions. Additionally, the integration can automatically sync your Hyperline quotes, subscriptions, and invoices into Attio as custom objects.
[More details in the documentation](../integrations/attio)
## Reconcile from bank statements
Automated invoice reconciliation from bank accounts has long been available in Hyperline, including the ability to validate matches from each invoice. Hyperline now also supports reconciliation from bank statements.
 From a dedicated transactions page listing inbound transactions from your connected bank accounts, you can now reconcile invoices with granular manual control and have a overview of all your connected bank accounts balance.
## Quote countersigner
A quote countersigner can now be configured in the settings (first name, last name, and email). When a quote is signed by your customer, if a countersigner is configured, we automatically countersign the quote (i.e. apply an additional signature) before finalising the full quote signature.
 ## Exports API
You can now [trigger and download exports](../api-reference/endpoints/exports/create-export) of pre-built Hyperline reports (including aged balances, revenue per product/line item/country, line-by-line revenue, etc.) directly from the API. This enables you to automate data extraction from Hyperline for use in your own systems or for further analysis.
In addition, [customers](../api-reference/endpoints/customers/get-customers), [invoices](../api-reference/endpoints/invoices/get-invoices), [subscriptions](../api-reference/endpoints/subscriptions/get-subscriptions), and [quotes](../api-reference/endpoints/quotes/get-quotes) can also be exported via the API using the list endpoints with advanced filtering options.
## Custom subscription ARR and contract value
Hyperline provides automatic calculation of Annual Recurring Revenue (ARR) and contract value for subscriptions out of the box, based on their pricing and billing cycles. However, there are scenarios where you may want to override these automatic calculations. Hyperline now allows you to set custom values for both ARR and contract value on a per-subscription basis, in addition to displaying them in the subscription overview.
 ## Update subscriptions
We've begun rolling out new flows for updating existing subscriptions, offering both simpler and more advanced options. You can now update a subscription using an existing template (or plan) or edit subscription details with enhanced versioning support.
 This change is the first step in a broader revamp of our subscription update flows, aimed at making them more flexible and easier to use — including the ability to schedule changes in advance and preview their impact on upcoming invoices.
## Advanced Exact Online settings
In Exact Online, a yearly invoice spanning 13 calendar months (e.g., 2025-11-19 to 2026-11-18) is recognized over 13 months instead of 12, resulting in incorrect monthly revenue recognition. Hyperline now supports an advanced setting to adjust this behavior. When this setting is enabled, the invoice period end date for yearly invoices is adjusted (e.g., to 2026-10-31 instead of 2026-11-18) so that revenue is recognized over 12 months.
# Dashboard
Source: https://docs.hyperline.co/docs/analytics/dashboard
The dashboard is the first interface you see when logging in to your Hyperline account. It will give you a quick, effective overview of your business and hints on actions needed to recover money faster. It welcomes you with the amount collected this week with the number of invoices involved.

 ## Available reports
Hyperline offers a curated selection of reports (as depicted in the screenshot above), important for assessing various aspects of your company's financial health, all of which are downloadable as CSV files for convenient access to the data you need at any time.
# Coupons
Source: https://docs.hyperline.co/docs/coupons/overview
Learn about creating and applying coupons in Hyperline
## Coupons definition
Coupons in Hyperline are a way to offer discounts to your customers.
Coupons can be offered as a fixed amount or a percentage of a given price.
 Then fill-up the following information:
* **Name**: the coupon's name (try to use simple, clear names)
* **Description**: the description is for internal use only and is not required to create a coupon
* Choose if you want to create a **fixed amount or a percentage** discount
* Choose **the amount or the value** of the coupon
* **Redemption deadline**: set up a deadline if you want your coupon to become invalid after a specific date
* **Redemption limit**: set up a limit if you want your coupon to be used only a specific amount of times
Click on **Create new coupon** once you are done.
 Your new coupon will appear instantly.
## Apply coupons
Once you created coupons, you can apply them to customers.
To do so, go to **Customer,** then to **Subscription**, and click on **Assign new subscription.** In the process, you can add coupons.


 If you don't have all the information now, you can still create the customer and come back later to edit its details. Only a name is required at this step, but we recommend filling in at least the currency and country of the customer.
 You can click on your customer's name from the previous screen to access their information.
From this page, you get an overview of your customer's information on the left of the screen, and you can navigate through their [subscriptions](../subscriptions/manage), [wallet](../wallets/overview), [invoices](../invoices/overview) and events on the right.


 When enabled, your customer will be able to edit the shipping address on the customer portal page.
 Shipping details can also be displayed in the customer's quotes and invoices.

 # Customer exports
Source: https://docs.hyperline.co/docs/customers/exports
Learn how to export your customers
If you wish to export your customer data for external analysis, Hyperline provides you with built-in file export within the Customers section.
## Export flow

 After clicking the export button, your customer data will be compiled into a CSV file. Download the file to access a complete export, including customer details, their number of active subscriptions, estimated ARR, and more.

 You'll be prompted to choose a parent organisation and then to select an invoicing configuration.
3 options are available at this stage.
* `Individual invoices` will move every invoice for the current customer to the parent and invoice it under the parent configuration while keeping the content identical.
* `Grouped` will set the current customers invoices as pending and concatenate them regularly with other children from the parent. Concatenated invoices will display one line item per children invoice with the original line items listed in description.
* `No change` will attach the child to the parent but will not change any invoicing parameter.
 If you have chosen `Grouped` for the child invoicing configuration, you'll need to set the grouping schedule on the parent.
To do this, go to the parent customer page, click on the dots next to "Org. based billing" and select "Children settings".
You'll be able to select a schedule (monthly, quarterly or yearly) and the next invoicing date. From there everything will be automated, but you can adjust the next invoicing date at any time.
 When going to the parent, you will see all the children and the related settings.
 A callout will appear on the invoicing section of the children to inform you that the invoices are being billed to the parent.
 As well as displaying information correctly, this portal offers a number of action options for your customers:
#### Portal language
The language will be displayed following these rules:
* If the customer's browser language is part of our 9 supported languages (English, French, German, Italian, Spanish, Polish, Portuguese and Dutch), it will be displayed in the language.
* If it is not part of the supported languages, we will default on the customer language selected on Hyperline customer information. By default, this language is inferred based on the customer's country.
#### View subscription details
Customers can access the full details of their subscription by clicking on 'Subscription details' on the portal.
 This sub-page will display the content of the next invoice that will be billed, as well as the detailed price structure of every product.
 #### Change payment method
To do that, they just have to click on the trash button next to their payment and add the new payment method they want to use.
 #### Top-up wallet
You can make your customers autonomous by offering them to top-up their wallet in the portal. For this, make sure you enable the option on the wallet settings first.
Clicking on Top-up wallet on this screen will trigger an immediate payment from the registered credit card and credit the wallets instantly.
 #### Edit billing information
To make changes, they simply need to click on the "Edit" option. This grants them the ability to update and modify their billing details as needed, ensuring accuracy and up-to-date information for a seamless payment process.
 #### Download invoices
All invoices are listed and can be open to their dedicated [invoice page](../invoices/invoice-page).
 Customer can download their invoice PDF using the 'Download' button on the top-right corner.
 ## How to access the customer portal
To view the portal for a specific customer: go to the customer page, select the customer you want to view then click on the 'Portal' button.
 You can easily provide your customers with this unique portal link. Each customer portal link is individually generated and secured through a unique ID.
## Customize the portal
### Colors & brand identity
The portal adopts the primary brand color and icon that have been configured in the 'Settings' section under the 'General' tab of Hyperline. This uses the same codes as those displayed on the invoice sent to your customers. This feature enables you to personalize your customer portal with the distinct colors and branding of your company
### Set a custom domain
In order to personalize further the experience for your customers, you can configure a custom domain for the hosted portal and checkout pages.
You can set it in [your settings](https://app.hyperline.co/app/settings/hosted-pages), and to enable it you need to add a `CNAME` record pointing to `cname.hyperline.co` on your DNS provider.
For example: you want to set your custom domain to `billing.alpeak.com` in Hyperline, and add the related `CNAME` record on your DNS provider, we will provide you portal and checkout URLs with the form:
```
https://billing.alpeak.com/portal/:customerId
https://billing.alpeak.com/checkout/:sessionId
```
We will automatically manage the related HTTPS SSL certificate.
### Set a redirect button
You can configure a back button in the hosted pages settings.
 And it will looks like this in the portal
 ### Display personalization
You can add this query parameters in you portal URL to hide the sidebar `&hideSidebar=true`, it will looks like:
 It works both for custom domain and hyperline hosted pages.
### Embed the customer portal in an iframe
You can embed the Hyperline customer portal inside your application using an `
 4. Copy the key and it in a safe space, you won't be able to see it later in Hyperline