> ## Documentation Index
> Fetch the complete documentation index at: https://docs.hyperline.co/llms.txt
> Use this file to discover all available pages before exploring further.
# Anrok
> Learn how to use Anrok as tax engine on Hyperline
## Prerequisites
You need to have a [Anrok account](https://anrok.com).
You need to know, that Hyperline is able to connect only one tax engine at a
time per invoicing entity, so if you want to use Anrok, you'll need to
configure all your products and jurisdictions in Anrok.
## Set-up
If [Anrok](https://www.anrok.com) is your preferred tax engine, you need to ask us for a connection, and we'll do the setup for you inside Hyperline.
### Get Anrok API key
But first, you'll need to provide us an Anrok API key that you can get from your Anrok account.
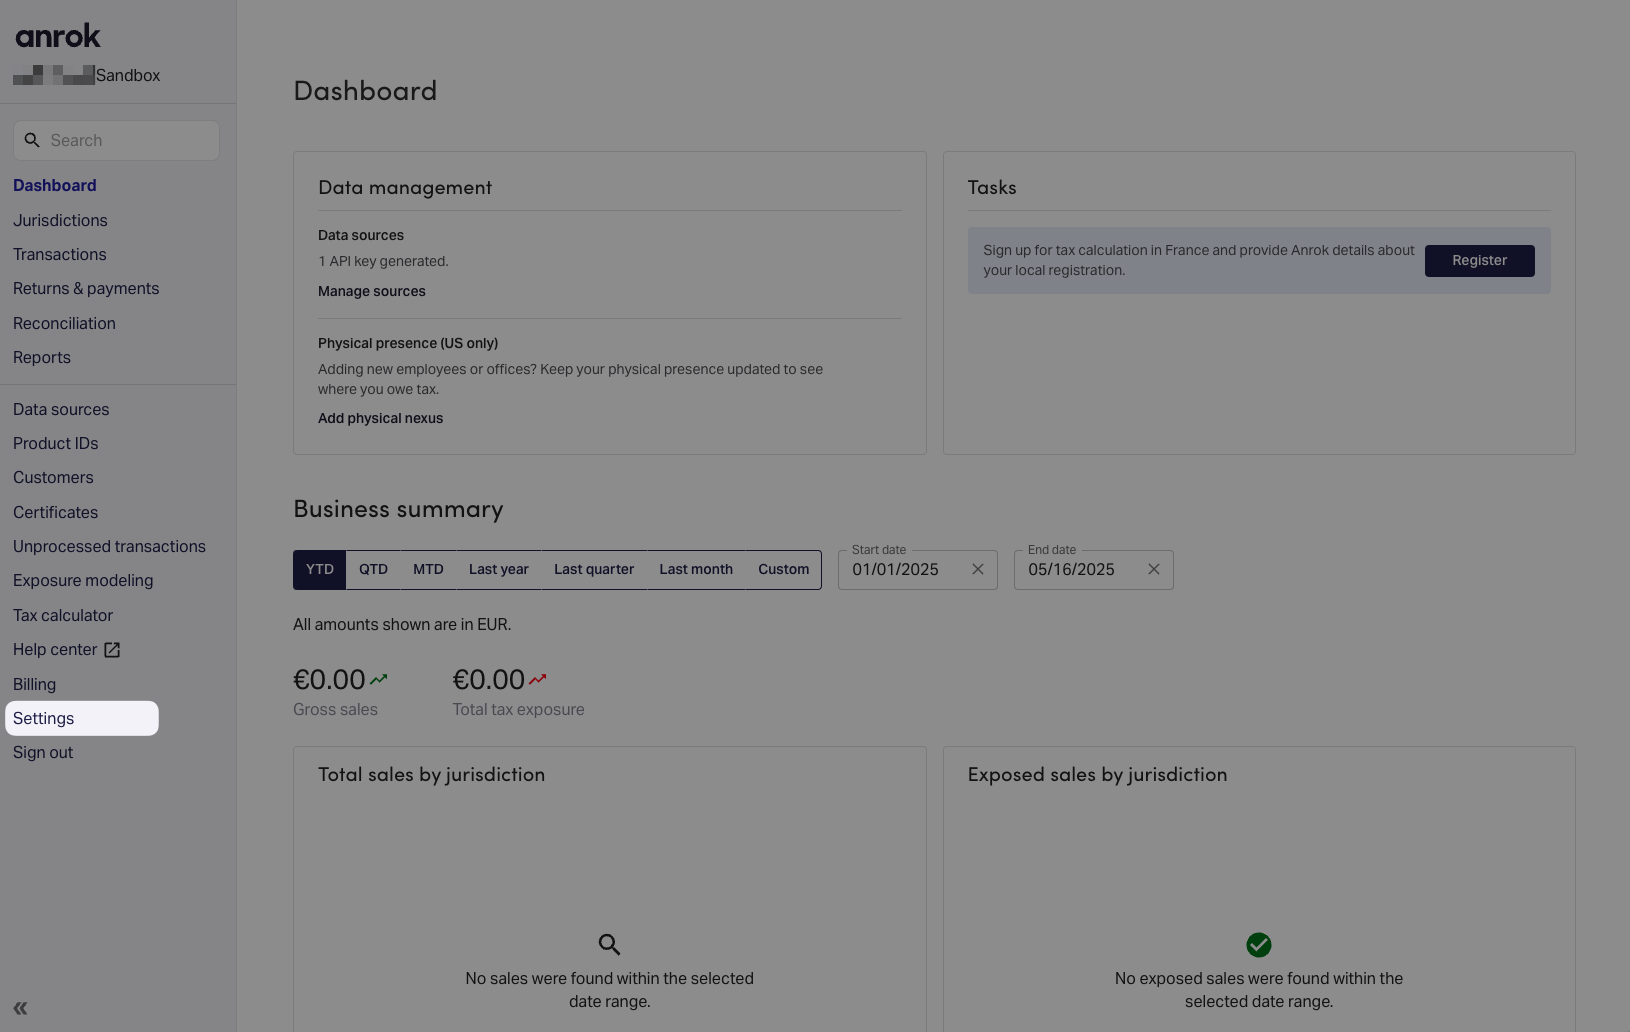
1. In the menu, select **Settings**
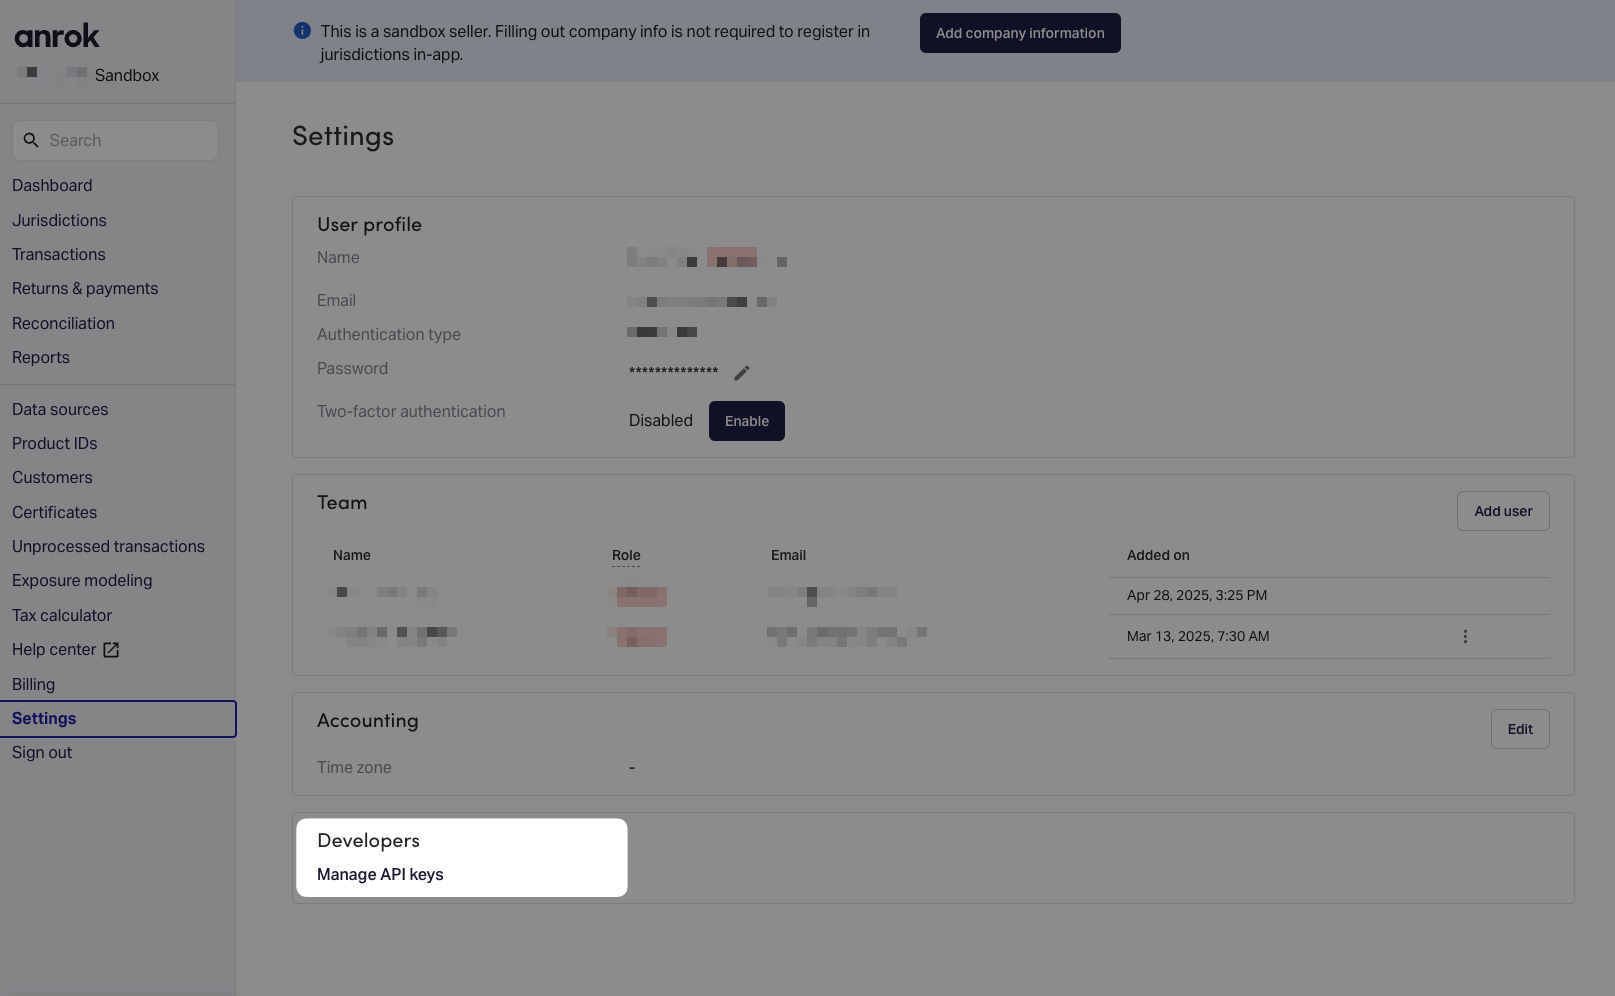
 2. Then, at the bottom, **Manage API keys**
 3. Click on **Create API key**
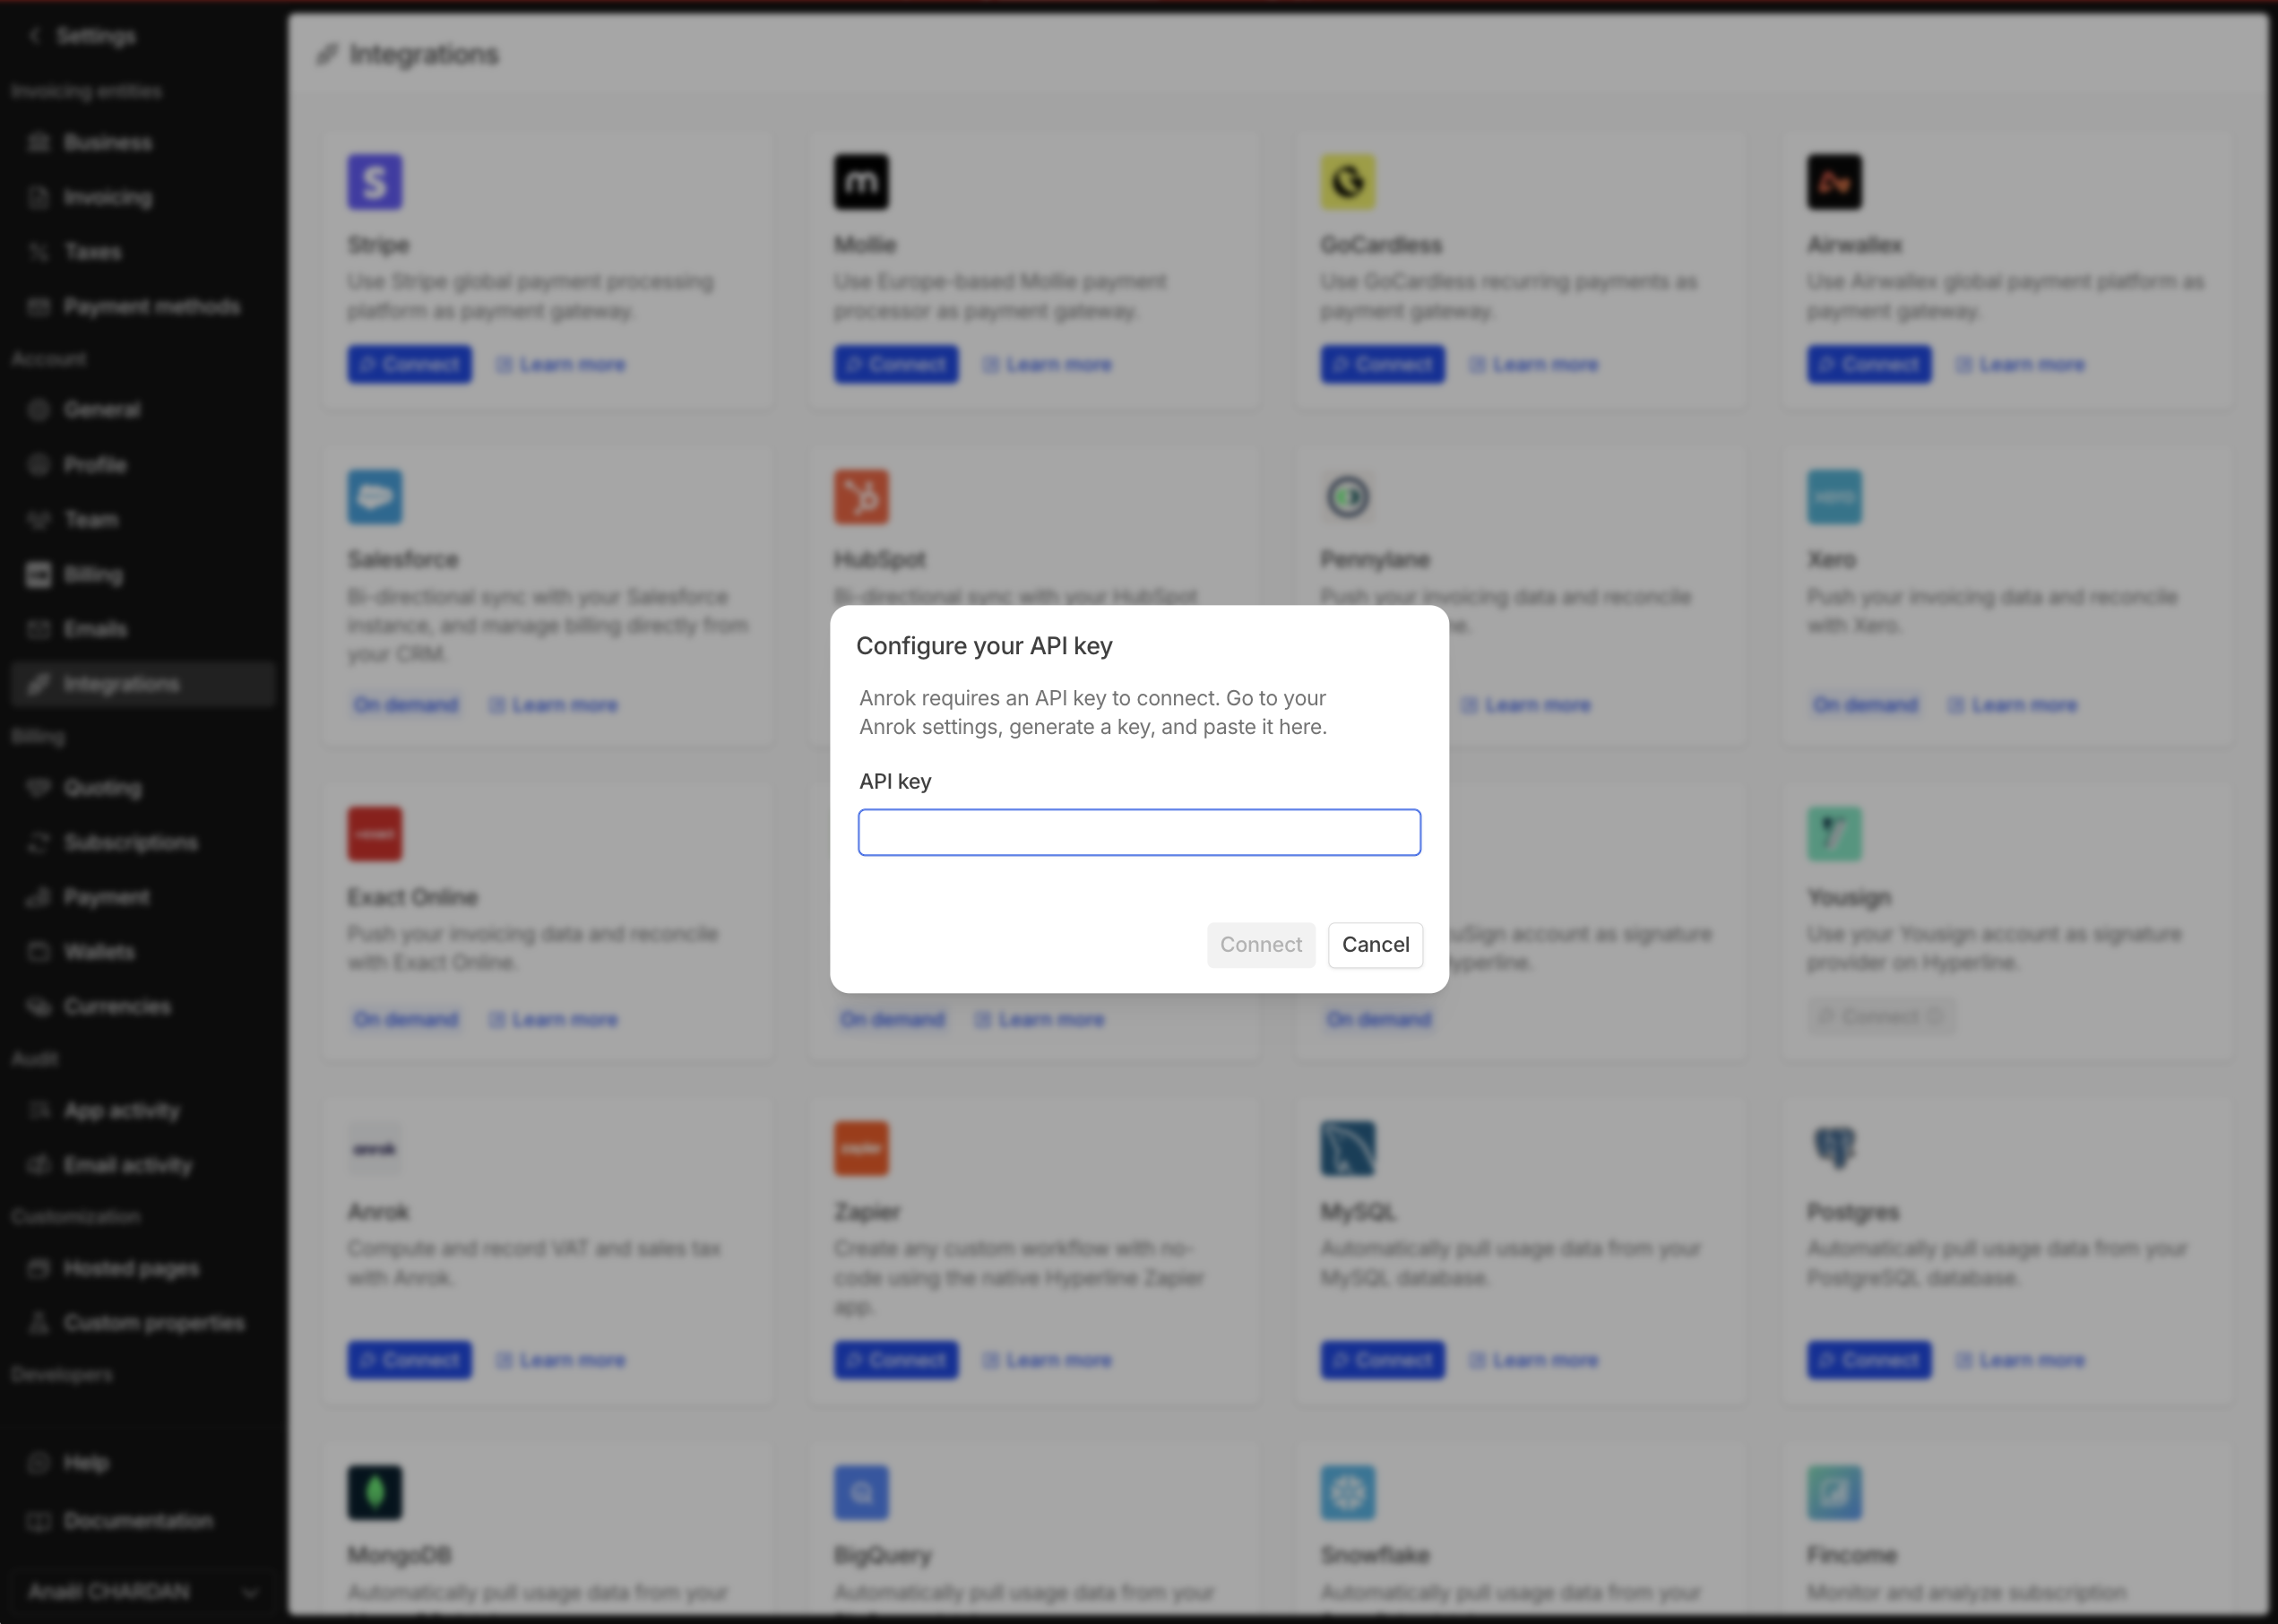
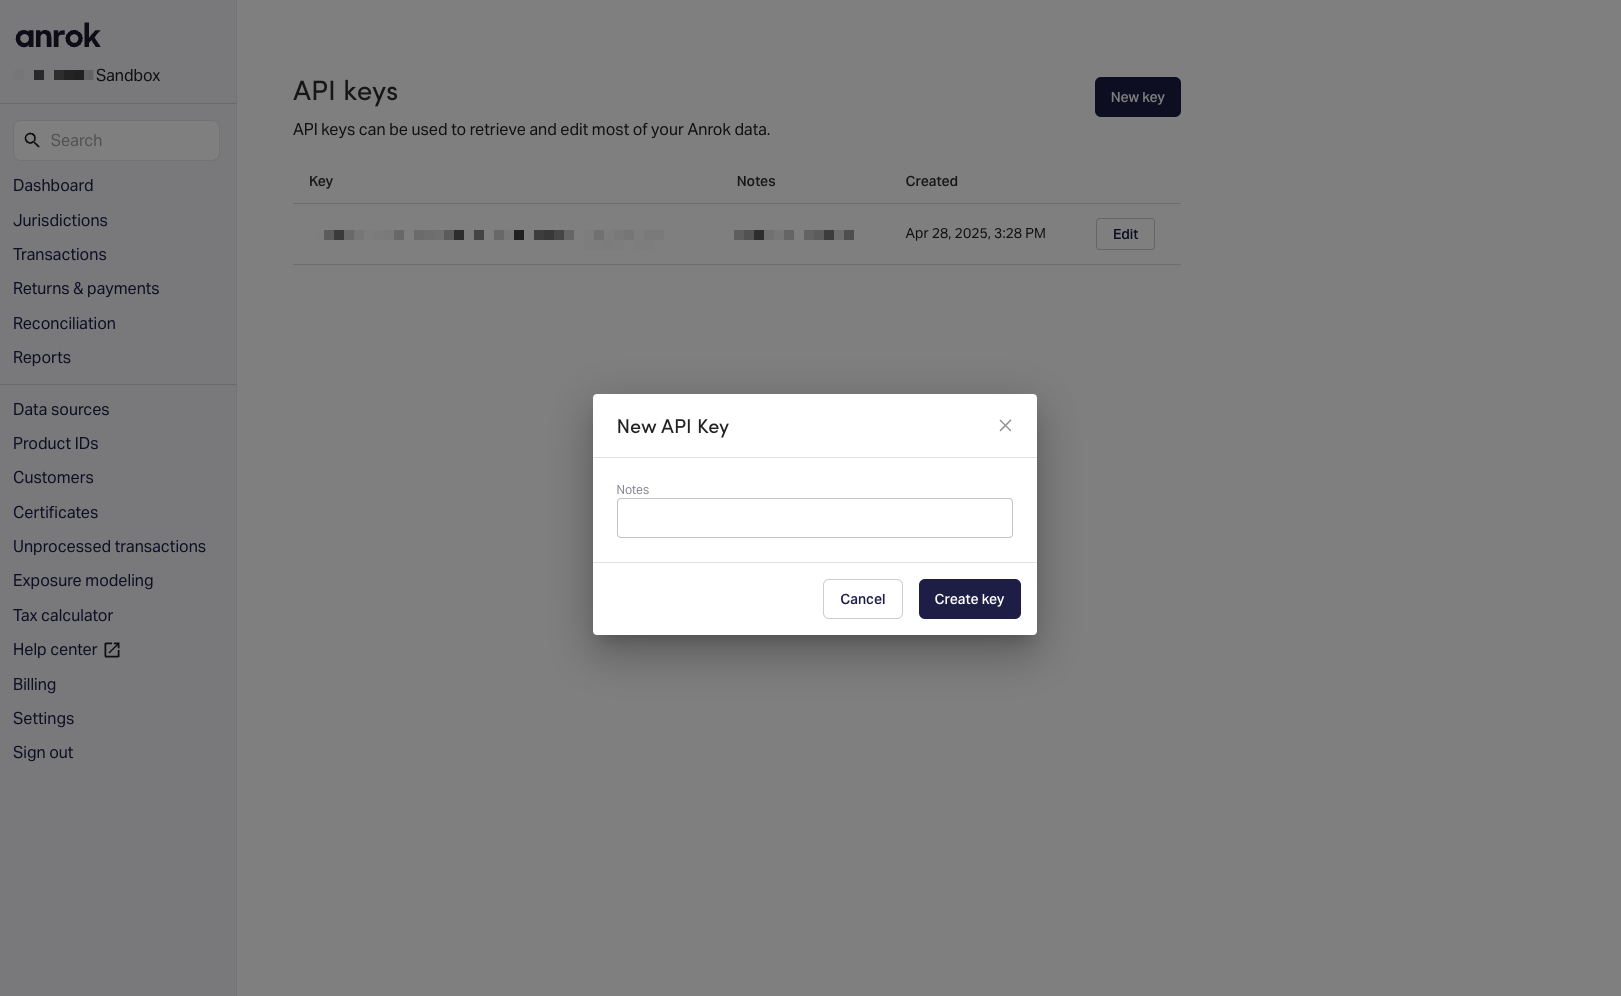 4. Copy the API key and once Hyperline has activated the feature for you and you'll be able to click on **Connect** in the **Integrations** page.
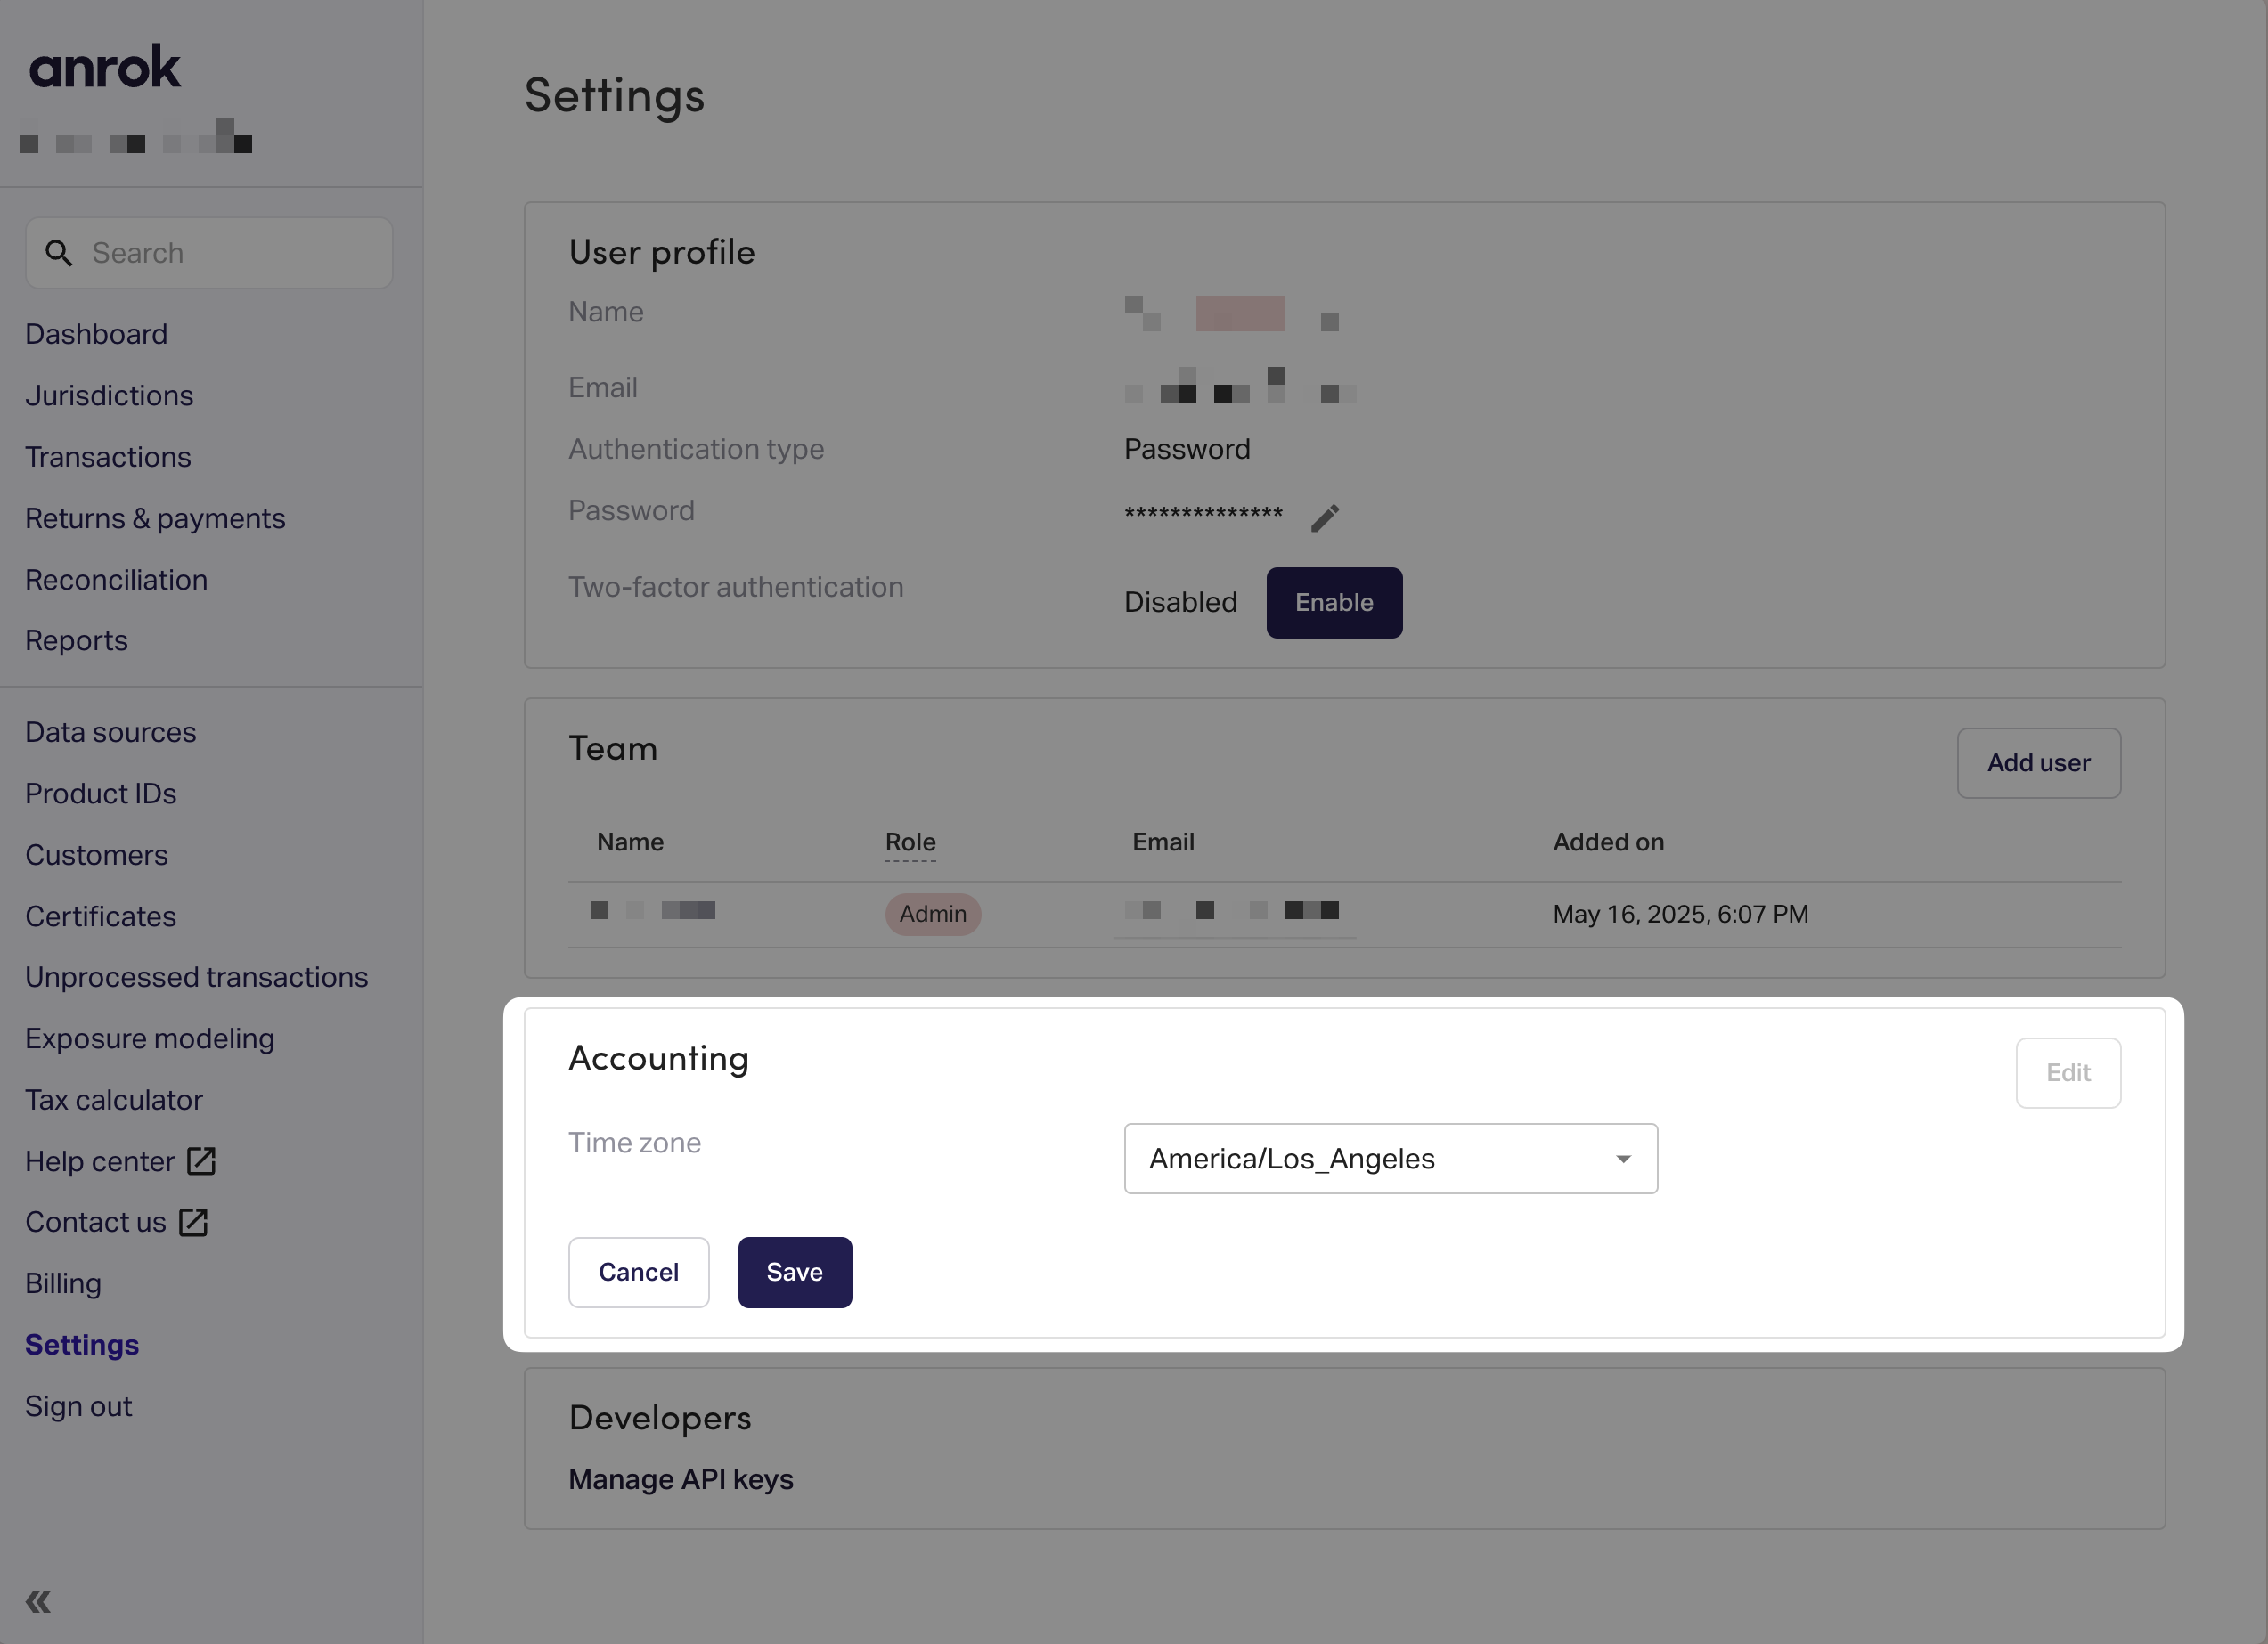
 ### Configure Anrok Accounting Timezone
You need to configure the timezone of your Anrok account in the **Settings** page otherwise you'll get errors when you'll try to create an invoice.
1. In the menu, select **Settings**, and in the **Accounting** section, select **Timezone**.
### Configure Anrok Accounting Timezone
You need to configure the timezone of your Anrok account in the **Settings** page otherwise you'll get errors when you'll try to create an invoice.
1. In the menu, select **Settings**, and in the **Accounting** section, select **Timezone**.
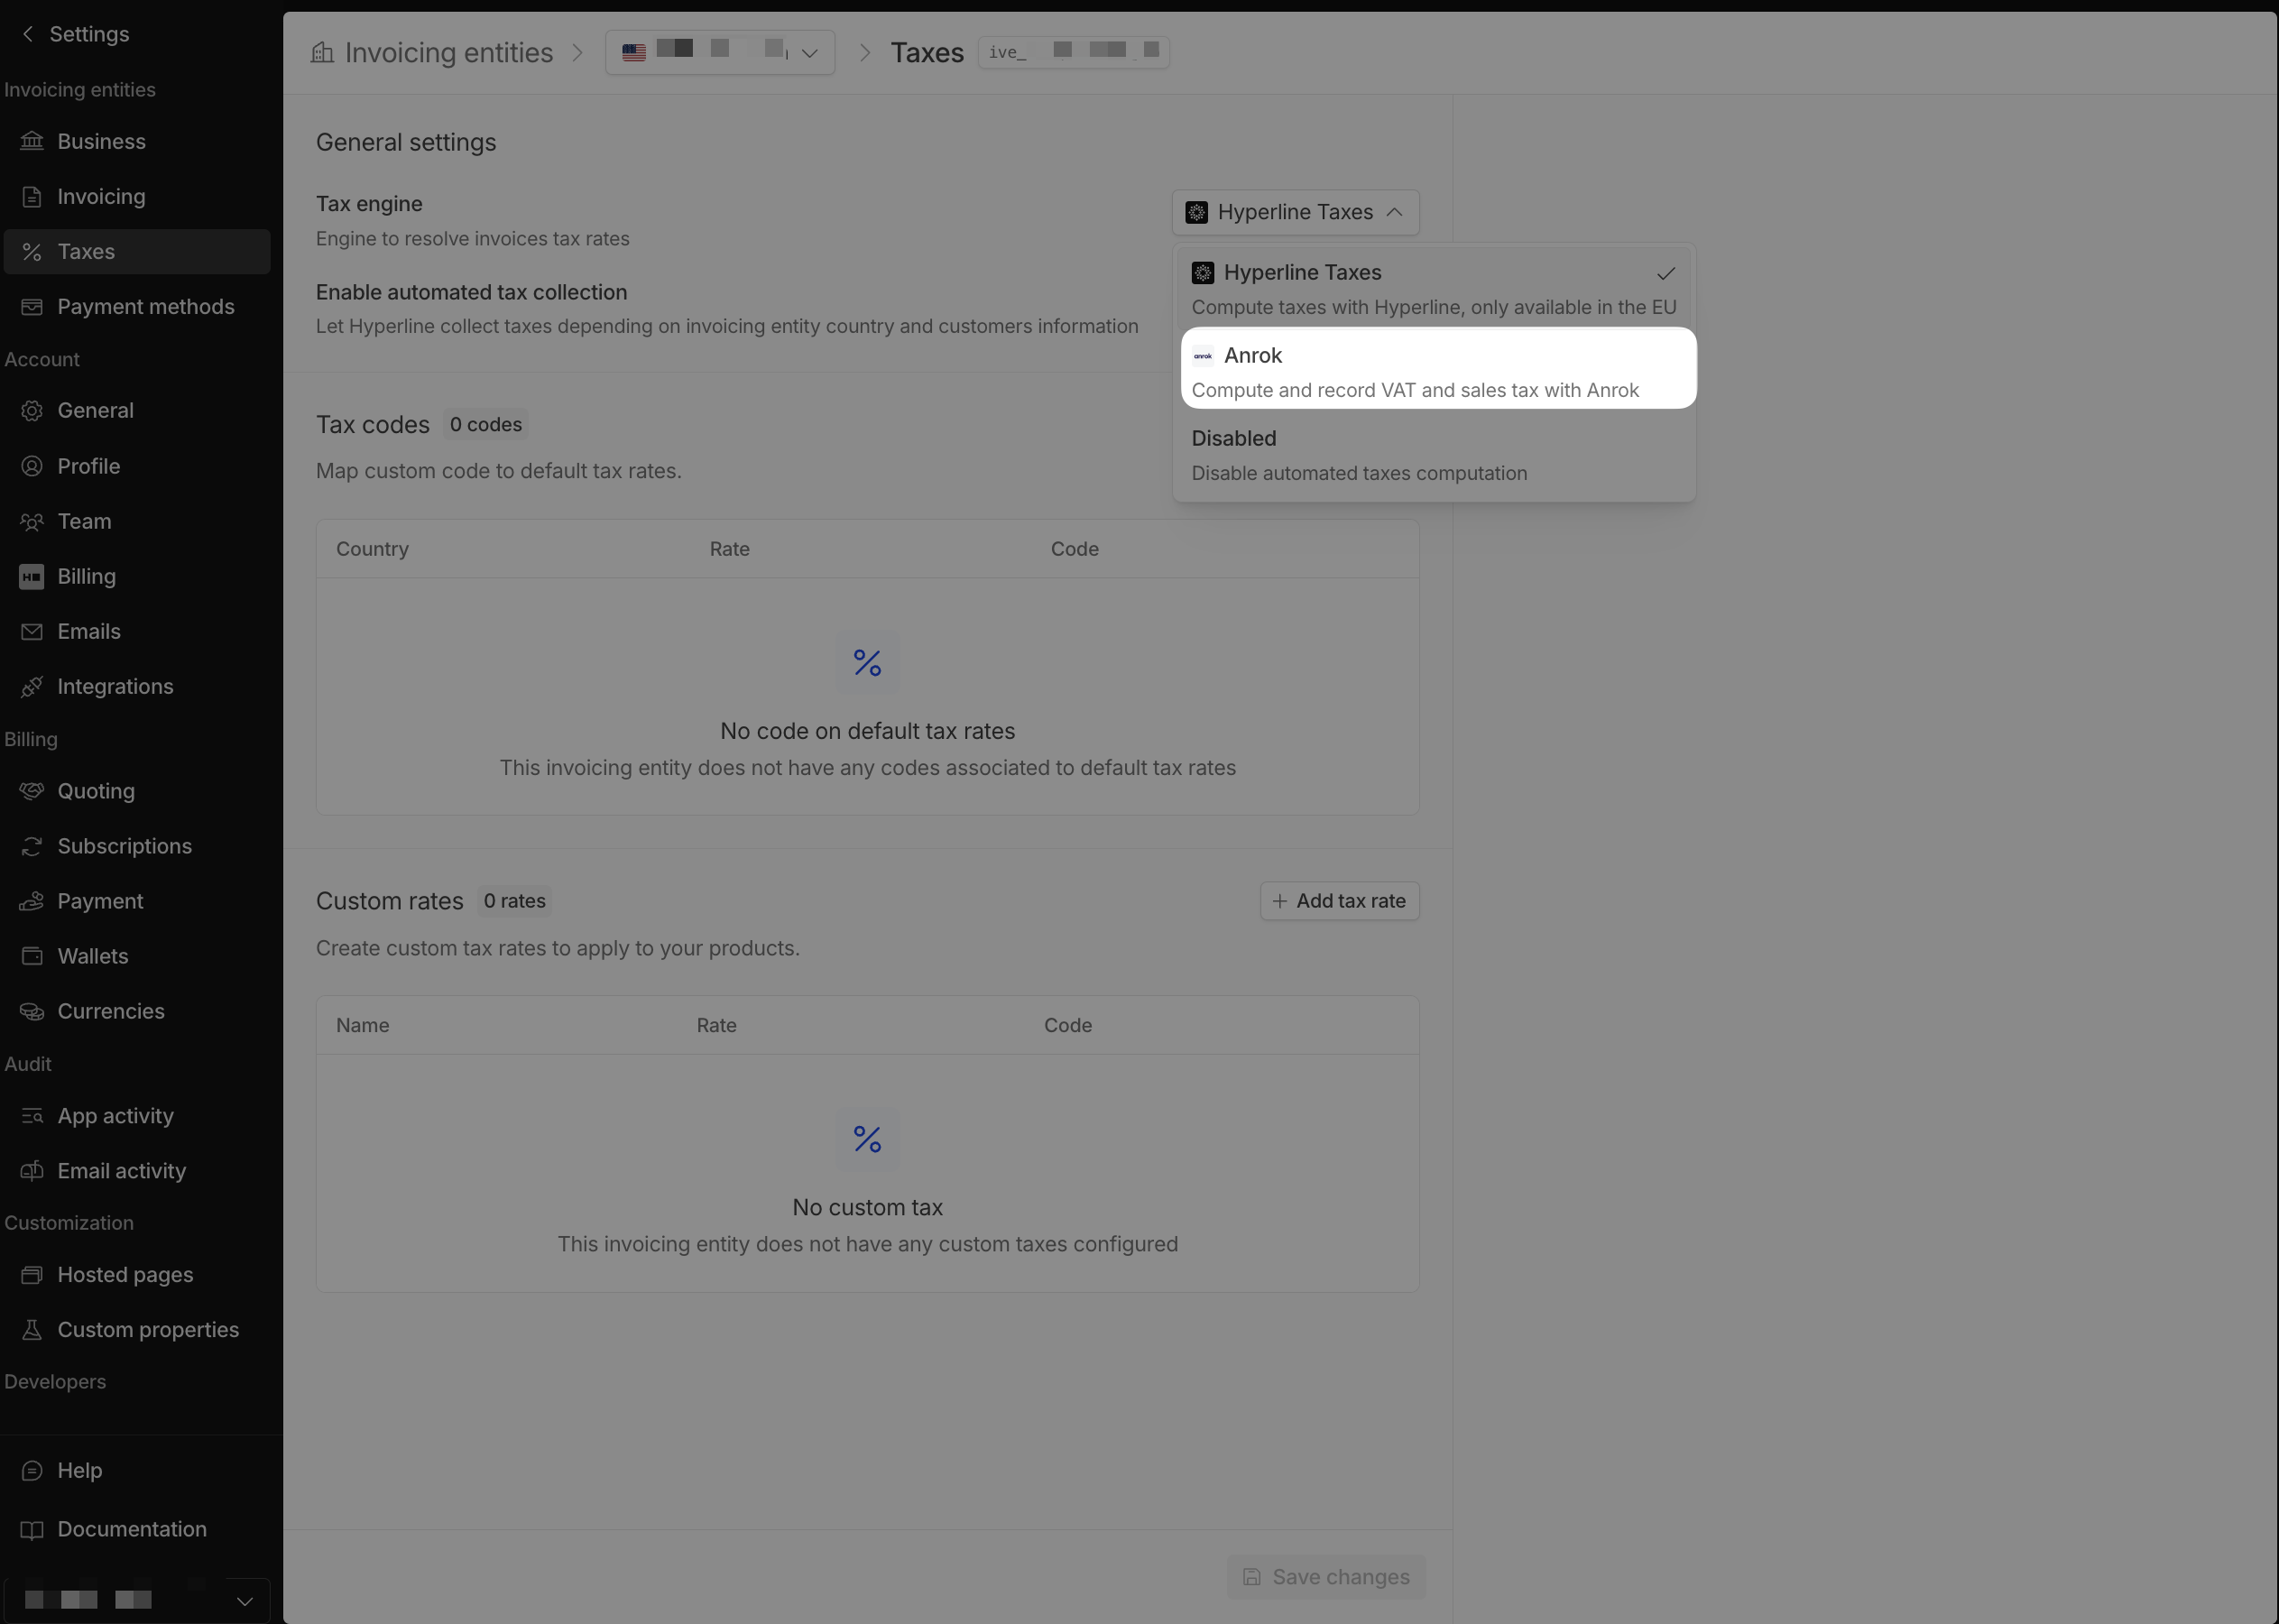
 ### Configure Anrok as Tax Engine
Click on **Taxes** in the settings menu and select **Anrok** as tax engine.
### Configure Anrok as Tax Engine
Click on **Taxes** in the settings menu and select **Anrok** as tax engine.
 ### Configure products
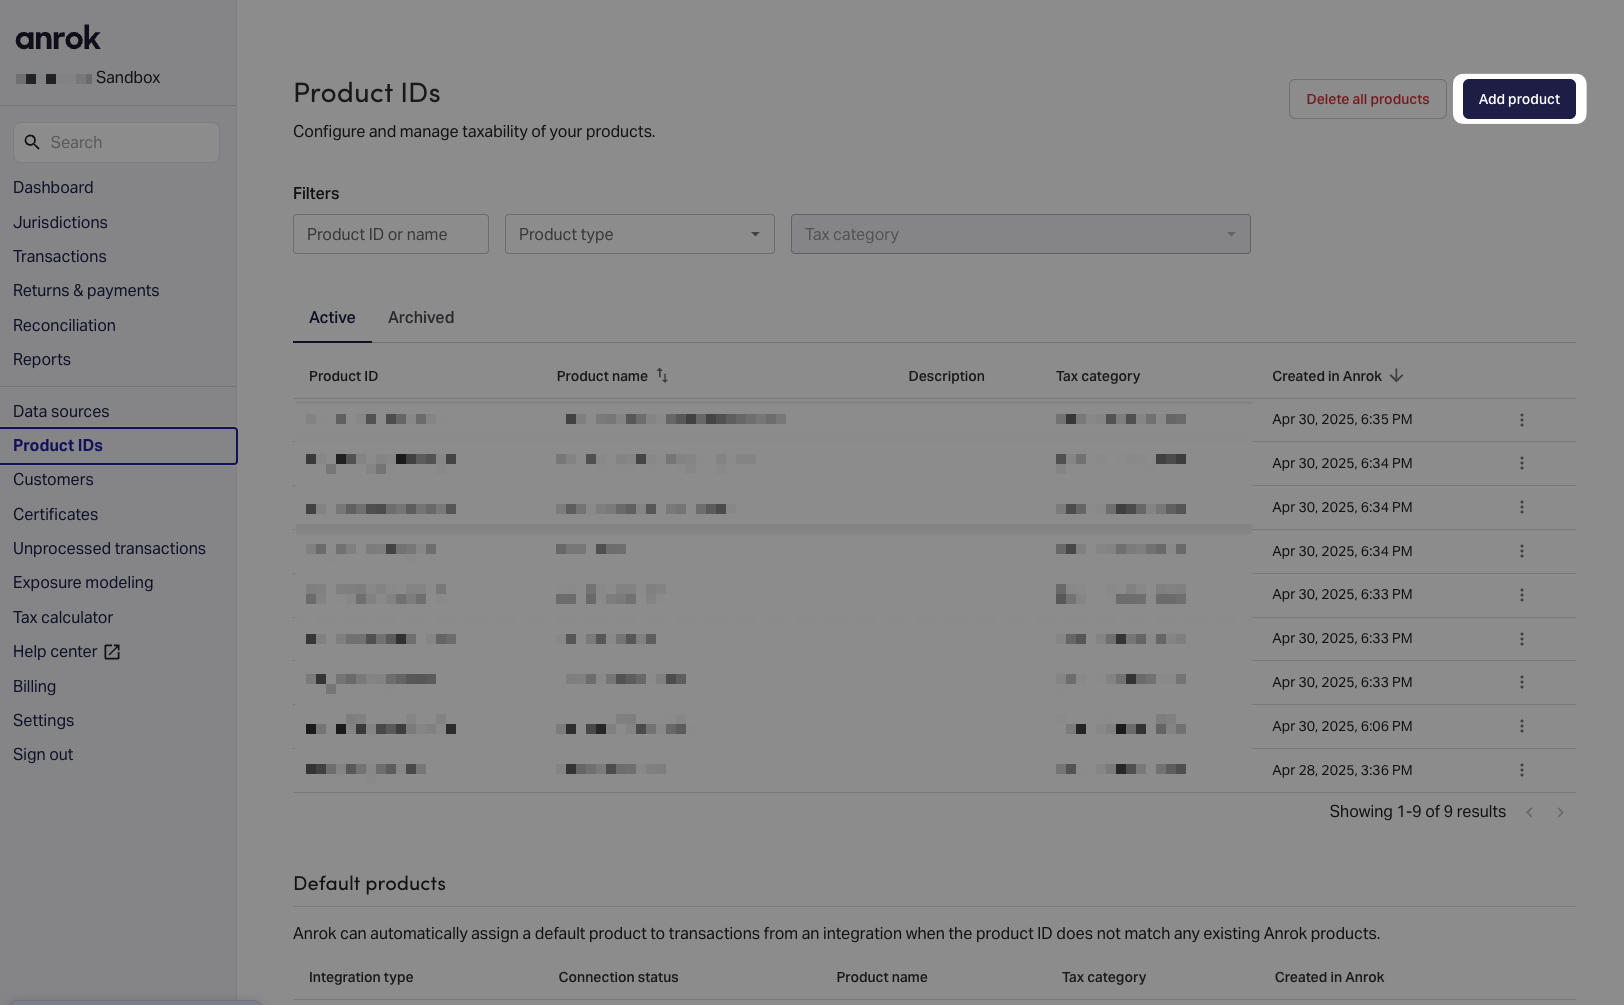
Then, to make the mapping between your Hyperline products and Anrok products, you need to go to the **Products** page.
1. Click on **Products** in the menu
### Configure products
Then, to make the mapping between your Hyperline products and Anrok products, you need to go to the **Products** page.
1. Click on **Products** in the menu
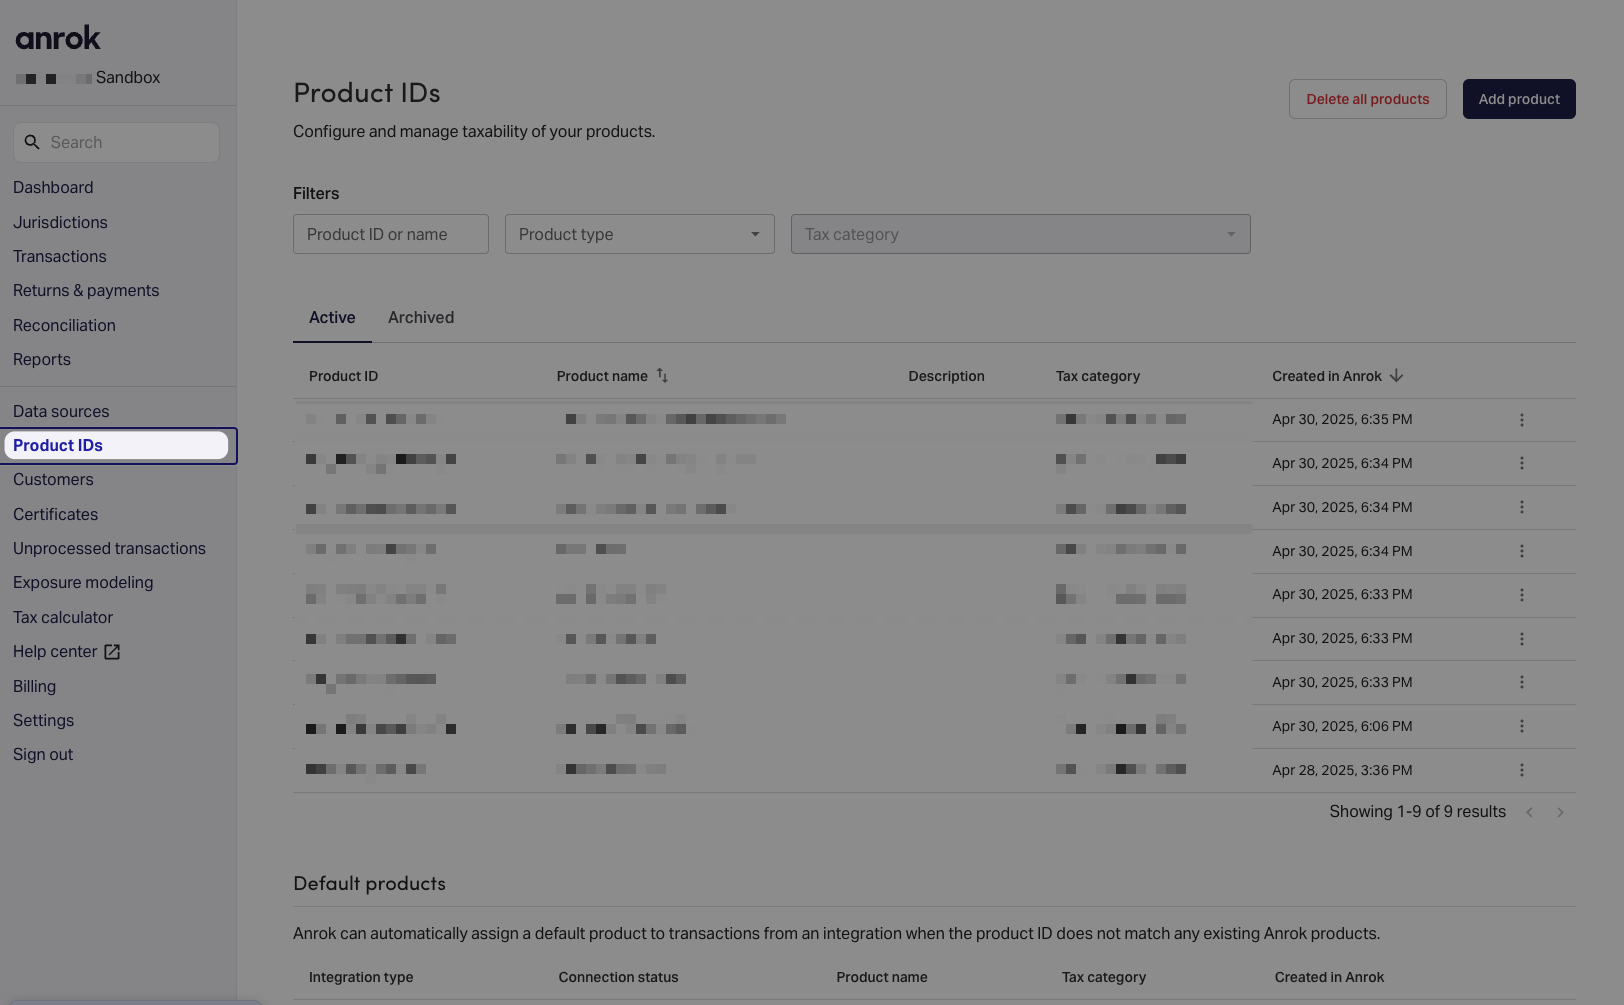 2. Click on **Add product**
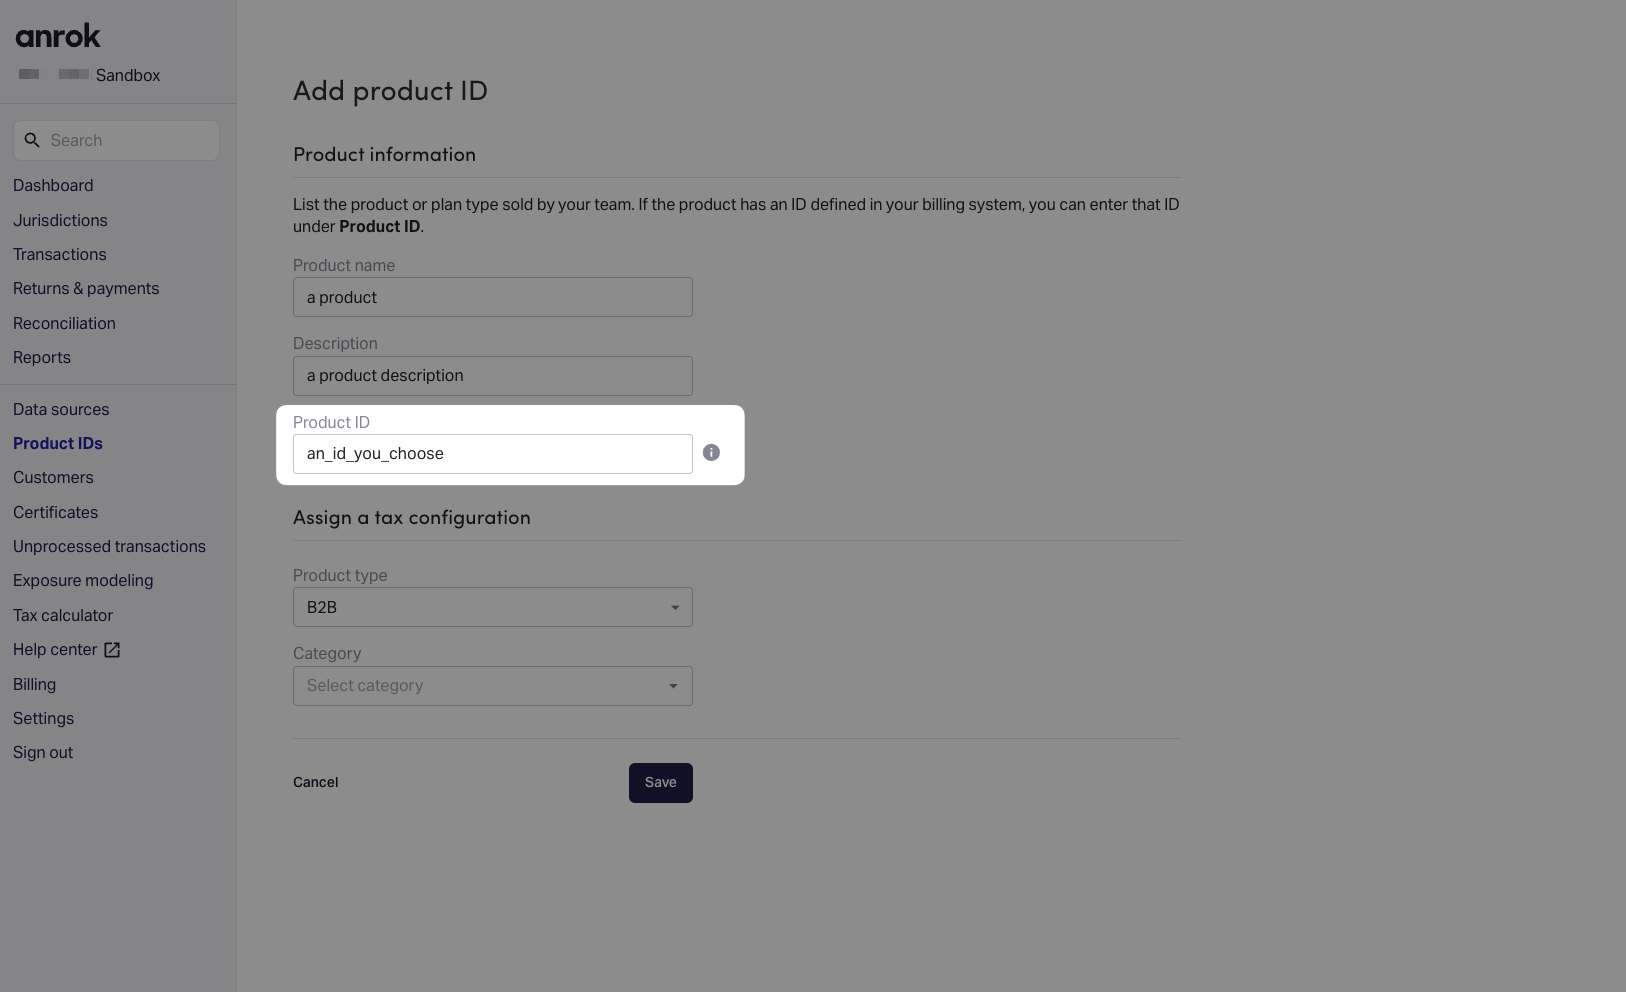
 3. Fill the form with the following information:
The **Product ID** is a product ID that you'll need to fill in Hyperline
product page. (it can be shared across multiple products in Hyperline
afterwards)
Here is an article from Anrok that explains the tax categories: [Anrok Tax
Categories](https://help-center.anrok.com/hc/en-us/articles/4412669541907-Available-tax-categories-for-product-IDs)
3. Fill the form with the following information:
The **Product ID** is a product ID that you'll need to fill in Hyperline
product page. (it can be shared across multiple products in Hyperline
afterwards)
Here is an article from Anrok that explains the tax categories: [Anrok Tax
Categories](https://help-center.anrok.com/hc/en-us/articles/4412669541907-Available-tax-categories-for-product-IDs)
 4. As a recommendation from Anrok, we strongly encourage you to create a product that will be used as default when Hyperline doesn't have any mapping saved for a product.
Name it **default\_hyperline\_product\_anrok** and set the **Product ID** to **default\_hyperline\_product\_anrok** with the default taxed categories that will be used.
If you don't do this, we'll take a product from your mapped products and use it as default.
5. Click on **Save**
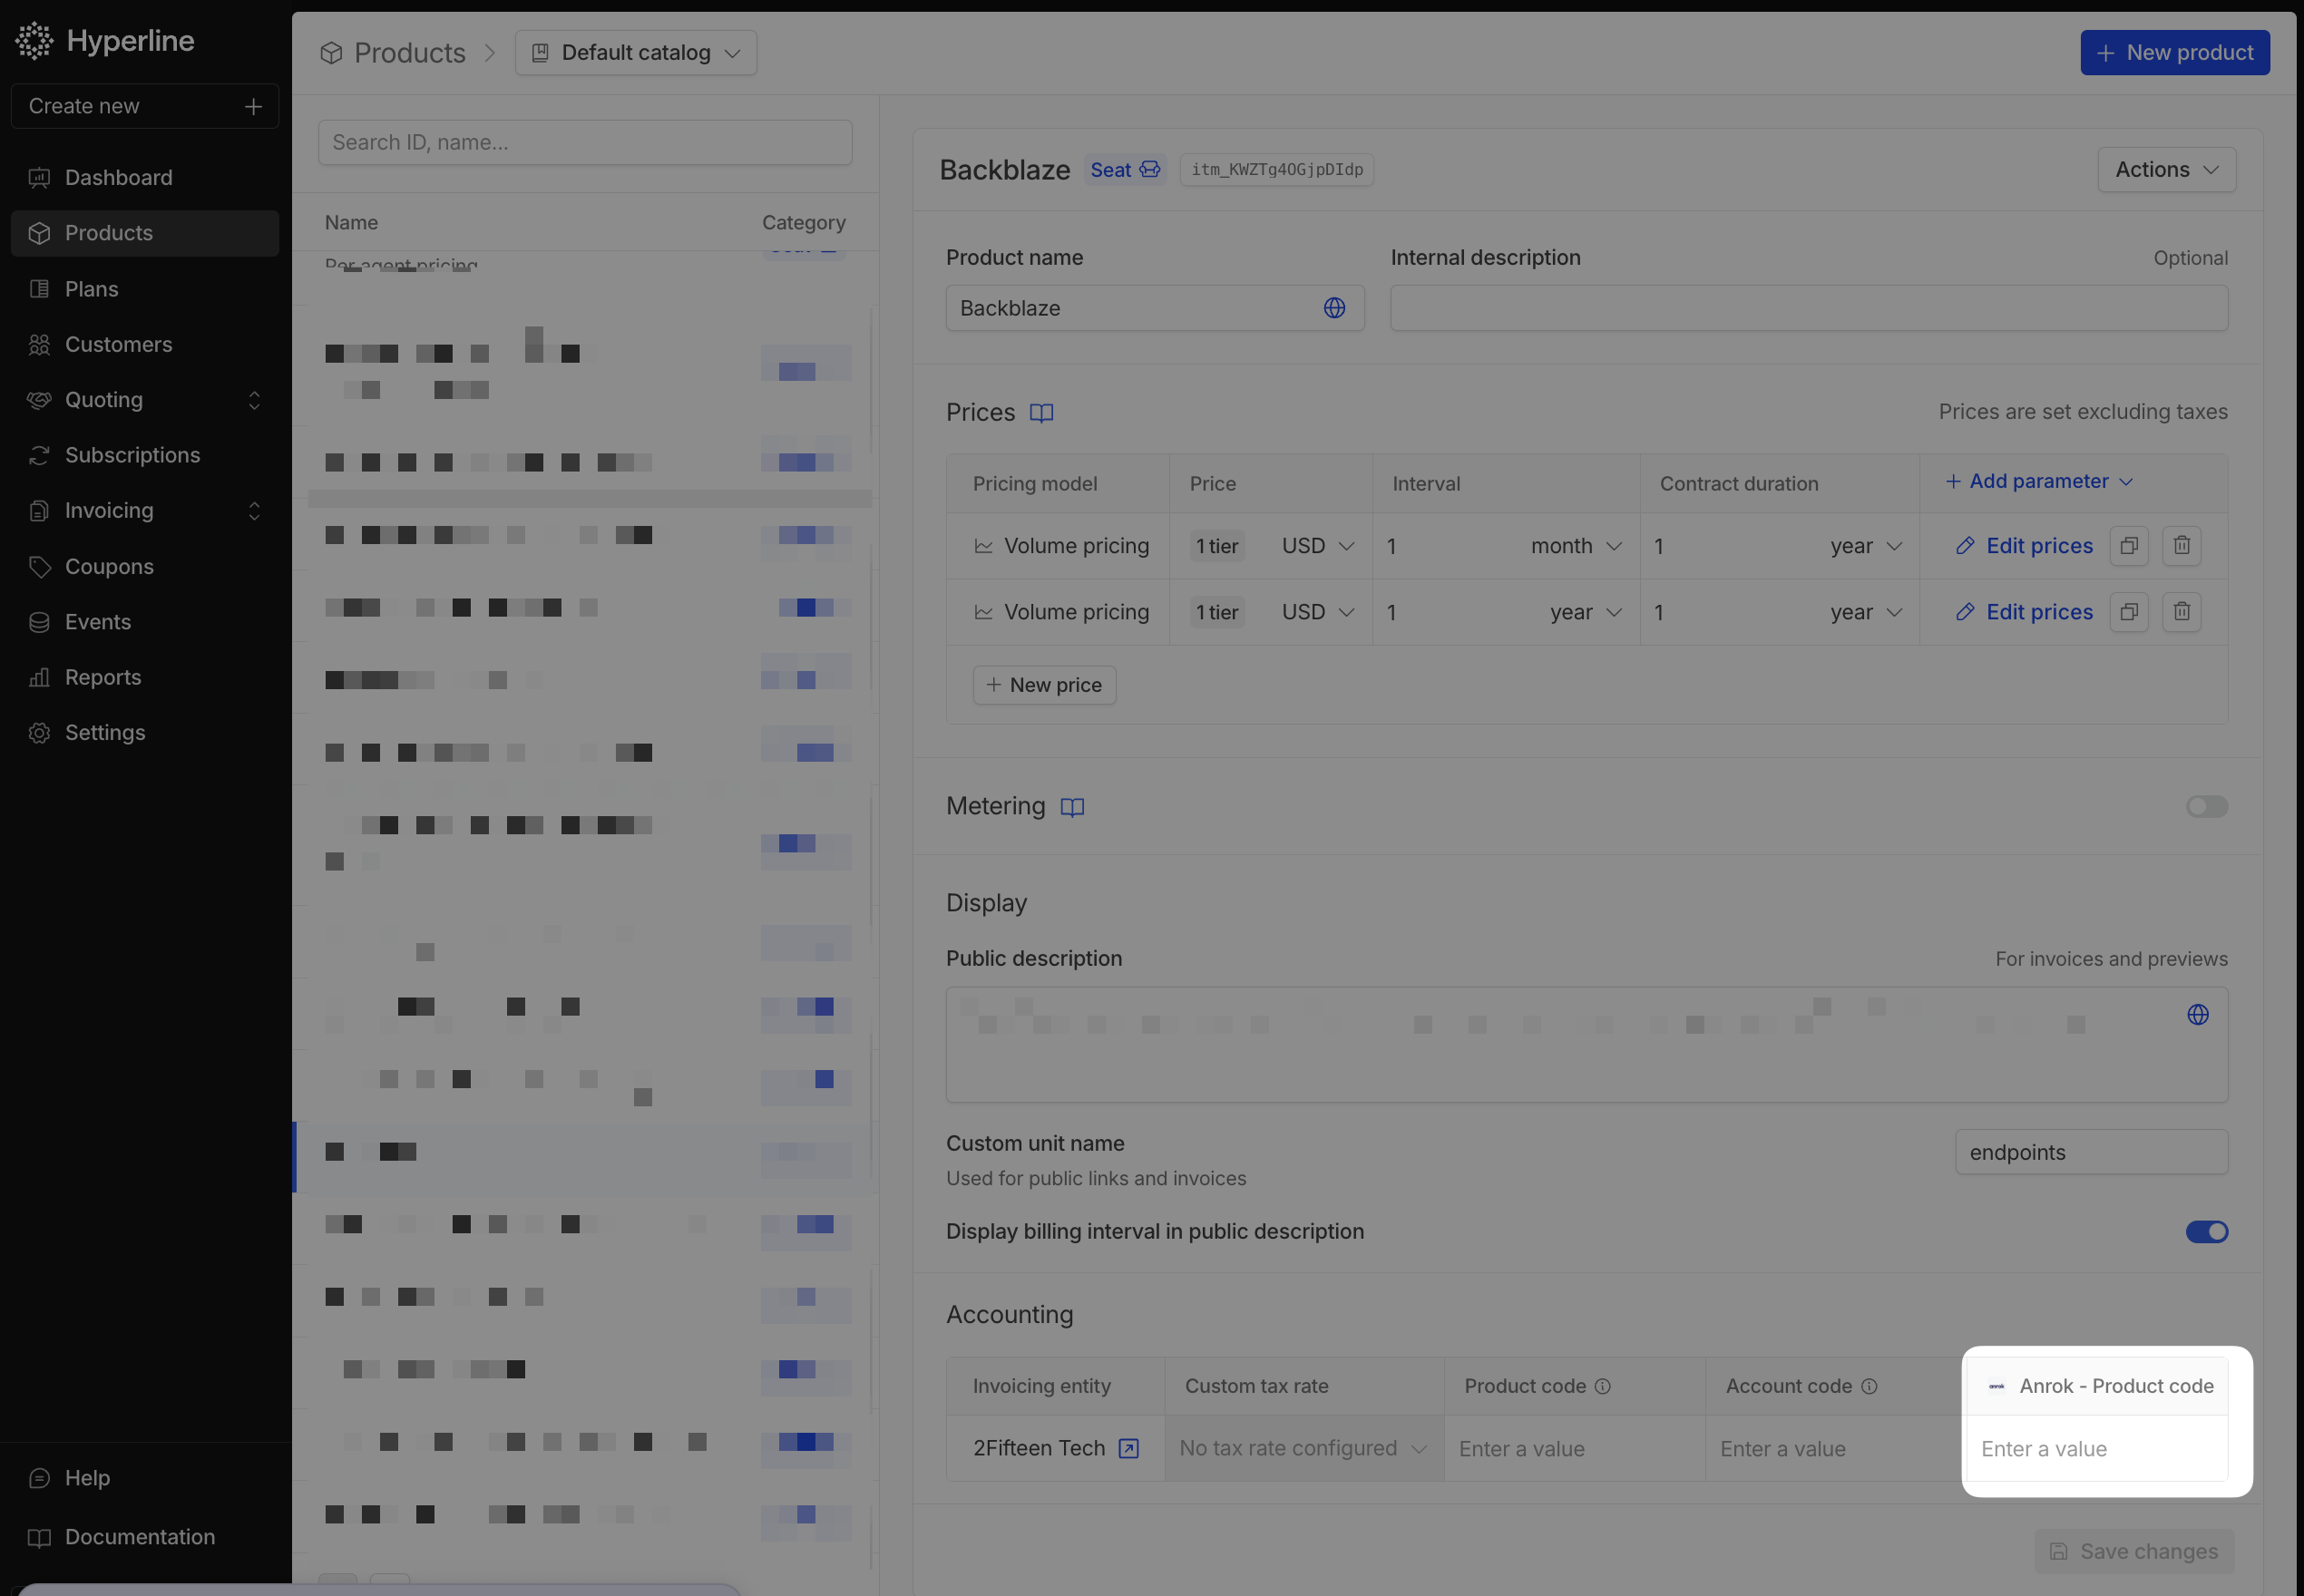
Then, as the last step, you'll need to update all the products in Hyperline with the Anrok product ID, on each products of the **Products** page in the accounting section.
4. As a recommendation from Anrok, we strongly encourage you to create a product that will be used as default when Hyperline doesn't have any mapping saved for a product.
Name it **default\_hyperline\_product\_anrok** and set the **Product ID** to **default\_hyperline\_product\_anrok** with the default taxed categories that will be used.
If you don't do this, we'll take a product from your mapped products and use it as default.
5. Click on **Save**
Then, as the last step, you'll need to update all the products in Hyperline with the Anrok product ID, on each products of the **Products** page in the accounting section.